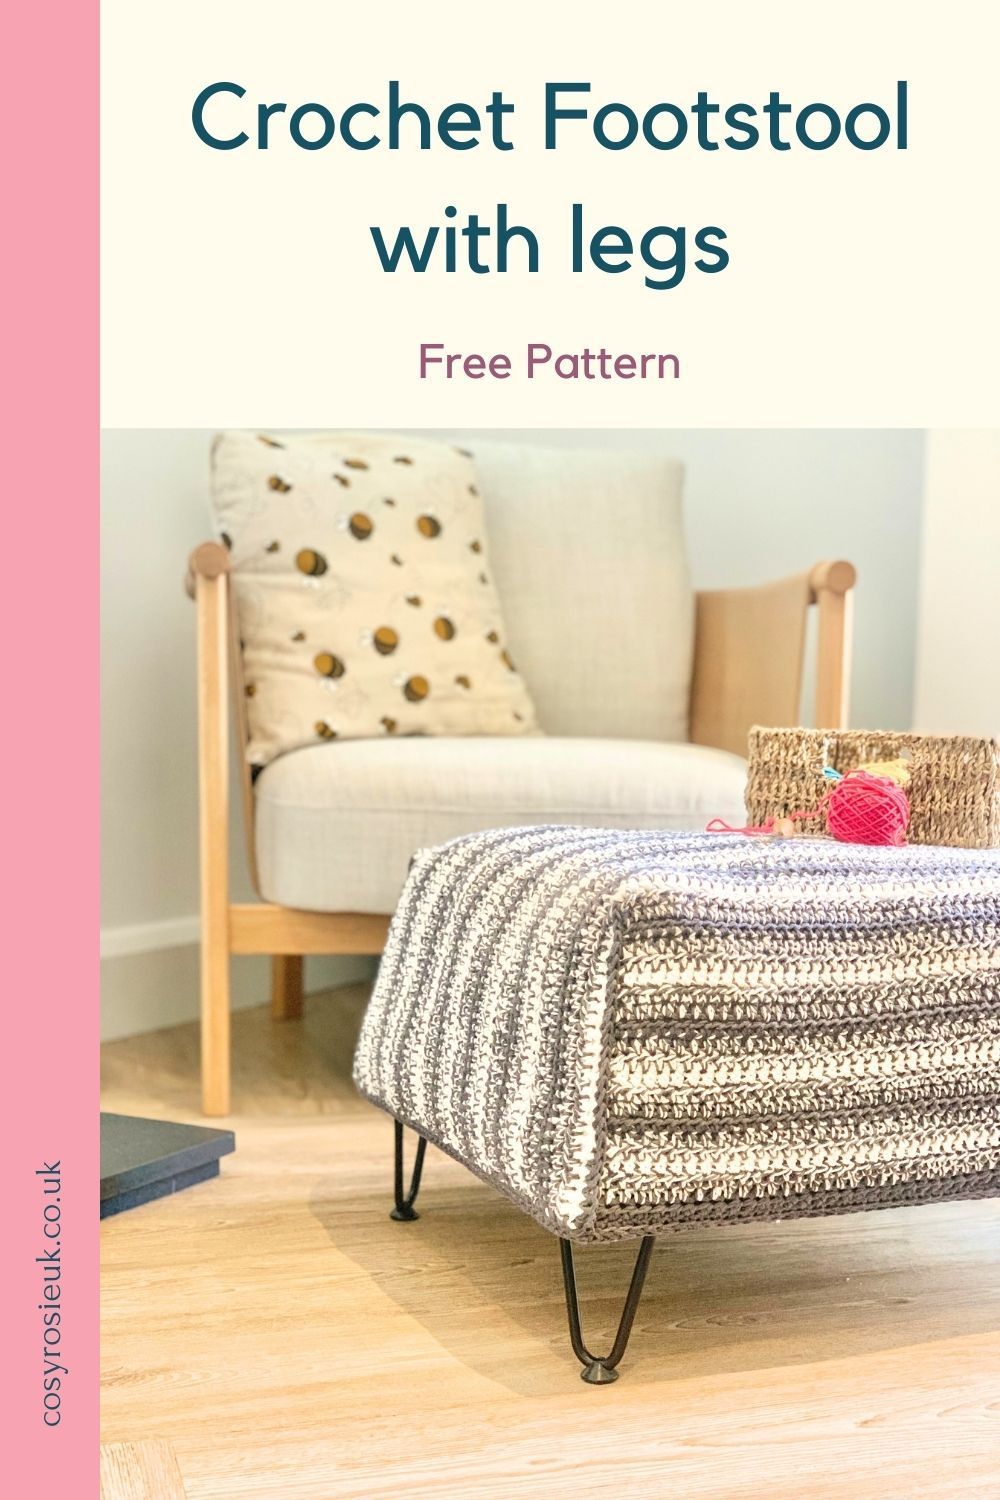
Crochet Footstool Pattern
This crochet footstool pattern will take your crochet poof and raise it up to create a chic piece of furniture that you've created by hand.
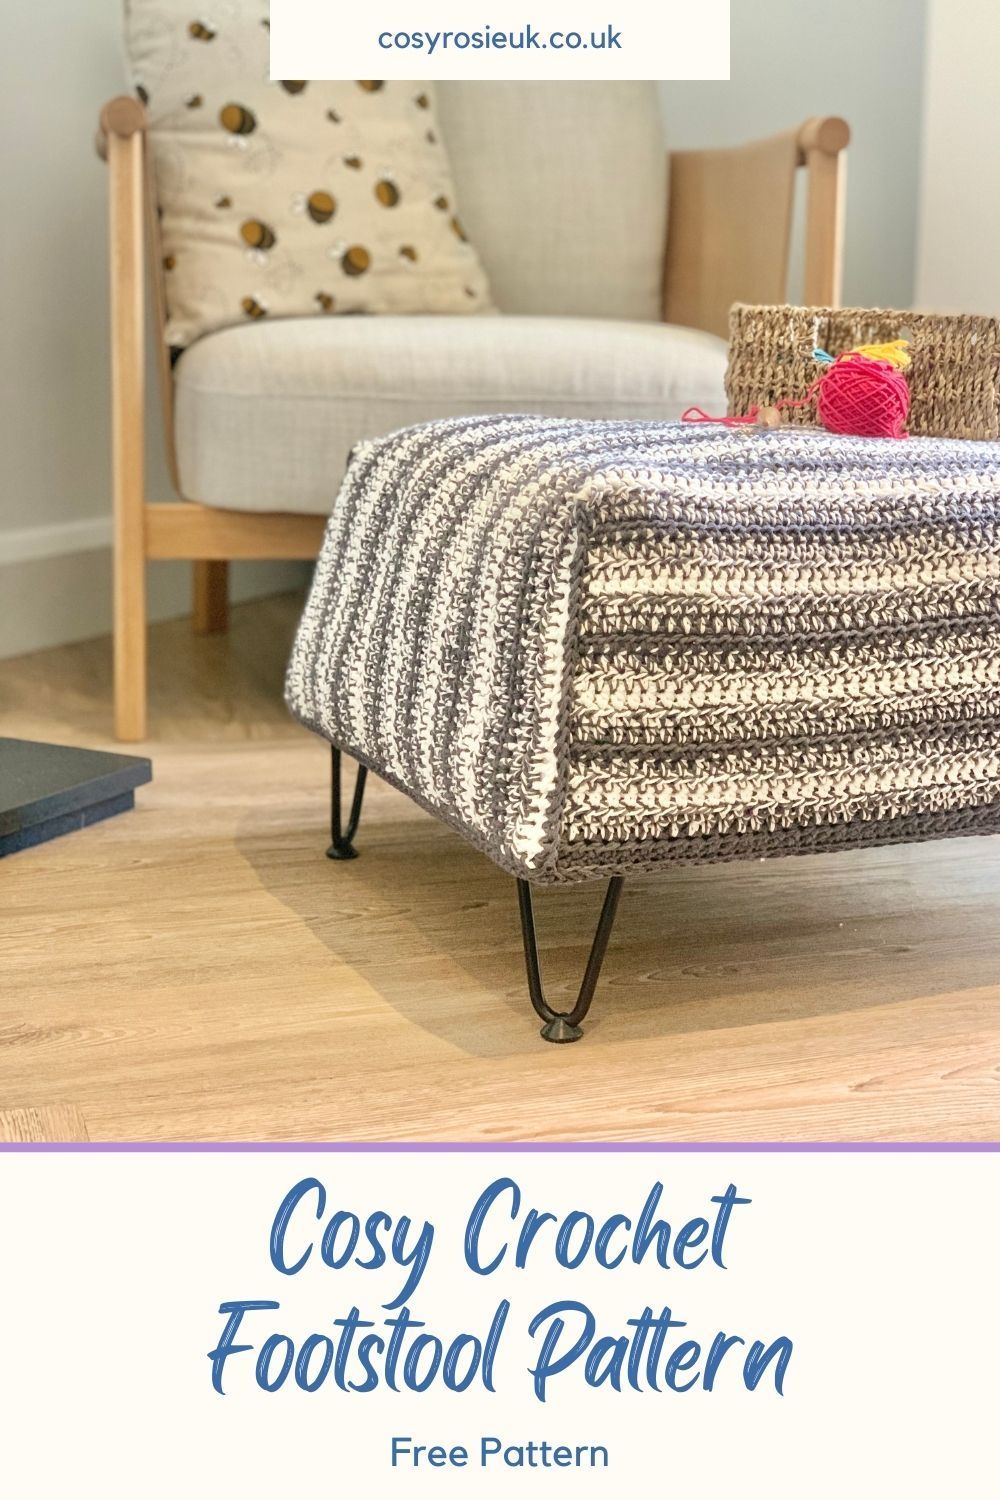
Cosy Crochet Footstool | Free Crochet Pattern
If you're looking to make the ultimate statement crochet project, you can't go any further than by combining your crochet to create furniture.
This beginner friendly crochet pattern uses only the basic stitches, combined with a clever but simple colour work technique, to create a project that is not just practical, but one you can be super proud of too.
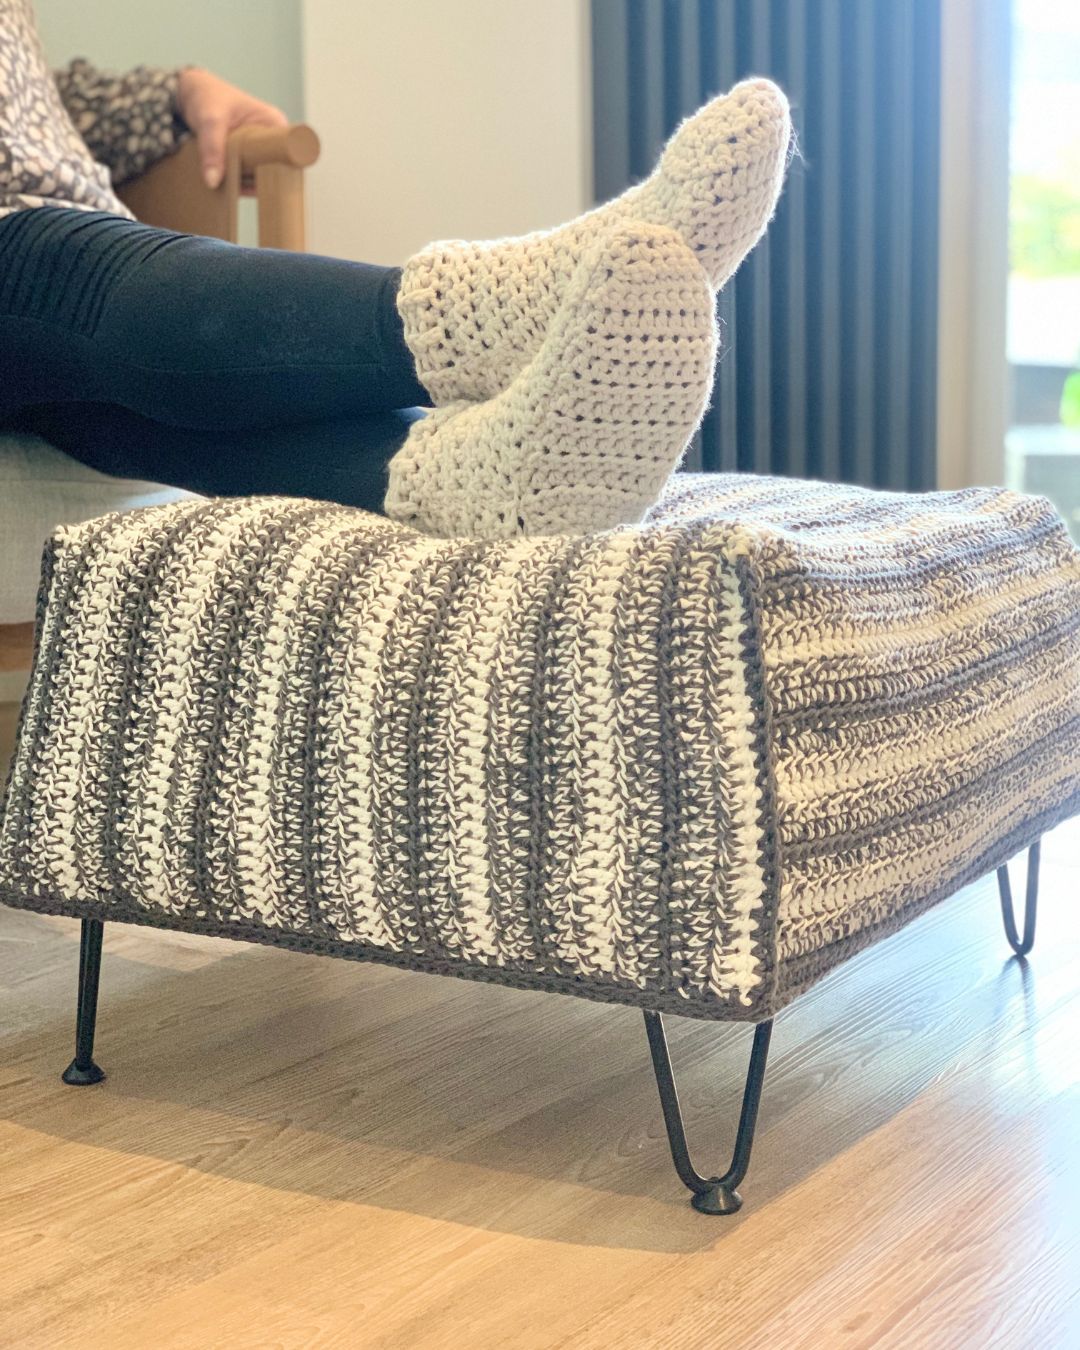
All About the Legs
A cosy home has multiple options of seating, but there are times when adding more chairs isn't what's needed; a footstool has multiple uses, from resting those weary legs, through to being an extra seat when you have all the family round.
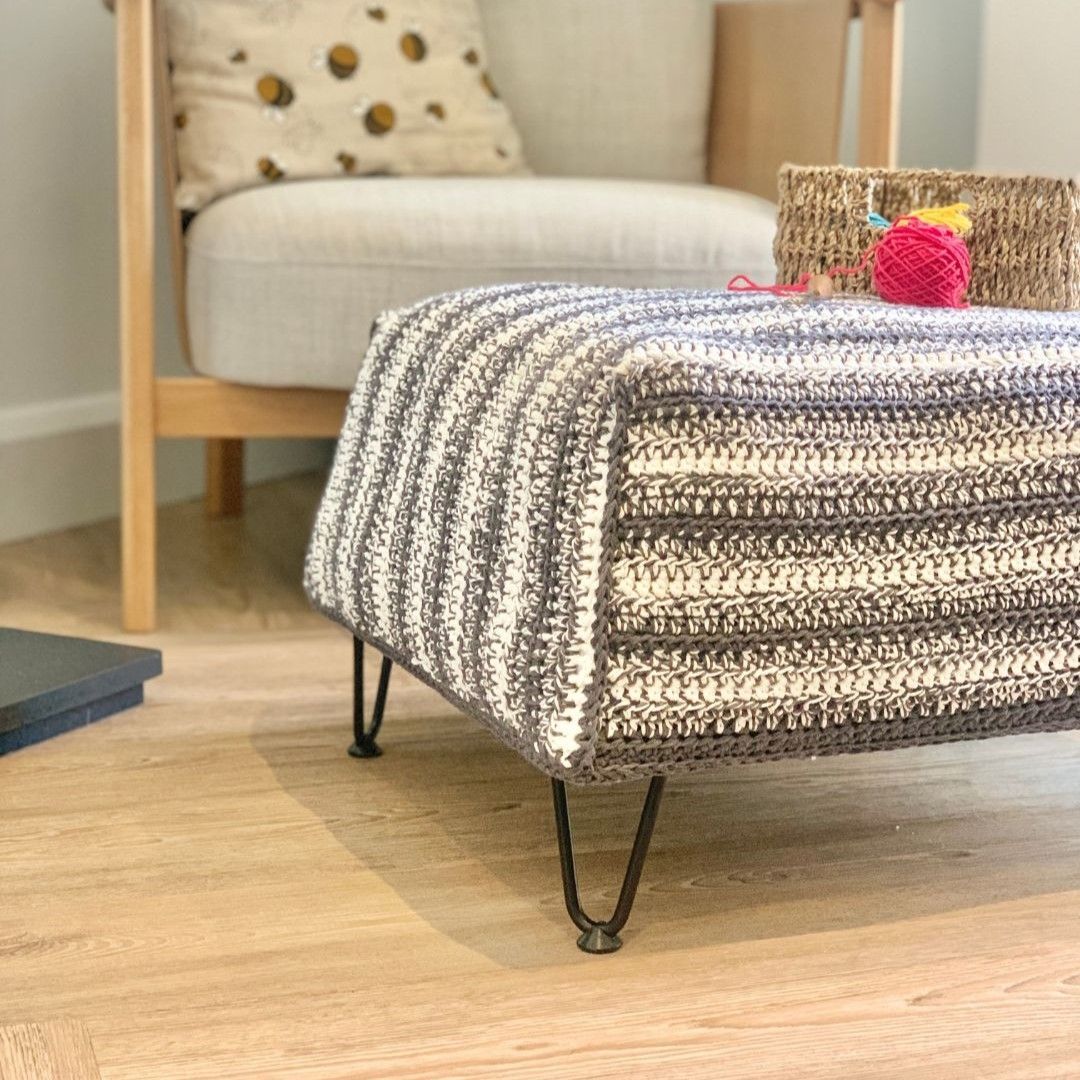
This design began with the idea of creating a generous floor pillow/ crochet poof, but I realised that it could be upgraded with some really simple changes - adding some legs to the bottom.
Adding the legs meant the cushion top could be reduced in height, which in turn reduced the amount of time it takes to complete the project and the amount of yarn required to be stitched.
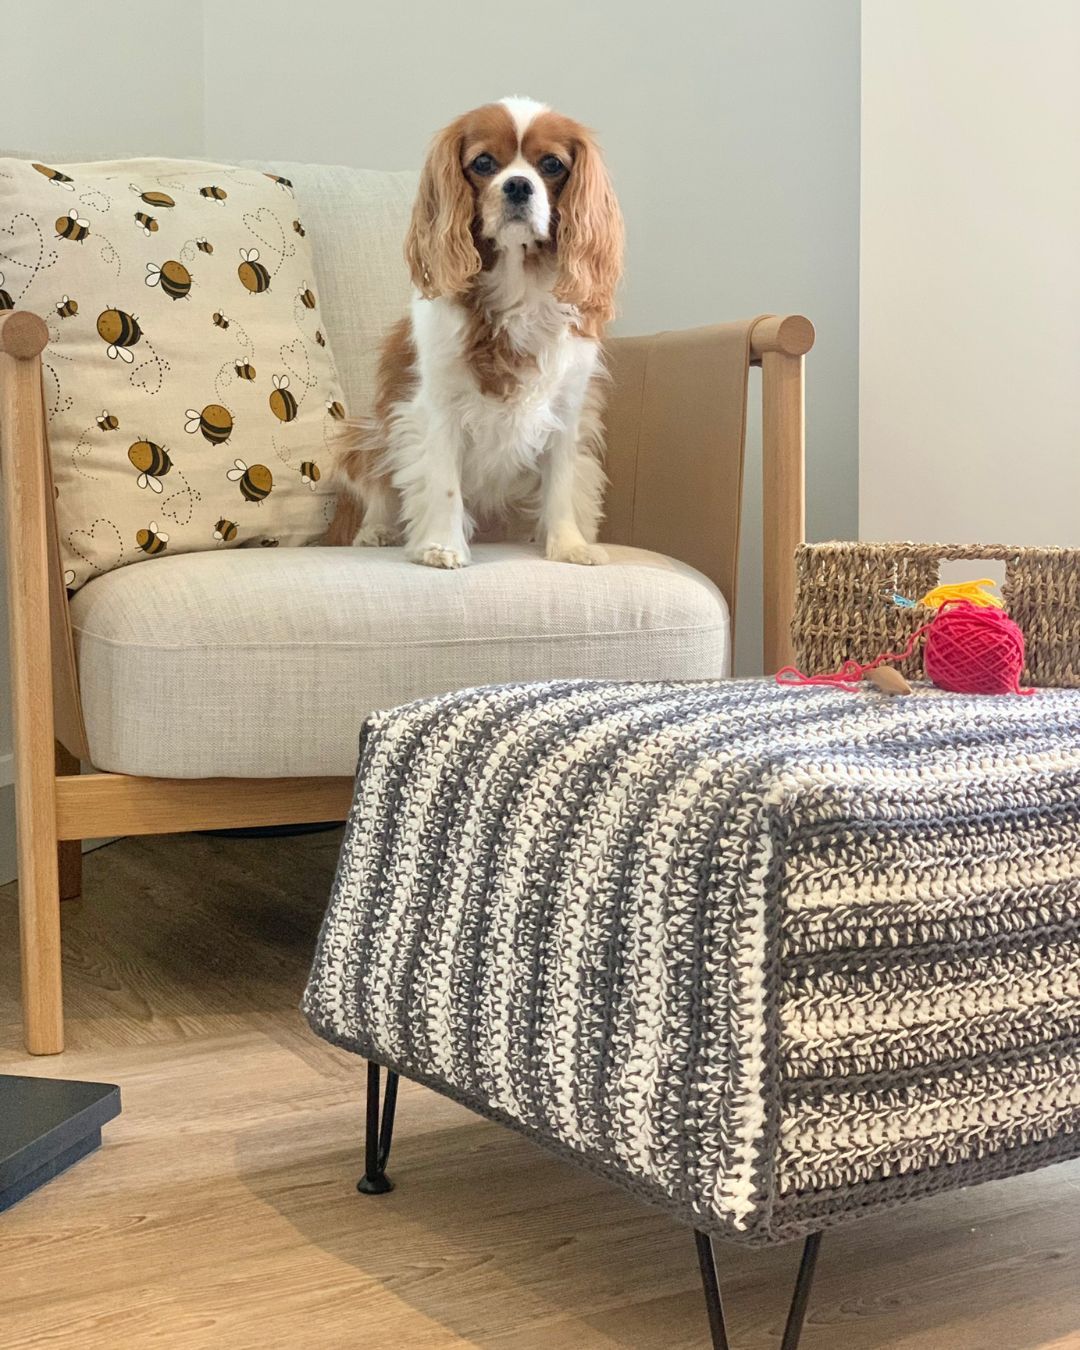
While researching for quality furniture legs, I discovered an amazing array available, with every colour and material option possible - such a simple way to match it to your existing home decor.
The legs I chose were from Amazon, and matched the bar stools I have at my kitchen island - I love the hairpin shape as they are stylish and have a sleek look.
The options available were quite mind-blowing, and if you needed to match the feet on your lounge furniture, the option will be there.
Alongside Amazon, hardware and DIY stores, and even Ikea stock feet. Look out for how it attaches, making sure the top of the feet have a flat surface and the screws are good quality.
Purchase the Printable PDF Pattern
If you prefer to work from a printed pattern , the Cosy Crochet Footstool pattern can be purchased from your favourite pattern shop using the buttons below. You'll receive the pattern written in both UK and US terms.
Additional Materials Required
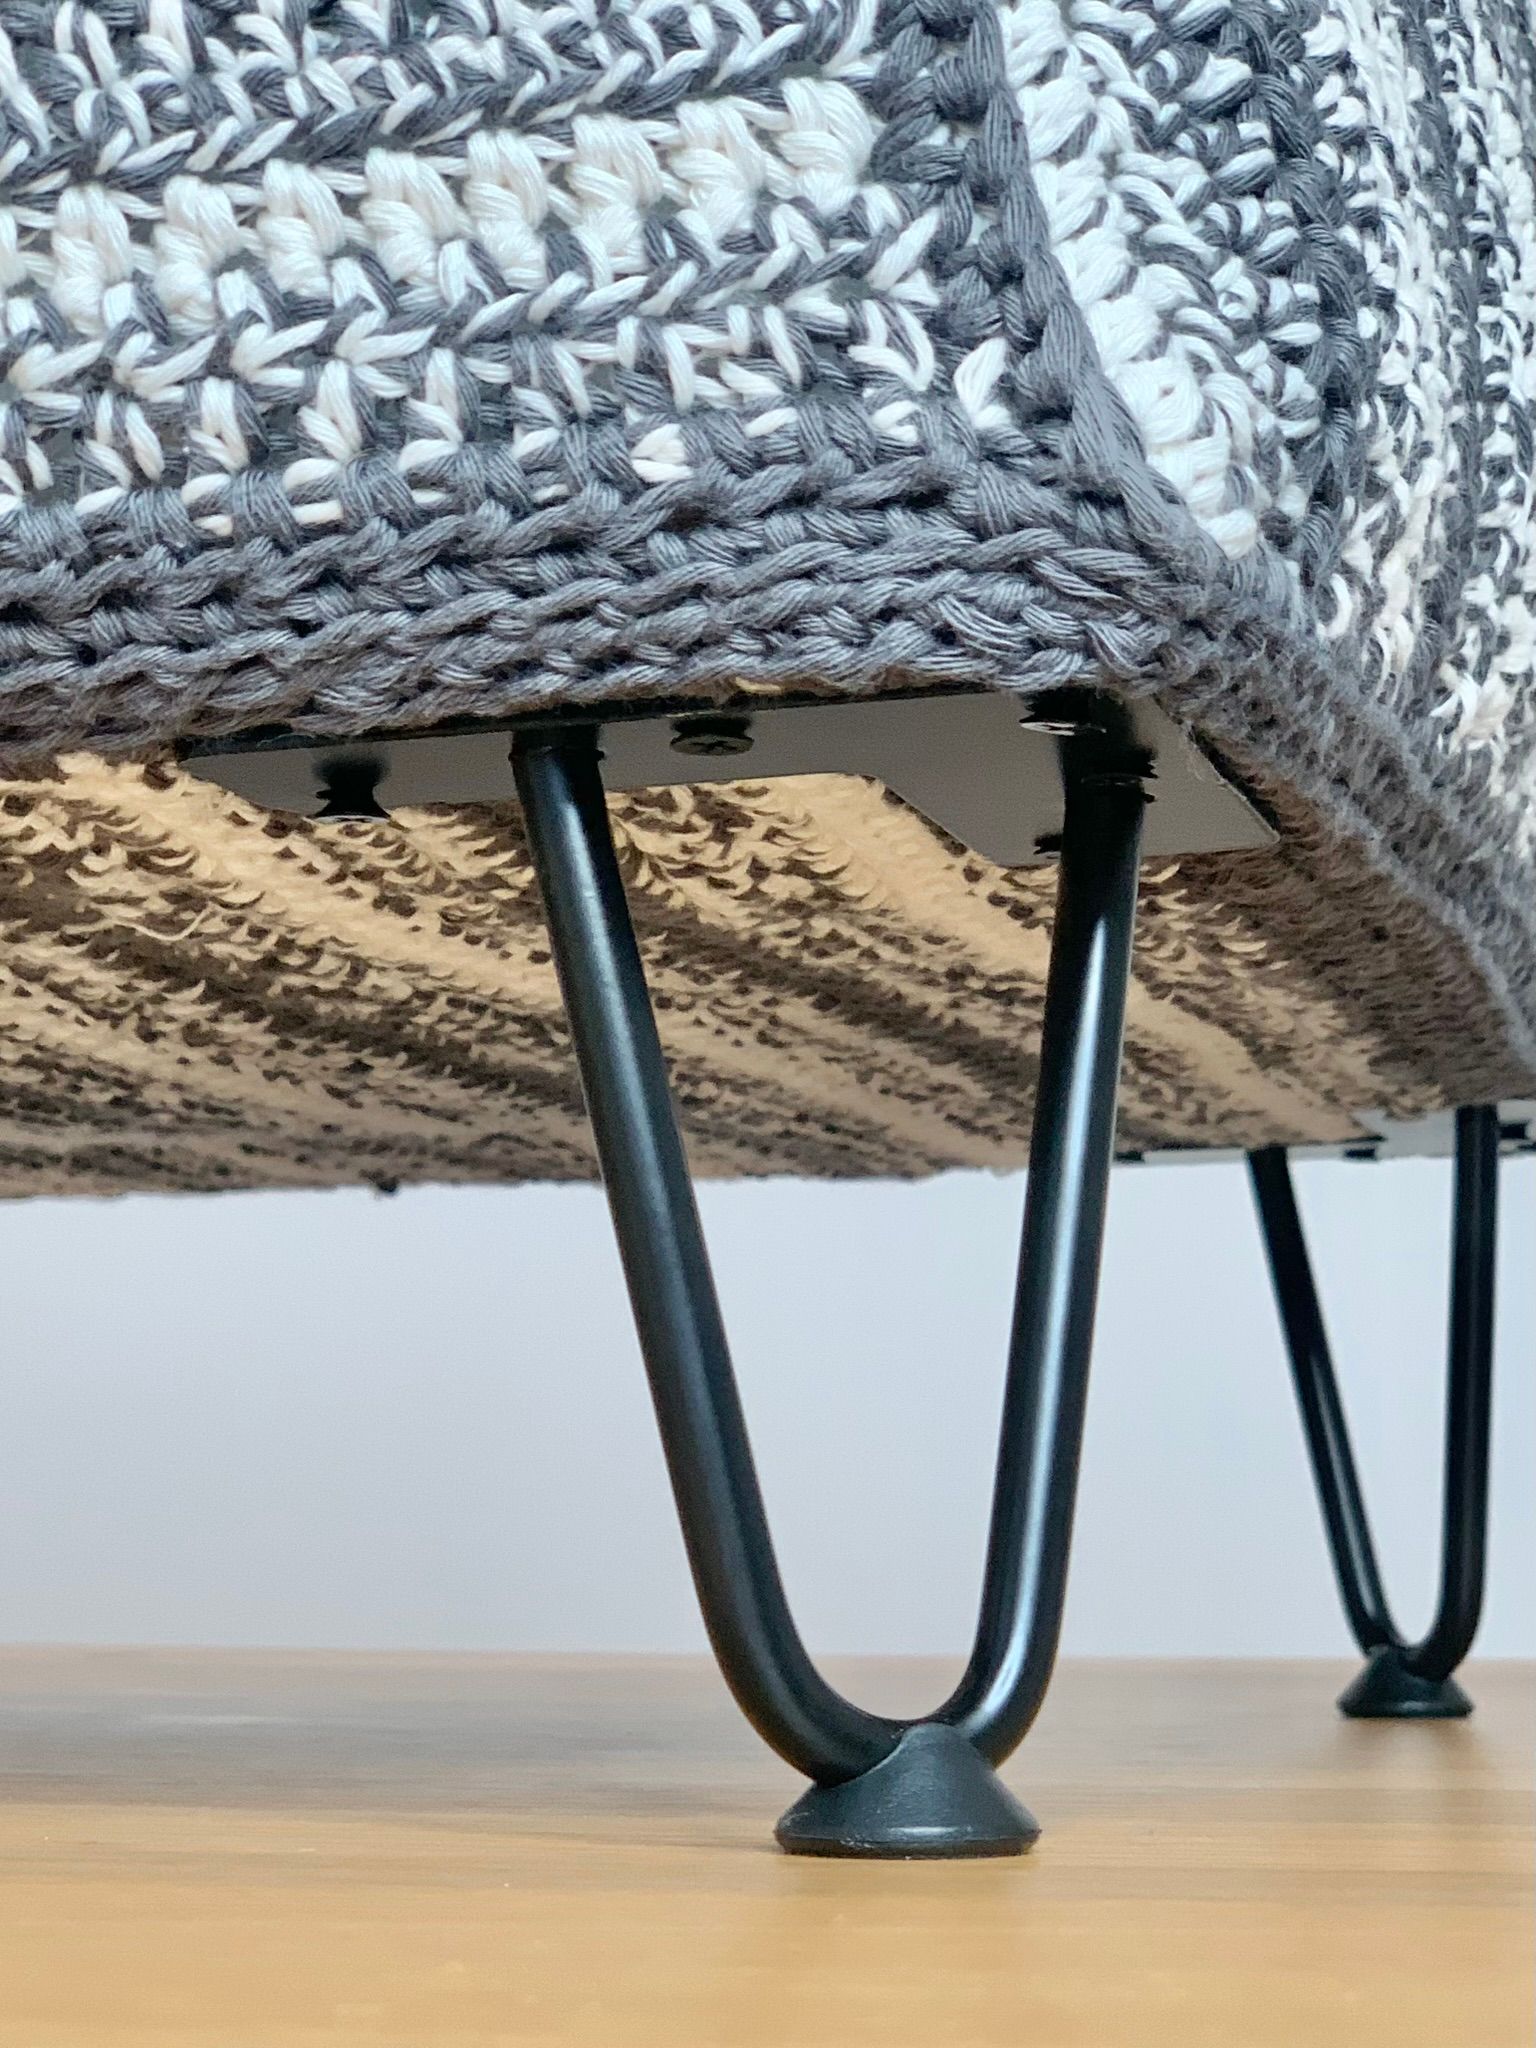
Alongside the furniture legs, you'll need something to attach the feet too - I chose to use MDF as it is not overly expensive and it's available in many different thicknesses and lengths.
It's recommended to select a minimum of 20mm MDF to ensure strength to the base of your project, in case people stand on the footstool - please take care to ensure use with this project is sensible. If you are concerned, select a heavier duty wood and increase the number of legs used along the base.
As you saw in the image above, there is crochet fabric the whole way round - the base fabric will need to be secured to your MDF with spray adhesive or glue to prevent it from sagging down from the MDF.
What's the best yarn for a footstool?
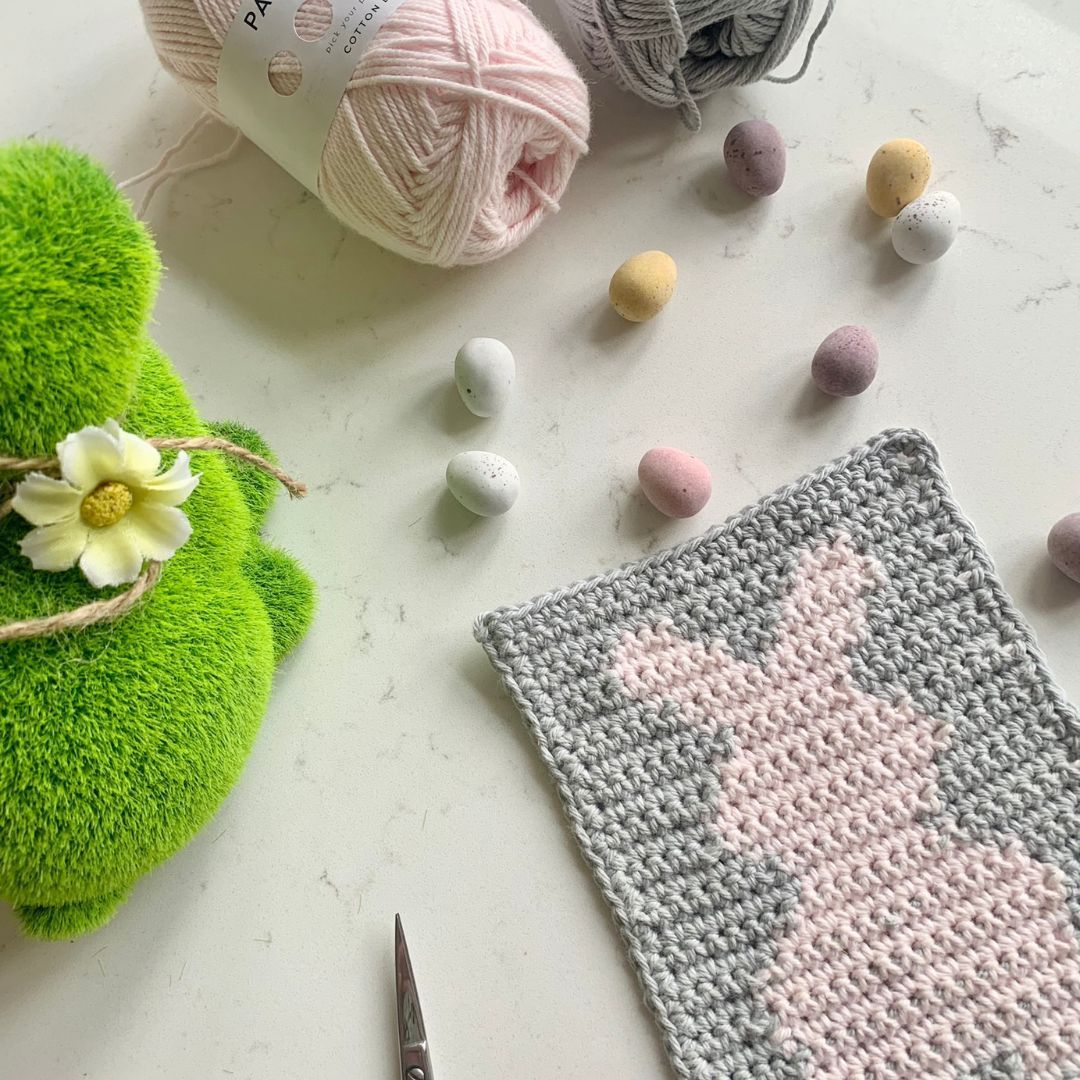
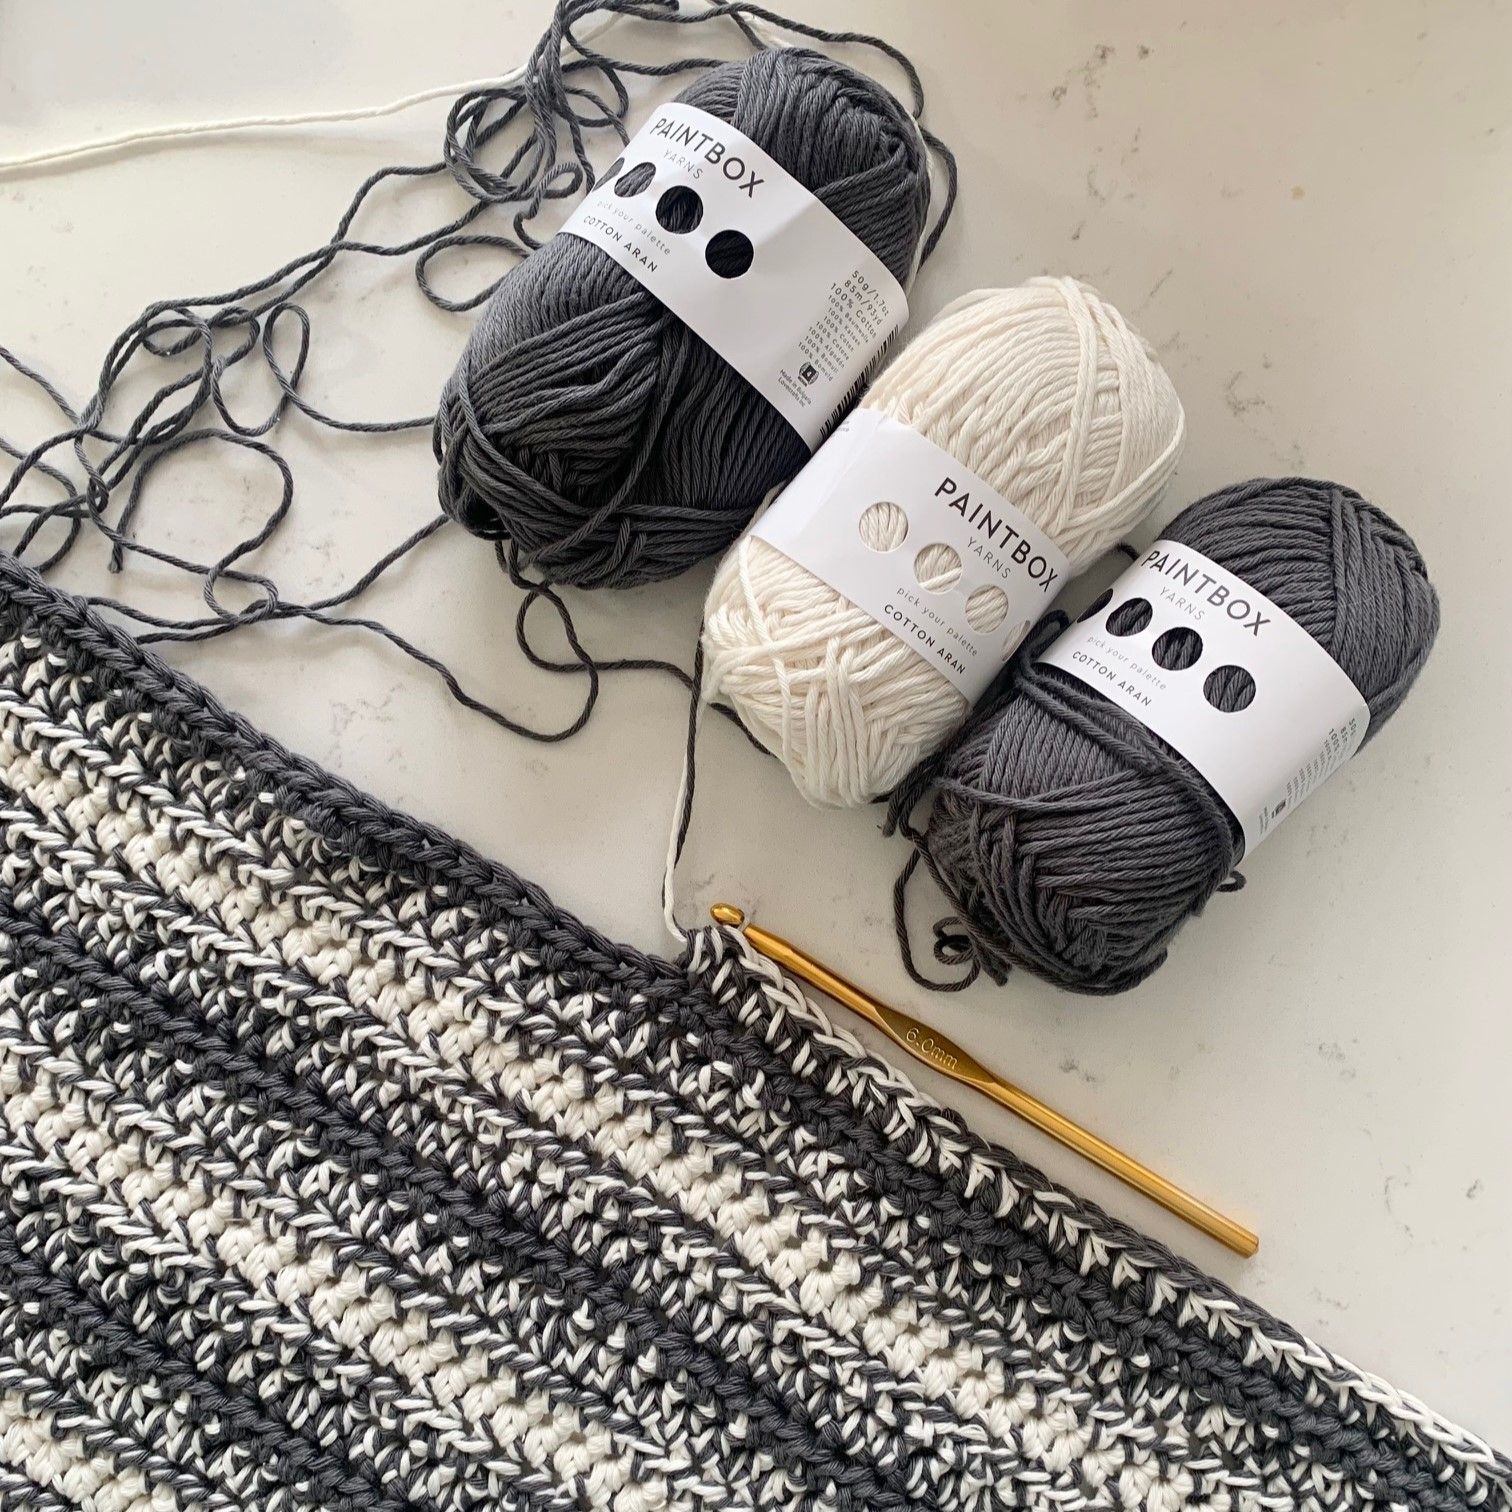
Select a yarn that will not pill or go bobbly through use - I'd recommend selecting 100% cotton to ensure your footstool is made with a durable fabric that will last years.
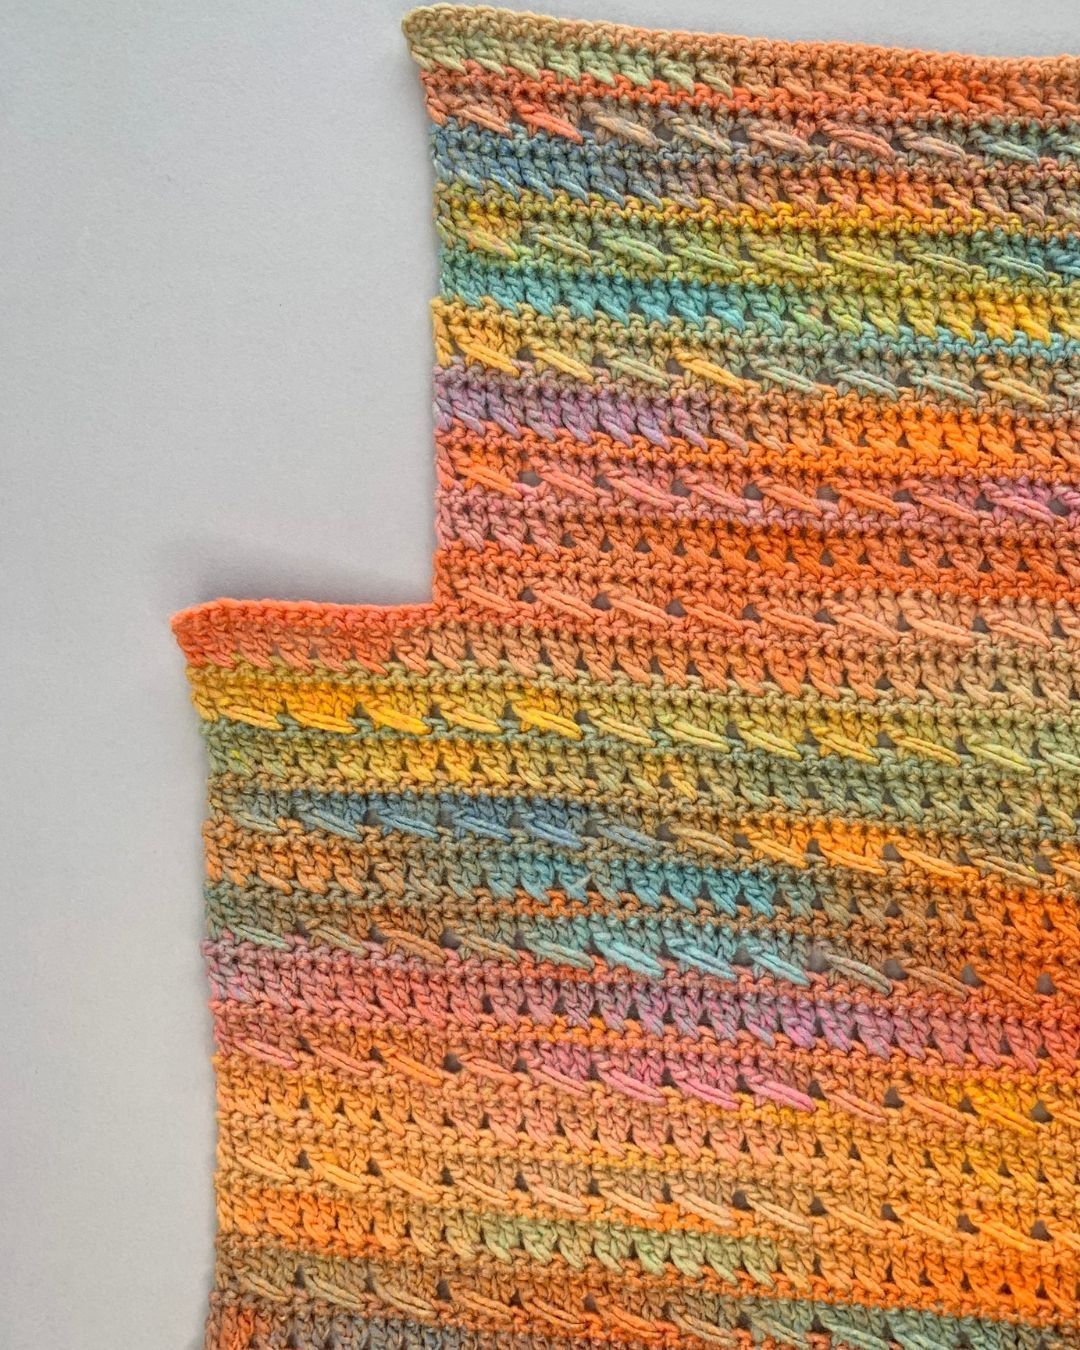
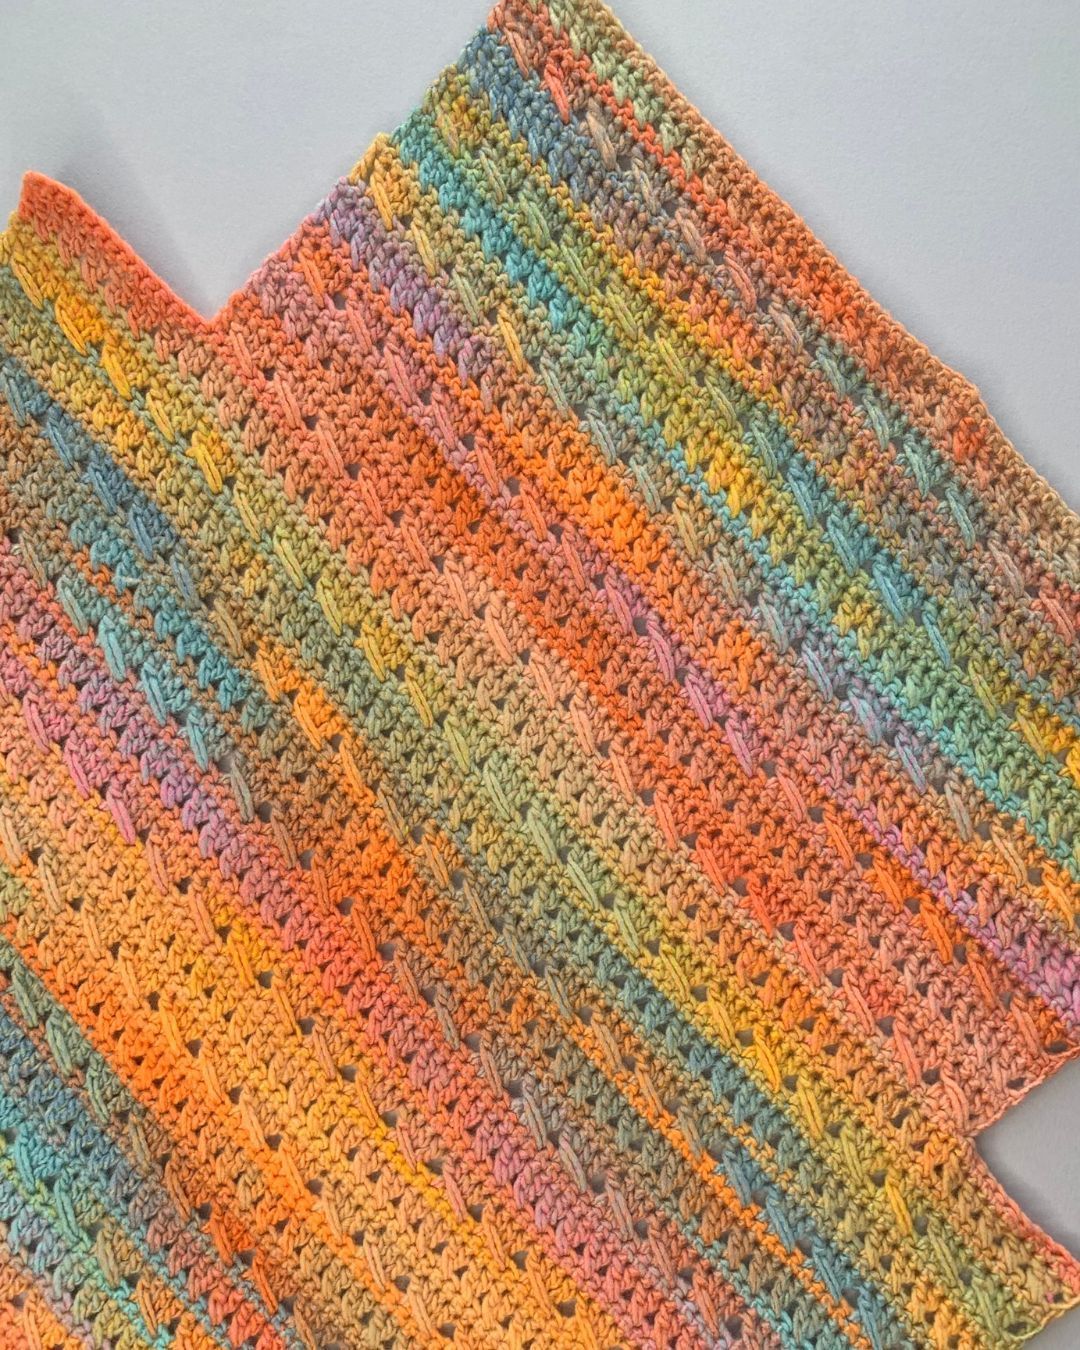
I used Paintbox yarns Simply Aran and held 2 strands together throughout the project to create a chunky/bulky weight cotton.
This also allowed me to create my own colour way, by switching out 1 strand each row - you can see the technique in action in the video tutorial and the written pattern instructions advises when to change the colour of the strands too.
Click here to read more about crocheting with multiple strands of yarn.
What do you fill a crochet pouf or footstool with?
There are so many different options to fill your pouf or footstool with, and depending on the firmness you want to achieve, some can be very cost effective.
You can fill your footstool with:
- old pillows
- fibre fill
- a folded duvet
- upholstery foam
- polystyrene balls - look for eco-friendly versions
- folded sheets
If you can fold it into a rectangle - you can use it to fill your pouf.
The most firm option would be to use upholstery foam, covered in wadding for added softness.
As this project was a scrap project for me, I grabbed a double duvet, folding it in 3 and adding some toy stuffing to fill the folds.
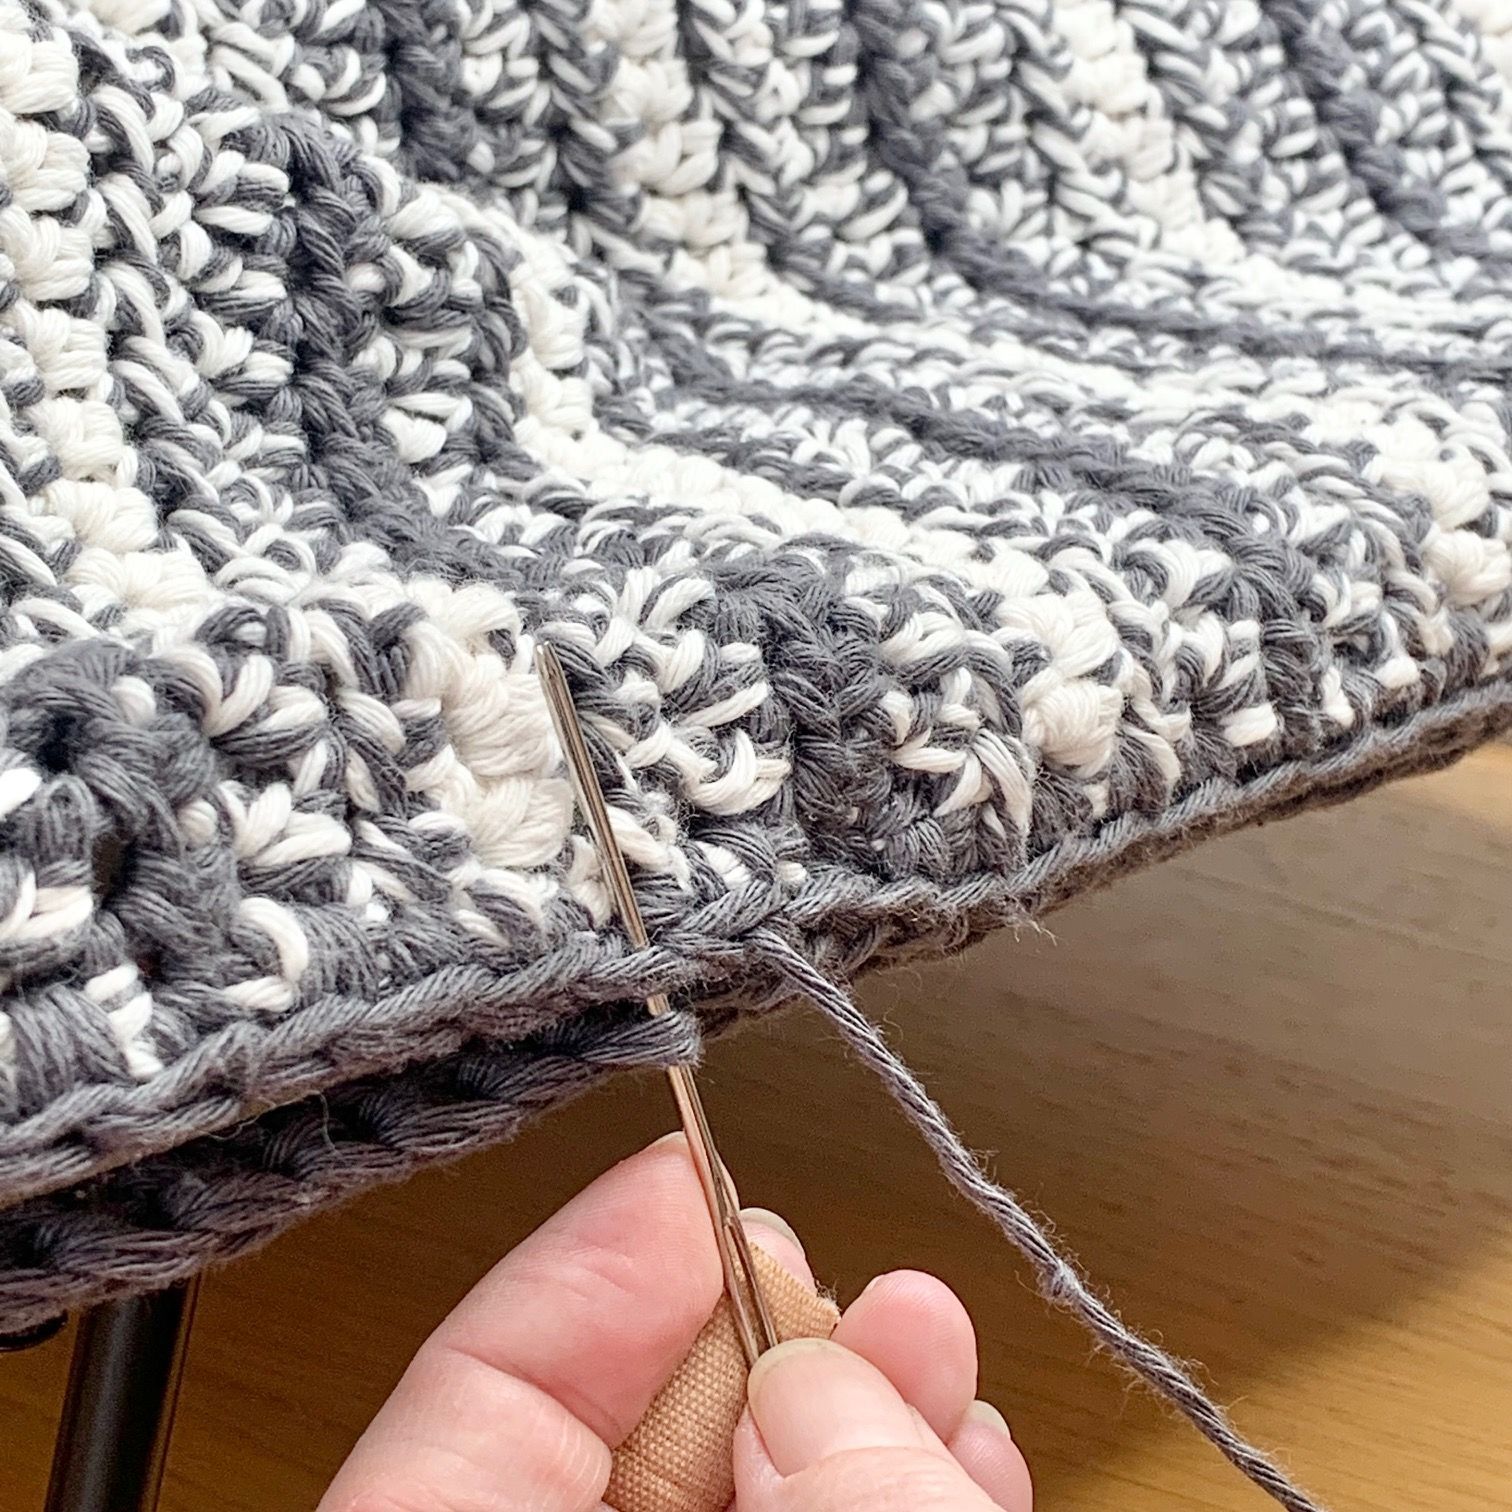
How to secure the Top to the Base
The top of the pouf or footstool needs to be secured to the base - this can be sewn directly on to the base, or you can choose to attach Velcro around the edges.
I used a combination, securing 1 of the shorter edges with Velcro, and sewing closed the other 3 sides. This will allow me to access the filling and rearrange it if a little plumping required over time.
Project Information | Crochet Footstool Pattern
Materials:
To complete this project you will need:
- 1020m Aran weight cotton in 2 shades
- I used Paintbox Yarns Aran Cotton, 100% cotton, (85m/93yds, 50g/1.8oz) working 2 strands in each row - 1200g
- A - Granite Grey (607) - 550m
- B - Champagne White (603) - 470mm
- 6mm hook
- Needle for chunky yarn
- 4 10cm furniture legs (I used hairpin legs found on Amazon here)
- 20" Sew and Stick Velcro
- MDF cut to 50cm x 60cm (20" x 24")
- 1 double (queen) duvet (200x200cm (78 inches x 78 inches approx))/alternative cushion filling
Abbreviations - US Terms
st(s) - stitches
ch - chain
sl st - slip stitch
sc - single crochet
hdc - half double crochet
RS - Right side
YO - yarn over
Pattern Notes
- Please read through the entire pattern before beginning, regardless of skill level. Please contact me ([email protected]) if help is needed to understand any part of pattern.
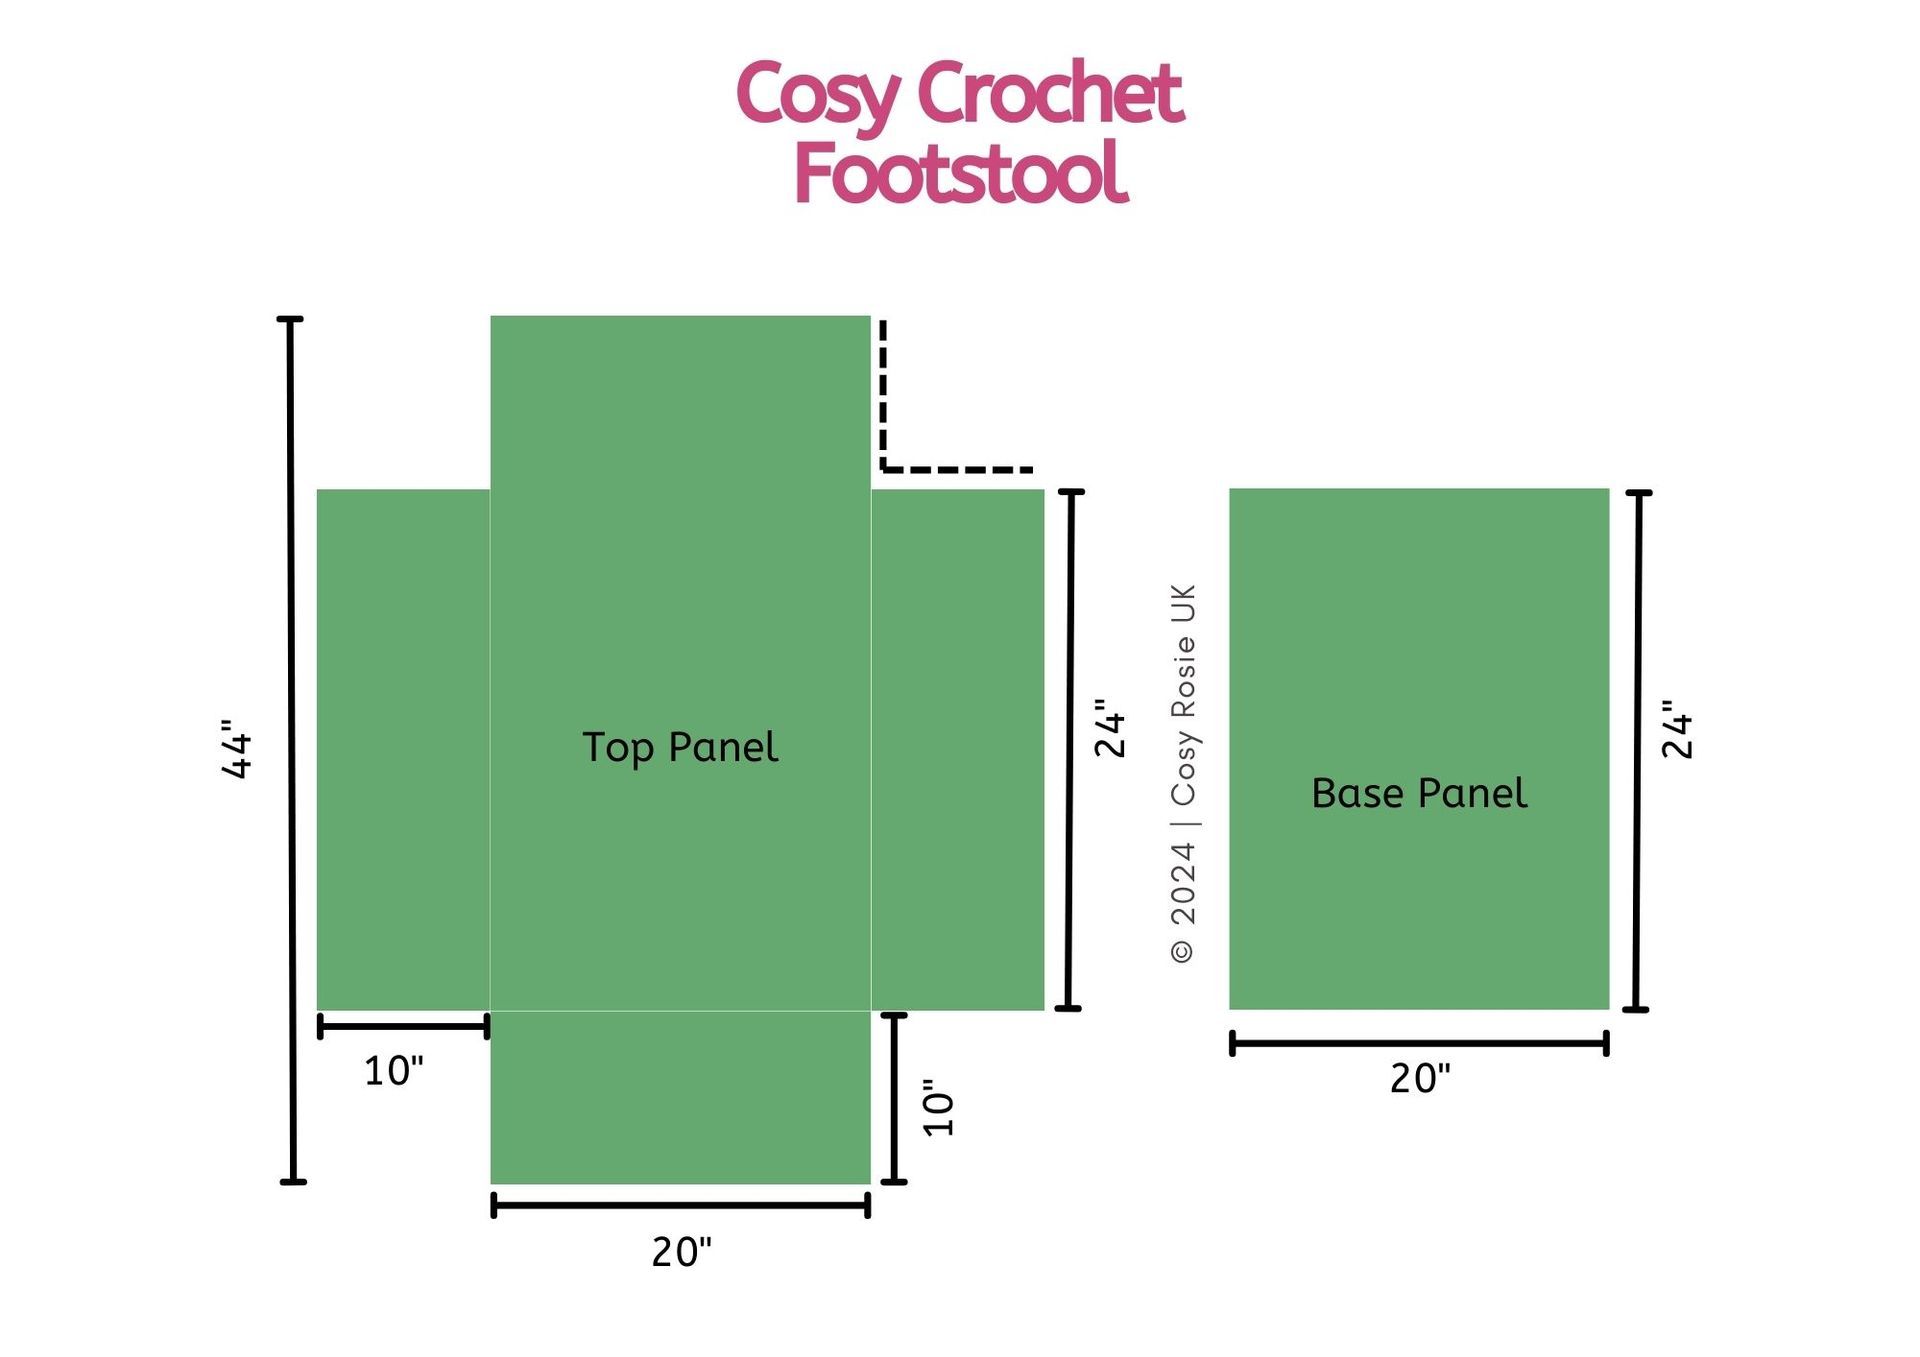
- The footstool is worked in turned rows, 2 pieces, Top Panel and Base panel, before joining.
- Beginning ch 1 DOES NOT count as stitch.
- It is recommended to make colour change of 1 strand in final stitch in row before needed.
- Yarn colour to be worked indicated by 2 letters, with each letter representing 1 strand of yarn, e.g. A B. Fasten off yarn colour when not worked for current row.
- It is recommended to pre-drill the holes on the MDF panel for the furniture feet before gluing/securing the Base Panel to the MDF. The Top panel can then be sewn closed along 3 edges of the base panel, with sew and stick Velcro used on the final edge to allow the duvet to be inserted/removed easily.
Gauge:
10 sts and 8 rows = 4" in hdc with 6mm crochet hook
Finished Size:
- 20" by 24" and 10" tall
Schematic
Stylish Crochet Footstool Pattern Video Tutorial
Row 1: With A A, ch 56, hdc in 2nd ch from hook and each across, turn - 55 hdc
Row 2 (RS): With A B, ch 1 (does not count), hdc in same and each across, turn - 55 hdc
How to change 1 strand of colour
In last stitch before turning:
- Yarn over, insert hook, yarn over, bring up loop (3 loops on hook)
- drop 1 strand of A
- Yarn over with other strand of A, and B
- pull through loops on hook
- You will now have 1 strand of A and 1 strand of B in work


Row 3: Repeat Row 2
Row 4: With B B, repeat Row 2
Rows 5-6: With A B, repeat Row 2
Row 7: With A A, repeat Row 2
Rows 8-19: Repeat Rows 2-7, 2 times
Row 20: With A B, repeat Row 2
Row 21: With A B, repeat Row 2, working at the beginning of Row 21, join B B, ch 25, fasten off B B, continue to Row 22 - 55 hdc, ch 25


Row 22: With B B, ch 26, rotate to work along ch, hdc in 2nd ch from hook and next 24 ch, hdc in each across, continuing along additional chain, hdc in each across, turn - 105 hdc
Row 23-64: Repeat Rows 2-7, following colour pattern - 105 hdc
Row 65: Join A B in 26th st, ch 1, hdc in same and next 54 sts, leave remaining stitches unworked, turn - 55 hdc
Rows 66-70: Repeat Rows 3-7, following colour pattern - 55 hdc
Rows 71-88: Repeat Rows 2-7, following colour pattern - 55 hdc
Fasten off, weave ends
Continue to Creating Corners
Creating Corners
With RS facing, join A A in any internal corner, fold along corner edges and working through both side edges as indicated on schematic by: - - - - - -
sc through both panels to join, fasten off
Repeat for other 3 internal corners to create cube shape. Do not fasten off final corner
Continue to Edging


Edging
Round 1: Continuing with A A and RS facing, rotate to work along row ends, sc in each row end, rotate to work across Row 88, sc in each st across, rotate to work across row ends, sc in each row end, rotate to work across other side of beginning chain, sc in each across, join to first sc of round
Fasten off, weave remaining ends
Continue to Base Panel
Base Panel
Row 1: With A A, ch 56, hdc in 2nd ch from hook and each across, turn - 55 hdc
Row 2: With A B, ch 1 (does not count), hdc in same and each across, turn - 55 hdc
Row 3: Repeat Row 2
Row 4: With B B, repeat Row 2
Rows 5-6: With A B, repeat Row 2
Row 7: With A A, repeat Row 2
Rows 8-49: Repeat Rows 2-7, 7 times
Edging
Round 1: Rotate to work into row ends, ch 1, 1 sc into each row end to corner, (sc, ch 1, sc) in corner, rotate to work in other side of beginning ch, sc in each ch across, (sc, ch 1, sc) in corner, rotate to work in row ends, sc in each row end to next corner, (sc, ch 1, sc) in corner, rotate to work along Row 49, sc in each st across, (sc, ch 1, sc) in corner, join
Fasten off, weave ends
Attaching Base Panel for Foot Stool
- Pre-drill MDF panel as per furniture leg requirements
- Using spray adhesive, secure Base Panel to MDF, ensuring edge stitches are over the edge of the MDF panel and can be worked into
- Secure furniture legs as per instructions, working over crochet fabric
- Secure Velcro to 1 short side edge of MDF Panel
Continue to Joining Top Panel

Joining Top Panel
Sew/secure Velcro to WS of one short side edge of Top Panel to align with Velcro on MDF panel
- Position Top Panel on top of Base Panel with RS facing, to align Velcro and same length sides together
- Beginning in 1st st after Velcro, working through back loop of edge sc on Base panel and front loop of Top Panel, whip stitch to join through each stitch around to edge with Velcro
- Insert duvet/stuffing when beginning 3rd side for easier arranging of duvet/cushion stuffing
- Continue joining around to Velcro
- Fasten off, weave remaining ends
- Secure open edge with Velcro close
Thank you for Making!
I would love to see your finished Cosy Crochet Footstool- snap a picture and share it with me! Use @cosyrosieuk so I can celebrate you completing your project.

About the Autor
Hi, I'm Fiona, the hands behind Cosy Rosie Crochet - the place to learn to crochet as you make!
With over four years of hands-on experience leading in-person crochet workshops since 2018 and designing and publishing my own patterns since 2019, I bring a wealth of expertise of sharing crochet techniques.....

Cosy Rosie UK Crochet Blog