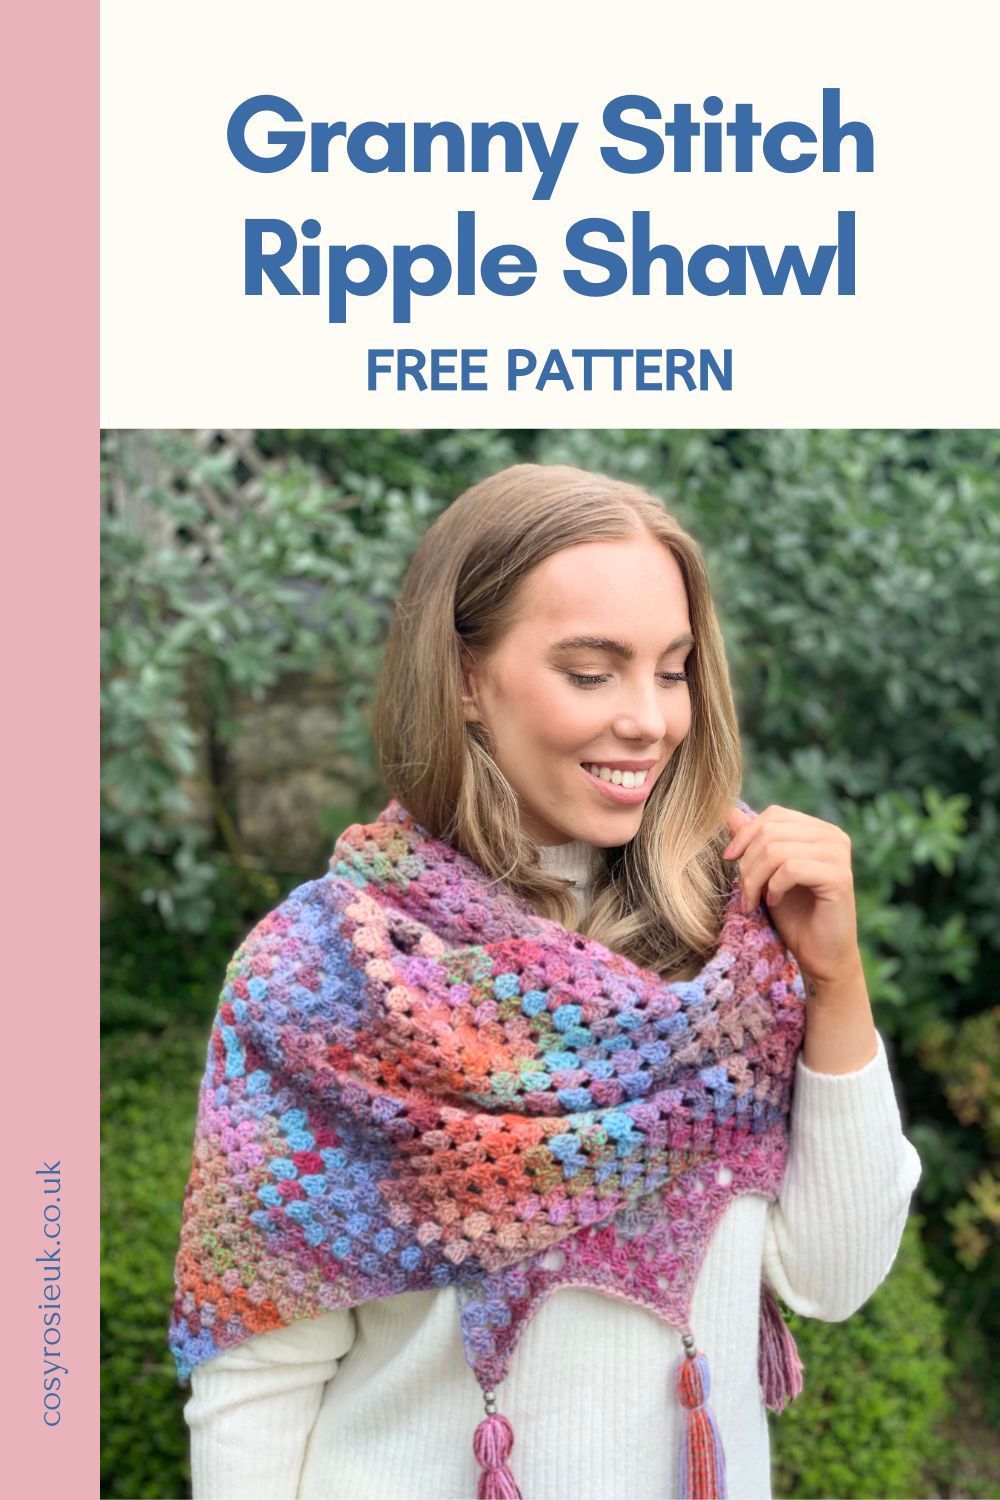
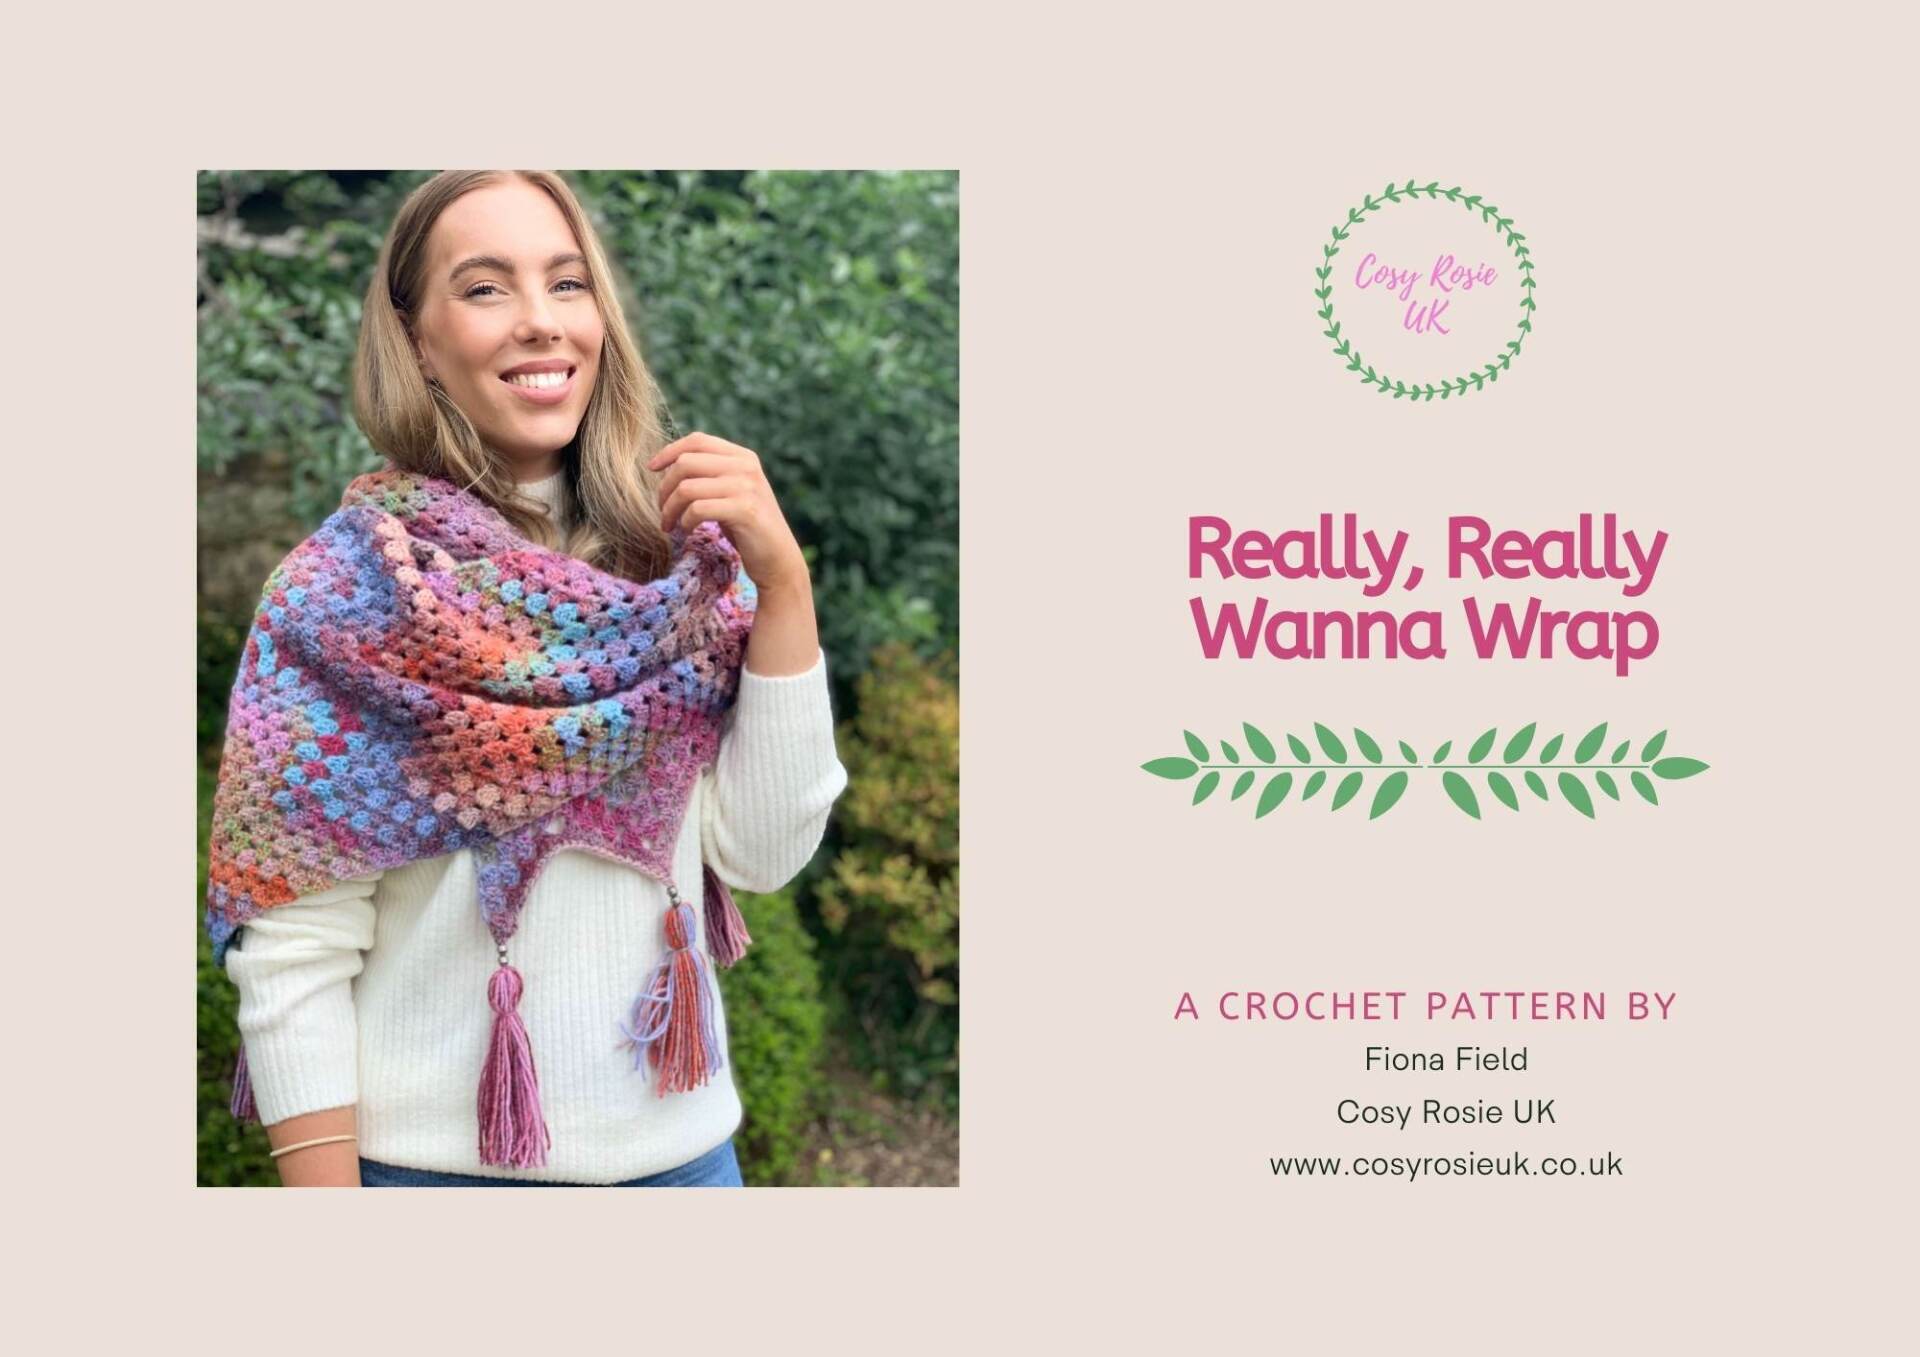
Free Granny Ripple Crochet Pattern for a Shawl
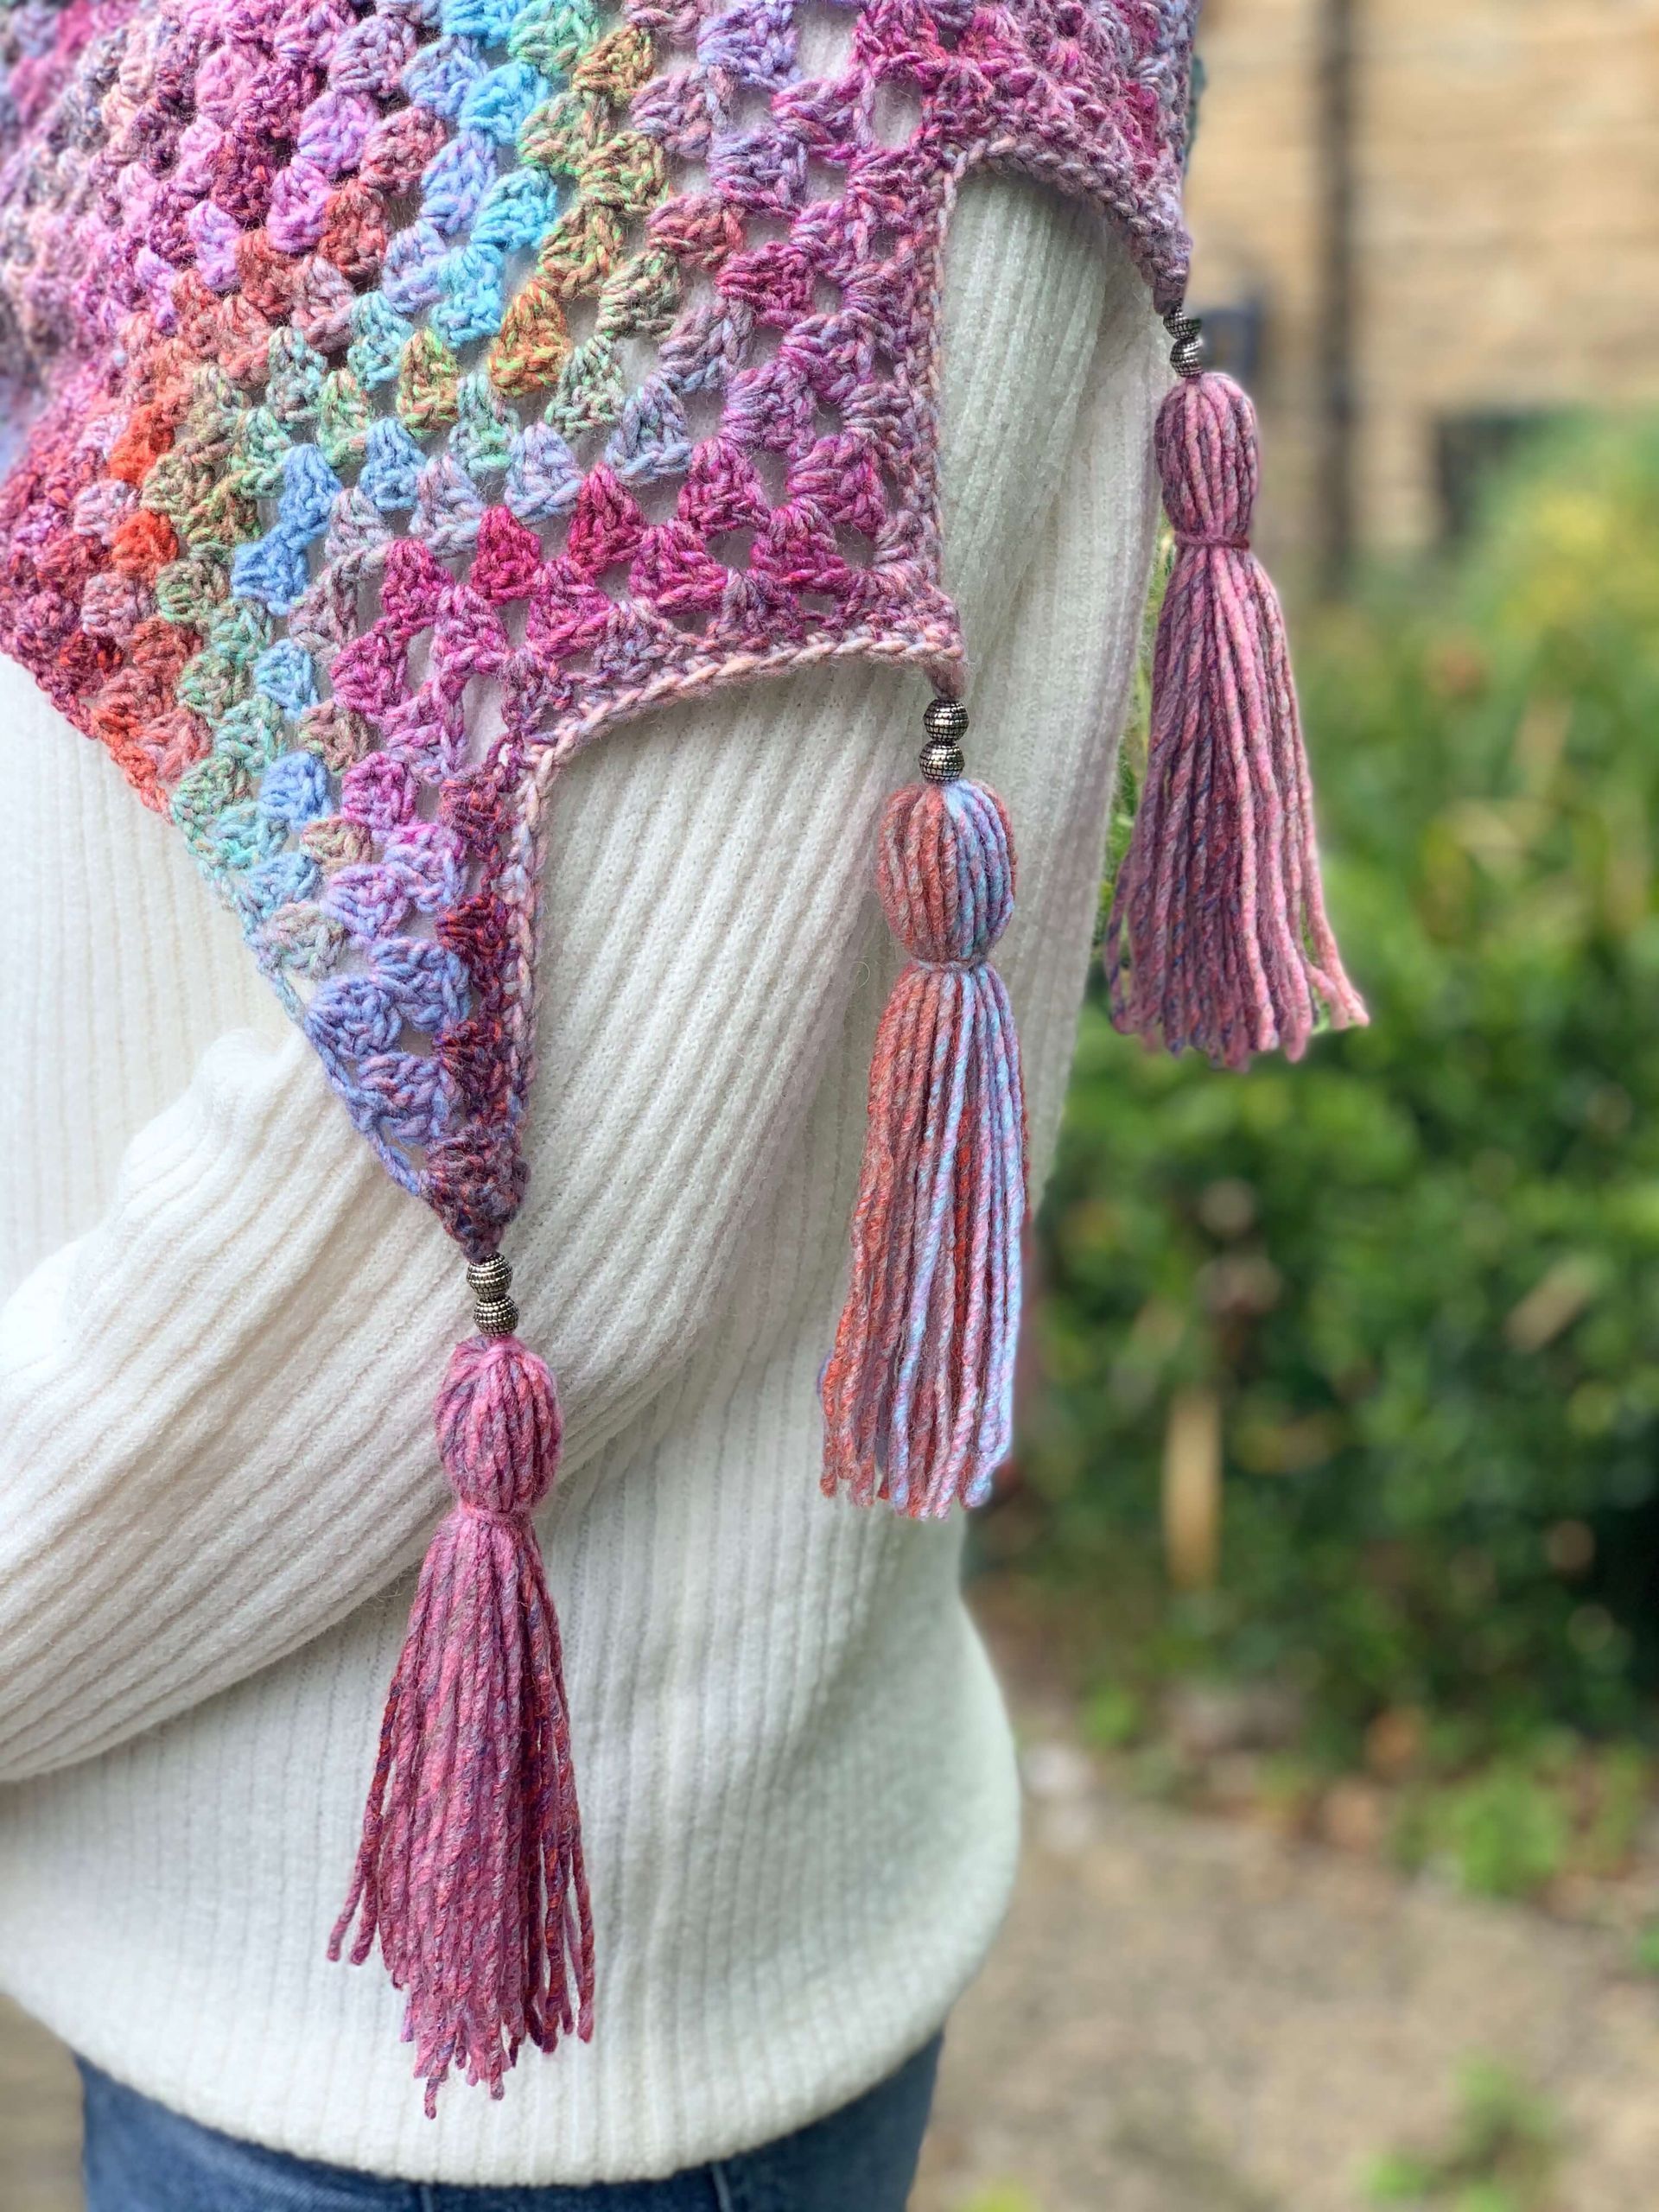
This free granny ripple crochet pattern creates a shawl that will keep you wrapped up against the elements. This variation on the traditional granny ripple stitch pattern creates an even number of peaks and troughs to allow for an even number of tassels at each end of the shawl.

Please note that some of the links in my blog are affiliate links. I may earn a small commission if you purchase via these links, but the price you pay is not affected
Free Granny Ripple Shawl Pattern
I love that the crochet granny stitch can be used in such a variety of ways. I am so passionate about showcasing exactly what the traditional granny square can do - and even more so about how the granny stitch can be used in different easy crochet projects.
The granny ripple stitch can be used to create blankets, garments and so much more!
You can find the tutorial on how to crochet the traditional granny ripple by clicking here, but this stitch patten creates an uneven number of peaks and troughs.
This shawl pattern uses an amended stitch pattern, to ensure an even number of peaks and troughs are created in the chevron for a balanced look on the ends of the shawl.
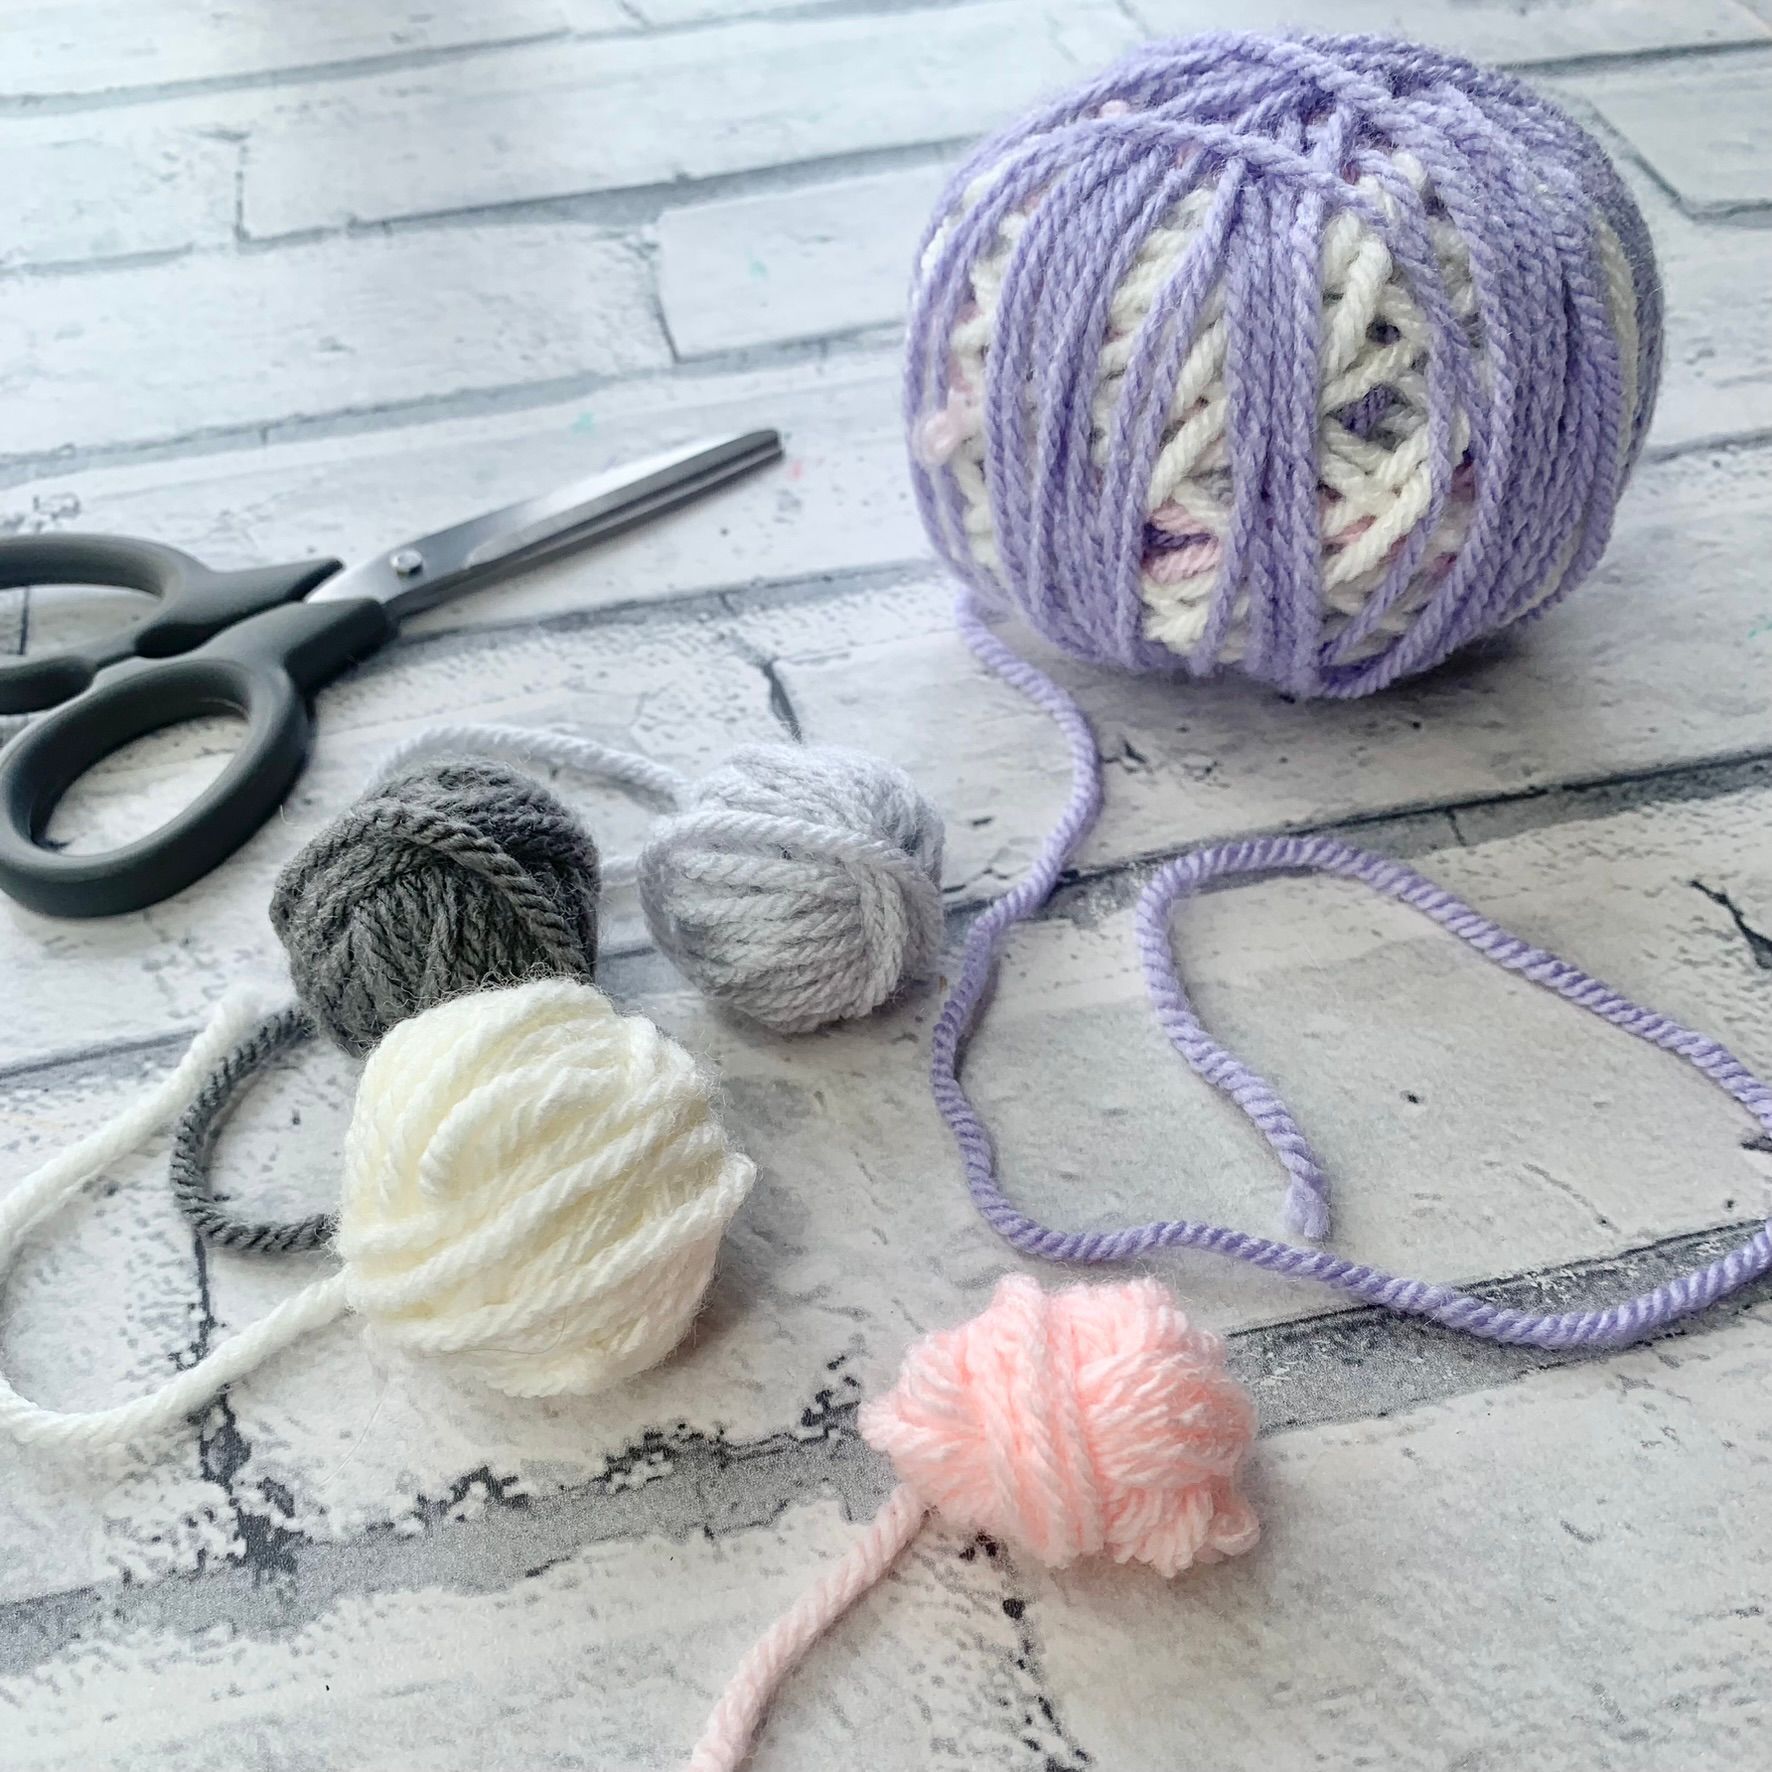
You can then create beaded tassels to add to the edges and really highlight the peaks created with the ripple
Pin for Later
Purchase the Printable PDF Pattern
You can purchase a printable PDF copy of the Really, Really Wanna Wrap from either of my pattern shops. Simply click the button to be taken to my pattern shops.
Stitching with Granny 2023
This pattern was featured in the 2023 Stitching with Granny event. Click the button below to see all the patterns featured in the event.
The Inspiration behind the Design
I love to be cosy, and wrapped up against the cold! The Really, Really Wanna wrap started out as simply another way for me to encourage others to love the traditional granny stitch but turned into a project that challenged me as designer, and ending up as one of my all time favourite designs.
I wanted the ripples to be equal on both ends of the wrap to allow me to add extra detail in the form of a tassel (but also to prevent me getting annoyed with any possible imbalance in the design.
With a lot of practice and an awful lot of frogging, I was over the moon to make it happen and for the design to turn out how I imagined.
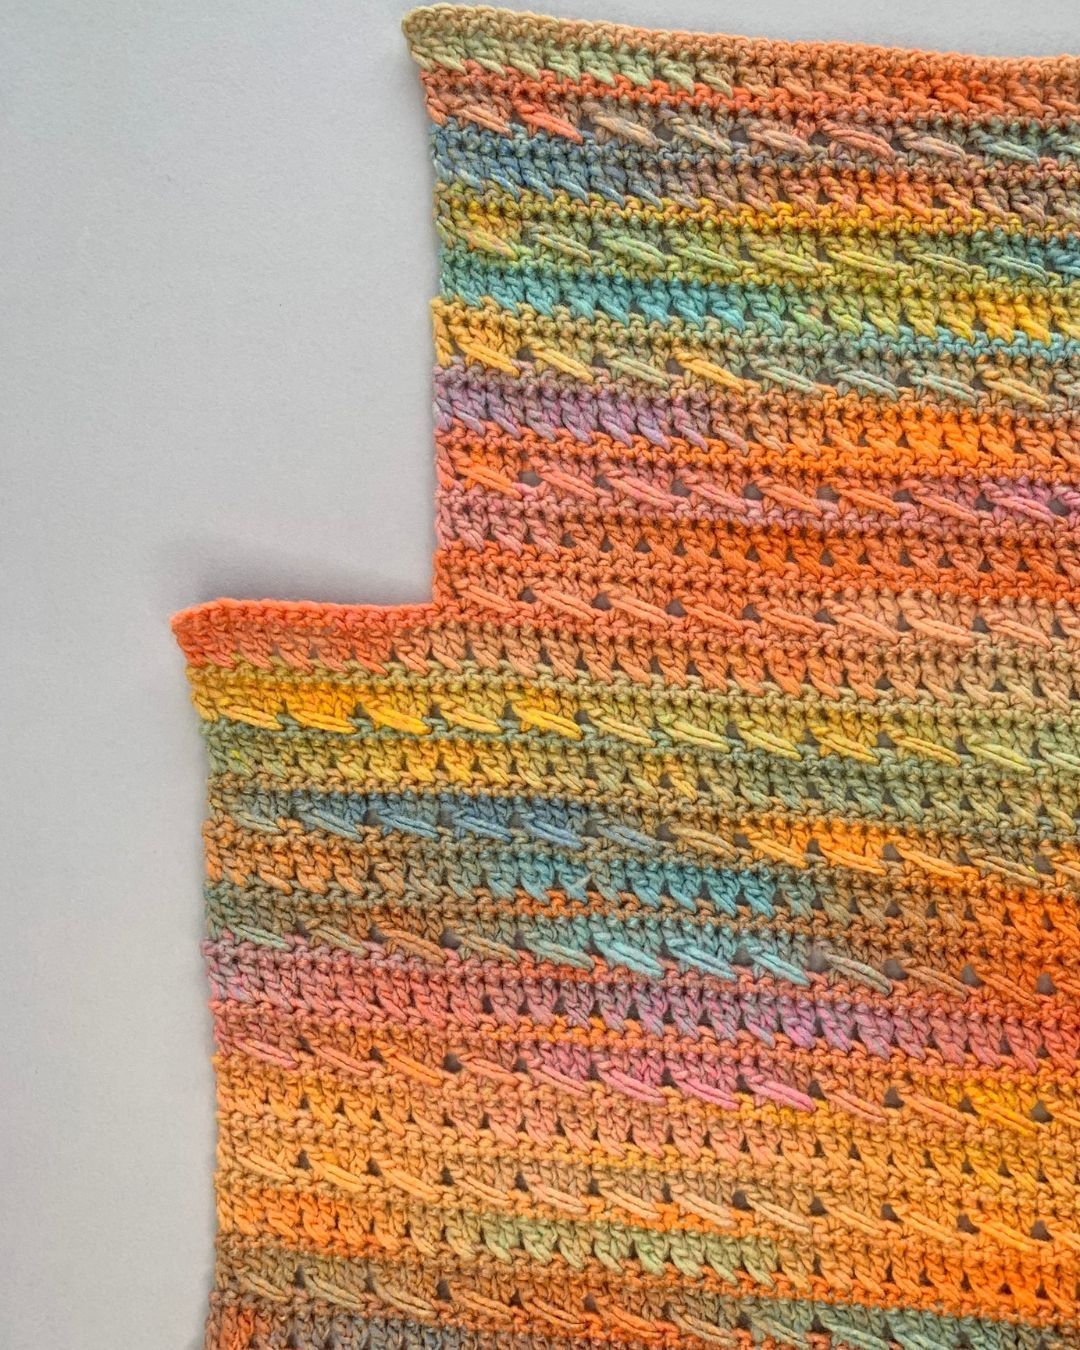
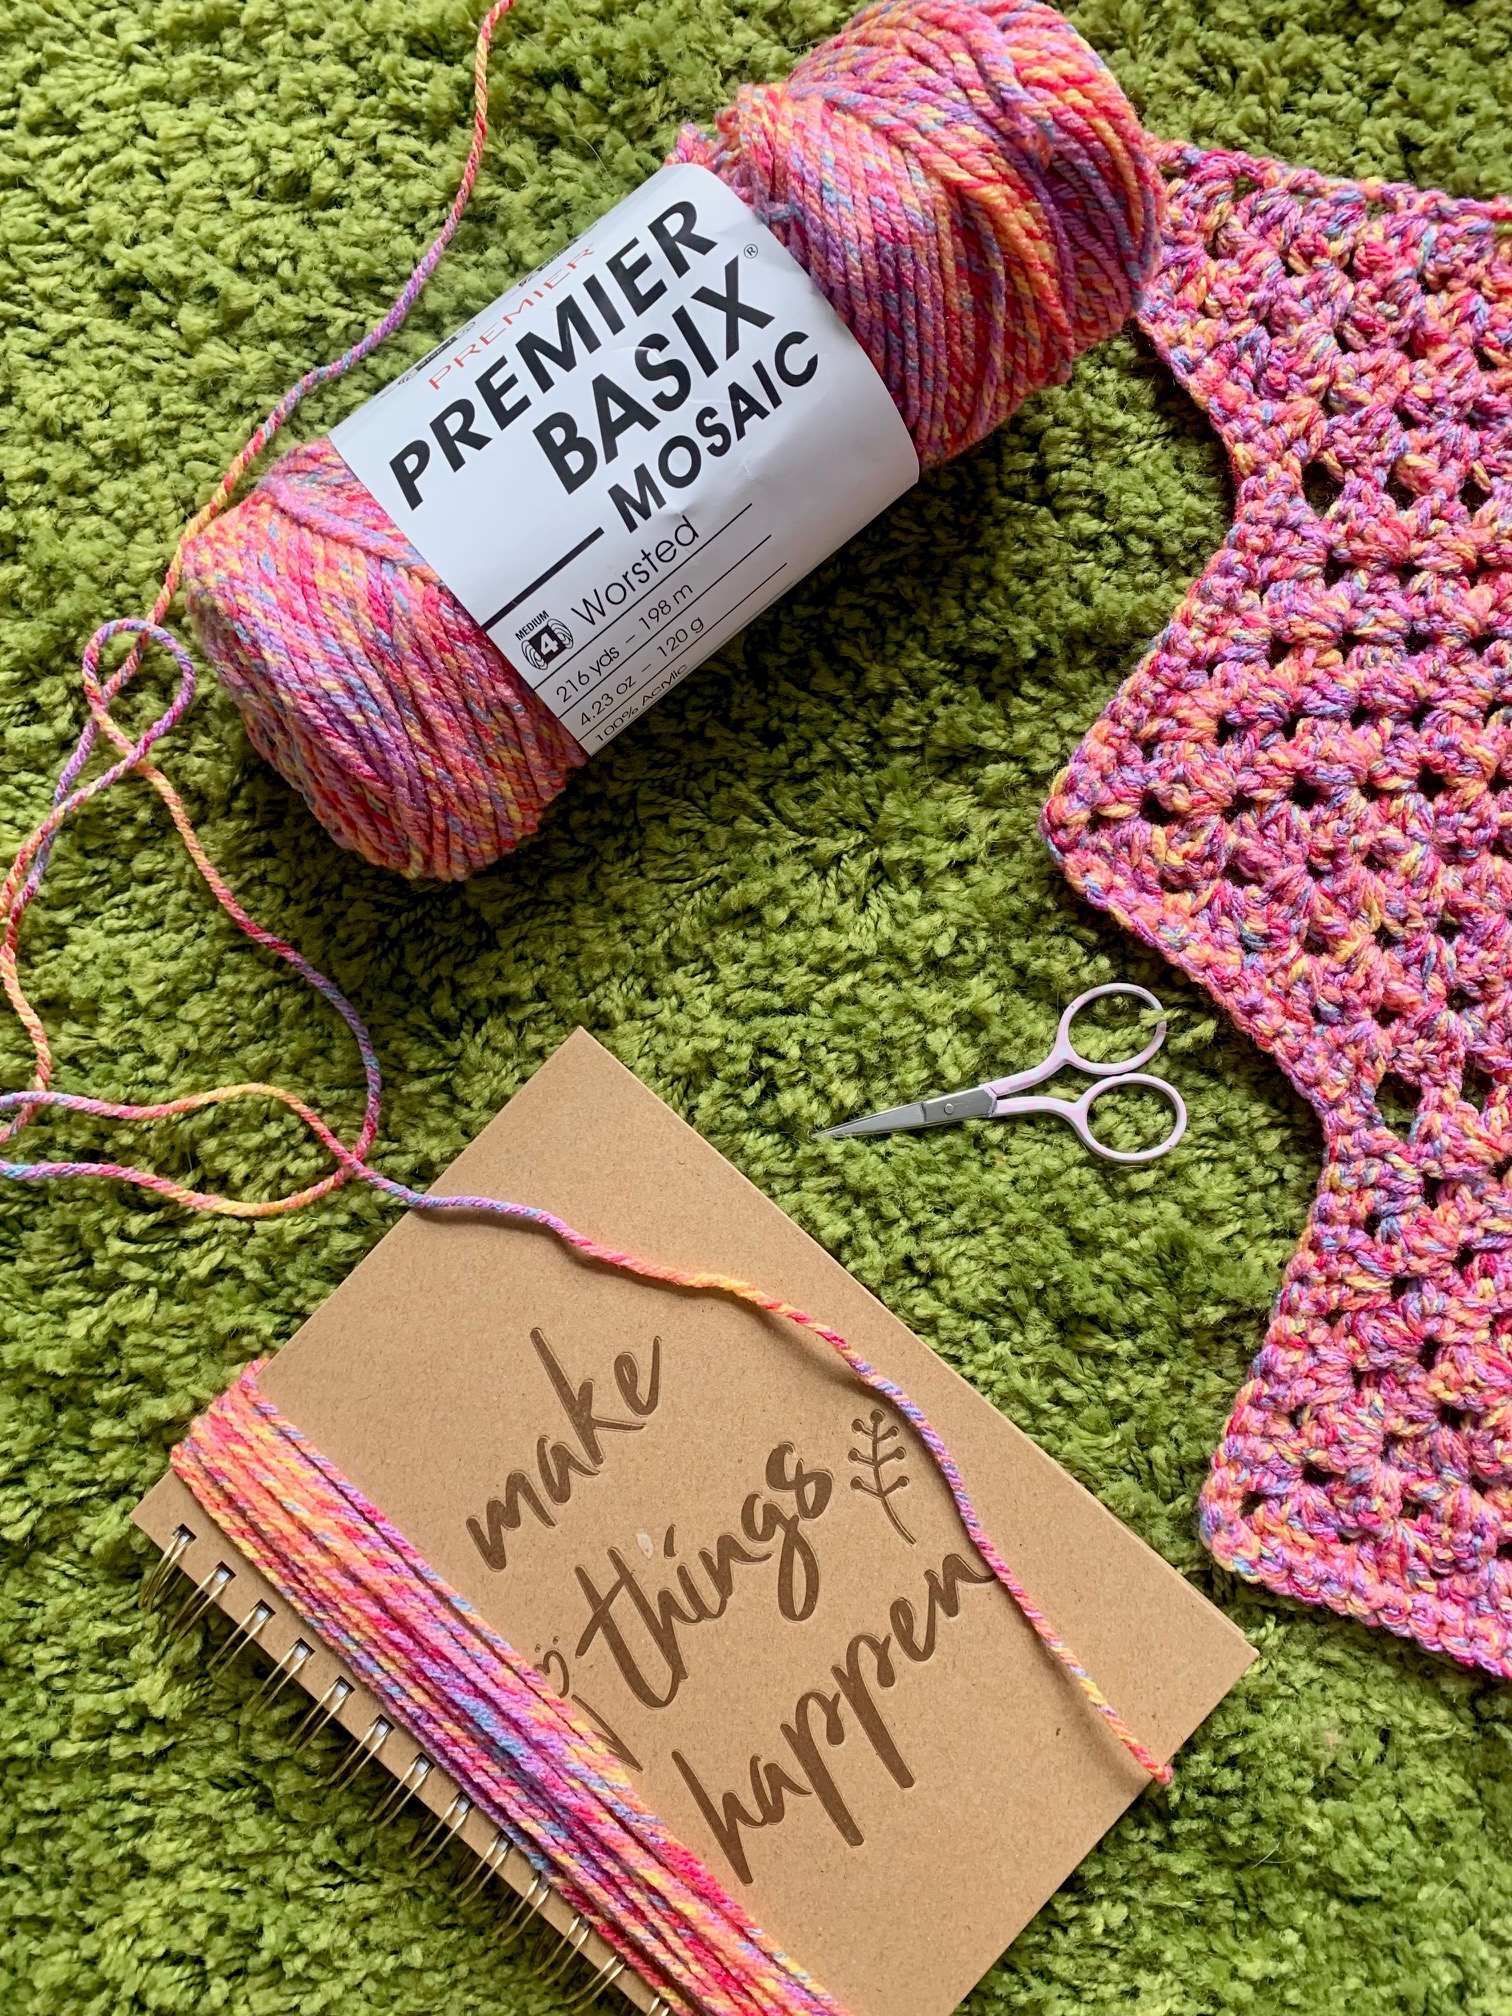
I also wanted to showcase the yarn I chose. Sirdar Jewelspun has been a firm favorite of mine since the yarn was released. The way the colours stand out in this design put such a smile on my face. Plus, to achieve colour changes like this without any ends to sew it really makes it the perfect yarn!
Even if you wanted to use just 1 colour of yarn, I can be confident that your finished project would be stunning!
Really, Really Wanna Wrap | Granny Ripple Pattern
Skill Level: Advanced Beginner
Materials:
- 940m Aran/Worsted Acrylic yarn.
- I used 2 x Sidar Jewelspun (100% Acrylic. 500m/400g) in the shade Glacier (844)
- 5.5mm Crochet Hook
- Tapestry needle
- Scissors
- Stitch Marker (optional)
Finished Size:
66 inch x 13 inch (168cm x 33cm)
Abbreviations - US Terms (UK in brackets)
St(s) - Stitch(es)
Ch - Chain
Ch sp - Chain space
Sc (dc) - Single crochet (double crochet)
Dc (tr) - Double crochet (treble crochet)
3dc (3tr) - Work 3 double (treble) crochet into the same stitch or chain space
Pattern Notes
- Please read through the entire pattern before beginning, regardless of skill level. Please contact me ([email protected]) if help is needed to understand any part of pattern.
- This shawl is worked in turned rows
- Beginning ch 4 counts as dc, ch 1
Gauge
- gauge is not essential for this pattern
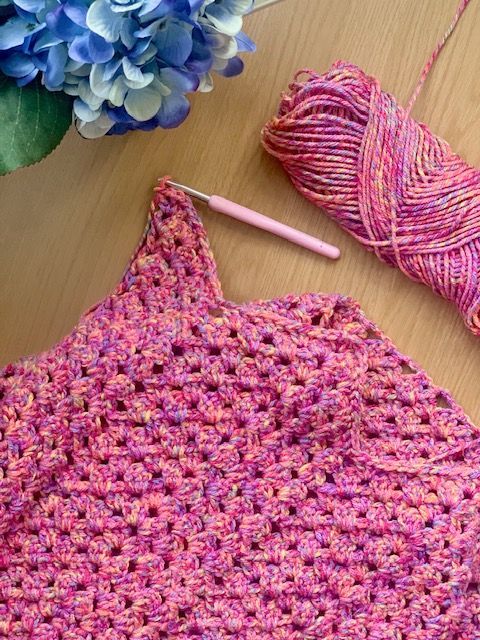
Free Granny Ripple Crochet Pattern Tutorial

How to crochet this Granny Ripple Shawl
Row 1: Ch 62, 3 dc in 5th ch from hook (skipped chs count as (dc, ch 1)), [skip 2, 3 dc in next] 2 times, skip 2, [3dc , ch 3, 3 dc] in next, skip 2, *[3 dc in next, skip 2] 2 times, 3 dc in next, skip 5, 3 dc in next, skip 2, [3 dc in next, skip 2] 2 times, [3 dc, ch 3, 3 dc] in next; repeat from * across to last 3, skip 2, [3 dc, ch 1, dc] in last, turn. 20 3dc-cl, 1 dc.
Row 2: Ch 4 (counts as (dc, ch 1)), 3 dc in same ch-1 sp, working in sp between clusters, *3 dc in next 3, skip ch-5 sp, 3 dc in next 3, [3 dc, ch 3, 3 dc] in next cluster sp; repeat from * across to last 4 cluster sps, 3 dc in next 3 sps, dc in last ch-1 sp, turn.
Row 3: Ch 4, skip 1 cluster sp, working in sps between clusters, 3 dc in next 3 sps, *[3 dc, ch 3, 3 dc] in next, 3 dc in next 3 sps, skip 1 cluster sp, 3 dc in next 3 cluster sps; repeat from * across to last ch-1 sp, [3 dc, ch 1, dc] in last ch-1 sp, turn.
Rows 4-90: Repeat Rows 2-3.
Do not fasten off.
Continue to Edging
Edging | Free Granny Ripple Crochet Pattern
Edging
Row 91: Ch 1, Sc in same, skip ch-1 sp, [sc in next 12, 3 sc in next ch-3 sp, sc in next 12, skip sp between clusters] 2 times, sc in next 12, sc in next ch-1 sp, sc in 3rd ch. 69 sc.
Row 92: Working row across opposite side of starting ch, join yarn in same as beginning slip knot, ch 1, sc in same, *[2 sc in next ch-2 sp, sc in base of next 3 dc-cl] 3 times, 5 sc in next ch-5 sp, [sc in base of next 3dc-cl, 2 sc in next ch-2 sp] 3 times; repeat from * across to last ch-sp, 2 sc in last ch-sp–58 sc.
You can choose to add a fringe along the zig zag, or maybe attach a tassel to each of the tips.
If you like the look of this crochet pattern, why not check out all my other patterns by clicking the button below.
Pin it and Make it Later

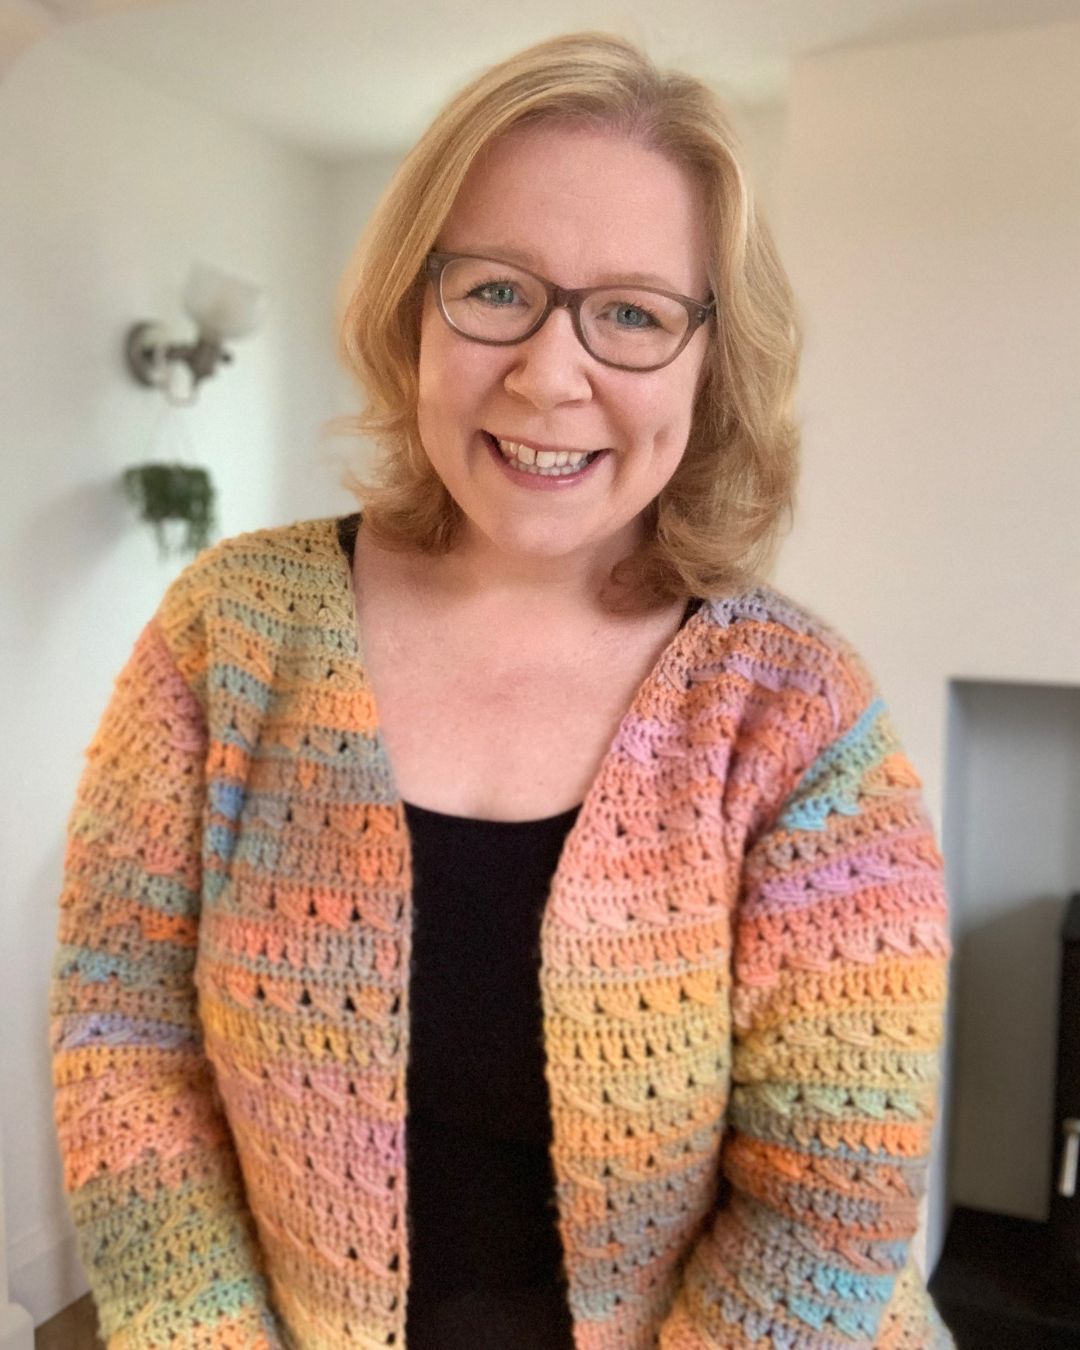
About the Autor
Hi, I'm Fiona, the hands behind Cosy Rosie Crochet - the place to learn to crochet as you make!
With over four years of hands-on experience leading in-person crochet workshops since 2018 and designing and publishing my own patterns since 2019, I bring a wealth of expertise of sharing crochet techniques.....


Cosy Rosie UK Crochet Blog