Free Crochet Christmas Tree Pattern
Make your own crochet Christmas Tree with this free pattern to add a mini slice of Christmas decor on any shelf or fireplace. This free Christmas Tree crochet pattern has tinsel inspired picot stitches to add extra decoration.

Please note that some of the links in my blog are affiliate links. I may earn a small commission if you purchase via these links, but the price you pay is not affected
Tiny Garland Crochet Christmas Tree | Free Crochet Pattern
I am so excited to welcome Agat as our guest designer on my website this month. I’ve had the pleasure of working with this crochet designer in a number of events, including the Summer Exclusives event in 2021, Without delay, I will let you meet Agat and check out her fabulous free crochet Christmas Tree pattern.
Hello! I’m Agat, the crochet designer and blogger behind Made by Gootie. I’m excited to be a guest designer at Fiona’s wonderful blog, and so happy she wanted me to share this little tree with you!
For those of you who don’t know me, I live in Israel near the Mediterranean Sea with my husband, our daughter and two cats.
I started designing a few years ago and I love creating modern home décor items and accessories.

About The Tiny Garland Crochet Christmas Tree Inspiration
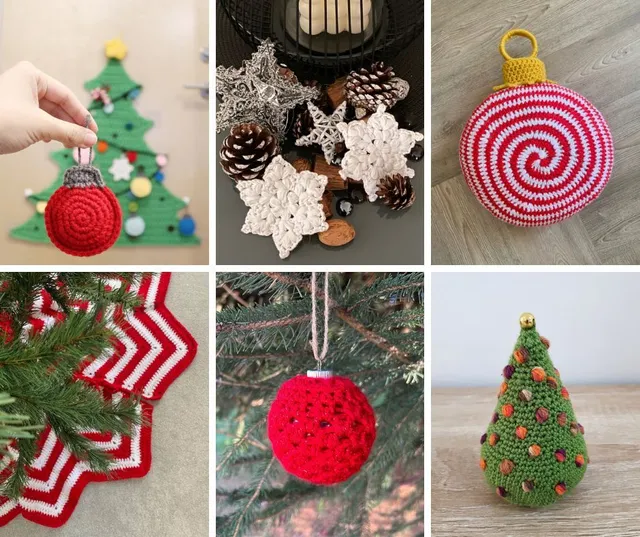
The Tiny Garland Christmas Tree is the third tree in the Tiny Trees series, along with the Bobbles Christmas Tree and Tiny Lights Christmas Tree.
The inspiration for the first tree was a friend who asked for a Christmas decoration she can put on the shelf, since she didn’t have a tree.
Although I don’t celebrate Christmas, I had so much fun designing and making these little trees with the different decorations!
You can purchase a printable copy of the Pool Ripple Clutch Bag crochet pattern by simply clicking the link below to be taken to your favourite crochet pattern shop.
The Yarn Used for this Free Christmas Tree Crochet Pattern
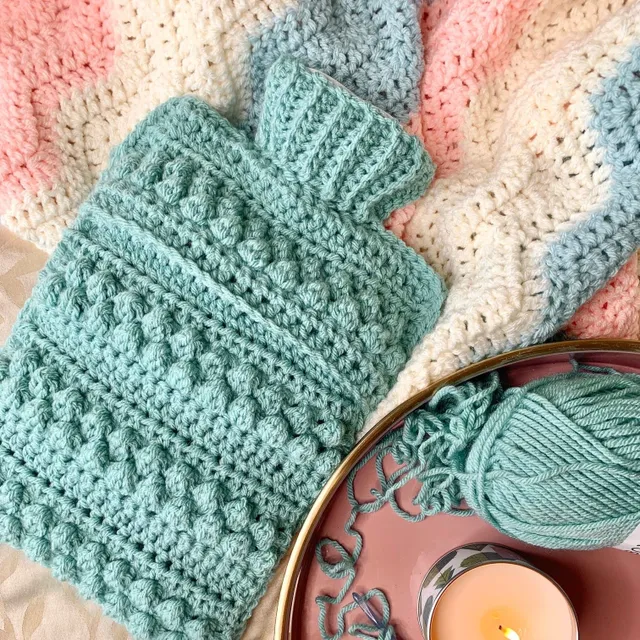
I used Fingering (#1) cotton yarn, I prefer to work with cotton wherever I can (I love the feel better and it’s more ecological) and I wanted my tree to result in a small size.
Some of my testers have used DK (#3) yarn for their tree and the result is still beautiful – just a bit bigger.
Purchase the Photo-Tutorial, Printable, PDF Pattern
If you prefer a more detailed photo-tutorial, the printable PDF pattern is available for purchase both the Made by Gootie Ravelry and Etsy Stores.Purchase the Printable Pattern on Etsy Purchase the Printable PDF Pattern on Ravelry
How to make this Free Crochet Christmas Tree Pattern
Skill level – Easy
Materials
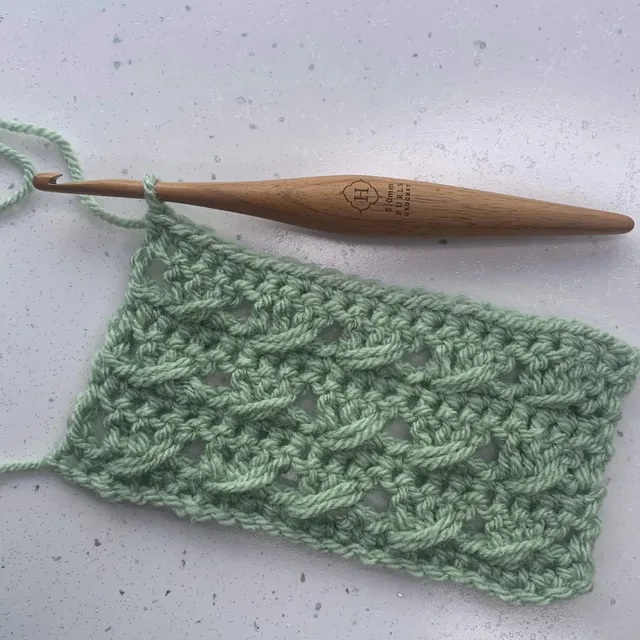
- 2.5 mm / C hook
- Fingering (#1) weight yarn
Total amount of yarn needed:
- Color A (main) – 50 grams/175m/190yds
- Color B – 10 grams/35m/38yds
- Color C – 10 grams/35m/38yds
- Color D – 10 grams/35m/38yds
- 0.5cm (0.25”) bead
- Fiberfill for stuffing

Abbreviations
Abbreviations (US)
ch – chain
st – stitch
ss – slip stitch
sc – single crochet
blo – work in back loop only
flo – work in front loop only
inc – 2 single crochet in same st (increase)
picot – ch3, ss into the 1st ch you made
sc2tog – single crochet 2 together (decrease)
(…) – crochet the instructions within brackets as many times as directed
Gauge: 27sc and 25 rows = 4 in/10 cm with C/2.5mm hook.Adjust hook size if necessary to obtain gauge.
Finished Size:
- 4.5” (11cm) tall, 2.5” (6.35cm) diameter base.
Pattern Notes:
- The tree is worked from bottom up, in continuous rounds (no need to slip stitch at the end of the round).
- To make it easier to keep track of each round, you can place a stitch marker in the first stitch of the round.
- The strings around the tree are made from picots worked one after another.
- Each round after a picot strings round, is worked into two rounds below (back into the main color).
- Work the picot a bit loose to get a nice puff.
- When changing colors: at the last stitch of the round, before changing color, start the stitch as normal, when you pull the yarn through the loop to finish the stitch, wrap the new color around the hook and pull through.
Eco-friendly tip: mix your fiberfill with your yarn leftovers instead of throwing them away (or use just your leftovers)!

Pattern
With color A – Make a magic ring
Round 1: 6sc into ring, pull the ring tight. (6 sc)
Round 2: inc in each st around. (12 sc)
Round 3: (inc in next st, 1sc in next st) x 6 times. (18 sc)
Round 4: (1sc in next st, inc in next st, 1sc in next st) x 6 times. (24 sc)
Round 5: (inc in next st, 1sc in next 3 sts) x 6 times. (30 sc)
Round 6: (1sc in next 2 sts, inc in next st, 1sc in next 2 sts) x 6 times. (36 sc)
Round 7: (inc in next st, 1sc in next 5 sts) x 6 times. (42 sc)
Round 8: (1sc in next 3 sts, inc in next st, 1sc in next 3 sts) x 6 times. (48 sc)
Round 9: (inc in next st, 1sc in next 7 sts) x 6 times. (54 sc)
Round 10: 1sc in next 4 sts, inc in next st, (1sc in next 8 sts, inc in next st) x 5 times, 1sc in next 4 sts. (60 sc)
Round 11: 1sc blo in each st around. (60 sc blo) See photo.
Rounds 12-15: 1sc in each st around. (60 sc)
With color B
Round 16: (1ss in blo of next st, 1ss in flo of next st, 5 picot, skip next 6 sts, 1ss in flo of next st, 1ss in blo of next st) x 6 times. (12 ss flo, 12 ss blo, 6 x 5 picot strings)
** Work the picot a bit loose to get a nice puff.
With color A
** This round is worked into round 15
Round 17: (1sc in flo of next st of rnd 15, 1sc in blo of next st of rnd 15, 1sc in next 6 sts of rnd 15, 1sc in blo of next st of rnd 15, 1sc in flo of next st of rnd 15) x 6 times. (12 sc flo, 12 sc blo, 36 sc)
Round 18: (sc2tog in next 2 sts, 1sc in next 8 sts) x 6 times. (6 sc2tog, 48 sc)
Rounds 19-20: 1sc in each st around. (54 sc)
Round 21: (sc2tog in next 2 sts, 1sc in next 7 sts) x 6 times. (6 sc2tog, 42 sc)
With color C
Round 22: (1ss in blo of next st, 1ss in flo of next st, 4 picot, skip next 4 sts, 1ss in flo of next st, 1ss in blo of next st) x 6 times. (12 ss flo, 12 ss blo, 6 x 4 picot strings)
With color A
** This round is worked into round 21
Round 23: (1sc in flo of next st of rnd 21, 1sc in blo of next st of rnd 21, 1sc in next 4 sts of rnd 21, 1sc in blo of next st of rnd 21, 1sc in flo of next st of rnd 21) x 6 times. (12 sc flo, 12 sc blo, 24 sc)
Round 24: (sc2tog in next 2 sts, 1sc in next 6 sts) x 6 times. (6 sc2tog, 36 sc)
Rounds 25-26: 1sc in each st around. (42 sc)
Round 27: (sc2tog in next 2 sts, 1sc in next 5 sts) x 6 times. (6 sc2tog, 30 sc)
With color D
Round 28: (1ss in blo of next st, 1ss in flo of next st, 3 picot, skip next 3 sts, 1ss in flo of next st) x 6 times. (12 ss flo, 6 ss blo, 6 x 3 picot strings)
With color A
** This round is worked into round 27
Round 29: (1sc in flo of next st of rnd 27, 1sc in blo of next st of rnd 27, 1sc in next 3 sts of rnd 27, 1sc in blo of next st of rnd 27) x 6 times. (6 sc flo, 12 sc blo, 18 sc)
Round 30: 1sc in each st around. (36 sc)
Round 31: (sc2tog in next 2 sts, 1sc in next 4 sts) x 6 times. (6 sc2tog, 24 sc)
Rounds 32-33: 1sc in each st around. (30 sc)
Round 34: (sc2tog in next 2 sts, 1sc in next 3 sts) x 6 times. (6 sc2tog, 18 sc)
With color B
Round 35: (1ss in blo of next st, 1ss in flo of next st, 2 picot, skip next st, 1ss in flo of next st) x 6 times. (12 ss flo, 6 ss blo, 6 x 2 picot strings)
* Start stuffing with fiberfill at this point and stuff as you go.
With color A
** This round is worked into round 34
Round 36: (1sc in flo of next st of rnd 34, 1sc in blo of next st of rnd 34, 1sc in next st of rnd 34, 1sc in blo of next st of rnd 34) x 6 times. (6 sc flo, 12 sc blo, 6 sc)
Round 37: (sc2tog in next 2 sts, 1sc in next 2 sts) x 6 times. (6 sc2tog, 12 sc)
Rounds 38-39: 1sc in each st around. (18 sc)
Round 40: (sc2tog in next 2 sts, 1sc in next st) x 6 times. (6 sc2tog, 6 sc)
With color C
Round 41: (1ss in blo of next st, 1ss in flo of next st, 2 picot, skip next st, 1ss in flo of next st) x 3 times. (12 ss flo, 6 ss blo, 3 x 2 picot strings)
With color A
** This round is worked into round 40
Round 42: (1sc in flo of next st of rnd 40, 1sc in blo of next st of rnd 40, 1sc in next st of rnd 40, 1sc in blo of next st of rnd 40) x 3 times. (3 sc flo, 6 sc blo, 3 sc)
Round 43: (sc2tog in next 2 sts) x 6 times. (6 sc2tog)
Finish stuffing if needed. Fasten off, stitch the opening shut and leave a 25cm (10”) tail.
Sew the bead to the top of the tree with the tail.

A huge thank you to Agat from Made by Gootie for sharing this fabulous pattern with us. I know that we would both love to see your completed Mini Garland Tree. Why not share a picture with us in the Community Group.
If you’d like to purchase a printable copy of this pattern, simply click on the links below and grab your copy from your favourite pattern shop:
*This pattern and its images are copyright protected and the sole property of Fiona Field/Cosy Rosie UK 2022. Please do not redistribute, transfer, sell the pattern, or alter it to claim as your own. *