Joining and seaming Cable & Crossed Cardigan
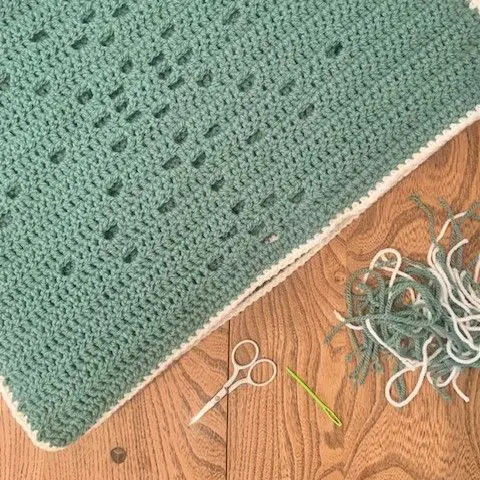
Once you’ve stitched all the pieces (and blocked to size) it’s finally time to sew them all together and finish your project, ready to wear!

Joining & Seaming | Cable & Crossed Crochet Cardigan
There are a number of ways you can choose to sew your project together, but the sewing technique recommended to create the least bulky seam would be to use the mattress stitch.
There are 3 commonly used techniques to block your crochet projects, and the one to use will depend on the fibre in the yarn you have used. Click here to find out more about each technique and which is the best to use on your project.
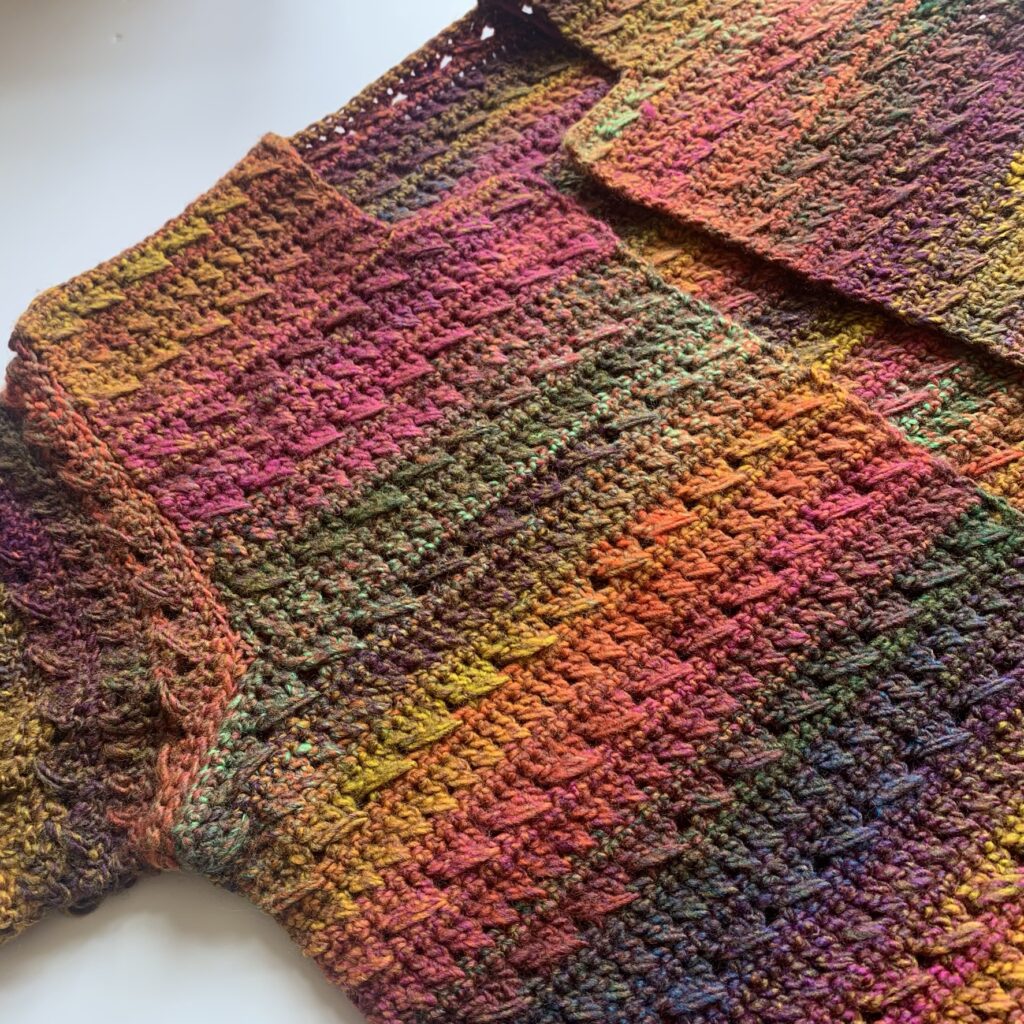
I used 100% acrylic yarn so chose to steam block each part of the cardigan to ensure I achieved the correct finished size – it also improved the finished look to my stitches greatly.
JOIN THE CAL
The Cable & Crossed Cardigan pattern will be releasing as a crochet along, with a different section of the pattern releasing each week.
There is never any pressure to keep up with the releasing of the pattern sections – but it can be fun to try! Below you will find a list of when the pattern elements will release.
Cable & Crossed CAL Schedule
- Make your swatch – click here for the pattern at the end of the article
- Back Panel – Click here
- Front Panel – Click here
- Left Panel V-neck – Click here
- Left Panel Square Neck – Click here
- Right Panel V-Neck – Click here
- Right Panel Square neck – Click here
- Sleeves – Click here
- Joining – on this page
Each pattern section will have it’s own video tutorial to help you complete your cardigan with absolute confidence.
What size are you making?
Before you begin to join and seam your project, it is highly recommended to block each section to the size recommended in the schematic. I’ve shared it below for you to check the sizes of your finished panels and sleeves.

Pattern Details | Woman’s Crochet Cardigan Pattern
Skill Level: Advanced Beginner/Intermediate
Materials:
- Aran weight yarn – see Size chart for estimated yarn amounts
- I used Sirdar Jewelspun Aran (200g /500m, 100% acrylic) in shade Setting Sun
- 5.5mm Crochet Hook
- Scissors
- Tapestry needle
- Stitch Markers x 6
Optional
- Hook & eye closing
Get the Printable Pattern
If you prefer to print your crochet patterns, you can purchase from any of my pattern shops for an instant download to print and save this pattern.
Pattern Notes
It is recommended to use the mattress stitch when joining your panels, but you can opt to use your own preferred sewing technique.
Joining & Seaming | Cable & Crossed Cardigan
Joining
For All Sizes – Body
Begin by pinning the front panels to the back panel WS together, ensuring the cables are all facing the same way
With RS facing, using mattress stitch:
- sew up along outer sides from the bottom to the beginning of the armholes on each side
- sew across the shoulders
- repeat on other side

Joining the Sleeves
- mark the 2 central stitches on the widest edge of each sleeve
- pin to the stitches on either side of the shoulder seam
- pin each side of the sleeve opening to each side of the seam in the body of the cardigan
- pin the 8th (8th, 12th, 12th, 12th, 12th, 16th, 16th, 16th) st from the open side of the sleeve on to the corner of the arm hole shaping
- repeat for each side of the cardigan body
- sew the sleeve to the cardigan body using mattress stitch evenly


Sew the Sleeves
- sew the sleeve to the cardigan body using mattress stitch evenly
- using mattress stitch, sew up sleeve
Repeat each step for the other sleeve.
Weave in all remaining ends
Optional – Attach Hook and Eye on top corner of front neck opening
You’ve finished!
Congratulations and thank you for taking part! I simply love seeing your completed projects – tag me using @cosyrosieuk or the #cableandcrossedcardigan so I can see your finished cardigan!