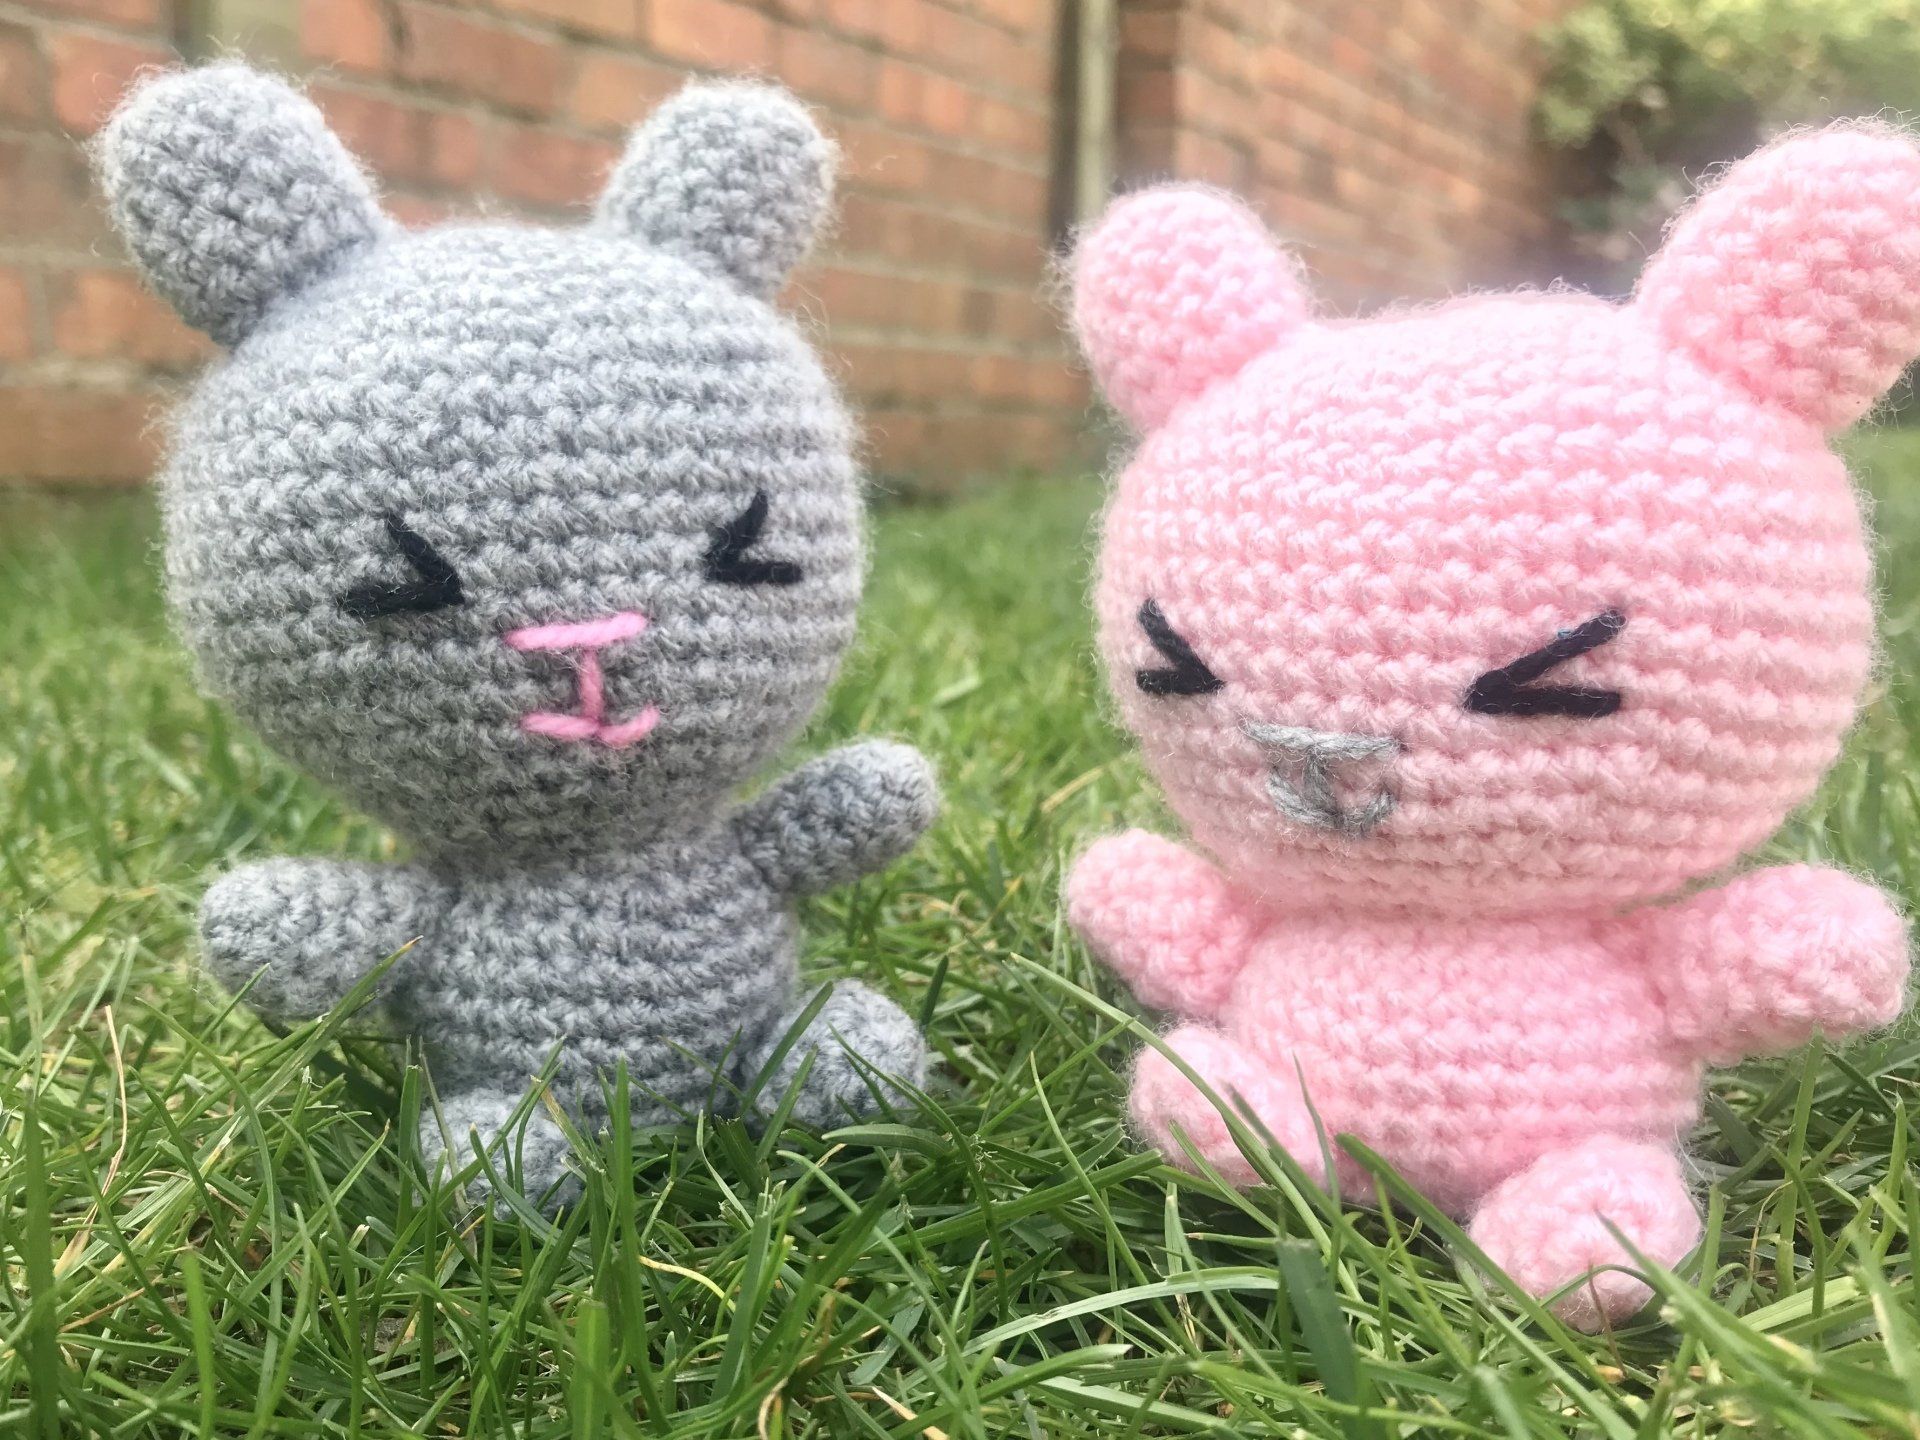
Say Happy Easter With A Happy Little Bun Bun
Spring time make me think about bunnies hopping around enjoying the warmth from the sun!
This little bunny is made in the Japanese style of Amigurumi, which is worked in a spiral .
You will not be joining your rounds, just continue on to the 1st stitch of the next round. I would recommend placing a stitch marker in to the 1st stitch of the round you are working, to be sure where to end the round.
I'd love to see your Happy Little Bun Bun's, so tag me in a photo of your completed project @cosyrosieuk
This pattern is also available in a digital PDF download on my Etsy shop if you wanted a printed version of the pattern.
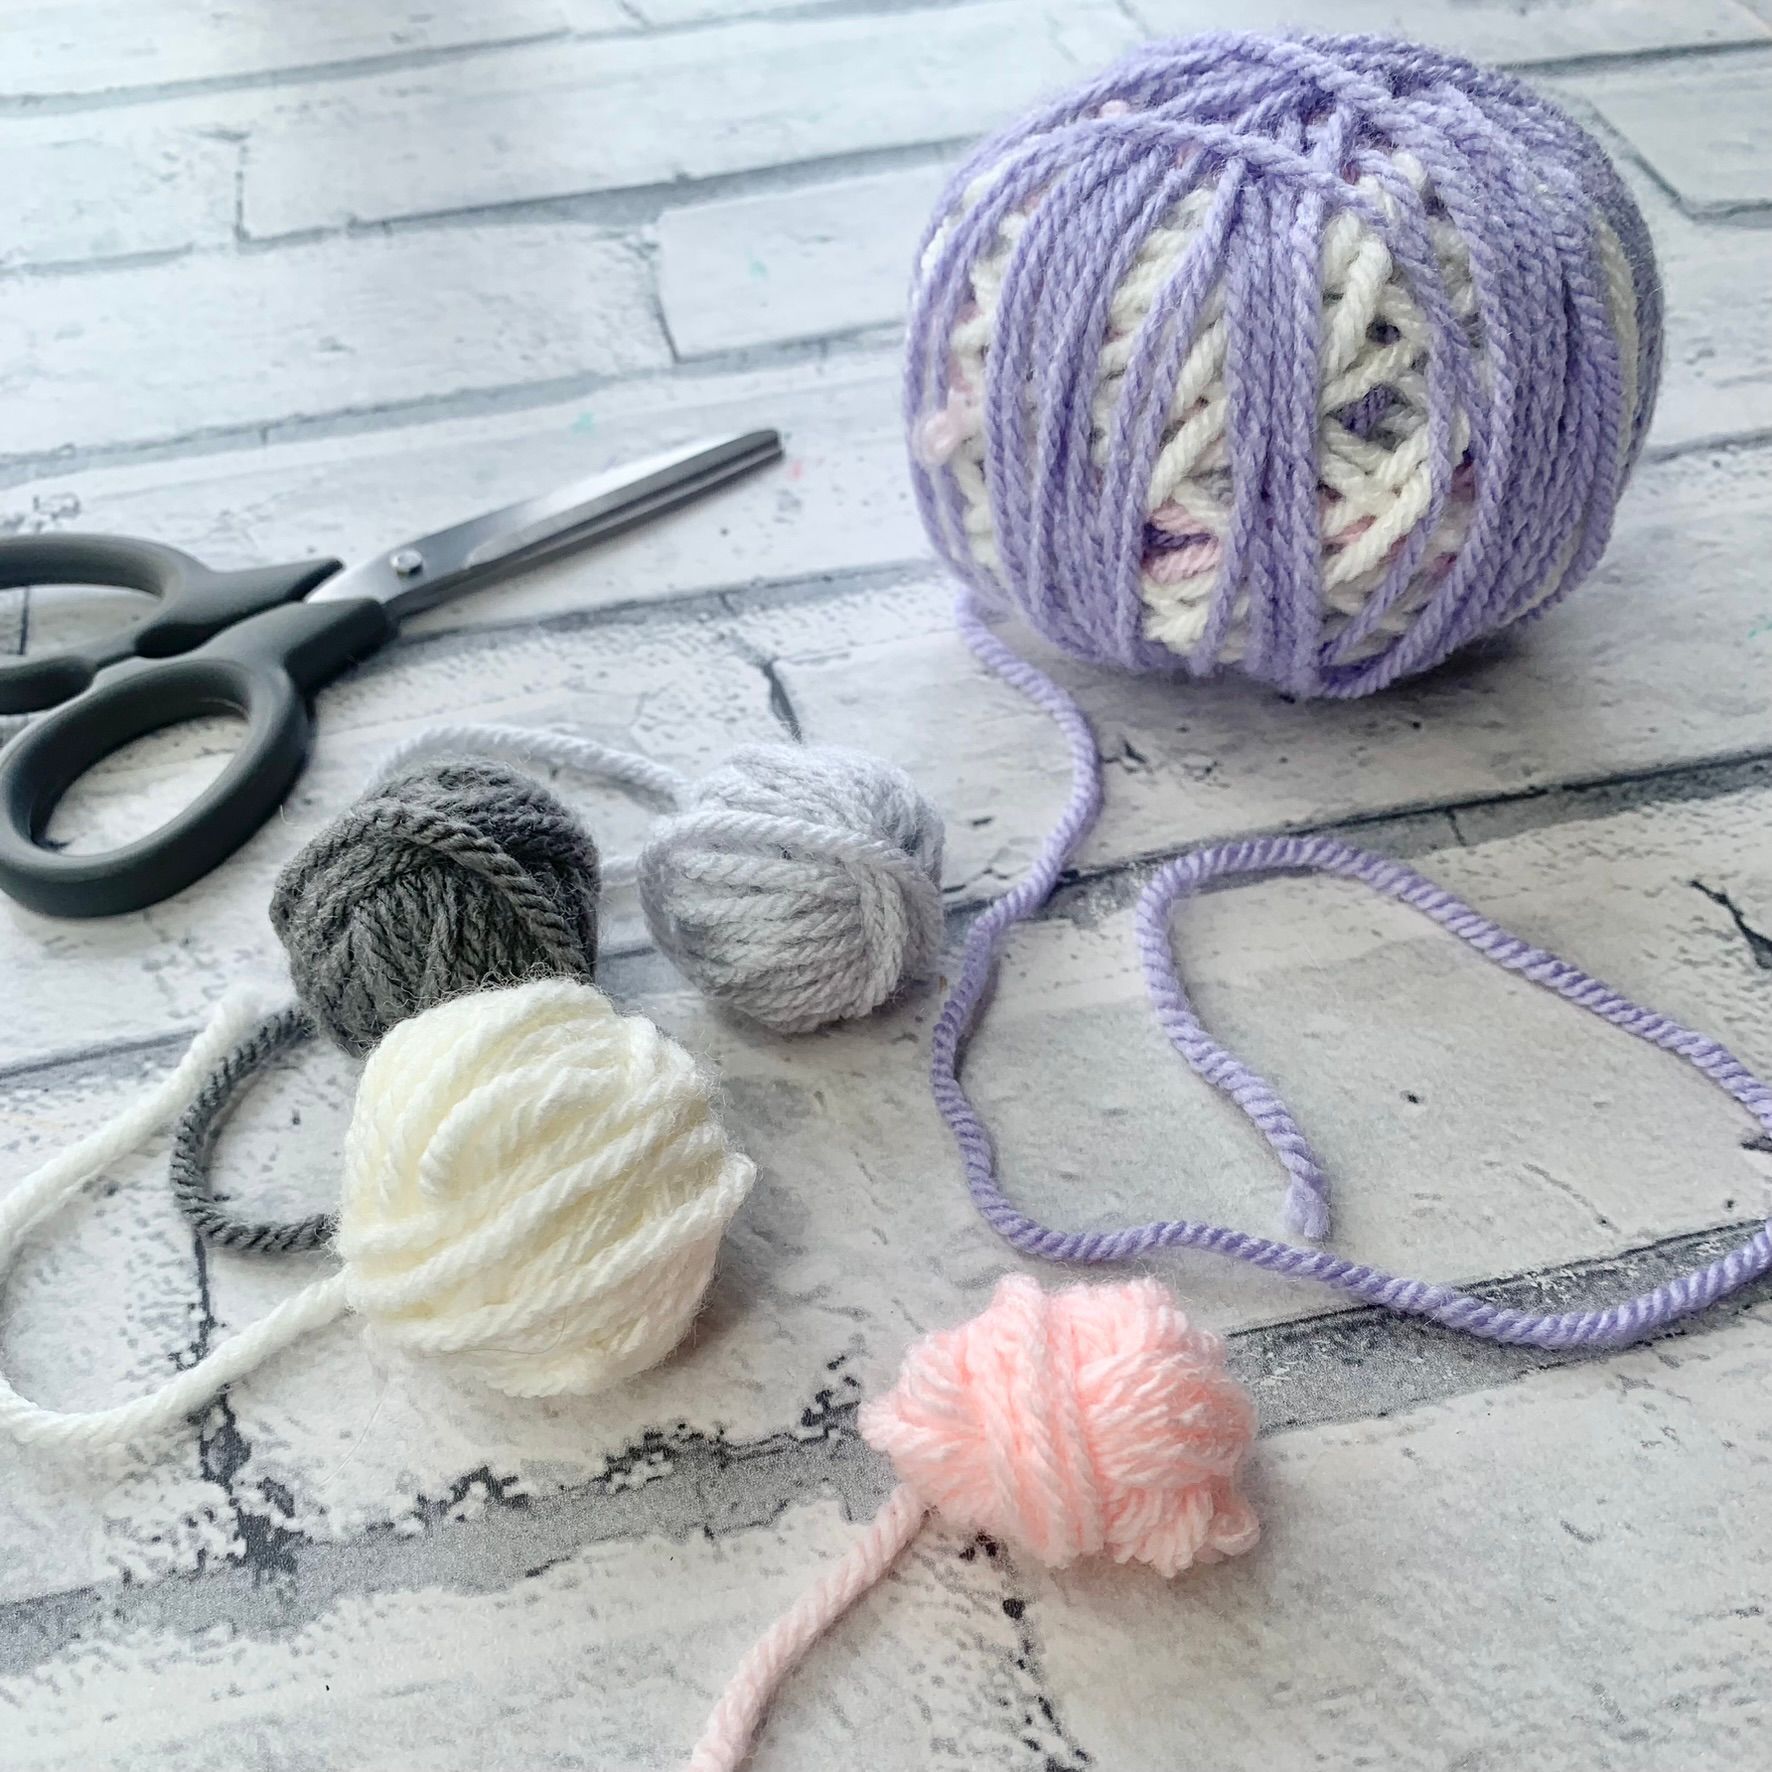
Materials
60m Grey DK acrylic yarn - I used Woman's Institute Premium Acrylic
Yarn (100g/250m) in shade Grey
50cm Pink DK acrylic yarn
50cm Black DK acrylic yarn
Crochet hook size 3.5mm
35mm Pom Pom maker - I used a Clover Pom Pom maker
Tapestry needle
scissors
Stitch Marker
Toy filler/stuffing
Abbreviations
St(s) Stitch(es)
Rnd Round
Dc Double Crochet
2Dc 2 Double Crochet into the same stitch
Inv.Dec Invisible Decrease
Head and Body
- Grey DK Yarn with 3.5mm hook
Place stitch marker in to 1st stitch of each round once completed.
Rnd 1.
In magic ring, 6Dc. Close magic ring (6)
Rnd 2. 2DC into each stitch around. PM in 1st stitch (12)
Rnd 3.
*Dc in first St, 2Dc in next St* Repeat from * to * to end of Rnd (18)
Rnd 4.
*Dc in first 2 Sts , 2Dc in next St* Repeat from * to * to end of Rnd (24)
Rnd 5.
*Dc in first 3 sts, 2 Dc in next St* Repeat from * to * to end of Rnd (30)
Rnd 6.
*Dc in first 4 sts, 2 Dc in next St* Repeat from * to * to end of Rnd (36)
Rnd 7.
*Dc in first 5 sts, 2 Dc in next St* Repeat from * to * to end of Rnd (42)
Rnd 8.
*Dc in first 6 sts, 2 Dc in next St* Repeat from * to * to end of Rnd (48)
Rnd 9.
Dc in each st around (48)
Rnd 10-15.
As row 9 (48)
Rnd 16.
*Dc in first 6 sts, Inv.Dec in next St* Repeat from * to * to end of Rnd (42)
Rnd 17.
*Dc in first 5 sts, Inv.Dec in next St* Repeat from * to * to end of Rnd (36)
Rnd 18.
*Dc in first 4 sts, Inv.Dec in next St* Repeat from * to * to end of Rnd (30)
Rnd 19.
*Dc in first 3 sts, Inv.Dec in next St* Repeat from * to * to end of Rnd (24)
Rnd 20.
*Dc in first 2 sts, Inv.Dec in next St* Repeat from * to * to end of Rnd (18)
Rnd 21.
*Dc in first st, Inv.Dec in next St* Repeat from * to * to end of Rnd (12)
Fill head with toy stuffing
Rnd 22.
2DC in to each stitch around (24)
Rnd 23.
*Dc in first 3 sts, 2 Dc in next St* Repeat from * to * to end of Rnd (30)
Rnd 24.
Dc in each st around (30)
Rnd 25-28
. As row 24 (30)
Rnd 29.
*Dc in first 3 sts, Inv.Dec in next St* Repeat from * to * to end of Rnd (24)
Rnd 30.
*Dc in first 2 sts, Inv.Dec in next St* Repeat from * to * to end of Rnd (18)
Rnd 31.
*Dc in first st, Inv.Dec in next St* Repeat from * to * to end of Rnd (12)
Fill remainder of head and body with toy stuffing
Rnd 32.
Inv.Dec into each St around. Fasten off and sew closed. (6)
Push tail end through the middle of the closed hole towards the top of the head and snip end off.
Head and body all made! Now on to the detail.......
Ears -
Grey DK Yarn with 3.5mm hook- Make 2
Rnd 1. In magic ring, 6Dc. Close magic ring (6)
Rnd 2. 2DC into each stitch around. PM in 1st stitch
(12)
Rnd 3-7. Dc into each st around (12)
Fasten off, leaving a long tail for sewing. Stuff with toy stuffing
Arms -
Grey DK Yarn with 3.5mm hook - Make 2
Rnd 1. In magic ring, 8Dc. Close magic ring (8)
Rnd 2-6 Dc into each st around (8)
Fasten off, leaving a long tail for sewing.
Feet -
Grey DK Yarn with 3.5mm hook - Make 2
Rnd 1. In magic ring, 5Dc. Close magic ring (5)
Rnd 2. 2DC into each stitch around. PM in 1st stitch (10)
Rnd 3-4. Dc into each stitch around (10)
Rnd 5. *Dc in first st, Inv.Dec in next St* Repeat twice, Dc in last stitch (7)
Rnd 6. Inv.Dec in next 3 St, Dc in last St and fasten off (4)
Fasten off, leaving a long tail for sewing.
Sewing Up
Ears - sew the ears on opposite sides of the head with the top of the ear between rows 3 & 4
Eyes
Using black yarn and ,tapestry needle, insert from the back of the head through to the front on row 14, in line with the top of the left ear.
Reinsert your needle 3 stitches to the left and come back out 2 rows up and 1 stitch in.
Reinsert your needle through where the black yarn began, then come out 6 stitches to the right.
Reinsert your needle 3 stitches to the right and come back out 2 rows up and 1 stitch in.
Finally, reinsert your needle where the 2nd eye began, and push the needle back out the rear of the head and snip your ends
Nose
Using pink yarn and tapestry needle, insert through the rear of your Bun Bun's head and come out 1 row lower that the left eye and 1 stitch to the left
Reinsert 4 stitches to the right coming back out 2 stitches back to the left in the same row
Reinsert 3 rows down coming out 2 stitches to the left, 1 row up.
Insert hook back in to the bottom of the nose coming out 1 row up and 2 stitches to the right.
Finally insert the hook into the bottom of the nose and back out the rear of the head. Snip your ends
ArmsSew on each of the arms on opposite side of the body, with the top of the arms 1 row under the neck
Feet
Flatten the feet and sew on between the 3rd and 4th row from the bottom
Tail
Using the grey DK and the 35mm pom pom maker, make a pom pom and attach at the back of the between rows 4 & 5. This will help your Bun Bun sit down unaided.
I'm so excited to see your own little Bun Buns, so be sure to tag me in a picture of your finished project.
If you would like to purchase a PDF version of this pattern, Click Here!
Buy PDF Pattern