
Blog Layout
Slip Knot and Chain - Learn to Crochet
Fiona Field • Apr 15, 2020
Learn how to create a crochet slip knot and chain with this photo and video tutorial. Almost every crochet project starts with a chain in which your 1st stitches are worked. This is usually called your foundation chain.
Learn how to slip knot and chain
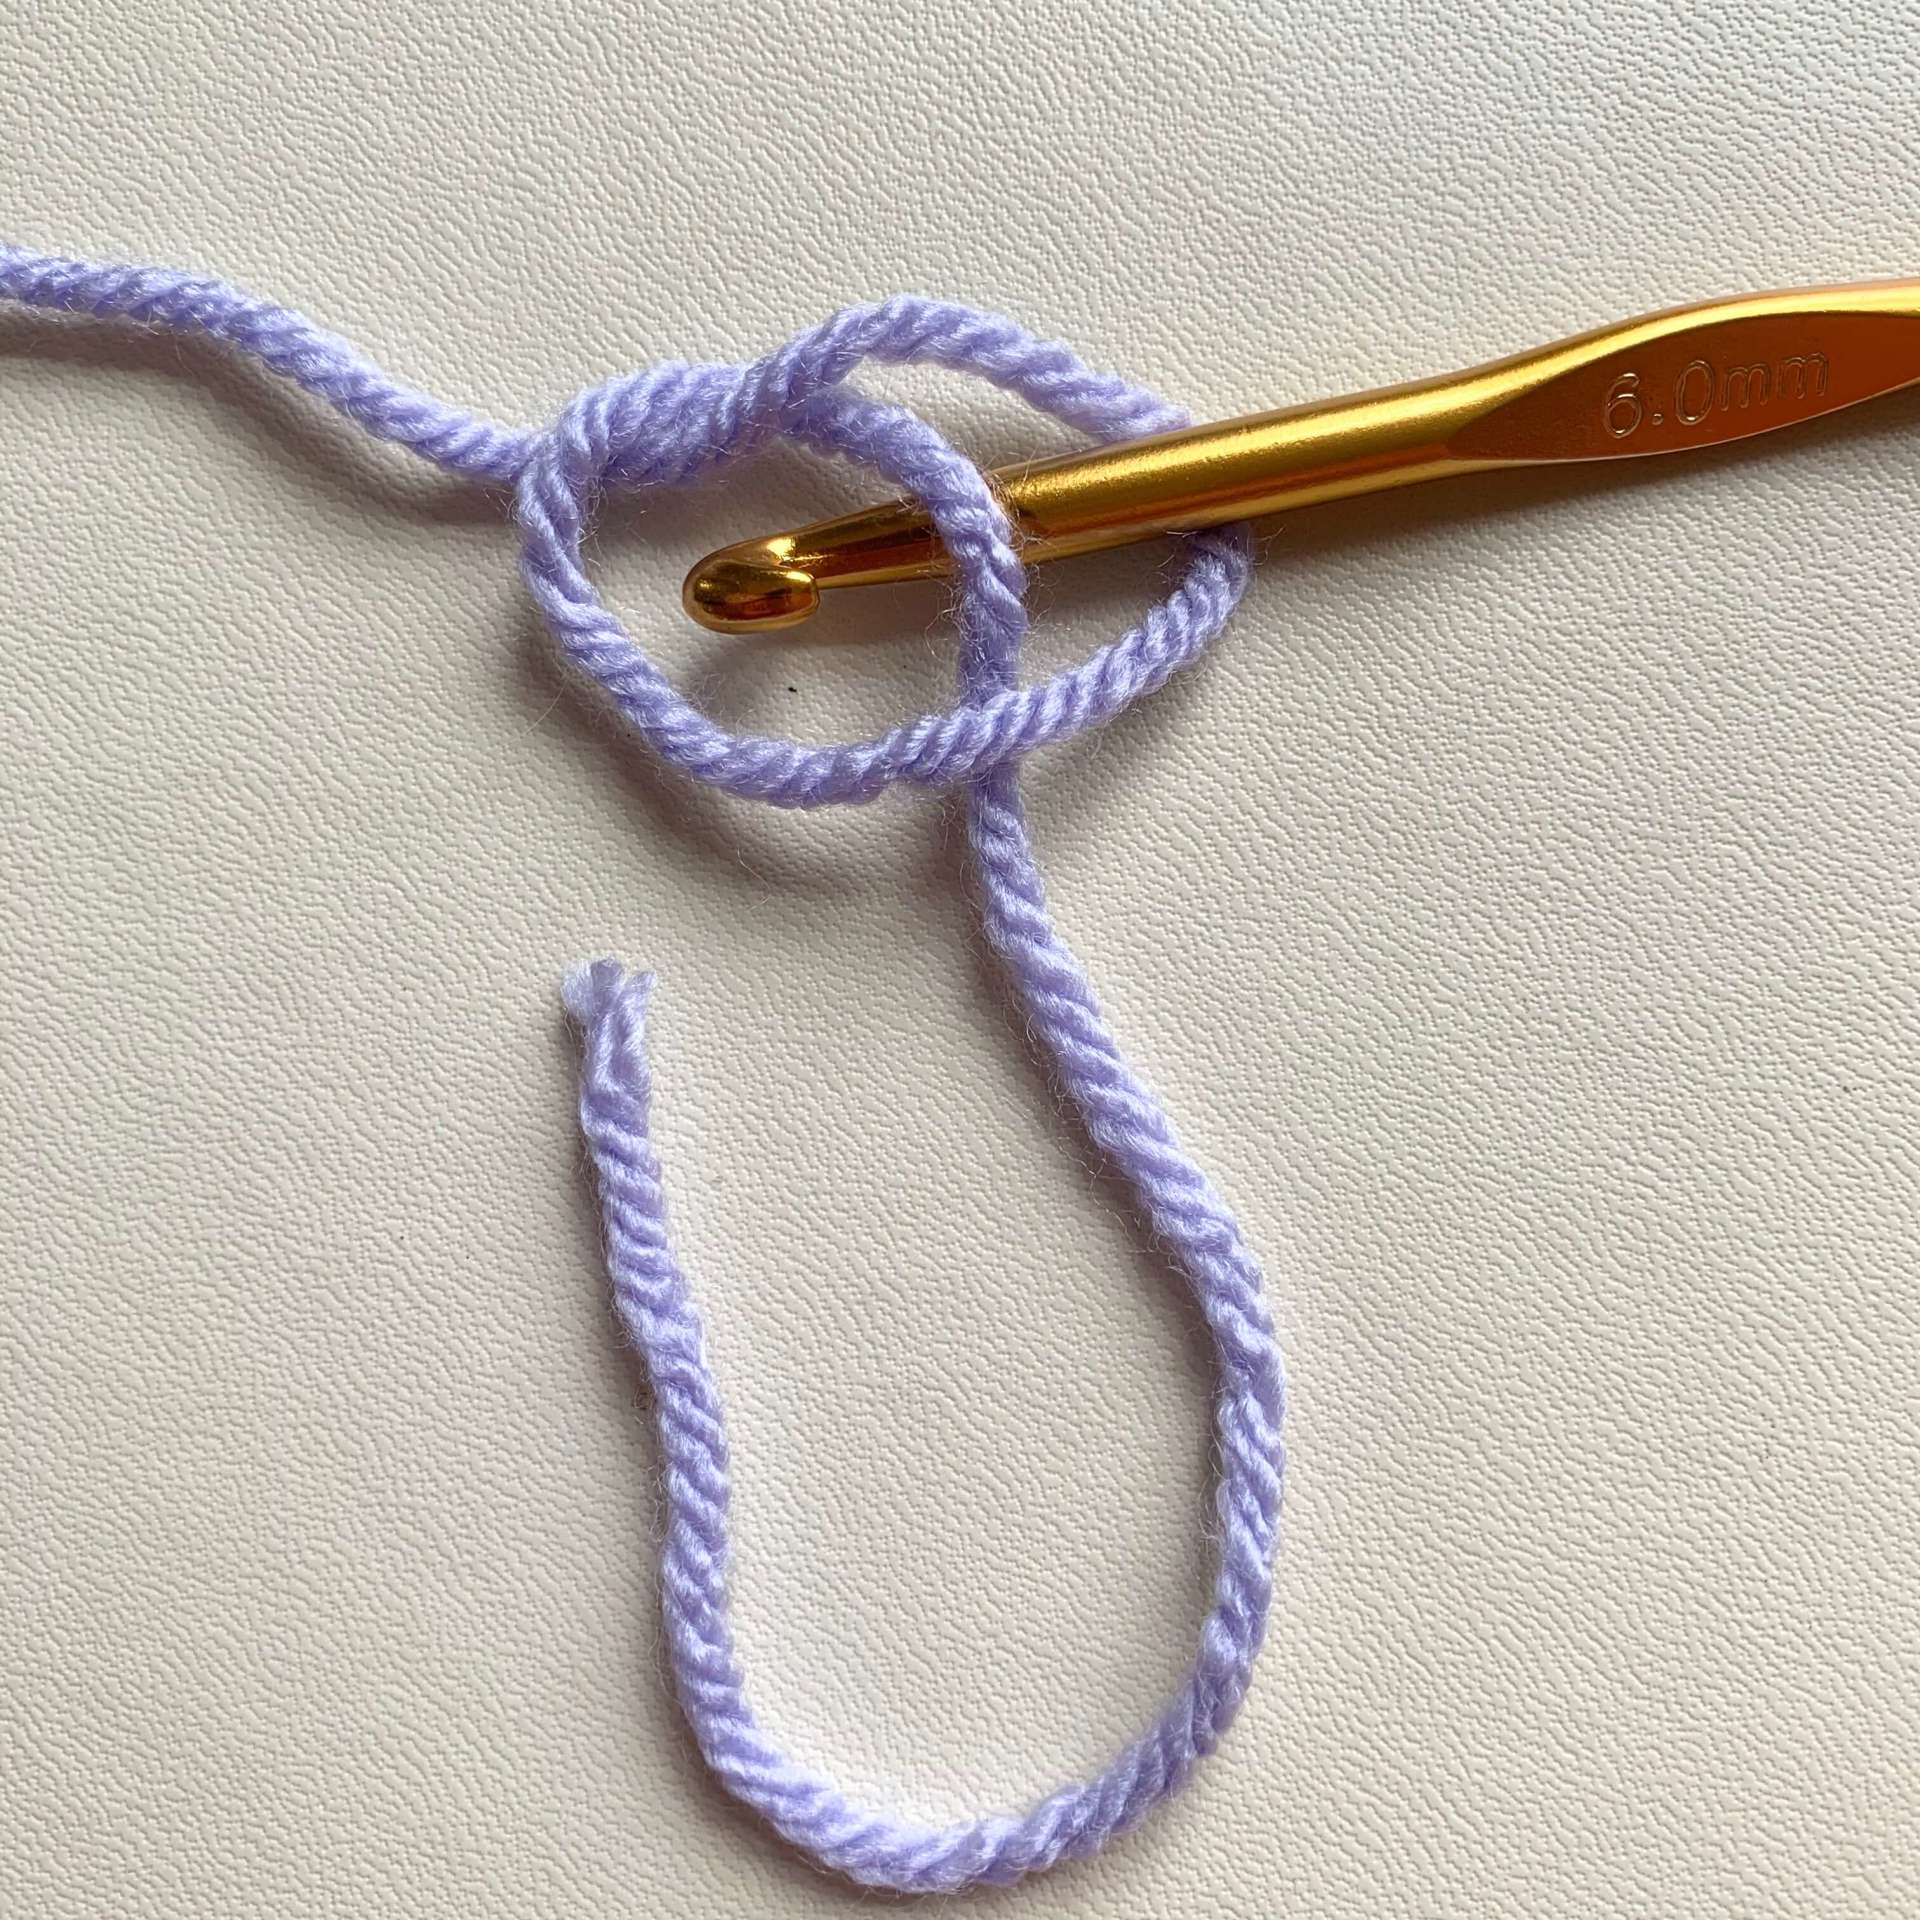
Make A Slip Knot
Before starting your chain, you’ll need to create a slip knot to stop your chain (and your project) from unravelling.
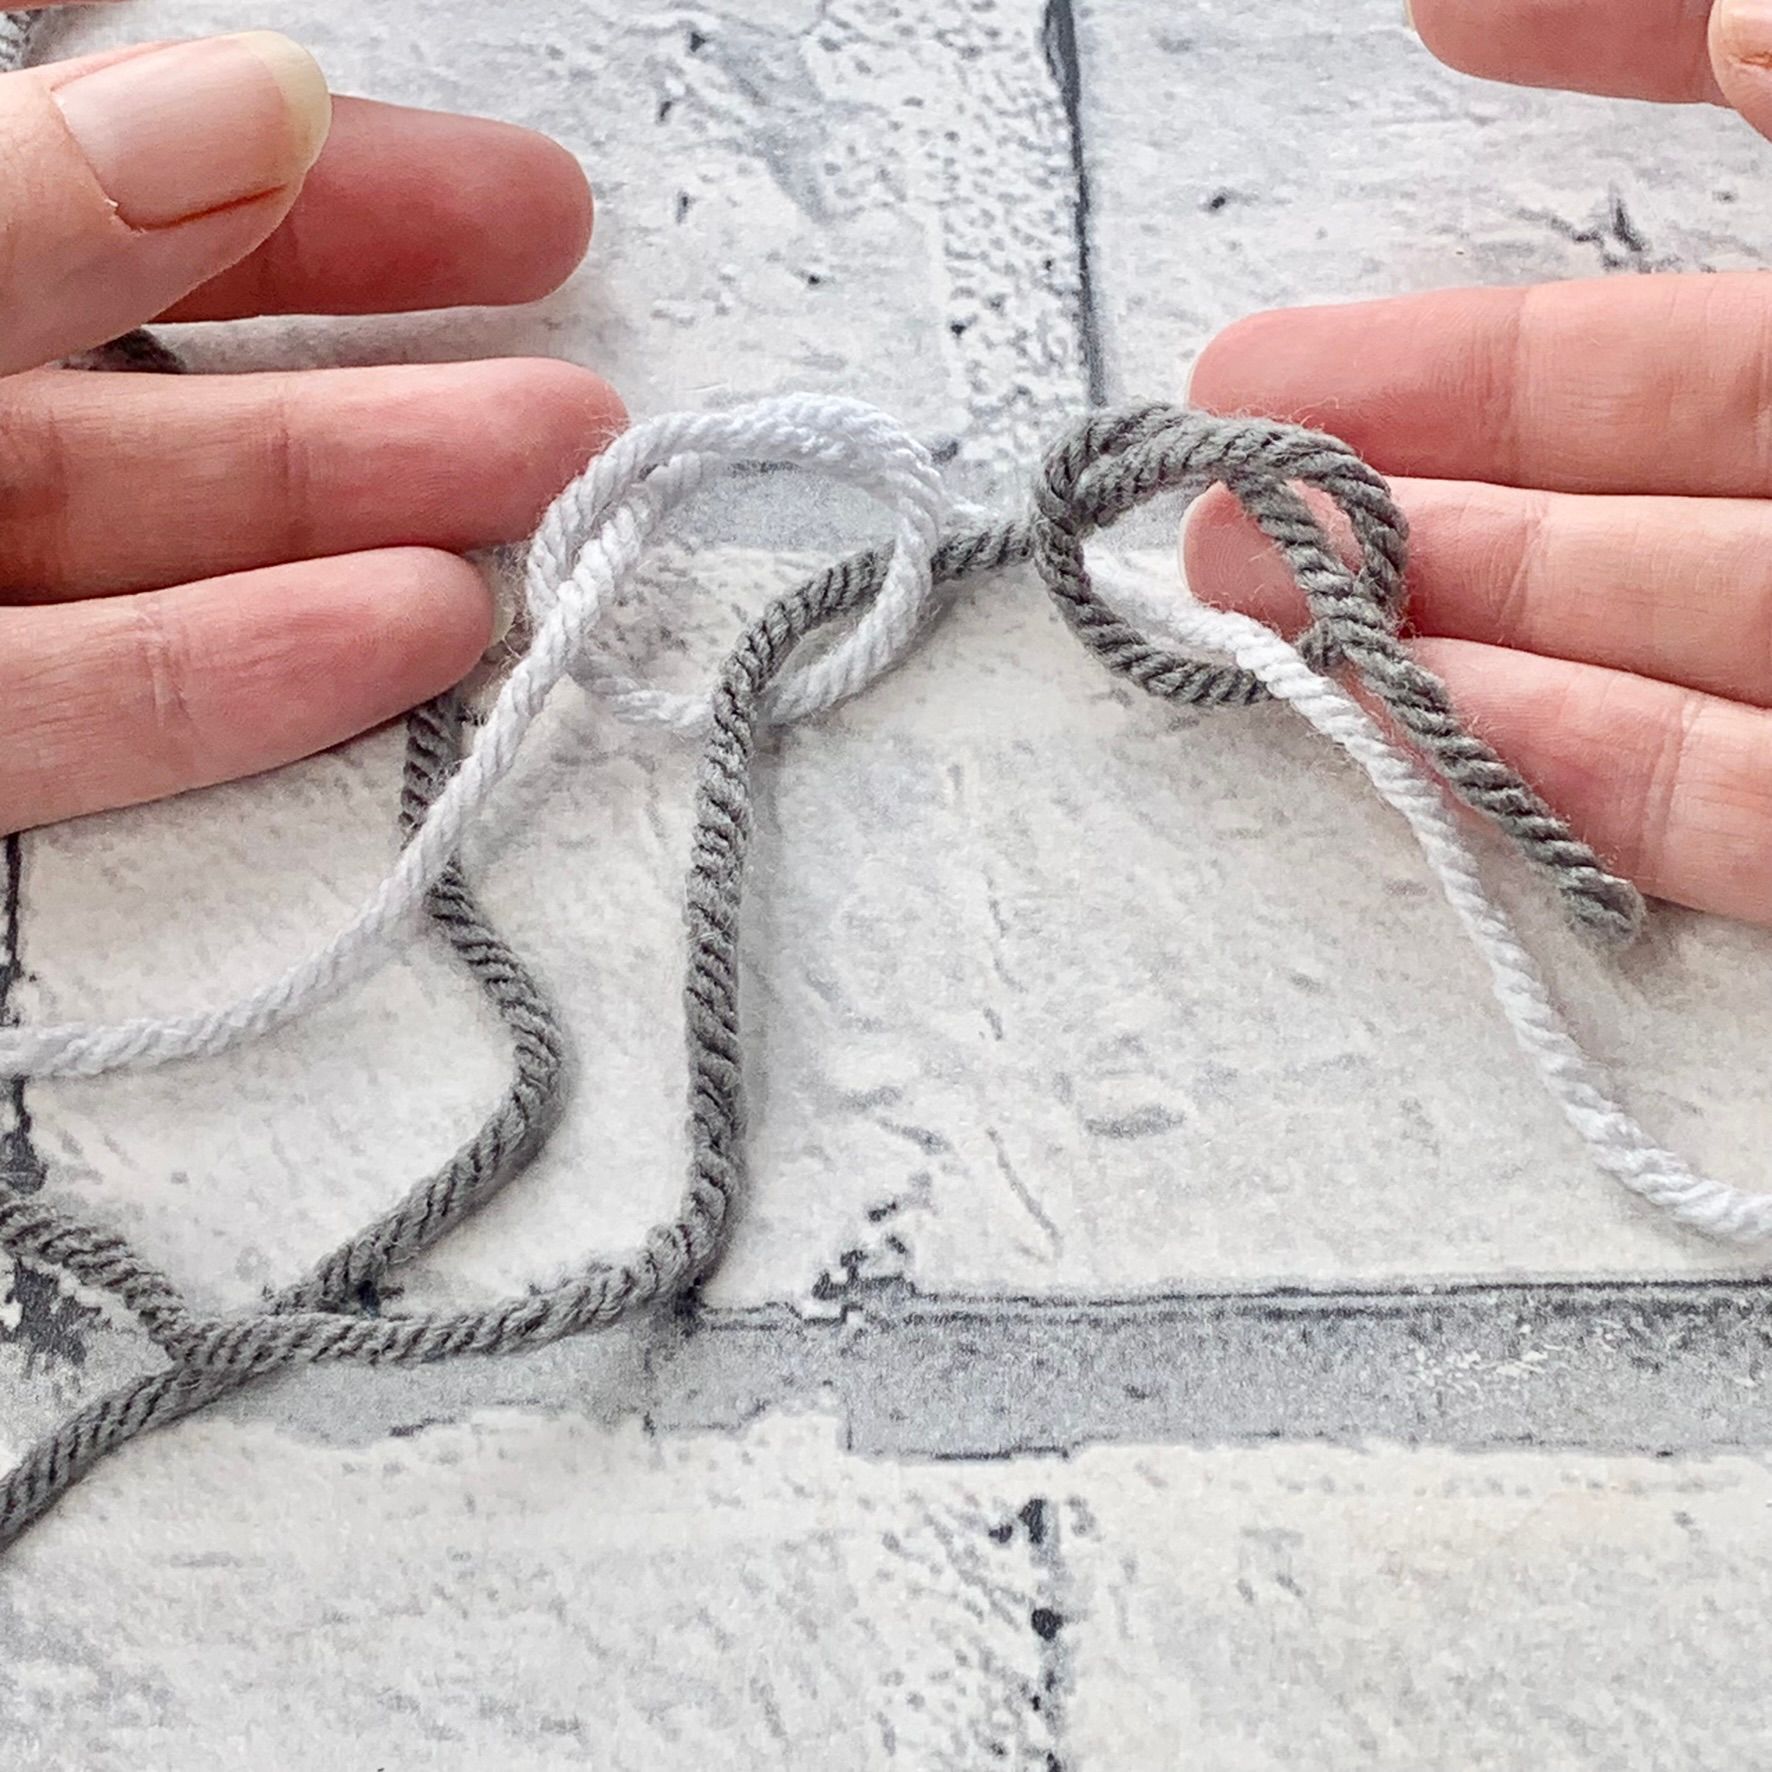
- Take about 6 inches of tail end from the ball of the yarn (I always recommend pulling your yarn from the middle of the ball), and make a loop over the working yarn (the yarn attached to the ball).
- Bring the tail end behind the loop and insert your hook under the tail yarn behind the loop. Holding the tail yarn and working yarn together, pull gently to tighten the slip knot.
- You can then pull on the working yarn to tighten the knot around the crochet hook


Crochet a Chain
Once you have made your Slip Knot, you can begin creating a chain:
- Place a finger from the handing holding the hook on to the top of the loop on your hook.
- With your other hand, bring the yarn from back to front, over the top of the hook. Pinch the slip knot between your thumb and finger to keep it from moving.
- With the hook facing down to catch the yarn, bring the hook (and yarn) through the loop on your hook.


To add an additional chain:
- Place a finger from the handing holding the hook on to the top of the loop on your hook.
- With your other hand, bring the yarn from back to front, over the top of the hook. Pinch the chain between your thumb and finger to keep it from moving.
- With the hook facing down to catch the yarn, bring the hook (and yarn) through the loop on your hook.
You can continue to repeat these actions to keep practising making chains.
Keep Practising
You are aiming that your chains are all the same size and your chain is firm but not tight. Making chains is a great way to practice how to hold your yarn and hook to achieve even tension.
It’s worth considering your chain as the most important stage of any crochet project. If there are any errors or uneven chains, it will show in the first row of your crochet project.

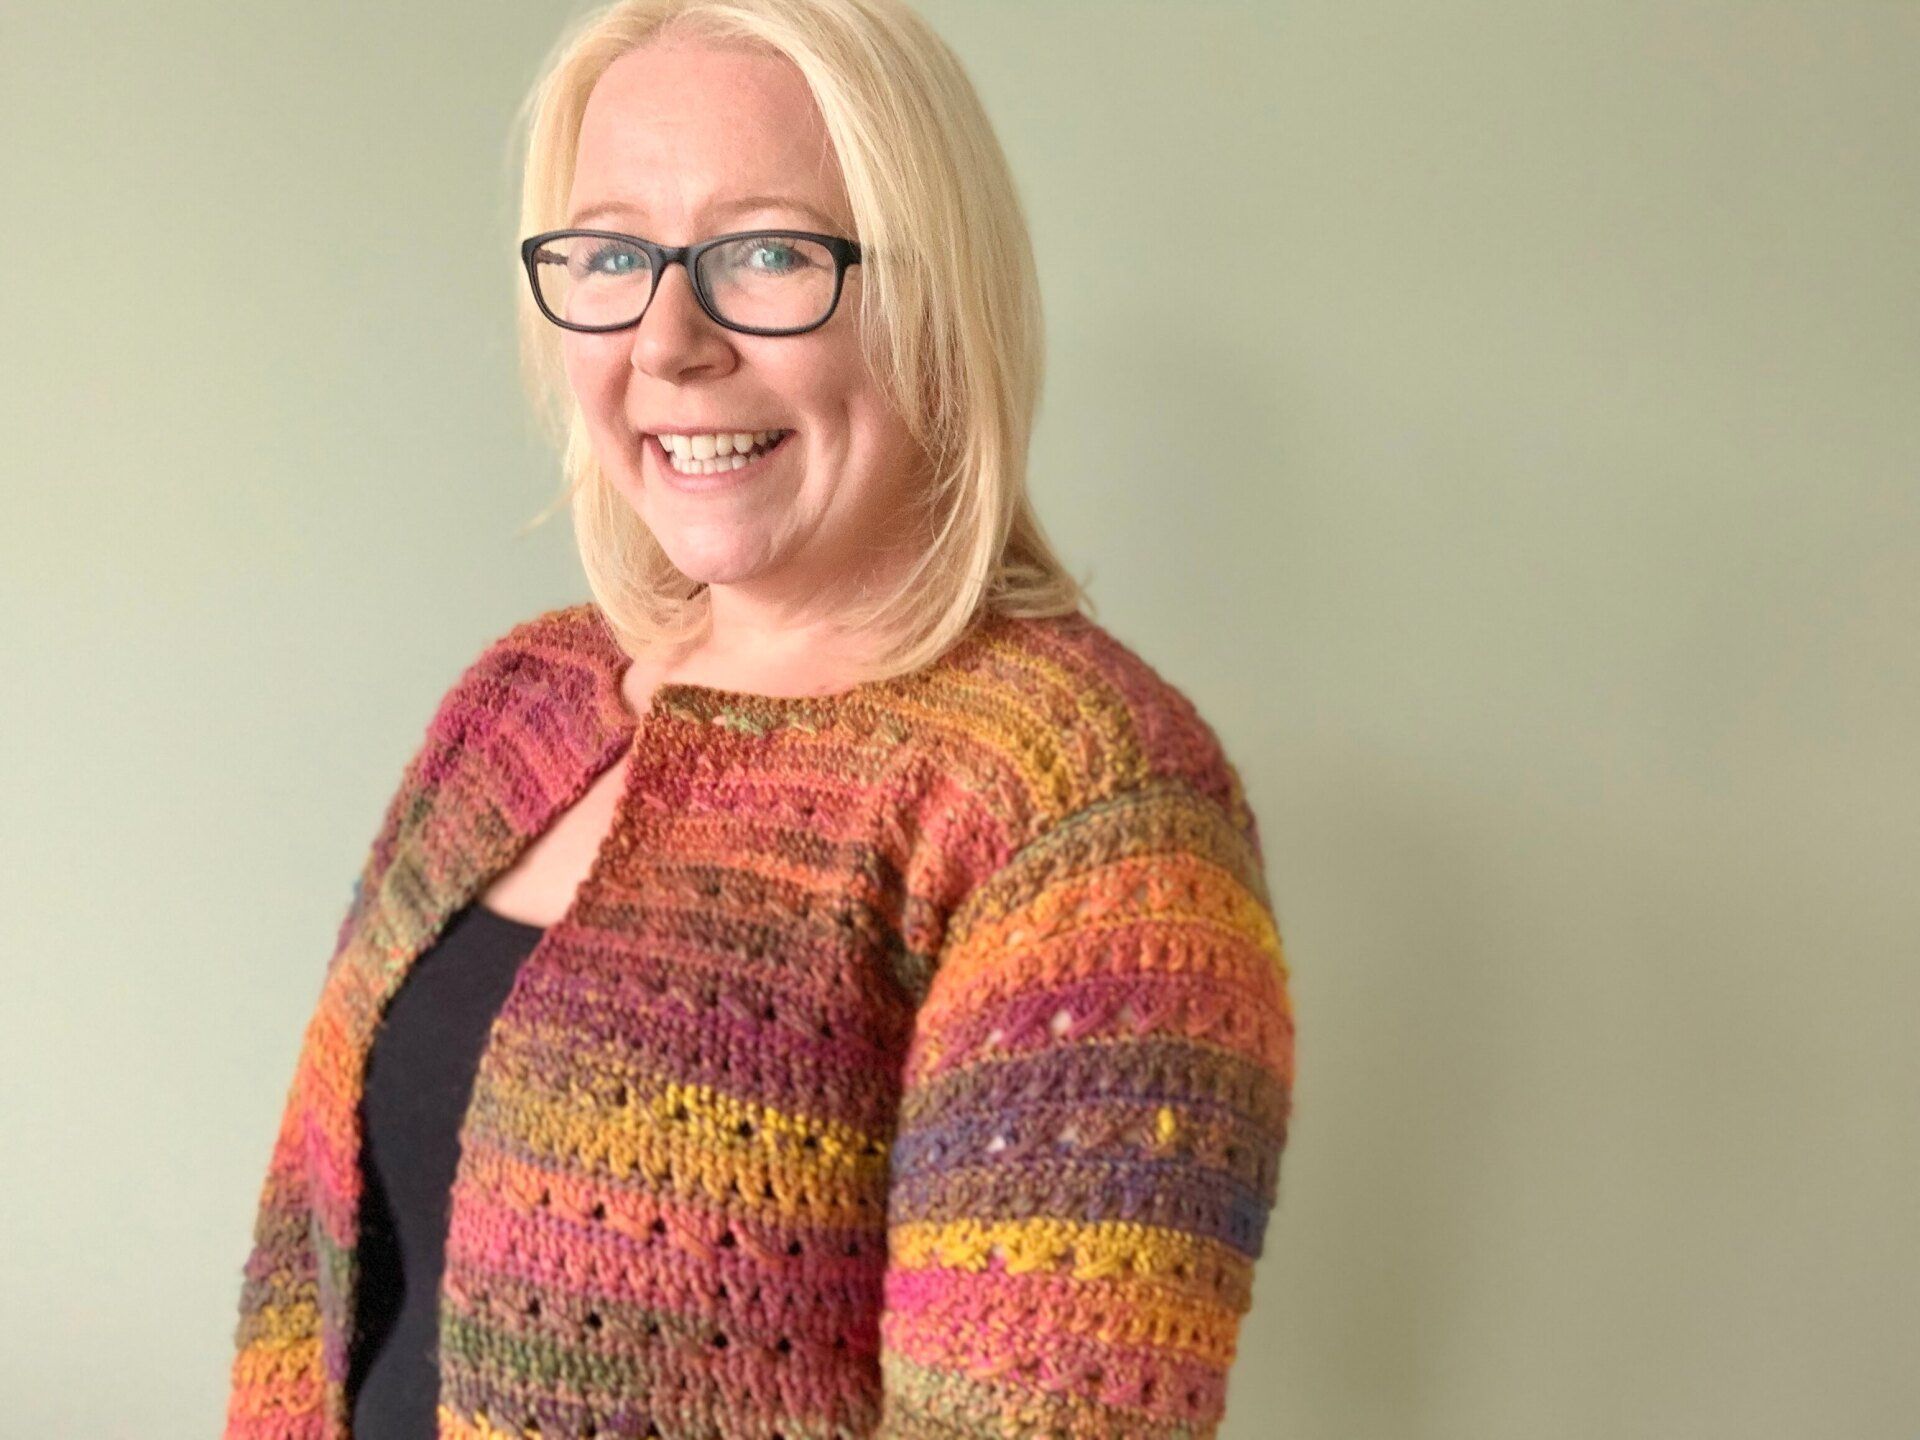
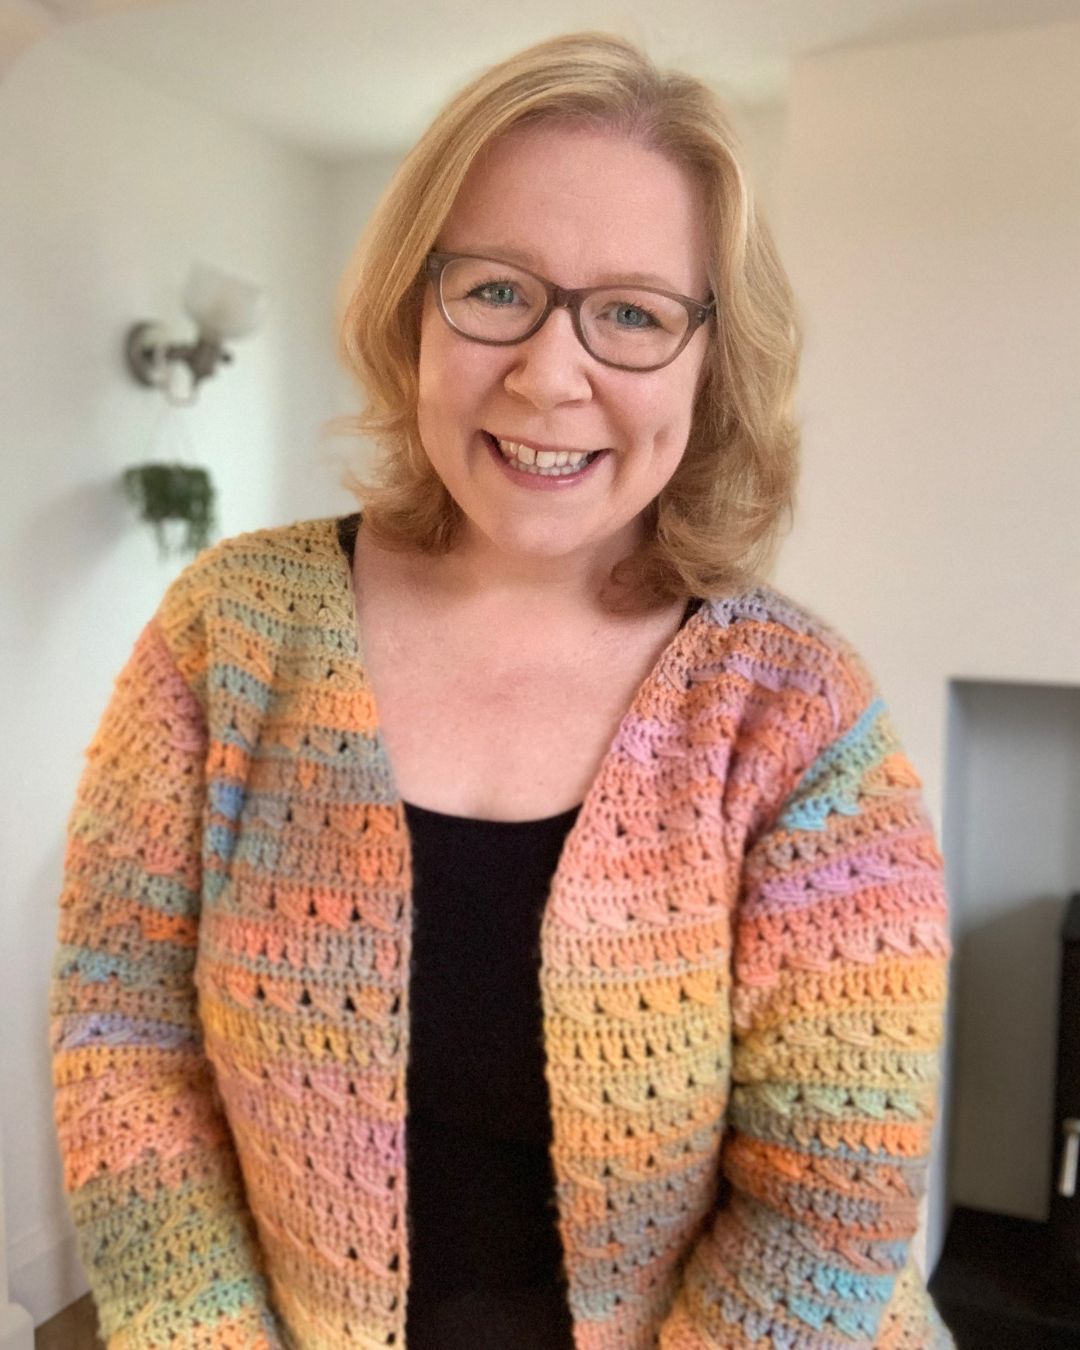
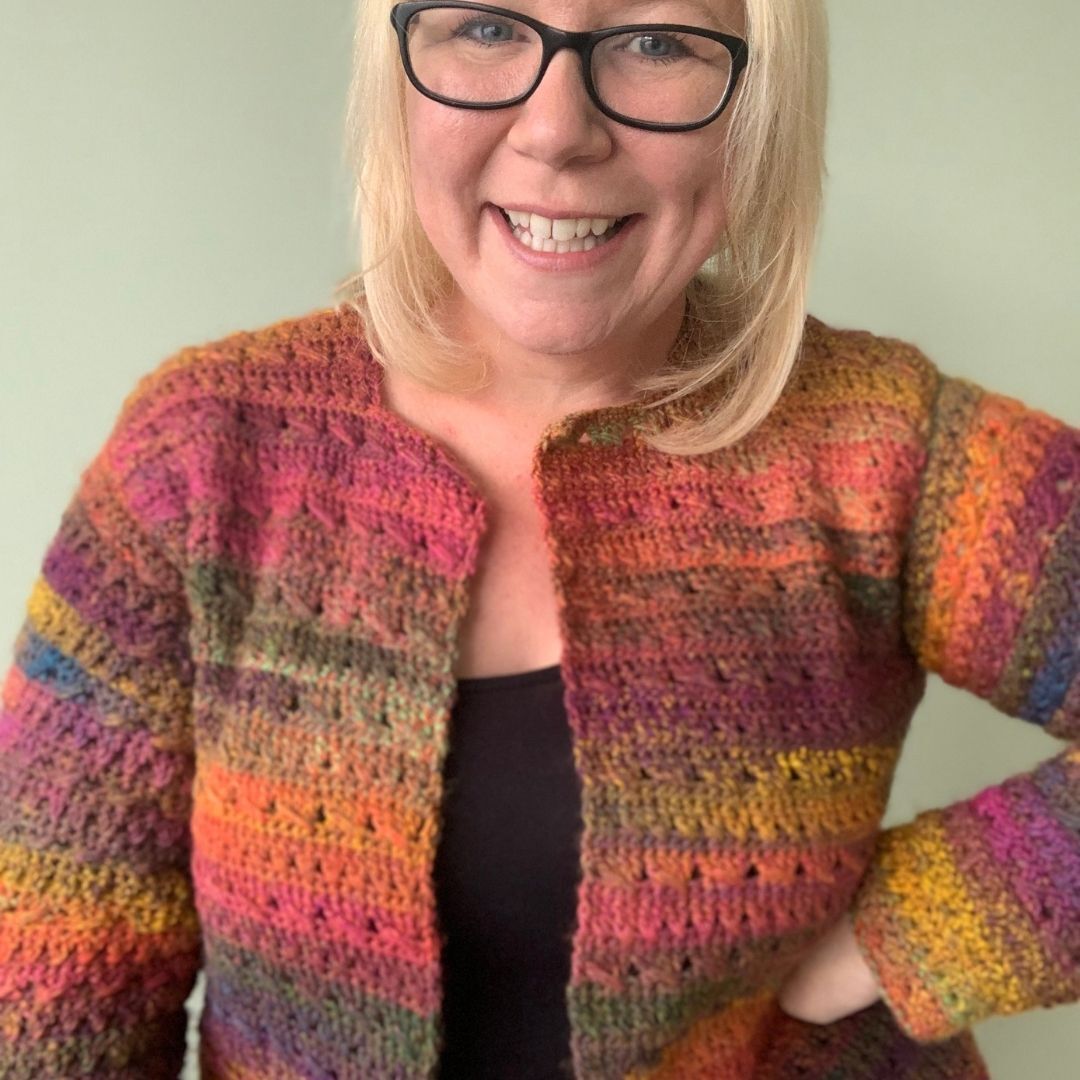
About the Autor
Hi, I'm Fiona, the hands behind Cosy Rosie Crochet - the place to learn to crochet as you make!
With over four years of hands-on experience leading in-person crochet workshops since 2018 and designing and publishing my own patterns since 2019, I bring a wealth of expertise of sharing crochet techniques.....

The sleeves created for this crochet cardigan pattern are designed to be inset into the armholes which reduces the bulk of fabric under the arms as creates a better, comfort fit.
Continuing this classic neckline, the instructions for the Right Panel V-neck, mirror the left panel, to complete the front section of your cardigan.
Finish your right front panel with the square neck option and get ready to join your cardigan.
Cosy Rosie UK Crochet Blog
The sleeves created for this crochet cardigan pattern are designed to be inset into the armholes which reduces the bulk of fabric under the arms as creates a better, comfort fit.
Continuing this classic neckline, the instructions for the Right Panel V-neck, mirror the left panel, to complete the front section of your cardigan.
Finish your right front panel with the square neck option and get ready to join your cardigan.
The magic knot allows you to join 2 yarns seamlessly, leaving no ends to weave in - you just keep on crocheting.
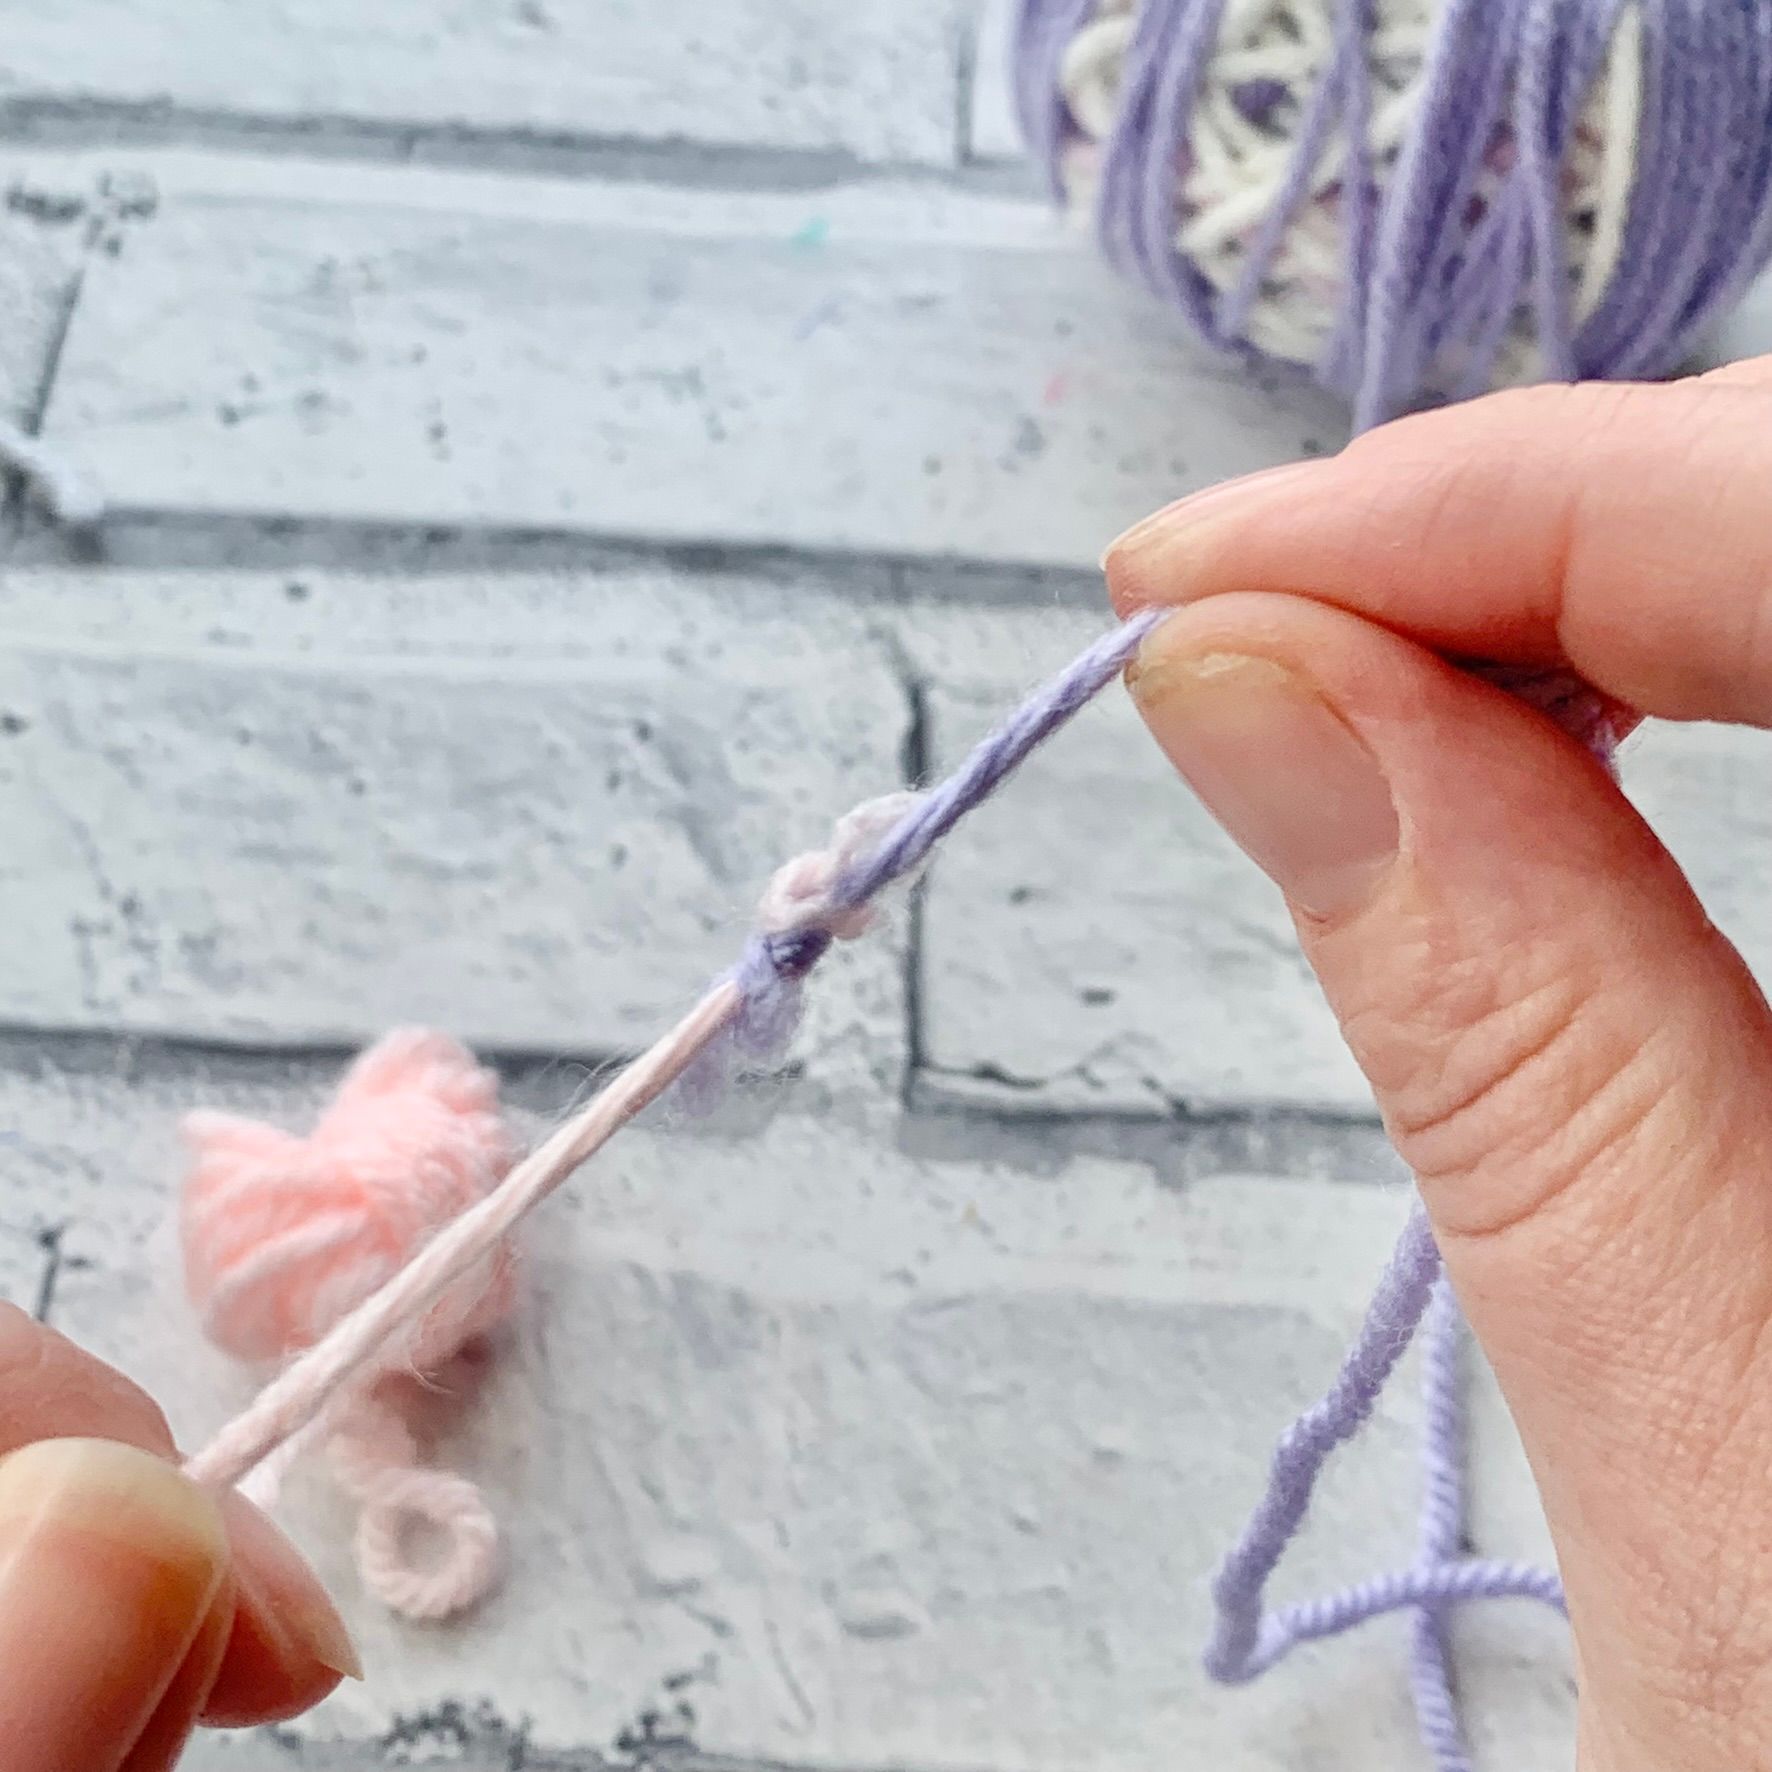
If you hate weaving in your ends, this foolproof way to join yarns together is the quickest and easiest way to get it done - I call it the Quick Knot