How to crochet Corner to Corner C2C for beginners
Learn how to corner to corner crochet including how to C2C increase and C2C decrease with this step by step crochet tutorial so you can and this great crochet technique to your stitch vocabulary.
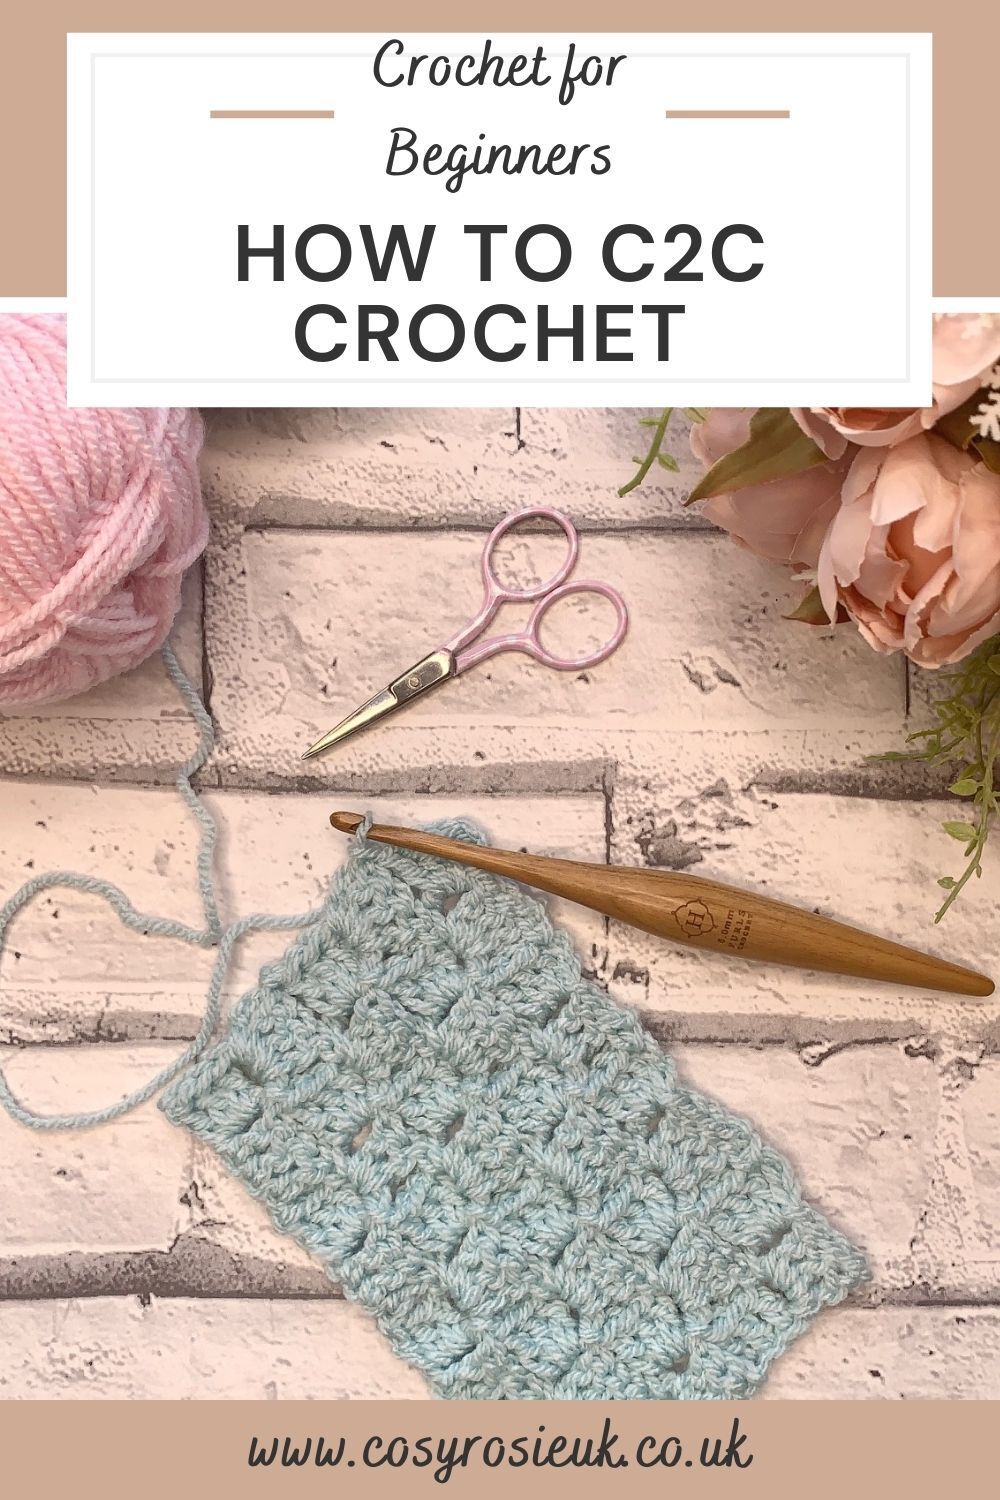
Crochet C2C Corner to Corner| Free Stitch Tutorial
This free crochet tutorial will take you through all the basic skill you need to complete a corner to corner crochet project from how to increase and how to decrease on your project.
Corner to Corner (C2C) is a crochet project that is simply worked from corner to corner instead of straight rows. The stitch creates blocks, and on each row you increase the number of Blocks until your project has reached the width you want to create, then you start decreasing.
The basics of corner to corner crochet will allow you to make easy striped crochet blankets and afgans. Once you’ve mastered the basics, you can learn how to read a C2C chart and follow the graph to make a Graphgan (an afgan that’s made following a graph).
Please note that some of the links in my blog are affiliate links. I may earn a small commission if you purchase via this links, but the price you pay is not affected
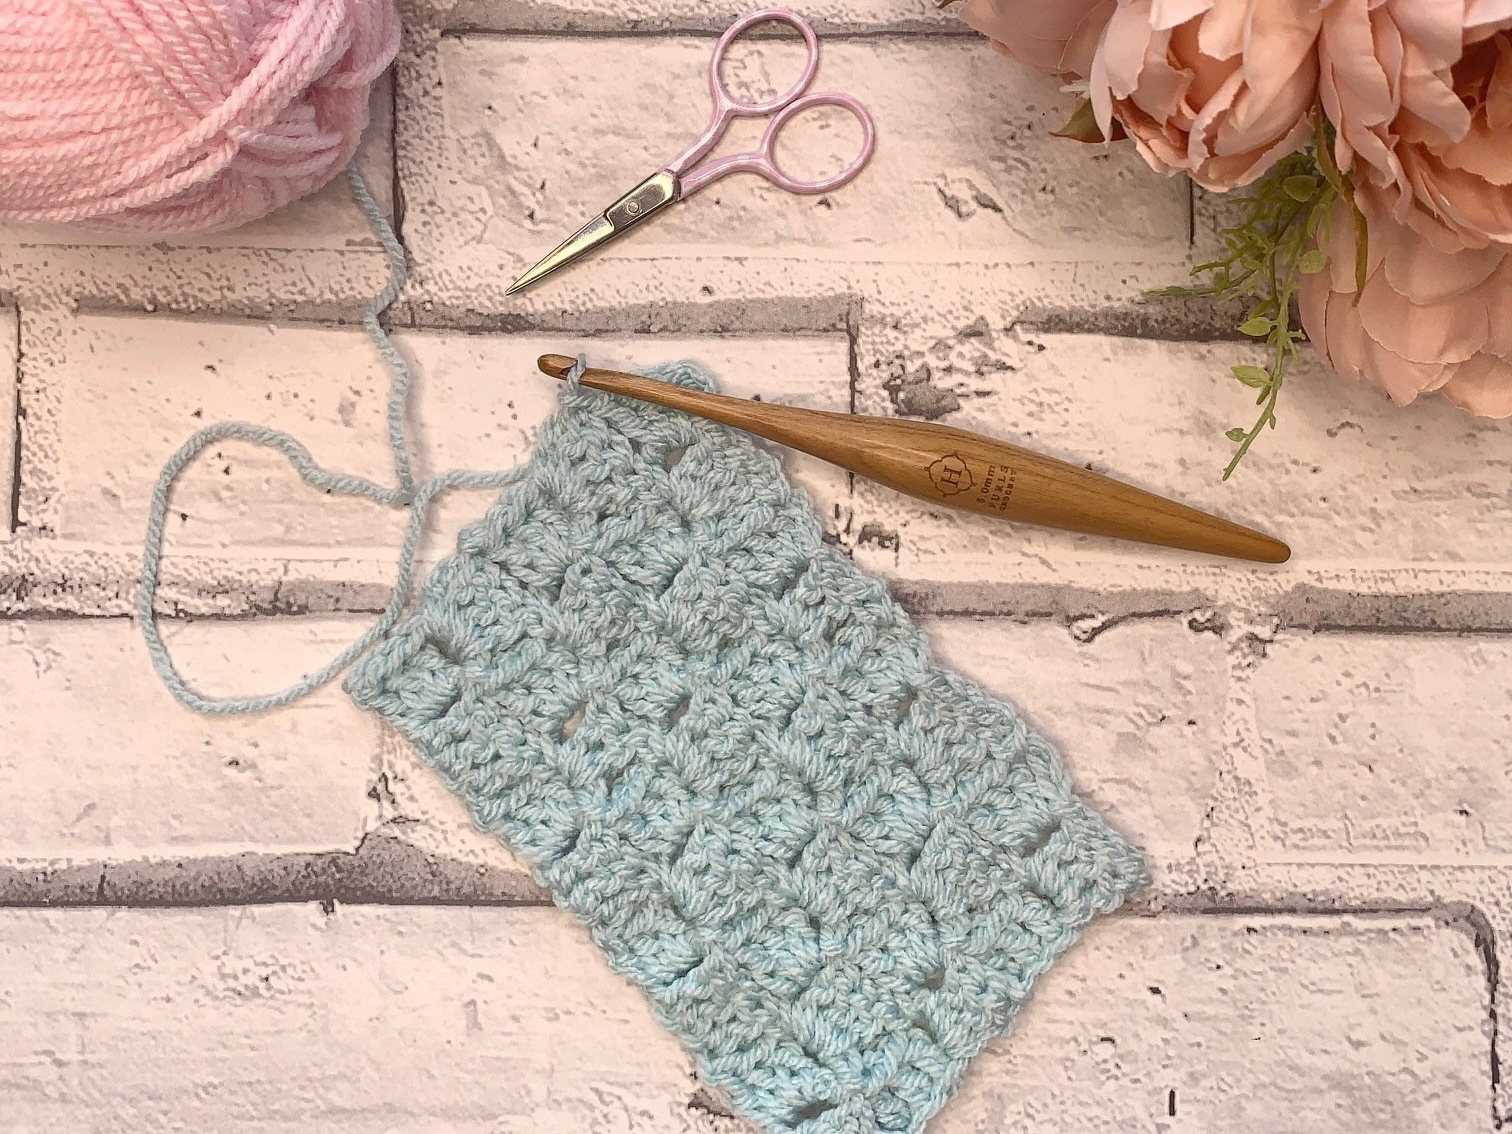
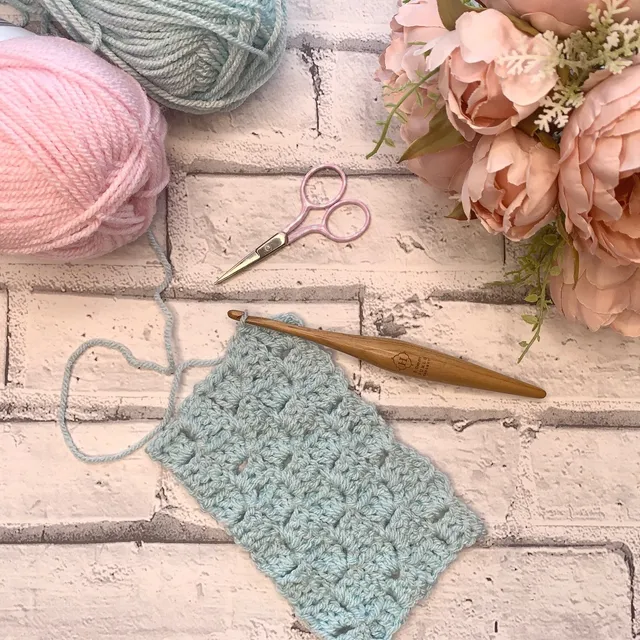
How to Crochet A C2C Rectangle
Almost all C2C crochet projects are made to a rectangle or square shape. You can even create a number of squares in different colours sewn together to create a different colour pattern.
Learning how to crochet a corner to corner rectangle, or a square is the basic foundation to a whole host of C2C crochet projects. You’ll find a photo tutorial which will take you through each step from increasing and decreasing your C2C project or you can follow along with the video below.
For this tutorial I used the following materials:
5mm crochet hook (I used a Furls Steamline hook)
PaintBox Yarns Simply Aran in shade Seafoam Blue
You can use any yarn with the hook size recommended on the yarn band.
How to crochet a C2C Increase Block
It’s important to note that you’ll always begin a C2C project on an increasing block. The Decrease block is used when your project has reached the width required and when you’ve also reached the length required for your crochet project.
Increase Block (Inc Block):
- Chain 6
- in 4th chain from hook, treble crochet (double crochet)
- Treble crochet in each of the 2 remaining chains.
When to use an Increase Block:
- Increasing the width of your project:
- complete the Increase block at the start of each row.
- Extending the length of the project:
- complete a Beginning Block on alternate rows to the Decrease.
Block:
- Chain 3 (counts as Treble crochet (Double crochet))
- In Chain Space under Ch3:
- work 3 Treble Crochet (Double Crochet)
- Slip Stitch to Ch3 space of block on previous row to join.

1. Ch6, Tr in 4th Ch from Hook

2. Tr in next 2 ch. Turn.

3. Ch6, Tr in 4th Ch from hook and next 2 Ch.

4. Sl St to join

5. Ch3, 3Tr in Ch Sp. Turn

6. Repeat Steps 3-5
Written Instructions – Corner to Corner Increase:
Row 1:
Step 1: Chain 6, Treble Crochet in 4th Ch from hook
Step 2: Treble crochet in next 2 chains (Inc Block). Turn. (1 Block)
Row 2:
Step 3. Chain 6, Treble crochet in 4th chain from hook and in next 2 chains.
Step 4: Slip Stitch in to chain 3 space to join.
Step 5: Chain 3, work 3 Treble crochet into chain space under chain 3. Turn. (2 Blocks)
Row 3 and onwards:
Repeat steps 3 to 5 until your project has reached the width required.
LEFT HANDED?
Click here for the left handed version of this tutorial.
How to crochet a C2C Decrease
The C2C decrease block can be a confusing term because rather than making your project smaller, it actually stops the width of your project increasing.
When working the Increase block and the Decrease block on alternating rows, the total number of block in the row will be the same and creates a flat edge along the sides of your project. This will continue to add length to your project without adding any more width to your project.
When your project has reached the length you want it to be, you will work the Decrease Block on every row to create the flat edge for your top of your rectangle or square.
When you work a decrease
Decrease Block (Dec Block):
- Chain 1
- Slip stitch across 3 treble crochet (double crochet)
- Slip stitch into chain space
- Work a Block as normal
When to use a Decrease Block:
- Extending the length of the project:
- complete the decrease on alternate rows to the Beginning block.
- Stop adding length to your project:
- work decrease on every row.
- this will reduce the number of blocks on the row by 1

1. Ch1, Sl St in next 3 Tr & in Ch Sp

2. Ch3, 3Tr in Ch Sp, Sl St into next Ch3 Sp

3. This will create a flat edge
Written Instructions – Corner to Corner Decrease:
Width of project reached & continue to add length to your project:
Row 5: (Decrease Row)
Step 1: Instead of Chain 6, Slip stitch into the top each Treble Crochet & into Chain Space
Step 2: Chain 3, work 3 Treble crochet into chain space and slip stitch into chain space
Complete the remainder of the row with the Block (Ch3, 3Tr into Ch Sp, Sl St to join) to the end of Row (5 Blocks)
Row 6: (Increase Row)
As Row 2:
- Chain 6, Treble crochet in 4th chain from hook and in next 2 chains.
- Slip Stitch in to chain 3 space to join.
- Chain 3, work 3 Treble crochet into chain space under chain 3.
- Repeat to end. Turn. (5 Blocks)
Row 7: Decrease Row as Row 5
Row 8: Increase Row as Row 2
Length of project reached:
Row 9-12: Decrease Row.
Block count will decrease by 1 block on each row.
When you have reached the length of the project you want to make, you will work a Decrease block at the start of each row to crochet the flat edge of the top of your project.