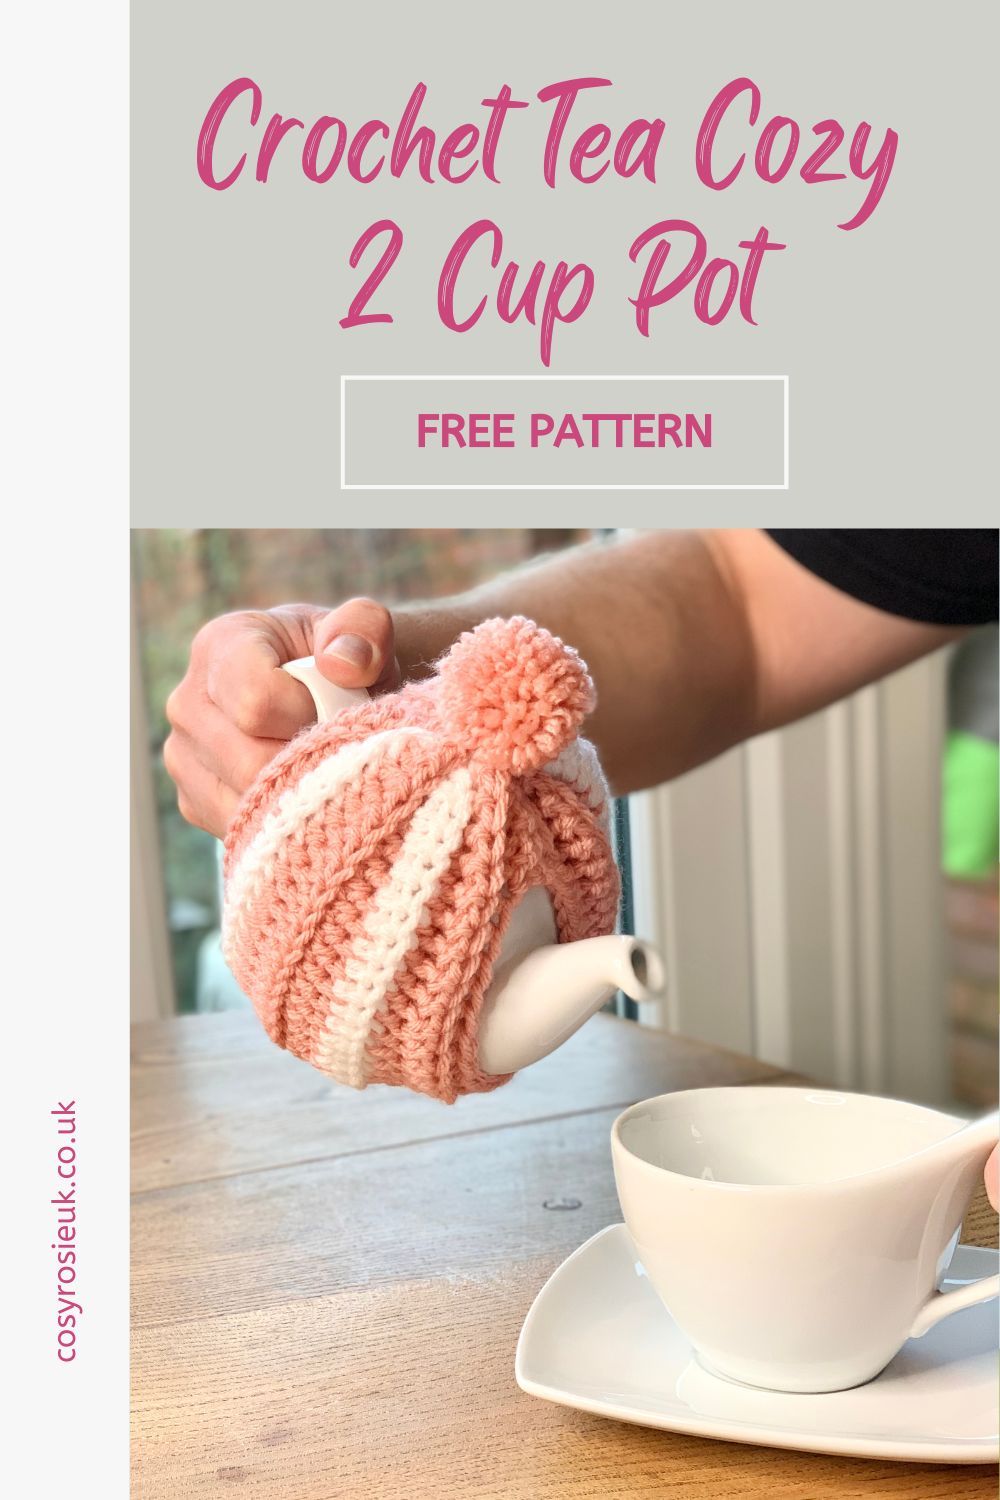
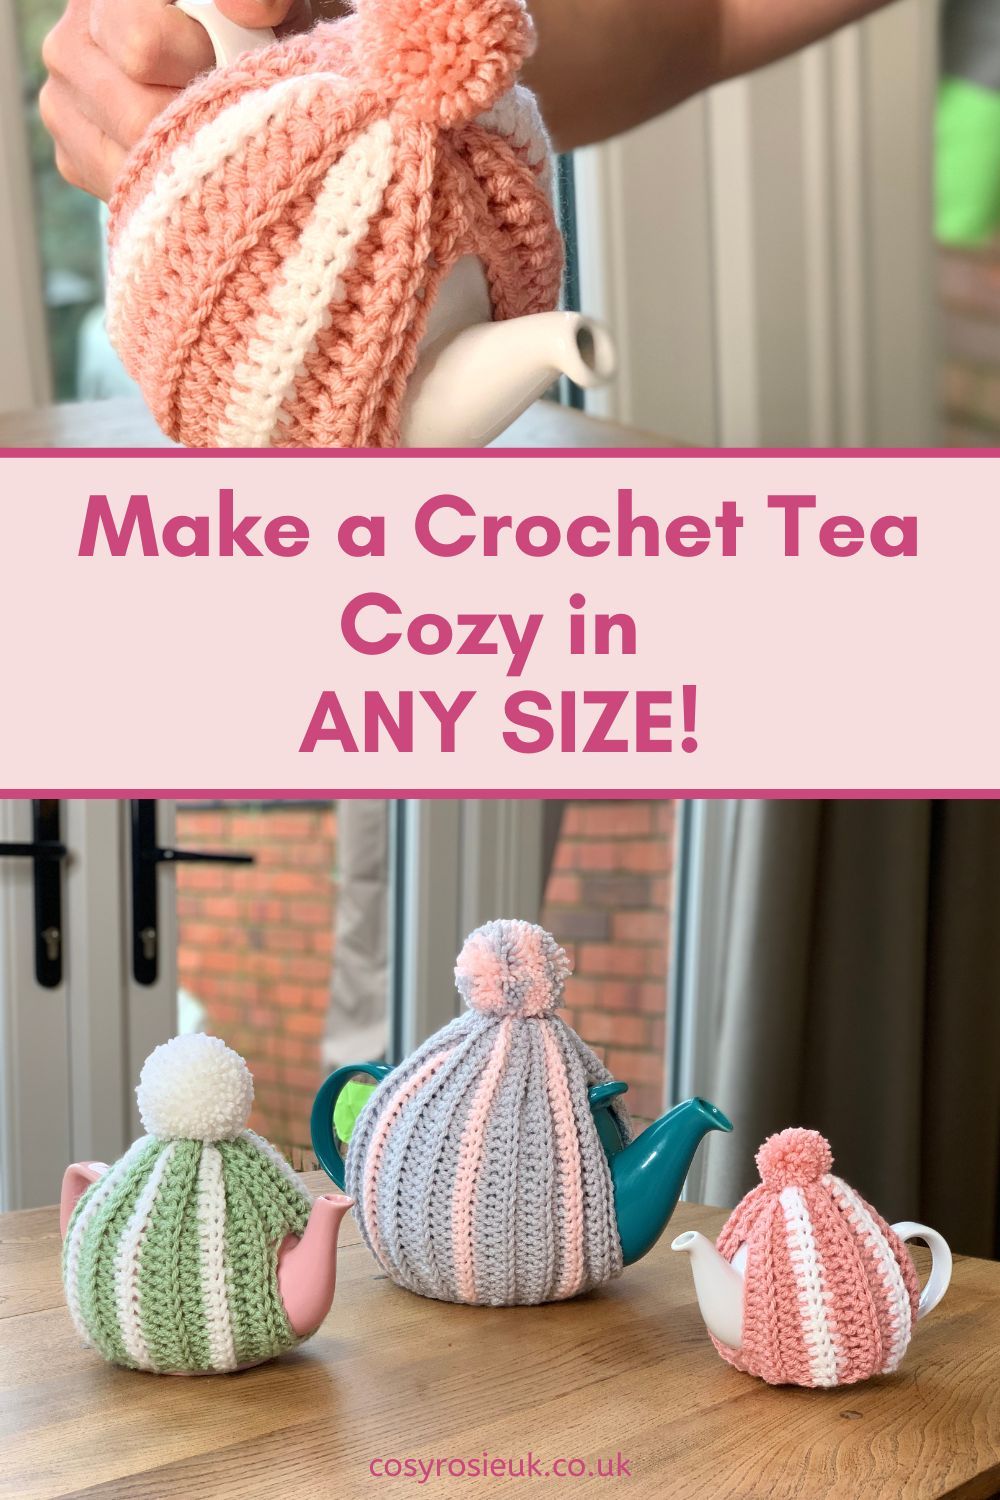
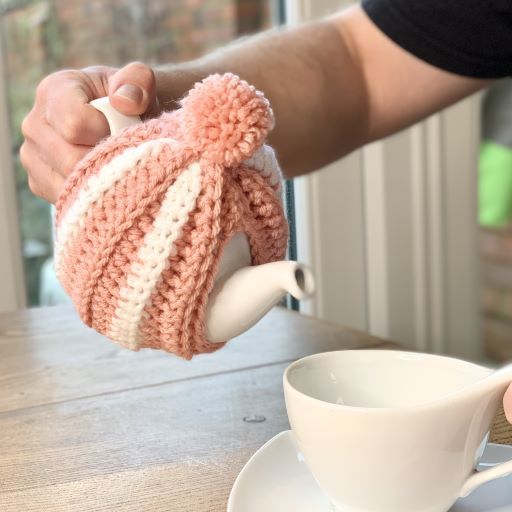
Ribbed Crochet Tea Cosy Pattern
Make your own ribbed crochet tea cosy with this free crochet pattern. This simple crochet tea cosy pattern is easy to follow and can by adjust to fit the height and width of your own tea cosy. So, whether you are looking to make a 2 cup tea cosy or a 10 cup tea cosy, this pattern will ensure a good fit to keep your tea warm to the last drop.
Please note that some of the links in my blog are affiliate links. I may earn a small commission if you purchase via these links, but the price you pay is not affected
Ribbed Crochet Tea Cosy Pattern | Free Crochet Patterns
Is there anything better than taking a few moments to relax in your day with a hot cup of tea? Well, yes – pouring it from a teapot covered in a handmade tea cosy!
No matter what size your tea pot is, this pattern can be adjusted for a good fit.
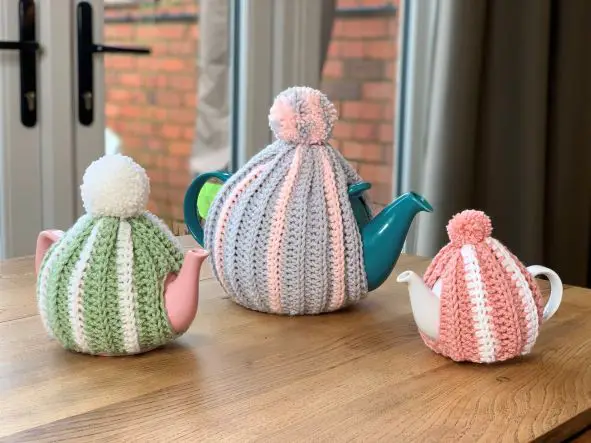
This free crochet tea cosy pattern is written for 3 different standard sizes of tea pot:
- 10 cup tea 10” tall and 11” wide
- 6 cup tea pot measuring 7″ tall and 7.5 wide
- 2 cup tea pot measuring 5.5” tall and 6” wide
No need to worry if your teapot has a different measurement, the How to crochet a tea cosy video tutorial takes you through you step by step, how to make your own crochet tea cosy
What yarn is best for a tea cosy
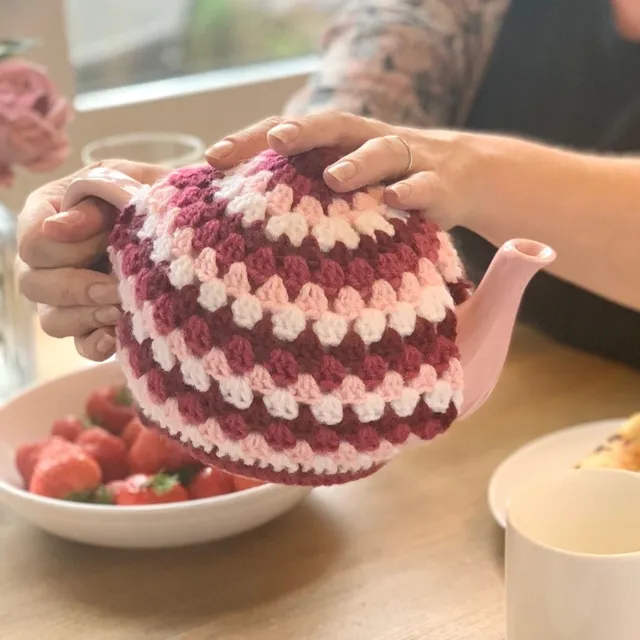
The ideal yarn to use when making a tea cosy would be a yarn fibre with heat retaining properties such as wool or animal fibres. I used 100% Merino yarn on my Blackberry Tea Cosy and it worked up so well!
However, wool is absorbent to moister, which if your pot drips when you pour might not be ideal.
Acrylic yarn is the synthetic version of wool and has similar heat retaining properties but is more repellant of water – I find it a perfect choice for tea cosy’s that will be well used when you think of the care instructions.
Most acrylic yarns are machine washable and some can even be tumble dried – how’s that for easy care!
Purchase the Printable PDF Pattern
You can grab a copy of the printable crochet pattern for the Spill the Tea Cosy in my pattern shops. Simply click the links below to be taken to your favourite pattern shops.
Crochet Tea Cosy YouTube
How to crochet a tea cosy
Skill Level: Beginner
Materials:
- Chunky/Bulky (size 4) 100% acrylic yarn
- I used Paintbox Yarns Simply Chunky various shades including
- 2 Cup Tea Cosy – 60m
- 6 Cup Tea Cosy- 90m
- 10 Cup Tea Cosy- 130m
- Click here to purchase this yarn from LoveCrafts
- 6mm (J/10) crochet hook
- Scissors
- Small Button
Abbreviations: US terms (UK in brackets)
St(s) – stitch(es)
Ch – chain
Sc (dc) – Single Crochet (double crochet)
Sc2tog (dc2tog) – Single (double) crochet decrease
HDc (htr) – Half double (treble) crochet
RS – Right side
Gauge:
- 9 Rows & 14 sts in hdc = 4″ with 6mm crochet hook.
Finished Size:
Measured between edge of handle to spout and from bottom to top of lid:
- 10 cup tea pot measuring 10” tall and 11” wide
- 6 cup tea pot measuring 7″ tall and 7.5 wide
- 2 cup tea pot measuring 5.5” tall and 6”
Pattern Notes:
- Read through entire pattern before beginning. Please email [email protected] if you need assistance
- This pattern is worked in 2 parts, 1st part is worked in rows and edging added around the base before closing
- Beginning Ch 1 DOES NOT count as a stitch.
Measure & Adjust
- Measure your teapot between the handle and the spout
- If your pot is taller than the suggested finished sizes, increase the number of starting chains to ensure that the chain reaches the middle of the teapot lid.
- The starting stitch count will be the number of chains reduced by 1.
Ultimate Crochet Tea Lovers Collection
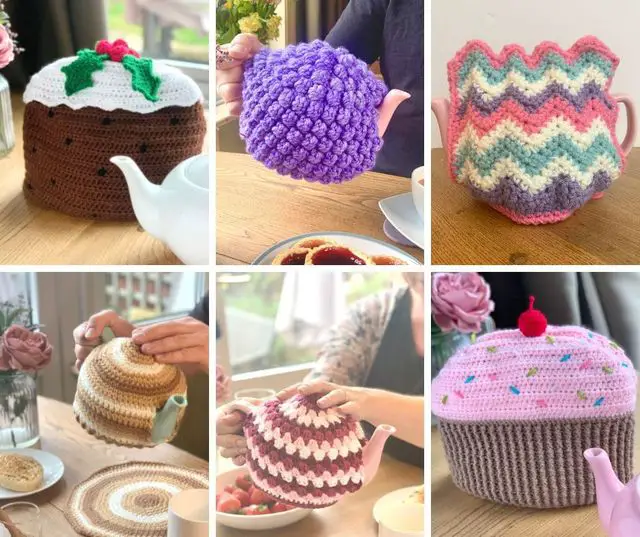
Spill the Tea Cosy | Free Crochet Pattern
2 Cup Tea Cosy Pattern
Row 1: WS. Ch 18, hdc in 2nd ch from hook and each across, turn. (17 hdc)
Rows 2-9: Ch 1 (does not count as st), working in BLO, hdc in same as ch 1 and each across, turn. (17 hdc)
Row 10: Ch 1, working in BLO, sc in same as ch 1 and next 5 sts leaving remaining sts unworked, turn. (5 sc)
Rows 11: Ch 1, working in BLO, sc in same and each across, turn. (5 sc) Top of spout opening made.
Row 12: Ch 1, working in BLO, sc in same and next 4 sts, ch 9, skip 9 sts, sc in last 3 sts, turn. (8 sc, ch-9)
Row 13: Ch 1, working in BLO, hdc in same and next 2 sts, working in back bump of ch-9, hdc in each ch across, working in BLO, hdc in last 5 sts, turn. (17 hdc)
Row 14-22: Ch 1, working in BLO, hdc in each across, turn. (17 hdc)
Fasten off and weave ends.
Continue to Edging and Button Loop.
6 Cup Tea Cosy Pattern
Row 1: WS. Ch 23, hdc in 2nd ch from hook and each aross, turn. (22 hdc)
Rows 2-15: Ch 1 (does not count as st), working in BLO, hdc in same as ch 1 and each across, turn. (22 hdc)
Row 16: Ch 1, working in BLO, sc in same as ch 1 and next 9 sts leaving remaining sts unworked, turn. (10 sc) Top of pout opening made.
Rows 17: Ch 1, working in BLO, sc in same and each across, turn. (10 sc)
Row 18: Ch 1, working in BLO, sc in same and next 10 sts, ch 9, skip 9 sts, sc in last 3 sts, turn. (13 sc, ch-9)
Row 19: Ch 1, working in BLO, hdc in same and next 2 sts, working in back bump of ch-9, hdc in each ch across, working in BLO, hdc in last 10 sts, turn. (22 hdc)
Row 20-34: Ch 1, working in BLO, hdc in each across, turn. (22 hdc)
Fasten off and weave ends.
Continue to Edging and Button Loop.
10 Cup Tea Cosy Pattern
Row 1: RS. Ch 31, hdc in 2nd ch from hook and each across, turn. (30 hdc)
Rows 2-20: Ch 1 (does not count as st), working in BLO, hdc in same as ch 1 and in each across, turn. (30 hdc)
Row 21: Ch 1, working in BLO, sc in same as ch 1 and in next 7 sts leaving remaining sts unworked, turn. (8 sc) Top of spout opening made.
Rows 22: Ch 1, working in BLO, sc in same and in each across, turn. (8 sc)
Row 23: Ch 1, working in BLO, sc in same and in next 7 sts, ch 18, skip 18 sts, sc in last 4 sts, turn. (12 sc, ch-18)
Row 24: Ch 1, working in BLO, hdc in same and next 3 sts, working in back bump of ch-18, hdc in each ch across, working in BLO, hdc in last 8 sts, turn. (30 hdc)
Row 25-44: Ch 1, working in BLO, hdc in each across, turn. (30 hdc)
Fasten off and weave ends.
Continue to Edging and Button Loop.
Edging and Button Loop.
Row 1: With RS facing and bottom of spout opening, join yarn in end of row 1 to work in row ends, ch 1, sc in same and next, sc2tog, *sc in next 2, sc2tog; repeat from* to end, ch 8, sl st to same as ch to create button loop
Fasten off and weave ends.
Closing
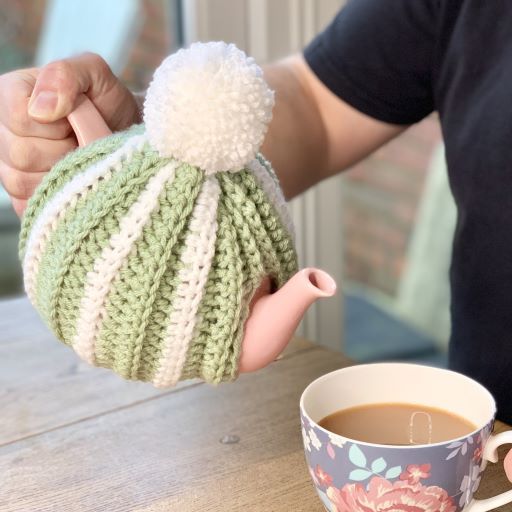
With darning needle and strand of yarn, beginning in 1st unworked row end, weave in and out of all row ends, cinch to close and secure, leave ends if adding a pom pom to secure.
If not attaching a pompom, weave in ends.
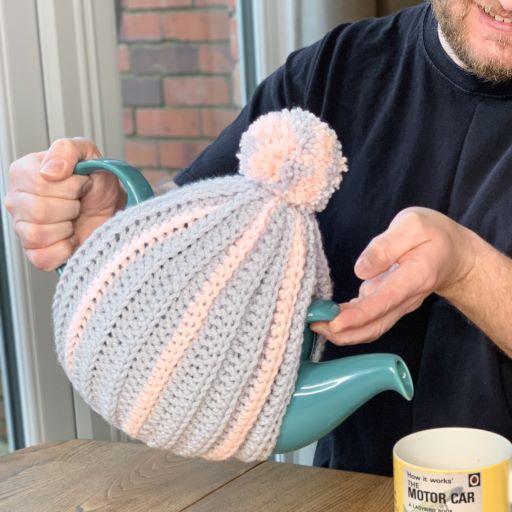
Beginning from the cinched top, seam together 8 stitches to close around the top of the handle.
Sew button on side opening opposite button loop.