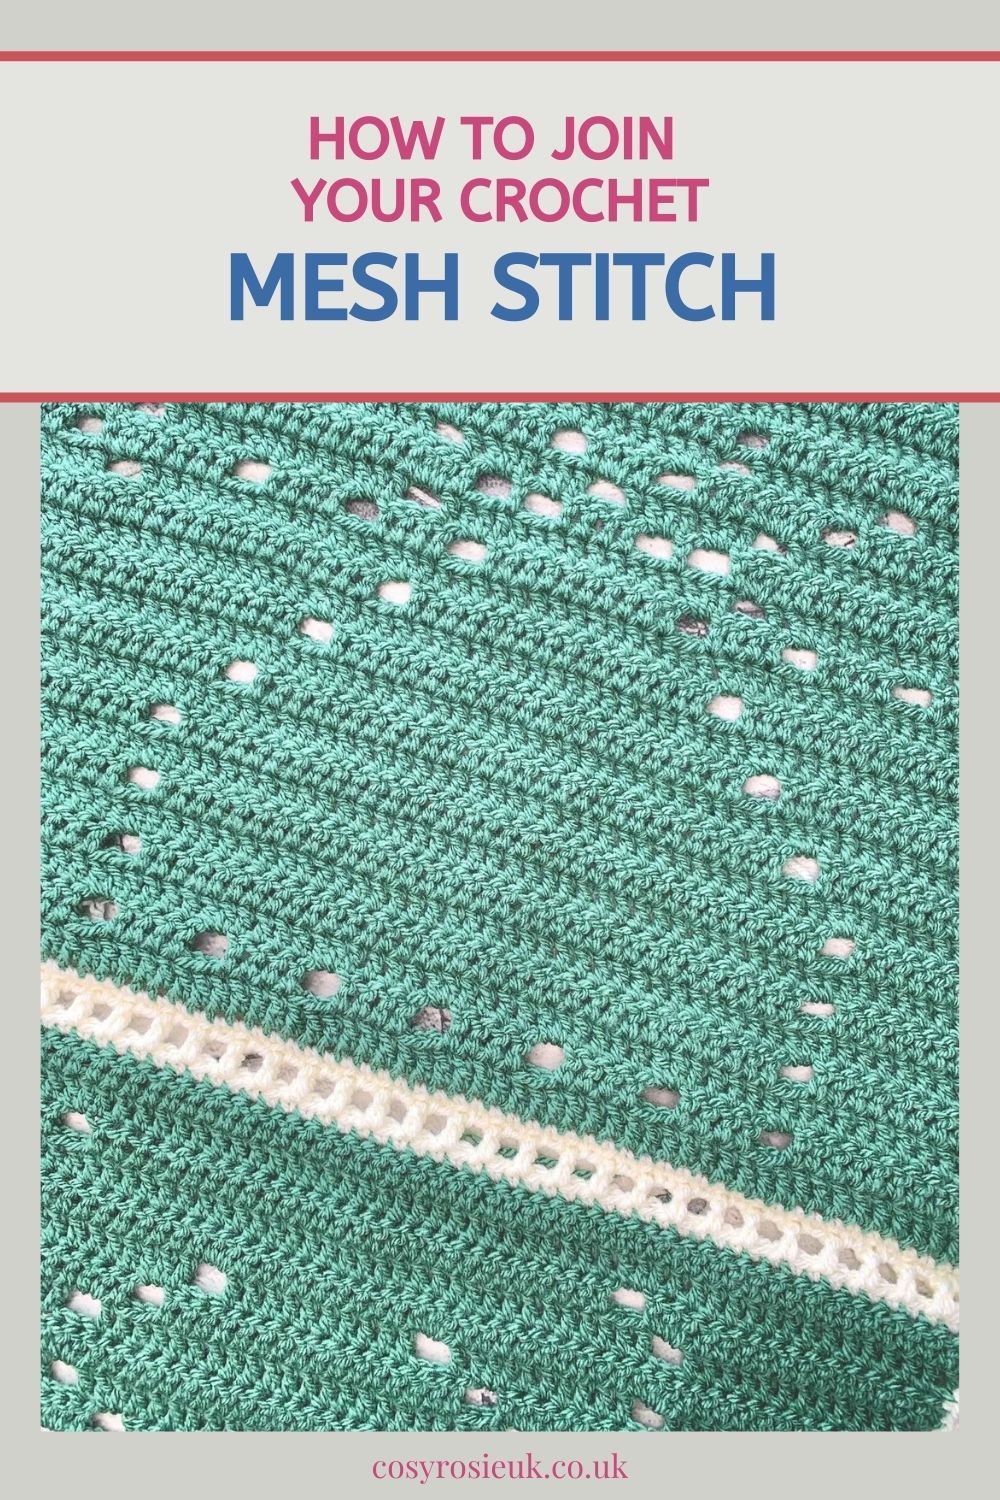
Crochet Mesh Stitch Join
Learn how to join crochet squares with the mesh stitch join to create an open crochet join that looks great with your granny squares and filet crochet squares.
Please note that some of the links in my blog are affiliate links. I may earn a small commission if you purchase via these links, but the price you pay is not affected
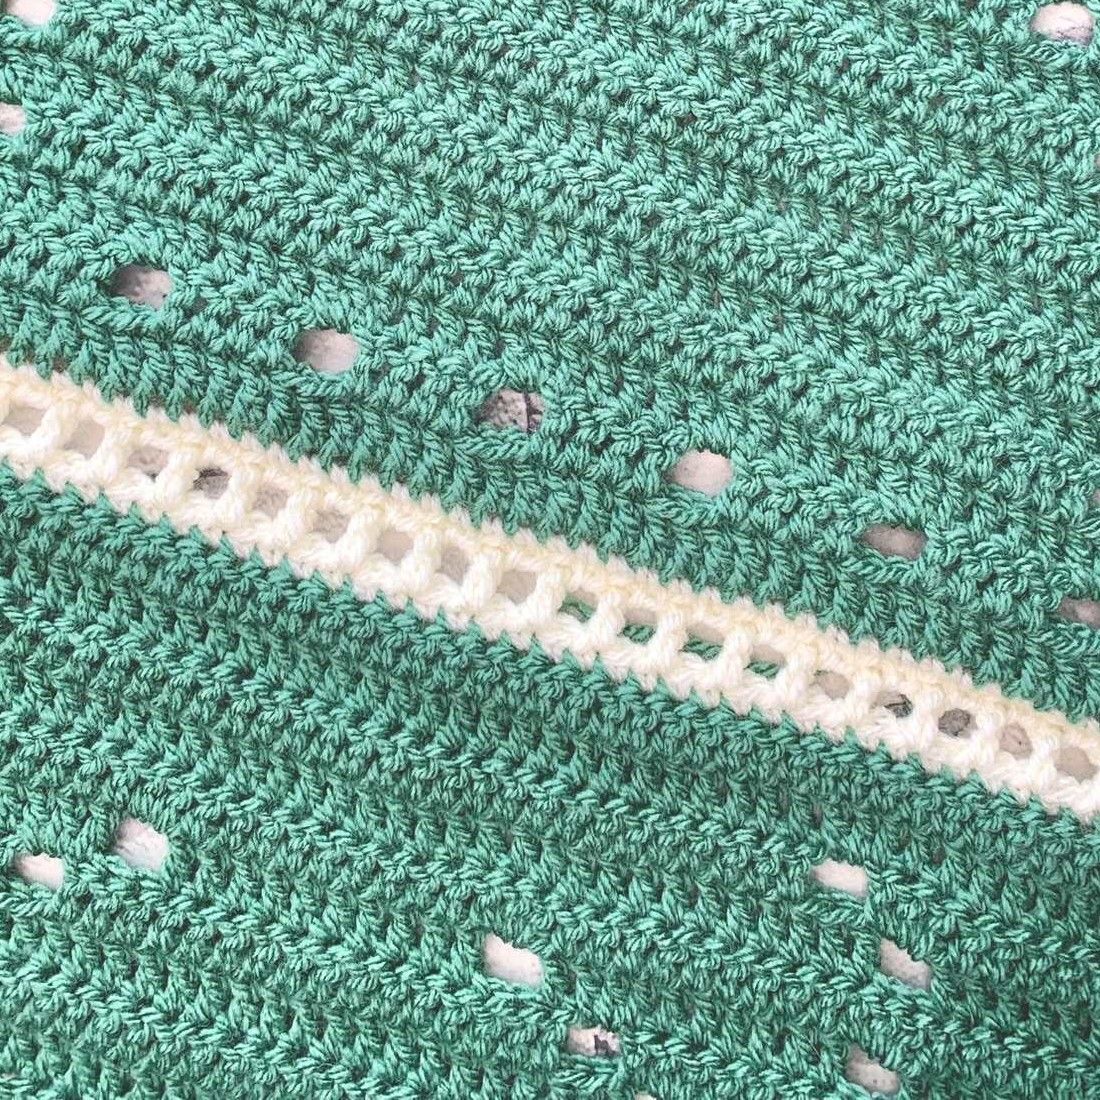
Mesh Stitch Join for Crochet Squares
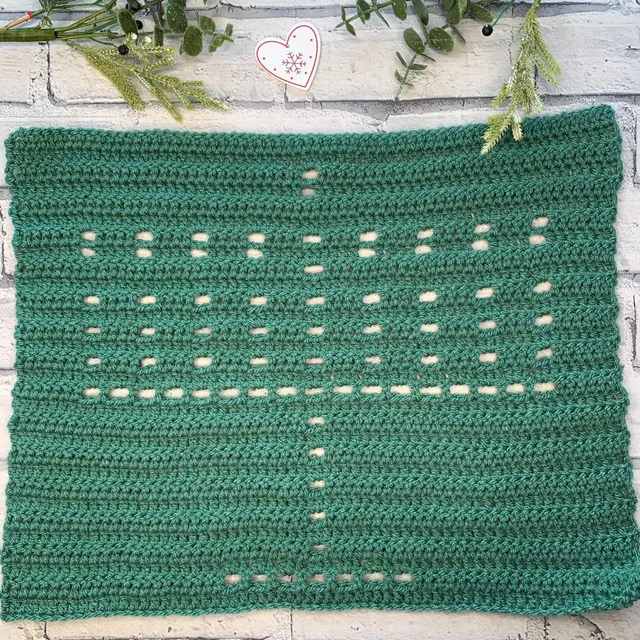
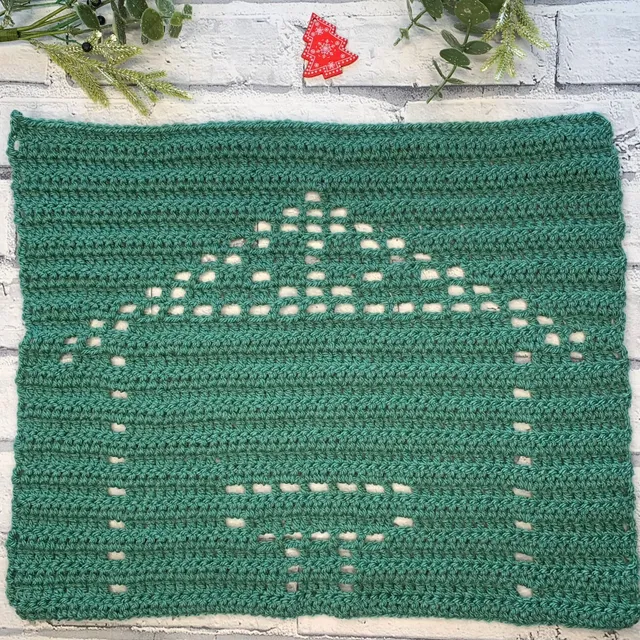
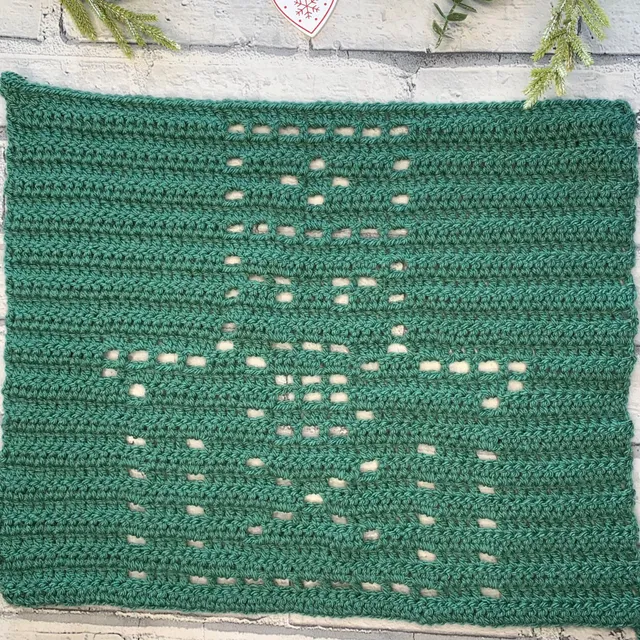
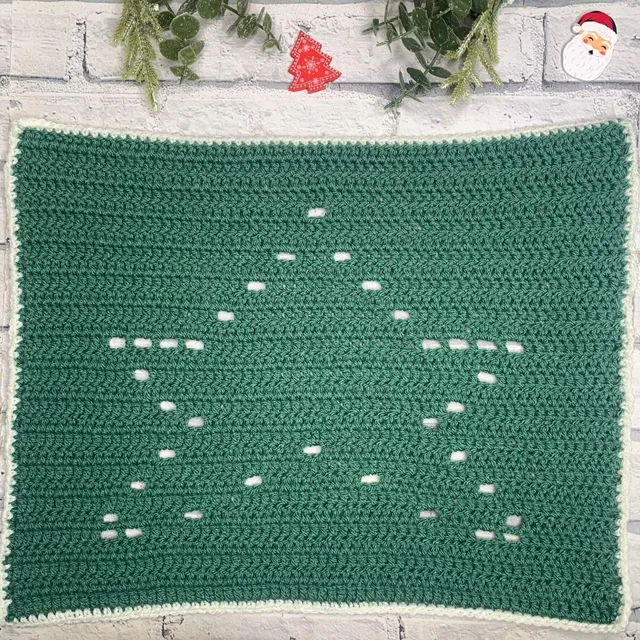
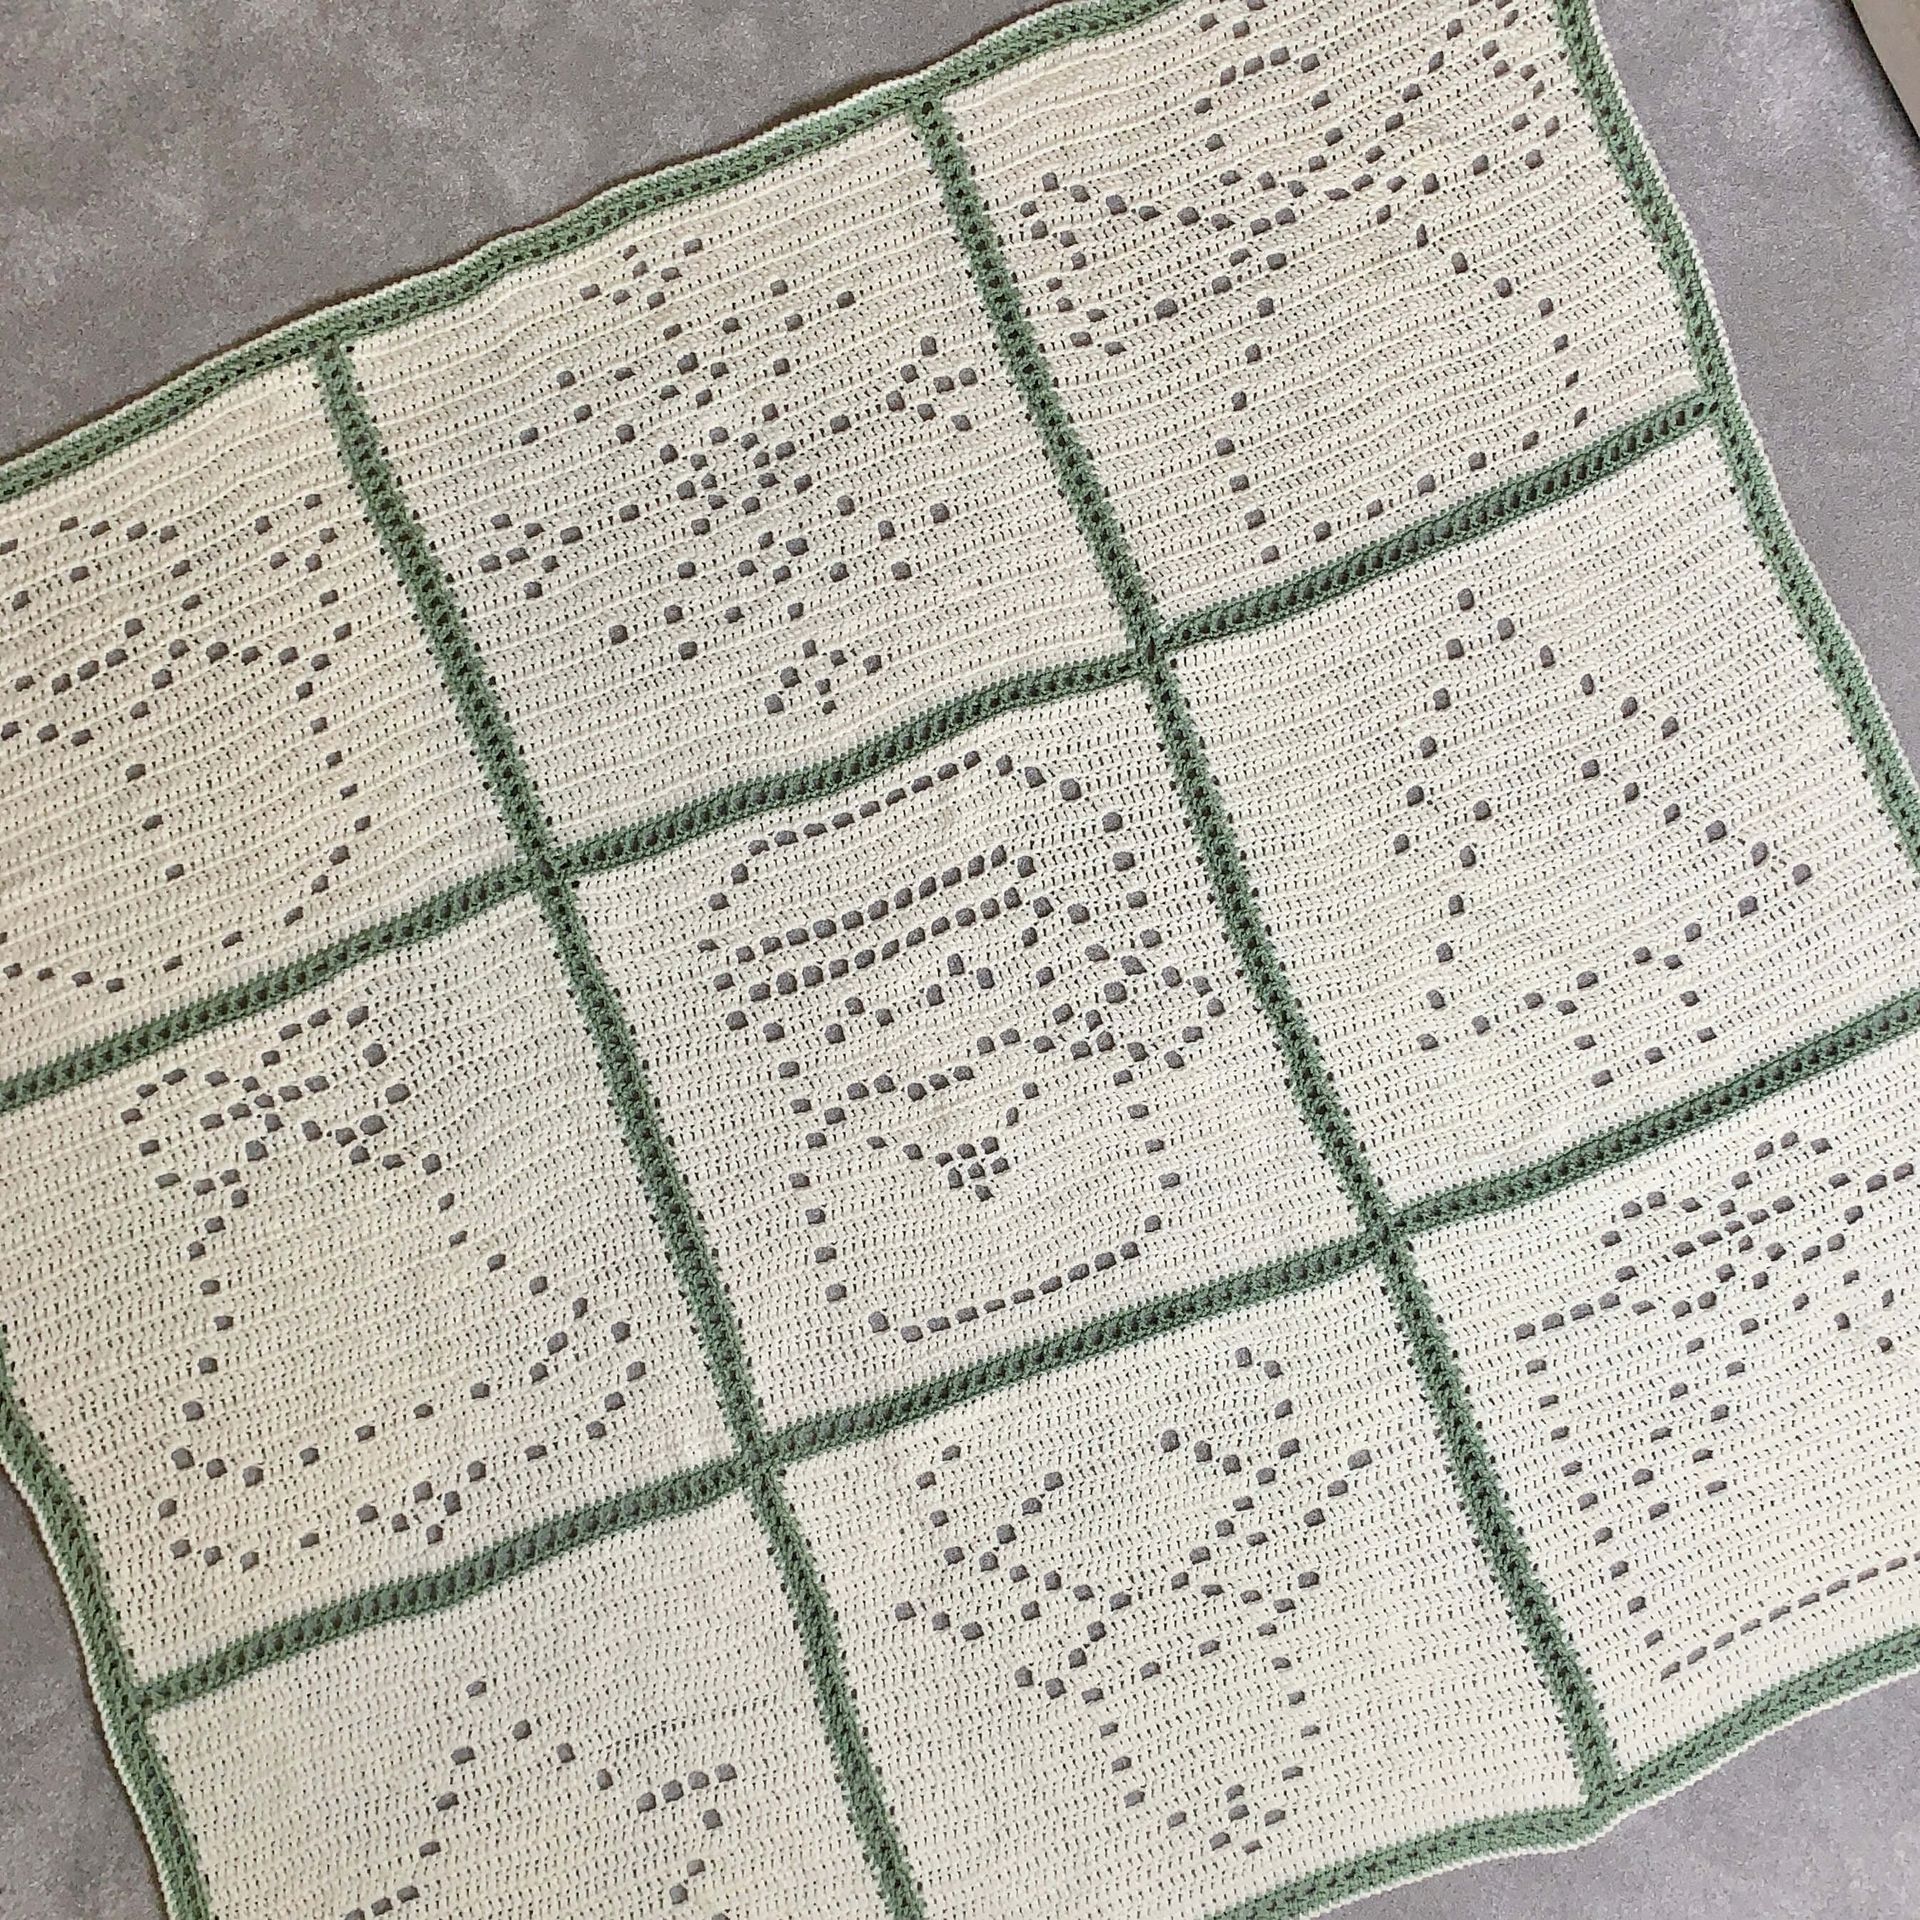
This mesh stitch join was created and used in the Jolly Holiday Blanket crochet along as a unique way to join the panels, to match the filet crochet technique used to stitch each of the blanket panels.
There are lots of different and unique ways to join granny squares and blanket squares, and I love to create new ways to make the join a feature in the blanket.
The Hodgepodge Blanket featured the Zig Zag join, worked in a contrasting colour to ensure it stood out, and once again, with the mesh stitch join also looks great worked in a contrasting colour.
This join can be used on any granny squares or blanket squares to join them, and this tutorial details how to:
- Join the 1st pair of squares
- Add in the next pair of squares
- How to join the squares in the other direction
- How to work across the panel join
Pin This Tutorial for Later!
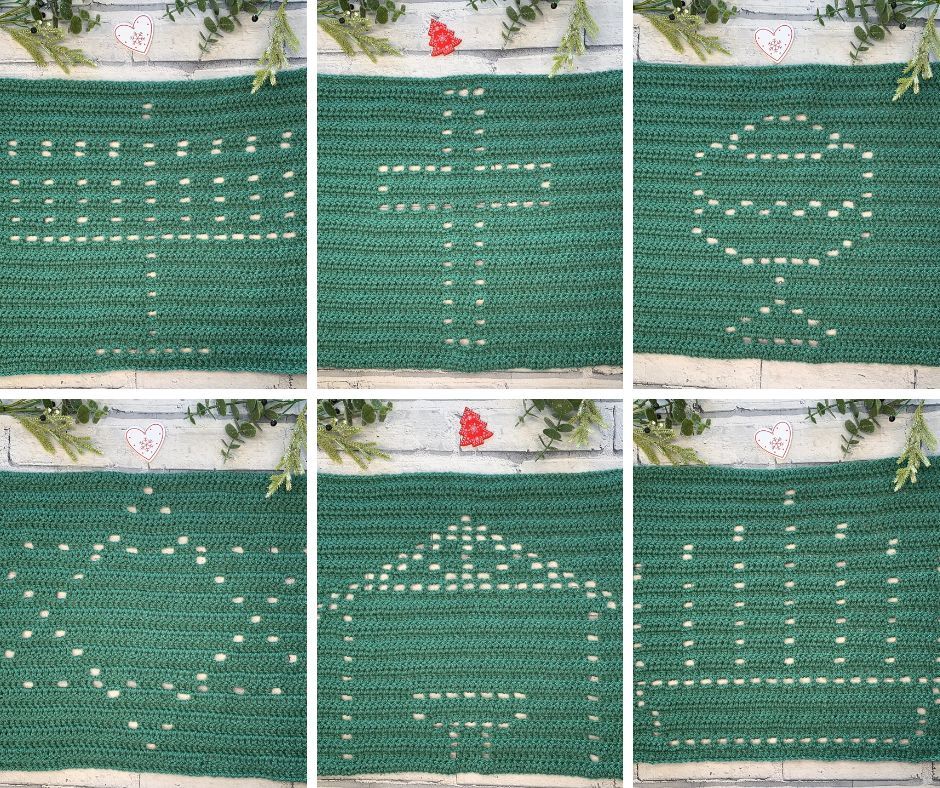
Jolly Holiday Blanket Crochet Along
The mesh stitch join was releasedas a crochet along (CAL), where each week a new panel was released on this website to create a holiday blanket unique to you!
View the Jolly Holiday Blanket Crochet along details
Purchase the Printable PDF Pattern
The full pattern, with all 12 panels, the joining and edging instructions is available to purchase from either Ravelry or Esty now.
The pattern includes ALL 3 different ways to follow the panel sections of the blanket:
- Filet Charts
- Written Charts
- Fully written pattern
So, whichever way you prefer to read a filet crochet pattern, you can!
Purchase on Ravelry Purchase on Etsy
Religious Elements | Jolly Holiday Blanket
There are also 6 religious panels to choose from to create a holiday blanket that celebrates everything about the Holidays. Click the image below to find out more.
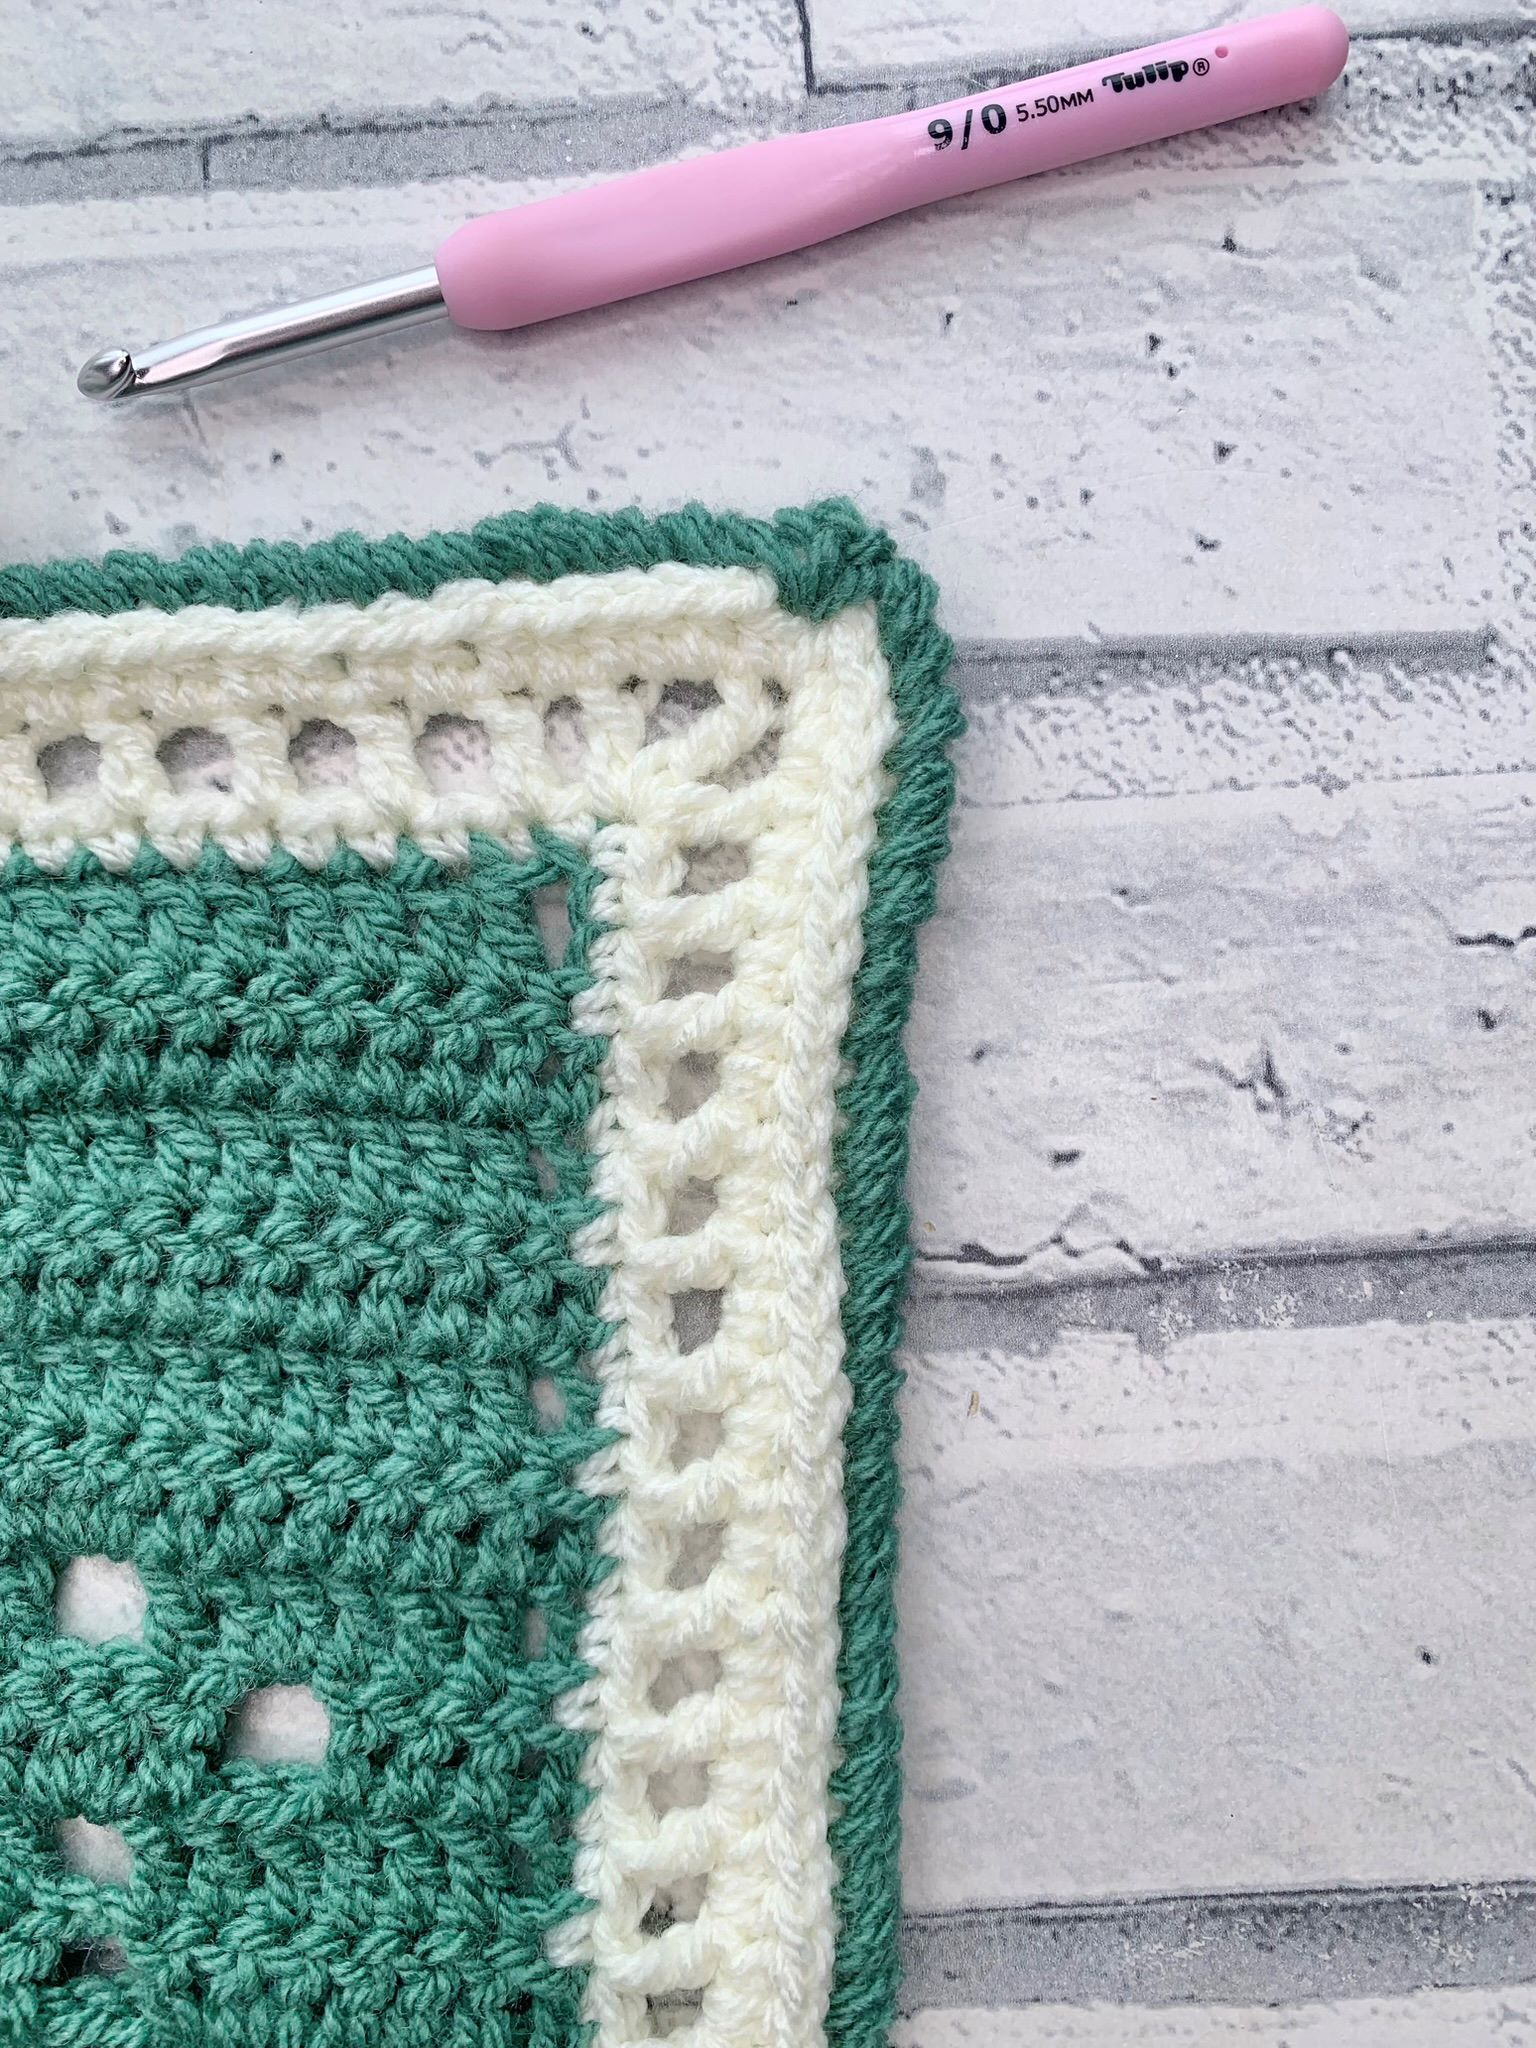
How to crochet Mesh Stitch Join
Skill Level: Easy
Materials:
In this tutorial I used:
- Any worsted /Aran weight acrylic yarn. I used Paintbox Yarns Simply Aran 100% Acrylic (100g (3.5oz), 184m (201 yds)) in the following 2 shades:
- A – Slate Green (226)
- B- Champagne White (202)
- 5.5mm hook
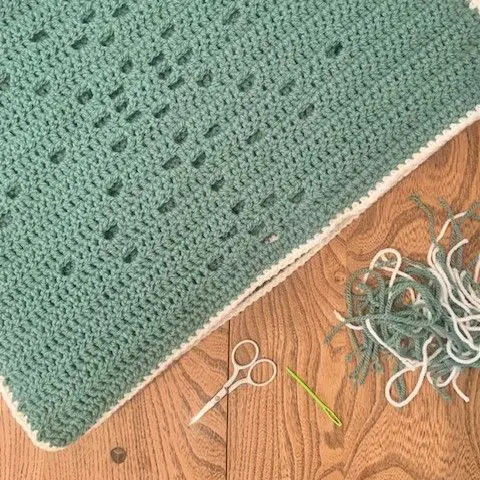
- Scissors
- Darning needle
Abbreviations
US Terms (UK in brackets)
St(s) – Stitches
Ch – Chain
Ch sp – Chain space
sl st – slip stitch
Sc (Dc) – Single Crochet (Double Crochet)
Dc (tr) – Double (treble) crochet
Pattern Notes for Joining Technique:
- If you have any questions regarding pattern instructions please reach out – [email protected]
- Join is added with wrong side facing
- Beginning Ch 3 DOES count as a stitch.
- Yarn should be kept to the back of your project
- Insert hook from wrong side on both squares be be joined
How Crochet the Mesh Stitch Join | Video Tutorial
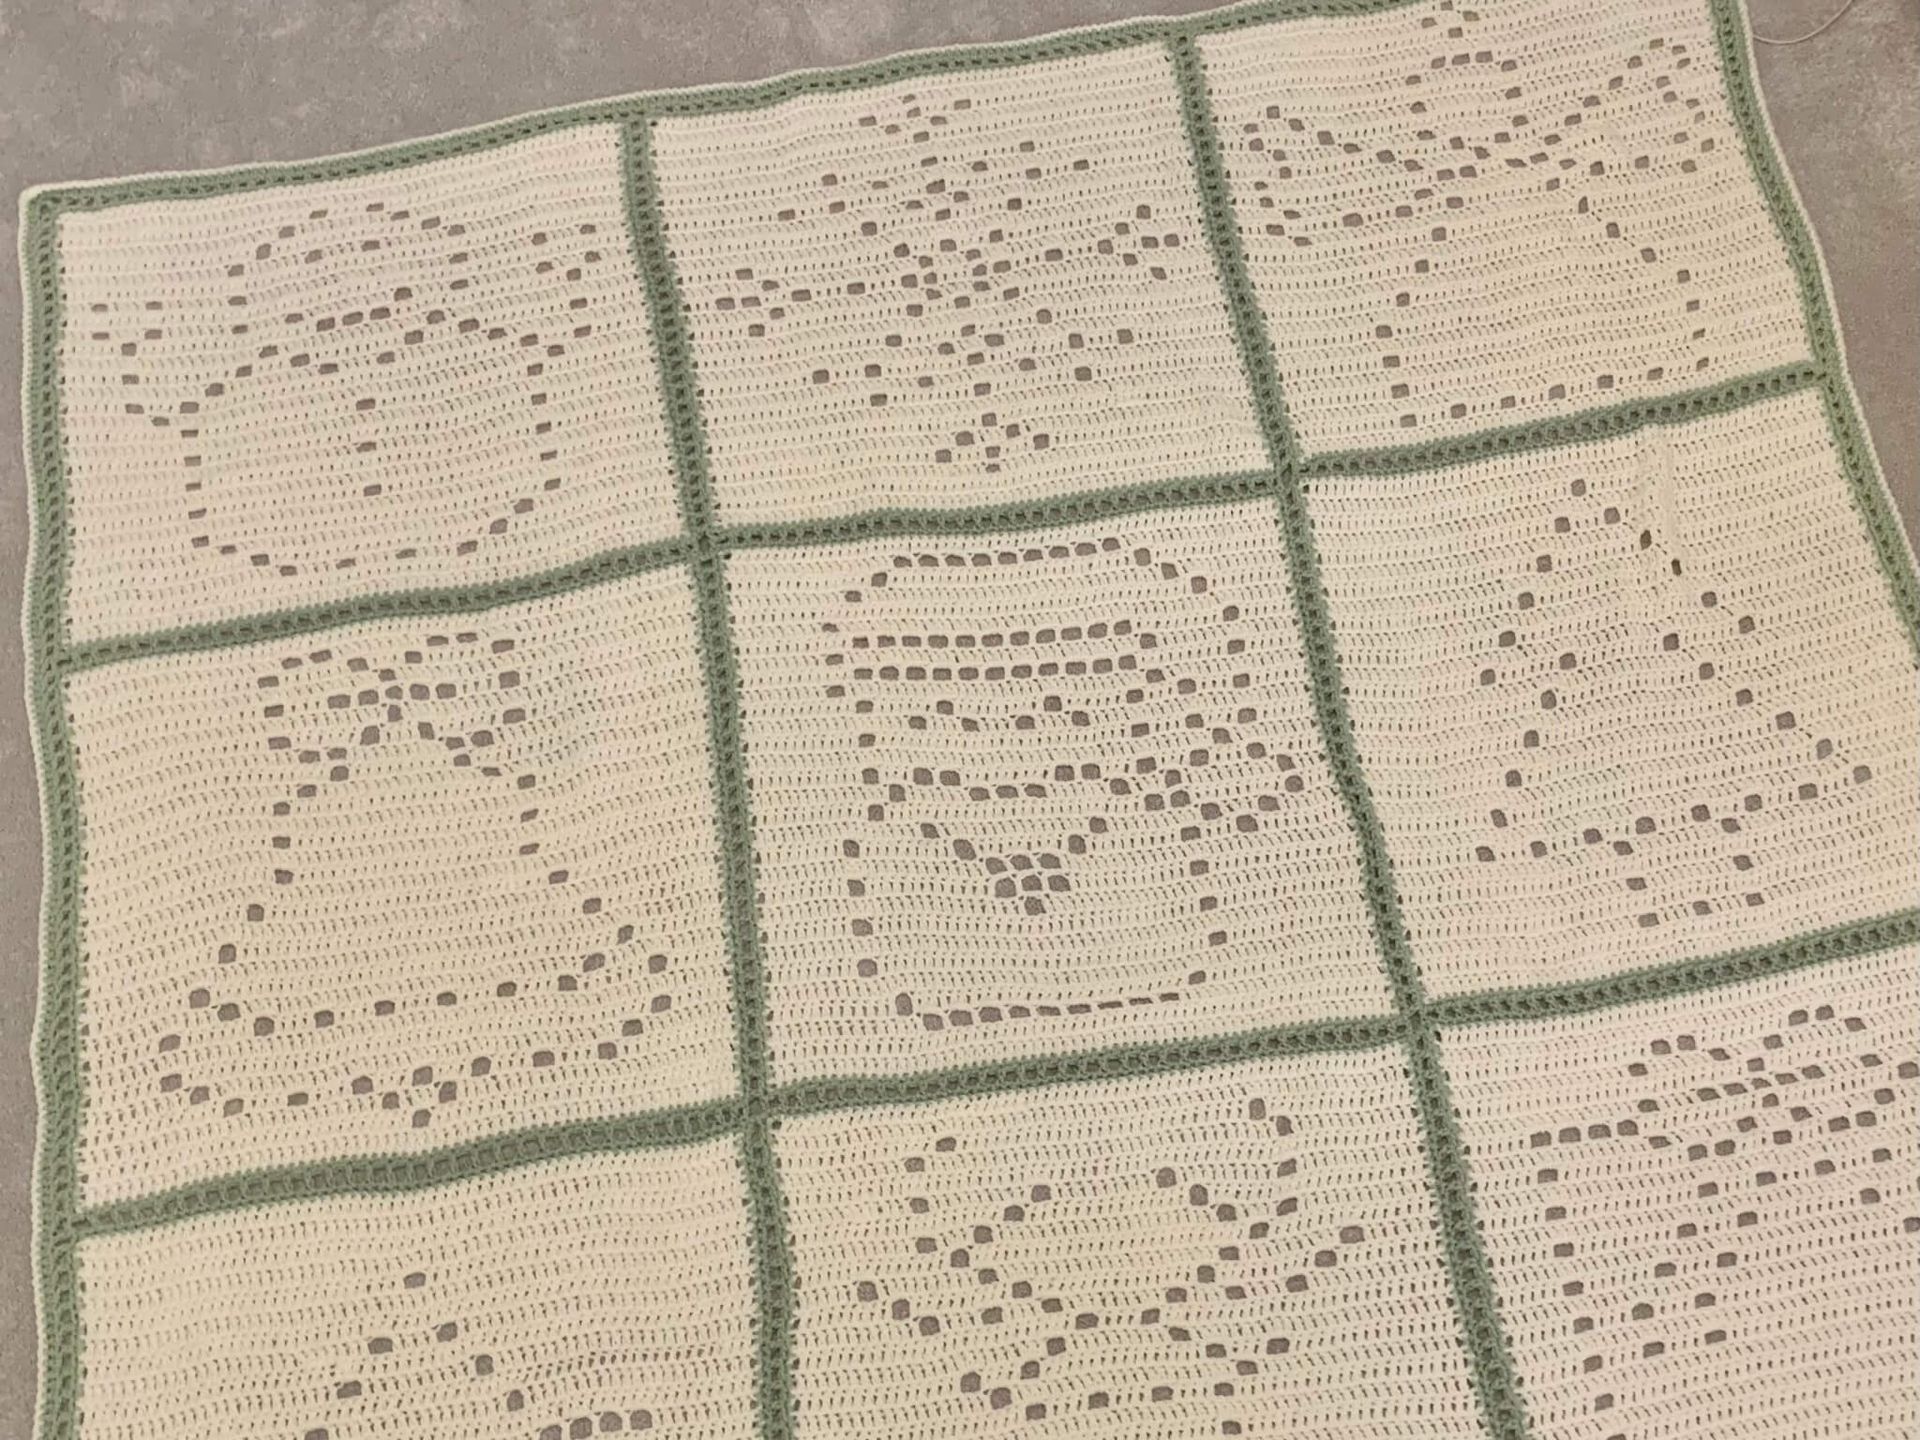
Arrange Squares in order to be joined
Arrange panels in desired order to be joined, wrong side facing.
It’s recommended to work across all rows in one direction e.g. horizontal before rotating and joining in the other direction to ensure join is in same direction when adding in additional panels.
Begin Joining Squares
With WS facing, join in corner of 1st panel, ch 3, sl st to opposite corner on panel above, sl st across next 2 sts of same panel, *working in 1st panel, skip 1, dc in next, sl st in next 2 sts of panel above; repeat across to st before corner, skip 1, dc in next, sl st to ch-2 corner sp.


Adding next panels
**Ch 2, bring in next 2 panels, sl st to ch-2 corner sp of next panel opposite (1st panel), working in other new panel, dc in st next to corner, sl st in next 2 sts, *working in 1st panel, skip 1, dc in next, sl st in next 2 sts of panel above; repeat across to st before corner, skip 1, dc in next, sl st to ch-2 corner sp;
Repeat from** until all panels are joined in same direction.
Repeat to add next row of squares/panels.


Join panels in other direction
With WS facing, join in corner of 1st panel, ch 3, sl st to opposite corner on panel above, sl st across next 2 sts of same panel, *working in 1st panel, skip 1, dc in next, sl st in next 2 sts of panel above; repeat across to st before corner, skip 1, dc in next, sl st to ch-2 corner sp.
Working Across Panel Join
**Sl st across horizontal dc to next panel, sl st to next ch-2 corner sp, working in other panel, dc in st next to corner, sl st in next 2 sts, *working in 1st panel, skip 1, dc in next, sl st in next 2 sts of panel above; repeat across to st before corner, skip 1, dc in next, sl st to ch-2 corner sp;
Repeat from** until all panels are joined in same direction.
Fasten off, weave remaining ends.
Repeat across all rows to be joined.
Continue to Blanket Edging


Mesh Stitch Edging
A corresponding Mesh Stitch Edging is releasing to match this join and will be available on 2nd December 2023.
Click here to view the Mesh Stitch Edging.
Made it?
YAY!!! I’d love to see your squares joined with the Mesh Stitch join – snap a picture and share it with us!
Come and join the community by clicking here, where you can find additional support and fun throughout the crochet along.