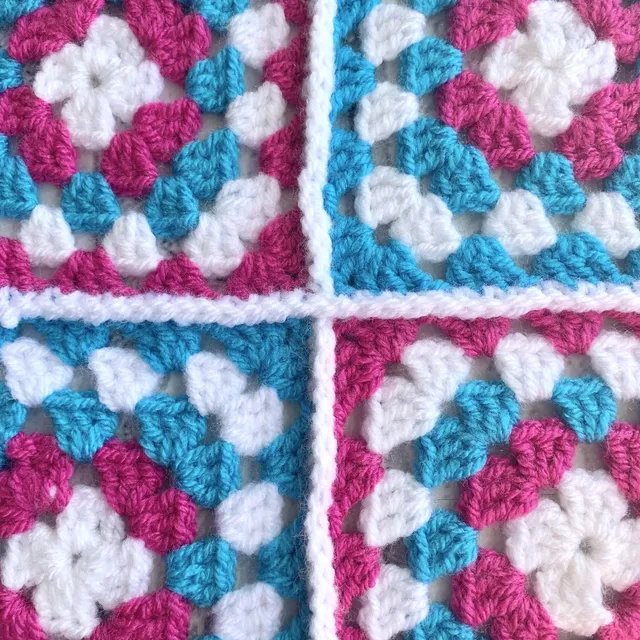
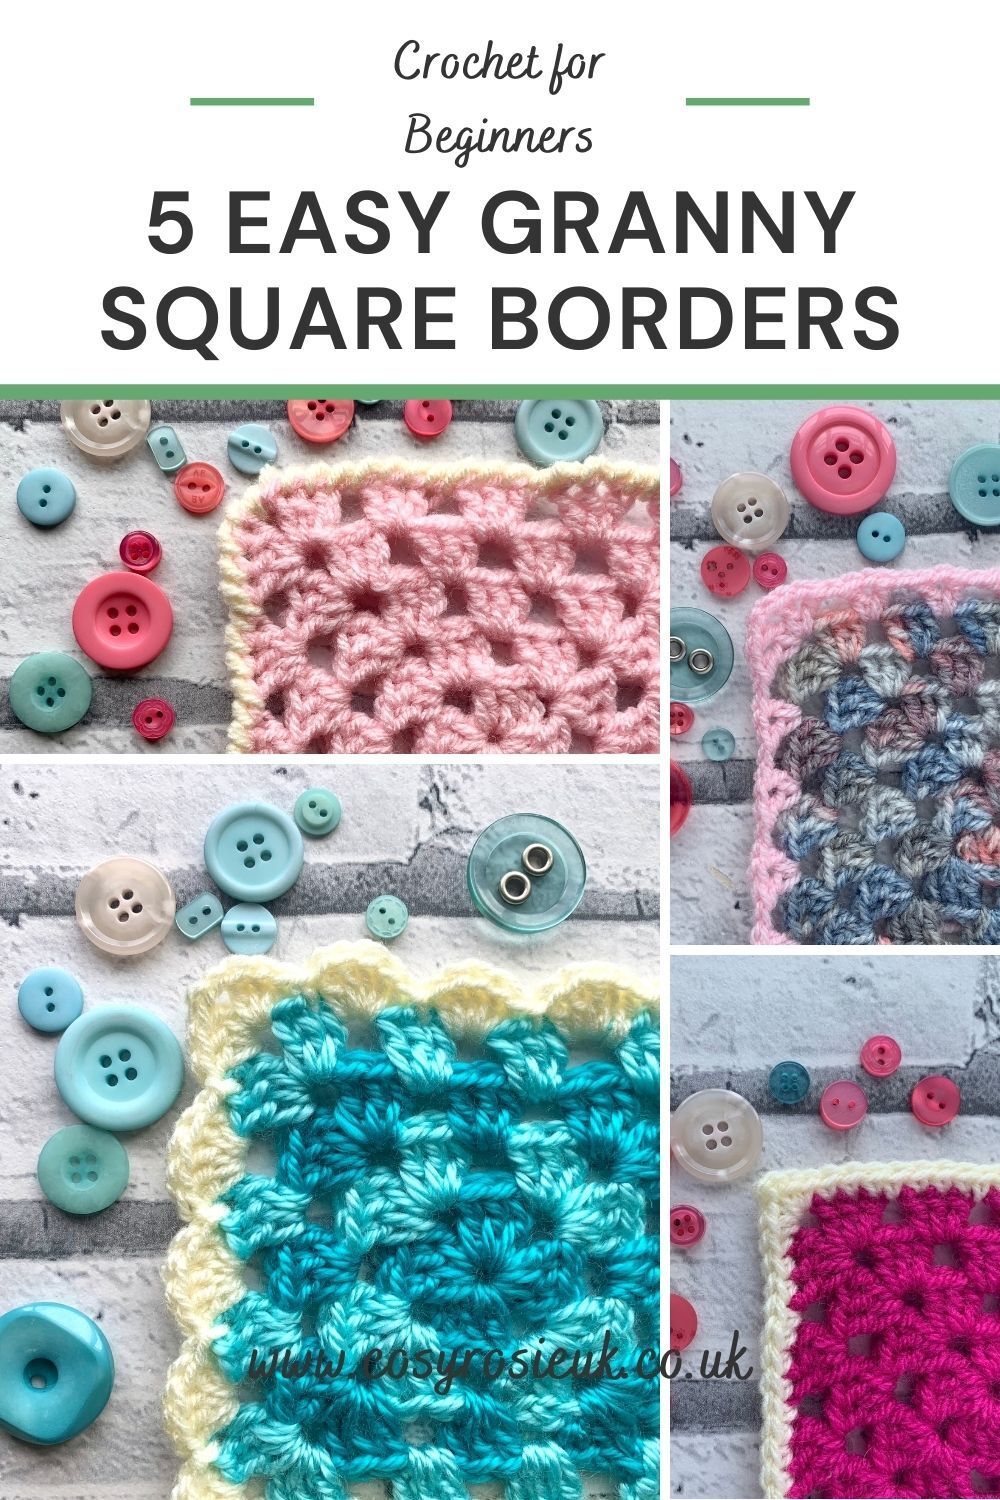
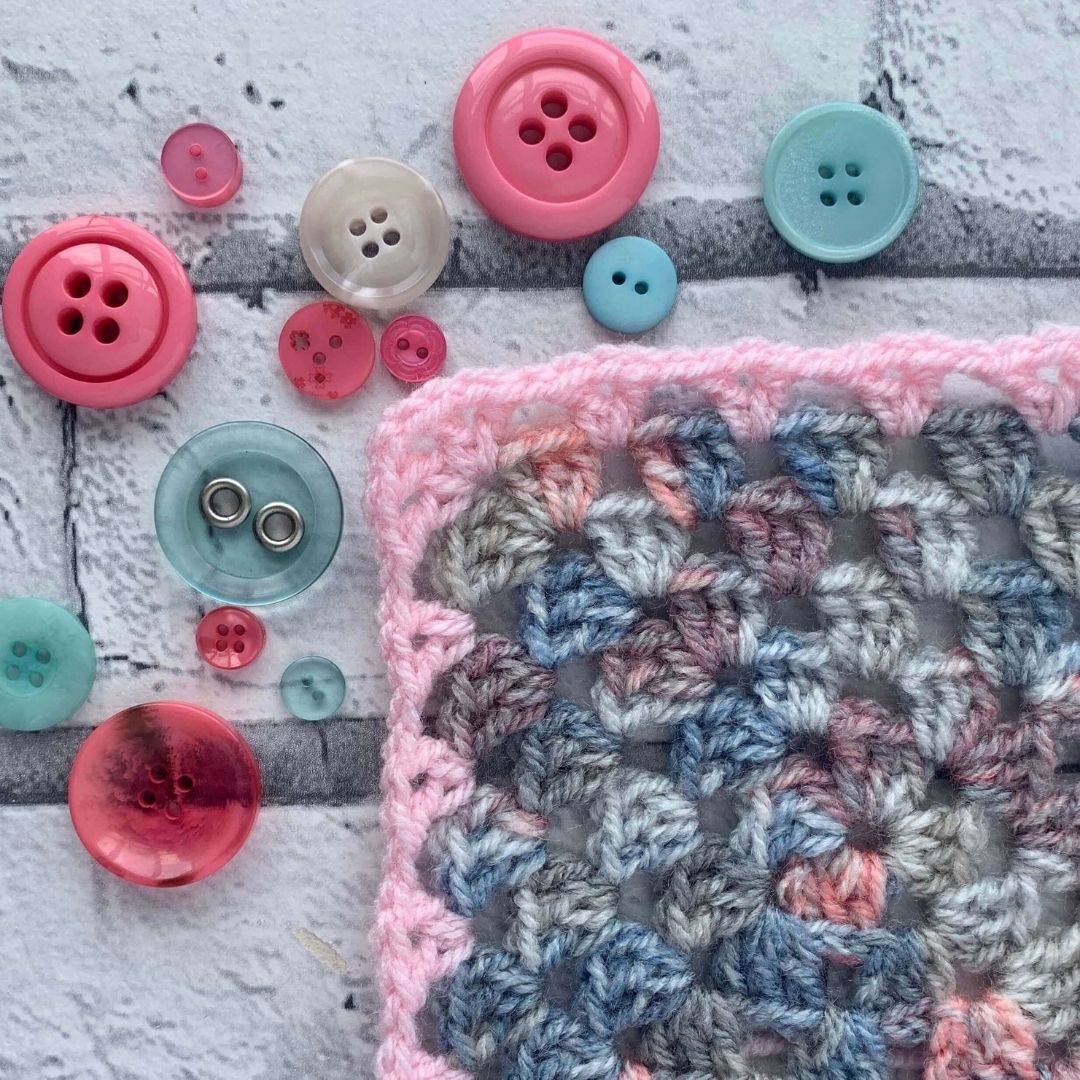
5 Easy Granny Square Crochet Borders
You’ll learn via video how to add these 5 different crochet edges to your granny squares to add impact to your finished projects – each different border has an easy to follow video and photo tutorial so you can master these borders and edge yourself closer to confident crochet!
5 Easy Granny Square Crochet Borders
Why add a border?
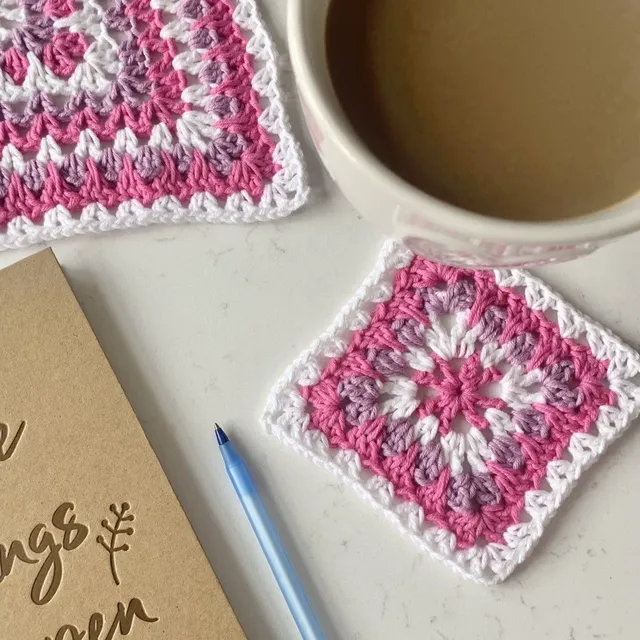
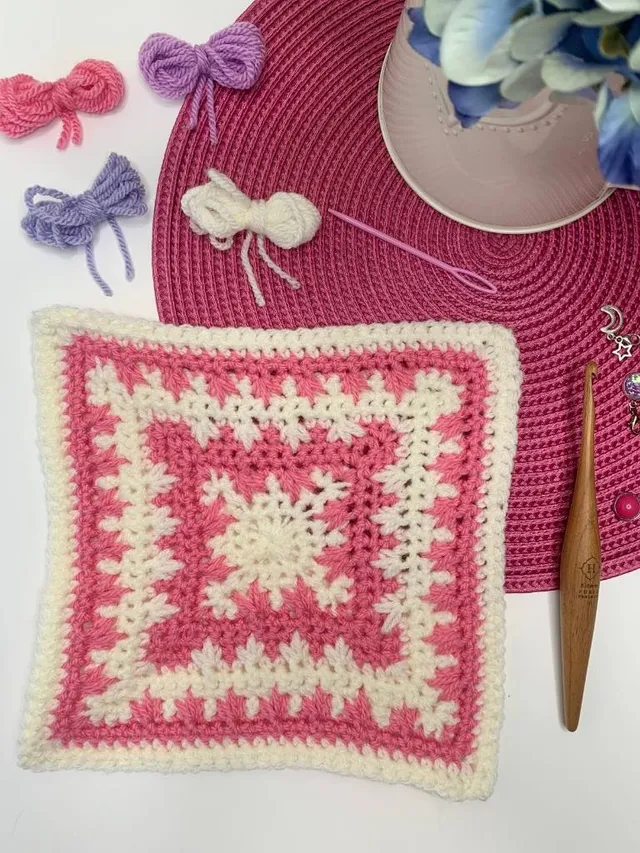
Crochet granny squares tend to be the go to project for beginners; they are perfect to practice even tension and stitch size. Adding a border to individual granny squares adds that finished look to projects like cushions or granny square blankets. Crochet borders also really help to make any uneven edges look even and neat.
Granny square projects are usually made with gifting in mind and we all want our gifts to be as flawless as possible to show the time and love it took to create them.
The most simple edge of double crochet also makes joining your squares them together a lot easier, allowing you complete your project quicker and with less fuss.
Please note that some of the links in my blog are affiliate links. I may earn a small commission if you purchase via this links, but the price you pay is not affected
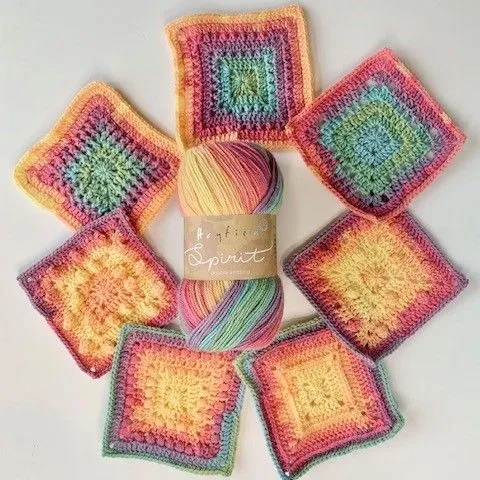
Looking to Gain More Confidence in Making Granny Squares?
The Easy & Simple Granny Square Techniques E-Book will give you the confidence to create beautiful granny square projects!
Techniques covered in the E-book:
• How to crochet the basic granny square
• The easy way to change colours in your granny squares
• How to add a border to your granny square – 5 different border options
• How to join your squares
You can get all these techniques for the discounted price of £5.00! CLICK HERE for your copy.
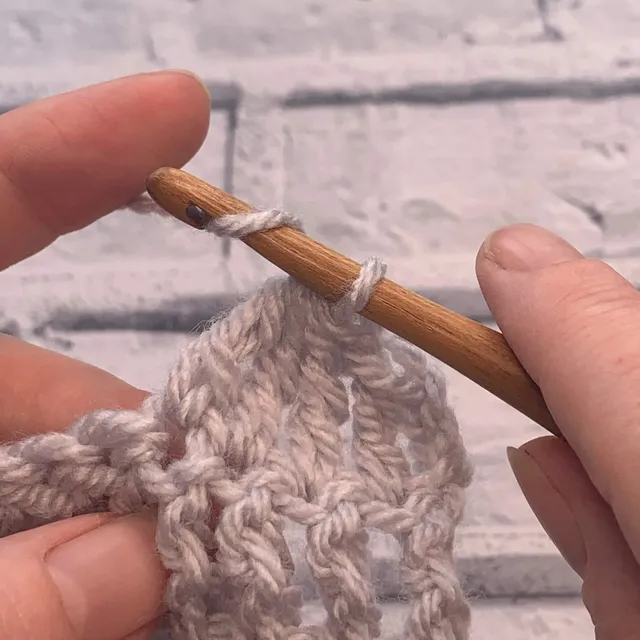
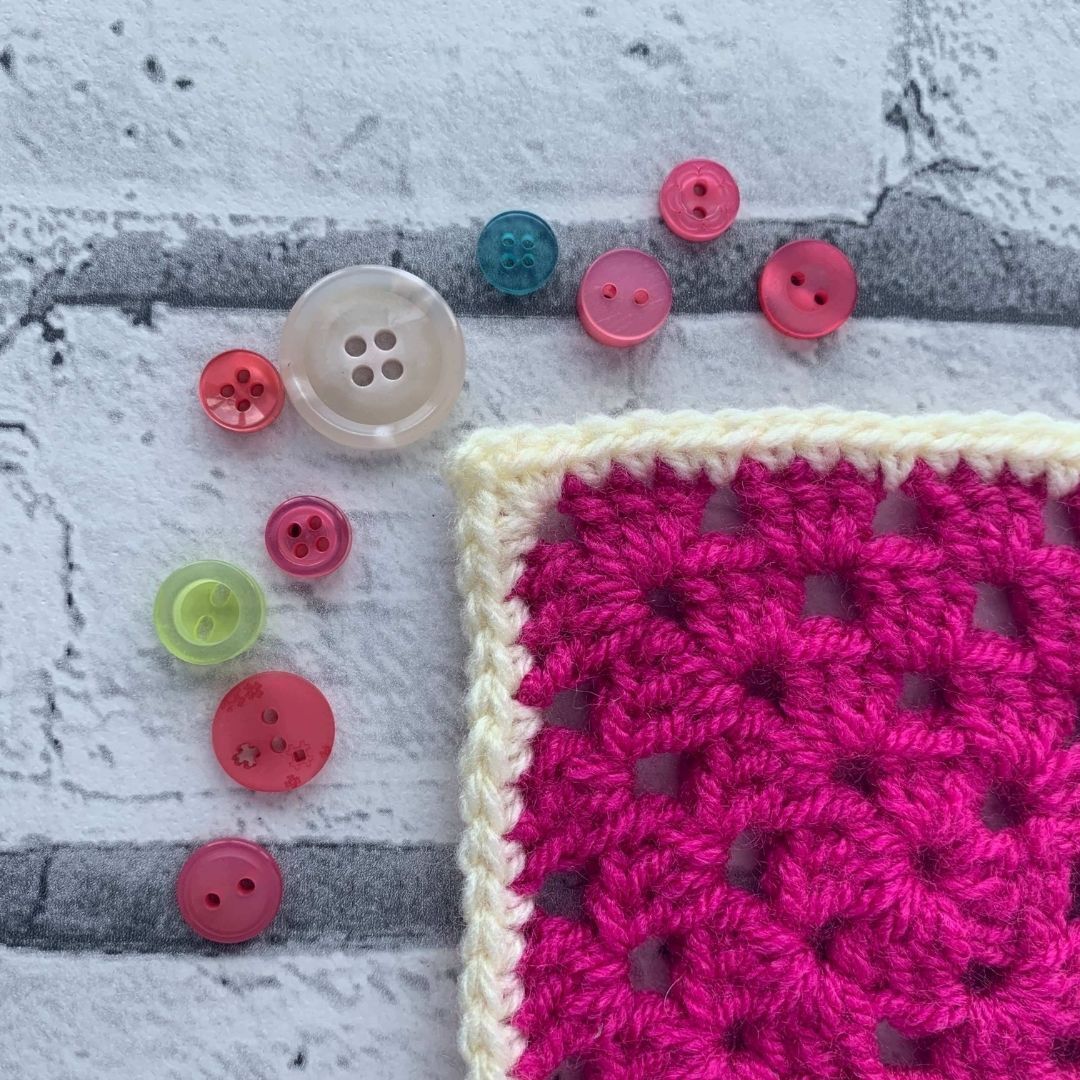
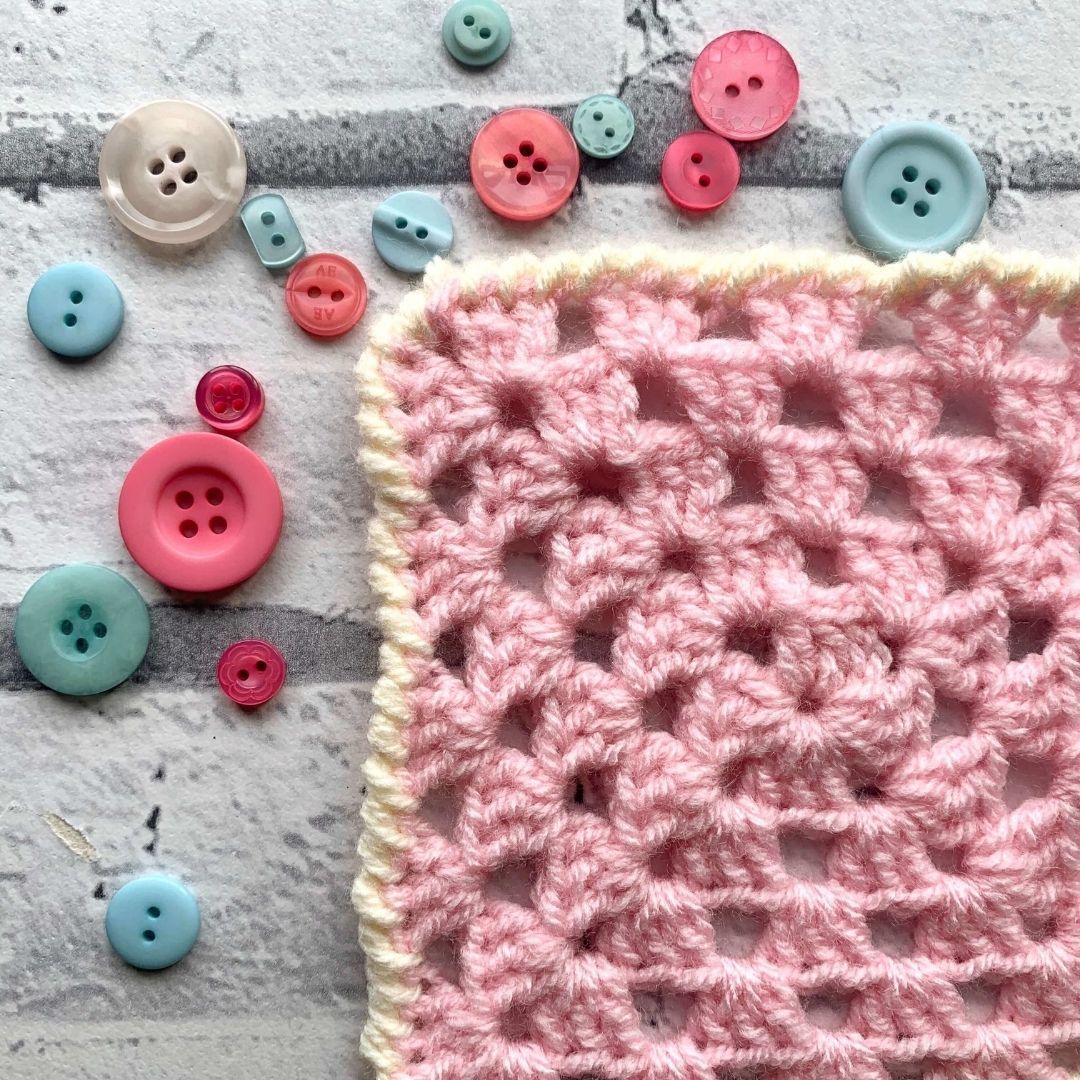
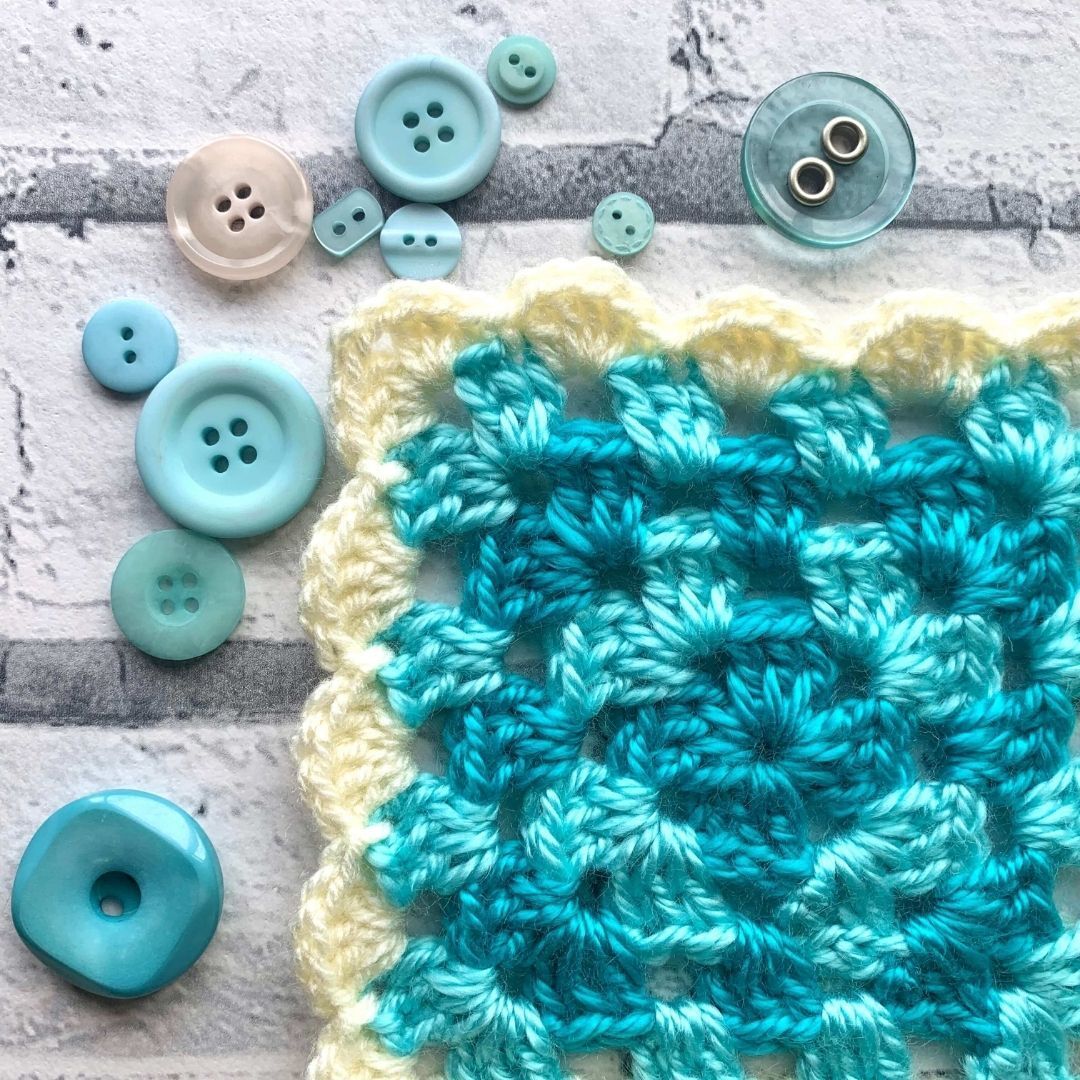
Double Crochet Edging
You can add a bold statement to a simple granny square made in a single colour by adding the double crochet (Dc) edging in a contracting colour.
You can also continue to add multiple rows of double crochet in varying colours to add even more interest to this easy to crochet edging.
1. Join the yarn in any corner, Ch1, 2Dc, Ch2, 2Dc into the corner space
2. Dc into each st and chain space to next corner
3. 2Dc, C2, 2Dc into corner space
Repeat steps 2 & 3 around the square back to where you joined the yarn. Join the round with a slip stitch to top of the 1st Dc. Fasten off and weave in ends
Click here to watch the video showing you each step on how to add a double crochet edge to your granny square
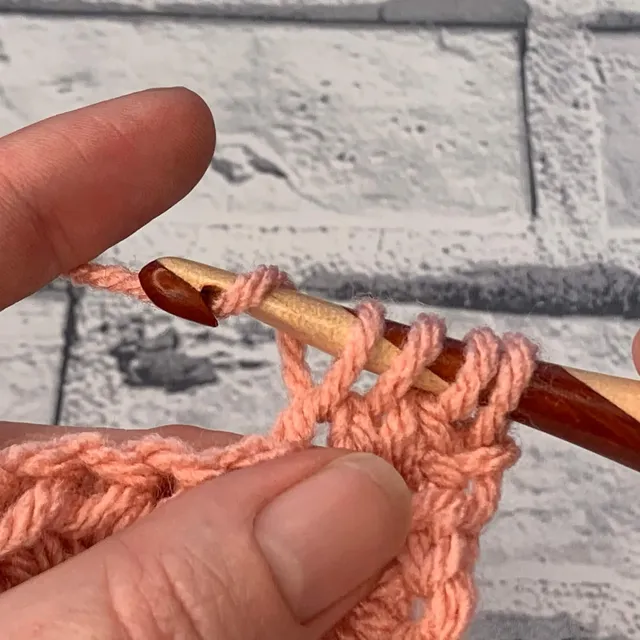
V Stitch Edging
The V-Stitch edging adds a different type of contrast to your crochet edging. It uses the same treble crochet stitch (Tr) as the granny cluster, but it is made up of 2 treble crochets with a chain in between the stitches to create the V. This crochet border can be added in the same colour as the square and visually it would show well. When crocheted in a contrasting colour, the V-Stitch really pops!
V-Stitch (V-St) – Tr, Ch1, Tr
1. Join the yarn in any corner, Ch4 (counts as Tr, Ch1), Tr in same corner space
2. V-St, Ch1 into each chain space across to the next corner space
3. V-St, Ch2, V-St in the corner space
Repeat steps 2 & 3 around the square back to where you joined the yarn. Join the round with a slip stitch in 3rd chain. Fasten off and weave in ends.
Click here to the video showing how to add a V-Stitch edging to your granny square.
Reverse Treble Crochet Edging (Crab Stitch Edging)
The Reverse Double Crochet stitch (also known as Crab Stitch) is one of my favourite stitch to use on edgings regardless of the project! It adds a wonderful textured edge and when crocheted in a different colour, really looks quite stunning! Its made by making a double crochet stitch in reverse of the direction of the rest of the project. Each stitch is made to the right of the last for right-handed crocheters (made to the left for left-handed).
Reverse Double Crochet (Rev Dc) – insert your hook into the stitch to the right, yarn over and pull up a loop through the stitch, yarn over and pull through both loops on your hook
1. Join the yarn in any corner, Ch1,
2. Rev Dc into each stitch and chain space across to the next corner space
3. 2 Rev Dc in the corner space
Repeat steps 2 & 3 around the square back to where you joined the yarn. Join the round with a slip stitch to 1st Rev Dc . Fasten off and weave in ends.
Click here to the video showing how to add a Reverse Dc (crab stitch) edging to your granny square.
Shell Stitch Crochet Edging
There are lots of versions of the shell stitch based which is based on the number of Treble crochet (Tr) stitches you use to make the shell. In this example, you will make a 5 treble crochet shell. This edging is another great contrast edging against the 3 treble crochet cluster used to create the granny square.
Shell Stitch (Shell)- insert your hook into stitch, work 5 treble crochet into the same stitch.
1. Join the yarn in any corner, Ch3, 2Tr into same corner space.
2. *Slip stitch to 2nd stitch in 3Tr cluster in previous round. 5Tr in next chain space. Repeat from * to next corner space
3. 3Tr, Ch2, 3Tr into corner space
Repeat steps 2 & 3 around the square back to where you joined the yarn.
4. In final corner space, 3Tr, Ch2, Sl St to top of Ch3. Fasten off and weave in ends
Click here to the video showing how to add a Shell Stitch edging to your granny square.
Ruffle Edging
Nothing says fancy to me, like a ruffled edge on a fabric (remember, I am a child of the 80’s!). It’s important to be aware that a ruffled edge on a crochet project will prevent the project laying flat on a surface. This edging works beautifully on a blanket or a washcloth.
The ruffle is created using a technique called hyperbolic crochet; where you add lots of stitches in to each stitch of the project. These extra stitch in close proximity to one another creates the ruffles.
The ruffle we are making uses 3 treble crochets (Tr) stitches worked into each stitch.
1. Join the yarn in any corner, Ch3 (counts as Tr), 5Tr into same corner space.
2. 3Tr in to each st and ch sp across to next corner space
3. 6Tr into corner space
Repeat steps 2 & 3 around the square. Sl St to top of Ch3 to join round. Fasten off and weave in ends
Click here to the video showing how to add a Ruffle edging to your granny square.
I bet you can’t wait to get going to add these great edgings to your granny squares to transform your projects to fabulous to finished!
I always love to see your finished projects, so click below to tag me in a photo of your project on Instagram! Share your Project