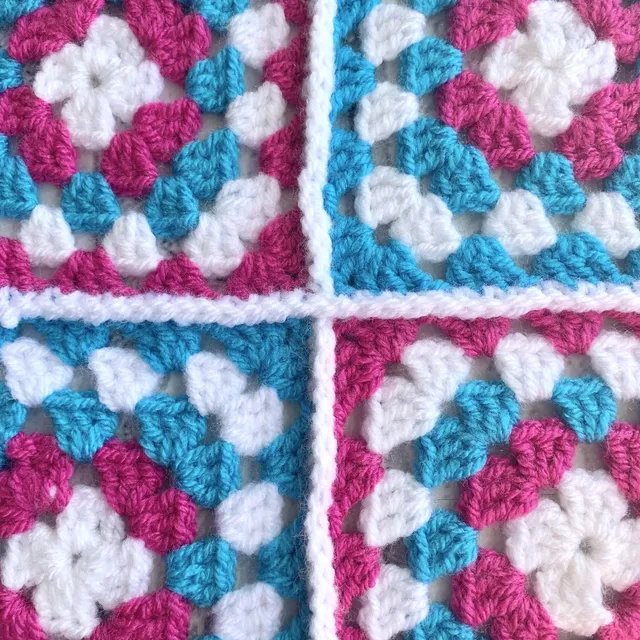
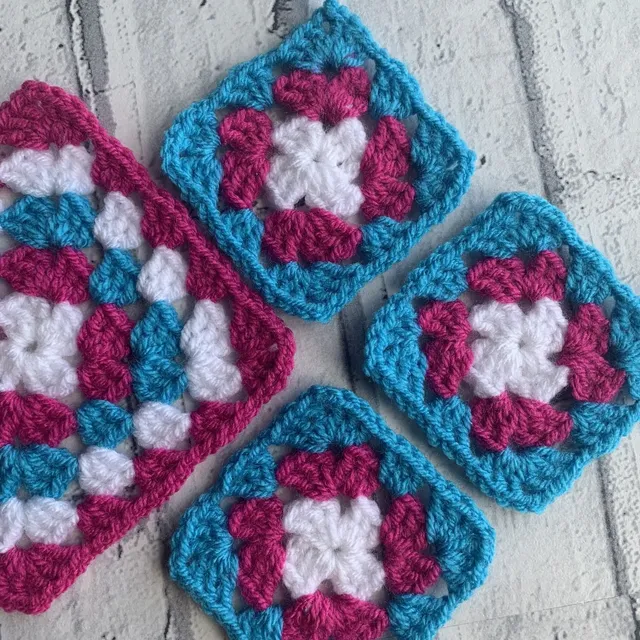
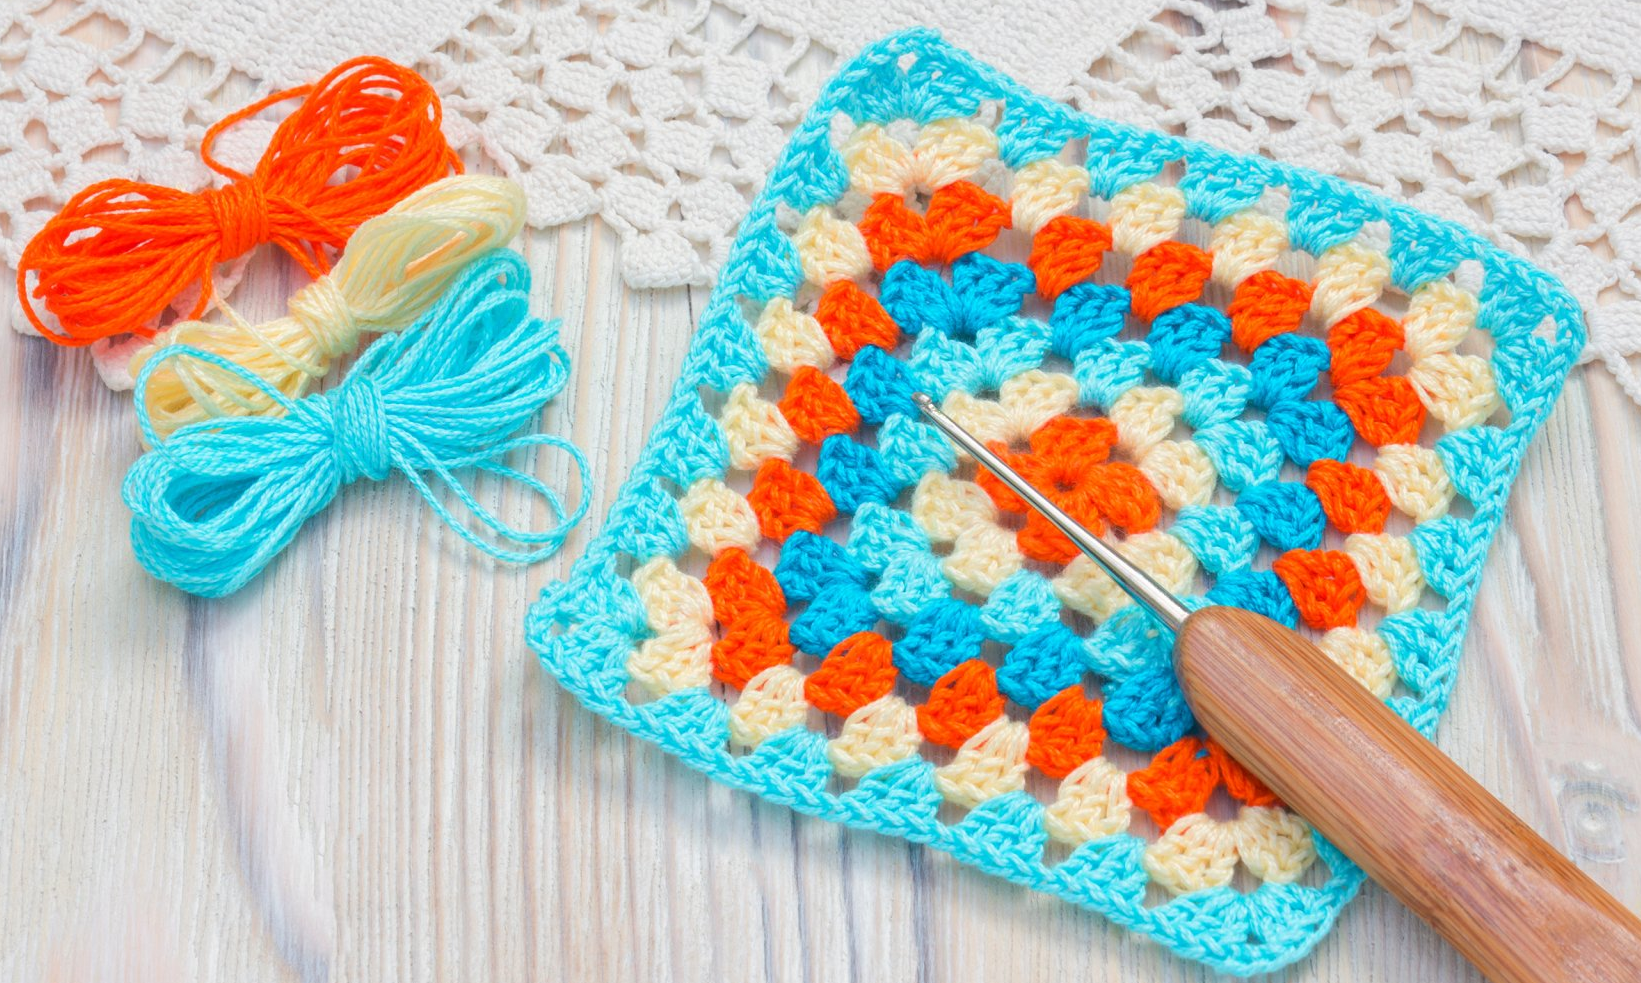
Basic Crochet Granny Square
The humble basic crochet granny squares remains one of the most popular styles in crochet and this tutorial will take you through how to create your own granny square, step by step.
You can choice to follow the written pattern below along side my YouTube tutorial to begin to learn how abbreviations are used throughout written crochet patterns.
Please note that some of the links in my blog are affiliate links. I may earn a small commission if you purchase via this links, but the price you pay is not affected
How to crochet a basic granny square
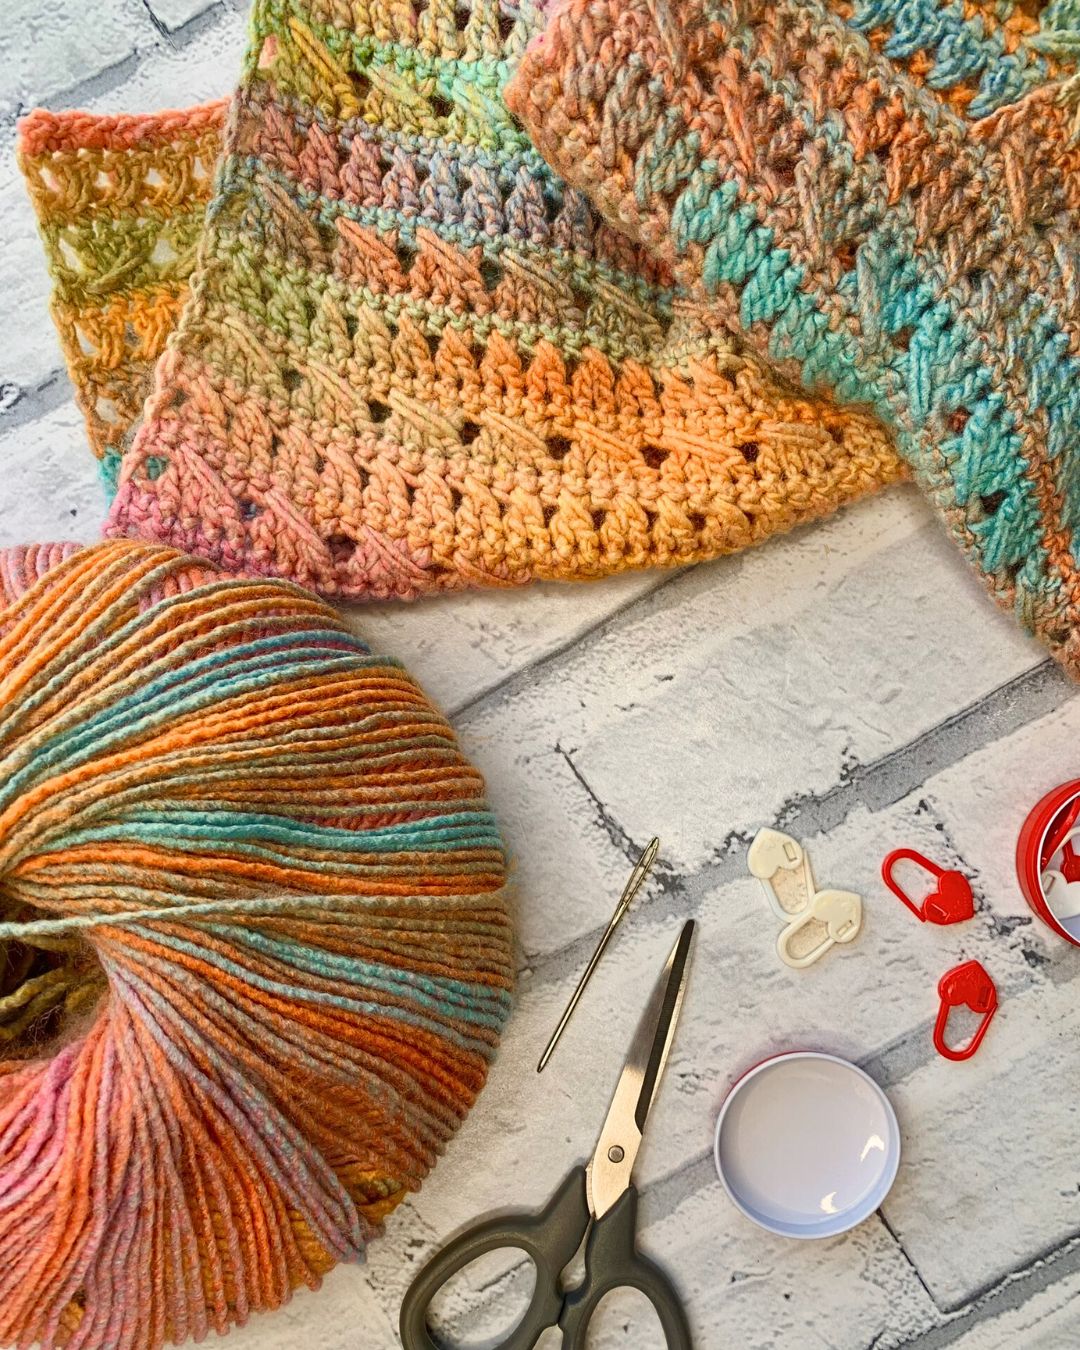
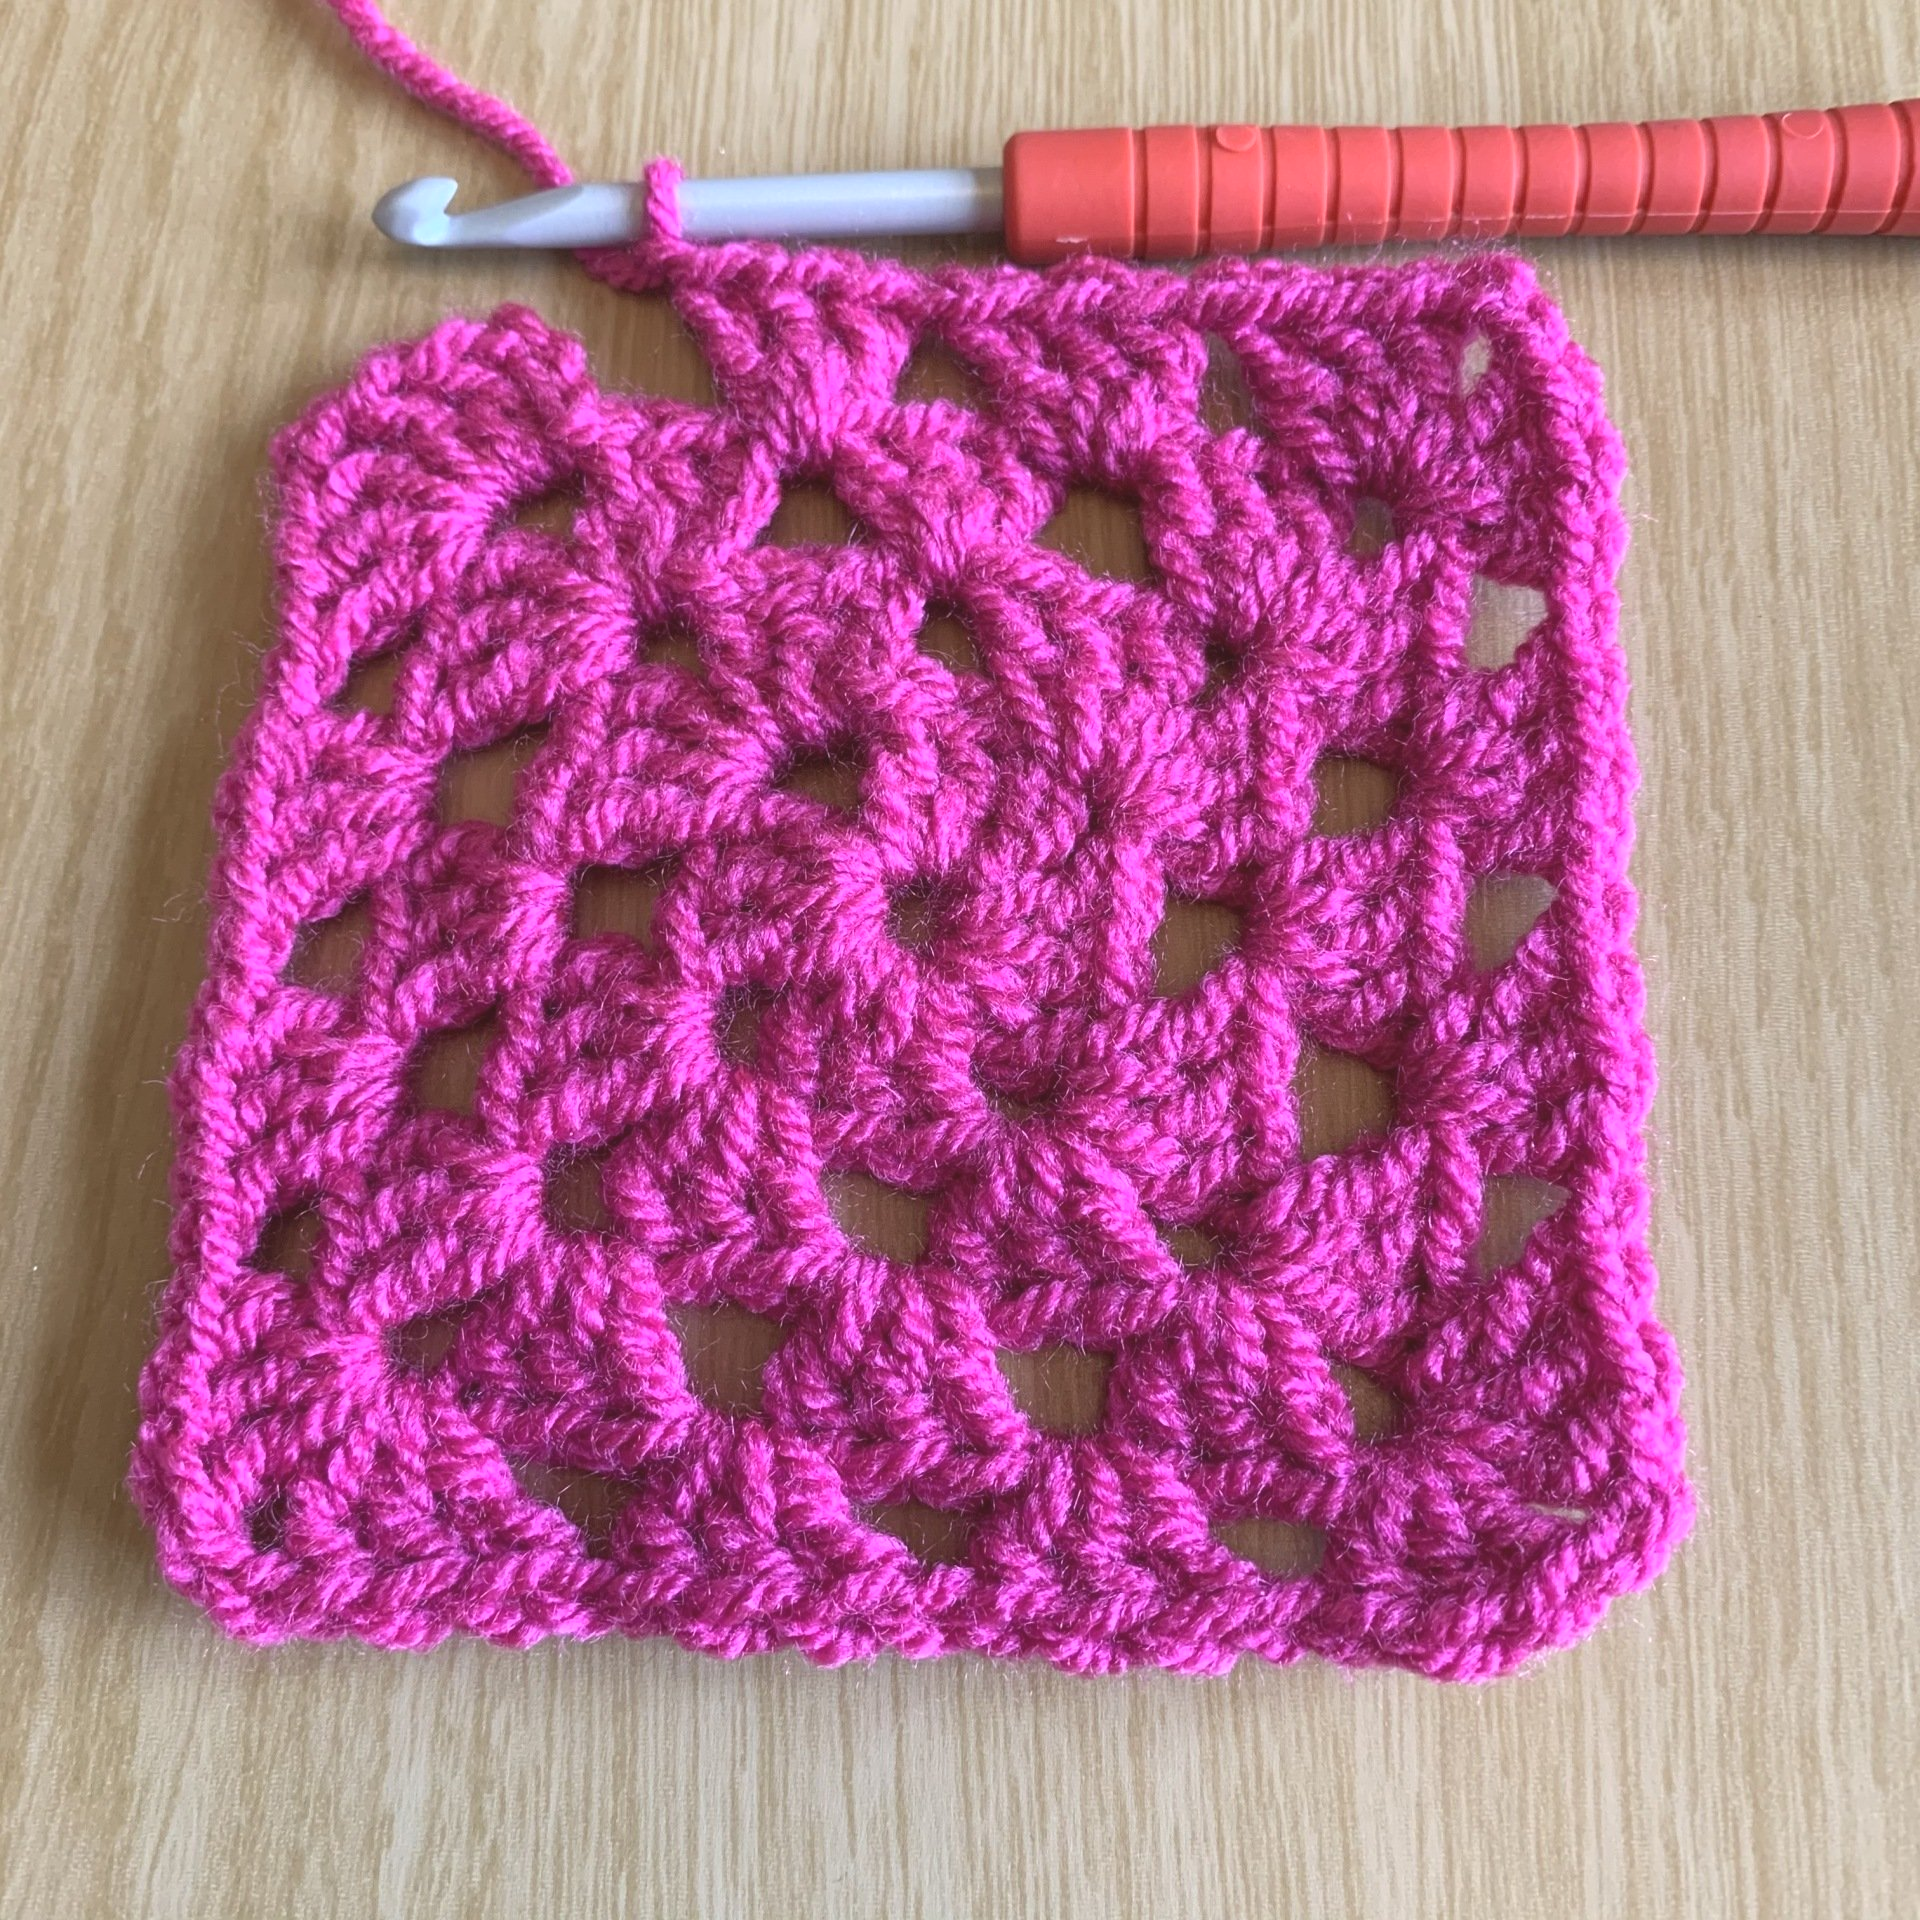
You can make granny squares with any wool or yarn, keeping to 1 colour or changing the colour ever one or two rounds. You can even use variegated yarn to make things extra interesting. In my video tutorial, I used a 4mm crochet hook and DK yarn but you can even use super chunky wool with the appropriately sized hook to create big, squidgy squares!
Basic Crochet Granny Square Pattern
Skill Level – Beginner
Materials
DK yarn in colour of your choice
4mm crochet hook
Darning needle
Scissors
Abbreviations – UK Terms (US terms given in brackets)
Ch Chain
Ch Sp Chain Space
Sl St Slip Stitch
Tr Treble crochet (Dc – Double crochet) Click link to see how to make this stitch
With your colour choice of DK yarn and 4mm crochet hook,
Ch4, Sl St in to 1st Ch to create a ring.


Round 1.
Ch 3 (counts as Tr throughout pattern), make 2 Tr into ring. *Ch2, 3 Tr*. Repeat Twice more, Ch 1 and Sl St to join to top of Ch 3. Sl St into top of next 2 Tr and Sl St in to corner.


Round 2.
Ch 3. In corner space, 2 Tr, Ch 2, 3 Tr, Ch 1. *In next corner space, 3 Tr, Ch 2, 3 Tr, Ch 1* Repeat between * & * in to next corner space twice. Sl St into 3rd Ch to complete round. Sl St into top of next 2 Tr and Sl St in to corner.


Round 3.
Ch3. In corner space, 2 Tr, Ch 2, 3 Tr. *Ch 1 to move across to next Ch Sp. Tr 3 times in Ch Sp, Ch1. In next Corner space, Tr 3, Ch 2, 3 Tr*. Repeat between * & * twice more. Sl St to join to top of Ch 3. Sl St into top of next 2 Tr and Sl St in to corner.


Round 4.
Ch3. In corner space, 2 Tr, Ch 2, 3 Tr.
1. *Ch 1 to move across to next Ch Sp. Tr 3 times in Ch Sp*. Repeat between * & * again. Ch 1 to move across to next Corner space
2. In next corner space, 3 Tr, Ch 2, 3 Tr
Repeat part’s 1& 2 around the square to the end of the round.
Sl St to join to top of Ch 3. Sl St into top of next 2 Tr and Sl St in to corner.
You can continue to add additional rounds to your square, or fasten off and weave in ends securely and enjoy the feeling of pride for completing your 1st granny square! Read on to see how to keep adding additional rounds.
Take a photo and share your excitement on your social media – tag me so I can share in your joy! @cosyrosieuk