Corner to Corner Crochet Clutch Bag Pattern
Create a quick and easy crochet clutch bag with this free C2C crochet pattern. This pattern uses a stitch variation on the traditional corner to corner crochet technique that creates a more sturdy crochet fabric which is perfect to create a crochet bag.
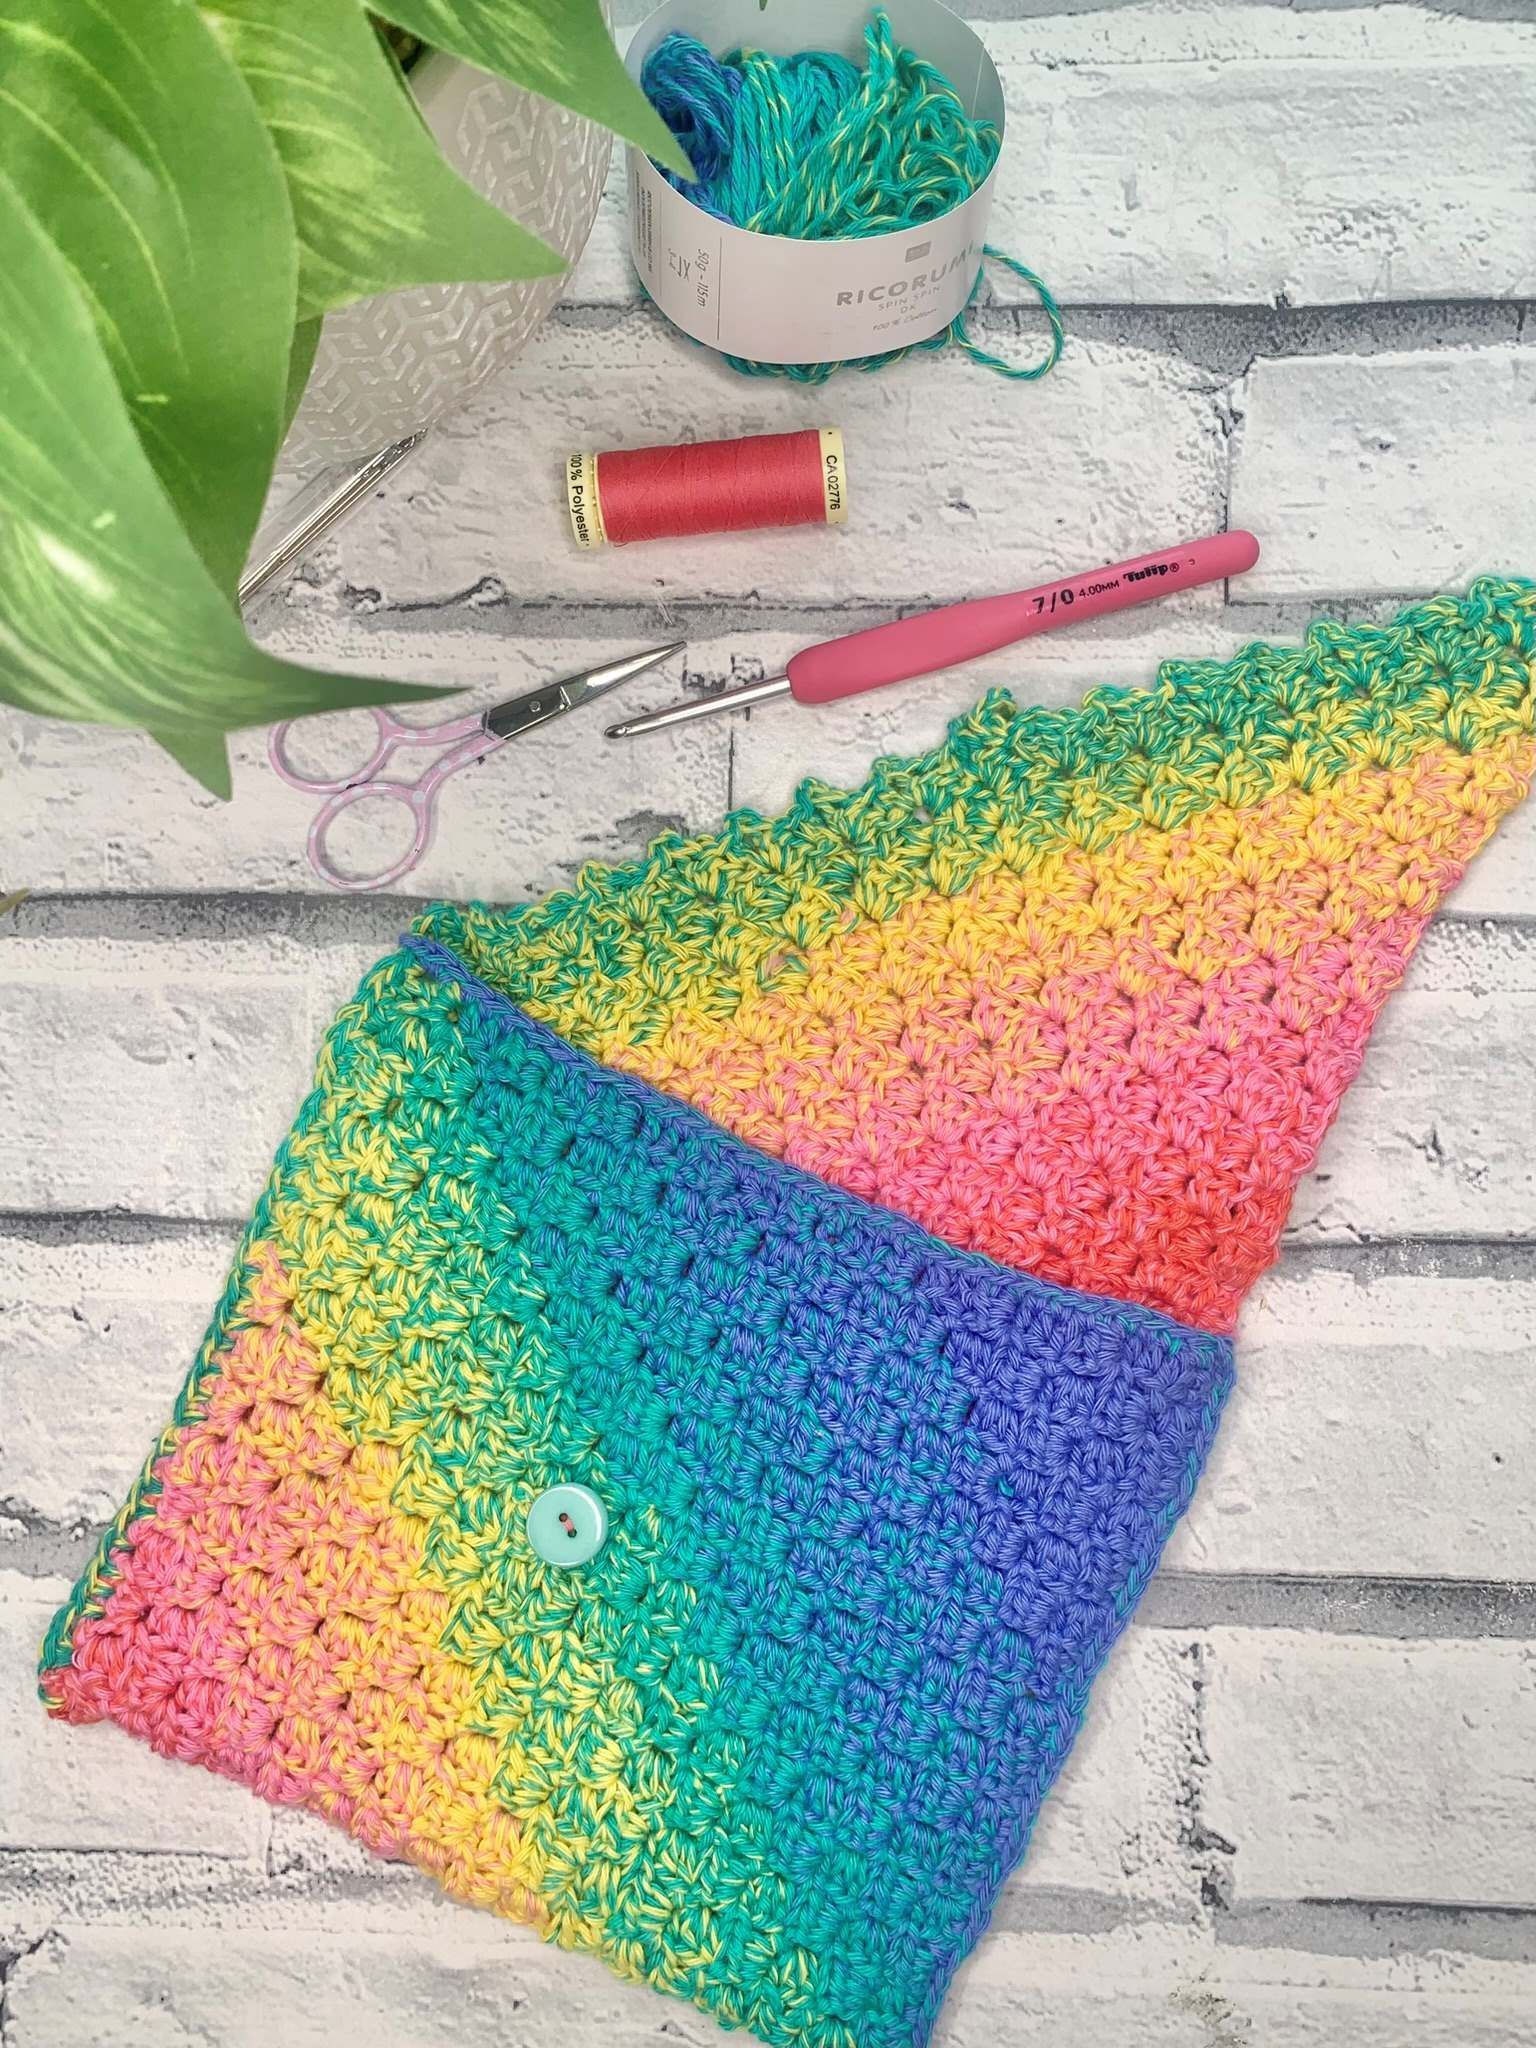
Corner to Corner Crochet Clutch Bag | Free Crochet Pattern
Learn how to crochet a corner to corner rectangle as you create a cute crochet clutch bag using a non-standard C2C stitch.
C2C Crochet traditionally uses the US double crochet stitch in it’s technique, but the technique can be used for other crochet stitches too.
In this crochet clutch bag pattern, the US half double crochet stitch is used to create a firmer crochet fabric which is more suitable for using in a bag pattern.
If you like to try making another different stitch in the C2C technique, Click Here to see the Corner to Corner Granny Stitch Scarf.
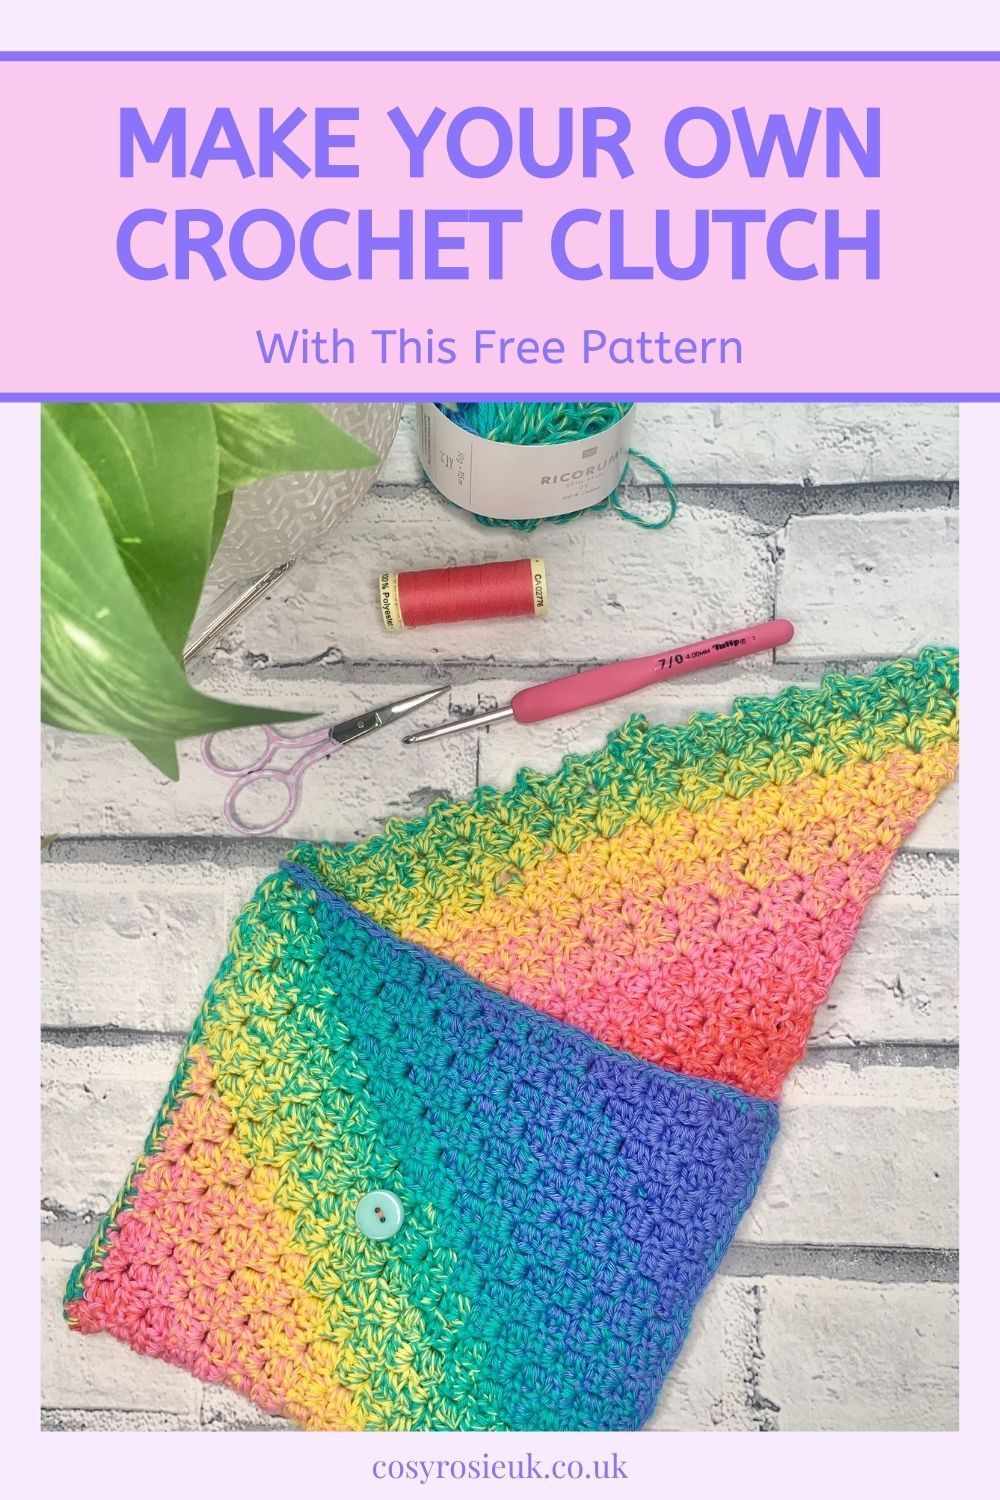
Pin this Pattern for Later!
Purchase the Printable PDF Pattern
If you’d like to print a copy of the pattern, you can purchase the printable PDF from one of my pattern stores. Simply choose your favourite retailer and click the button to make your purchase
How to make this crochet clutch bag
Pattern Notes
- Please read through the entire pattern before beginning, regardless of skill level. Please contact me ([email protected]) if help is needed to understand any part of pattern.
- Beginning ch-1 DOES NOT count as stitch
- This pattern is worked in diagonal Rows from the corner to create a rectangle that is seamed to create the bag shape
- Row # will correspond with number of blocks per row; for example. Row 1 = 1 block, Row 5 = 5 blocks
Gauge
9 blocks = 4″ in C2C hdc with 4mm crochet hook
Finished Size
8″ X 7″
Materials
To complete this project you will need:
- 210m DK (#3) cotton yarn
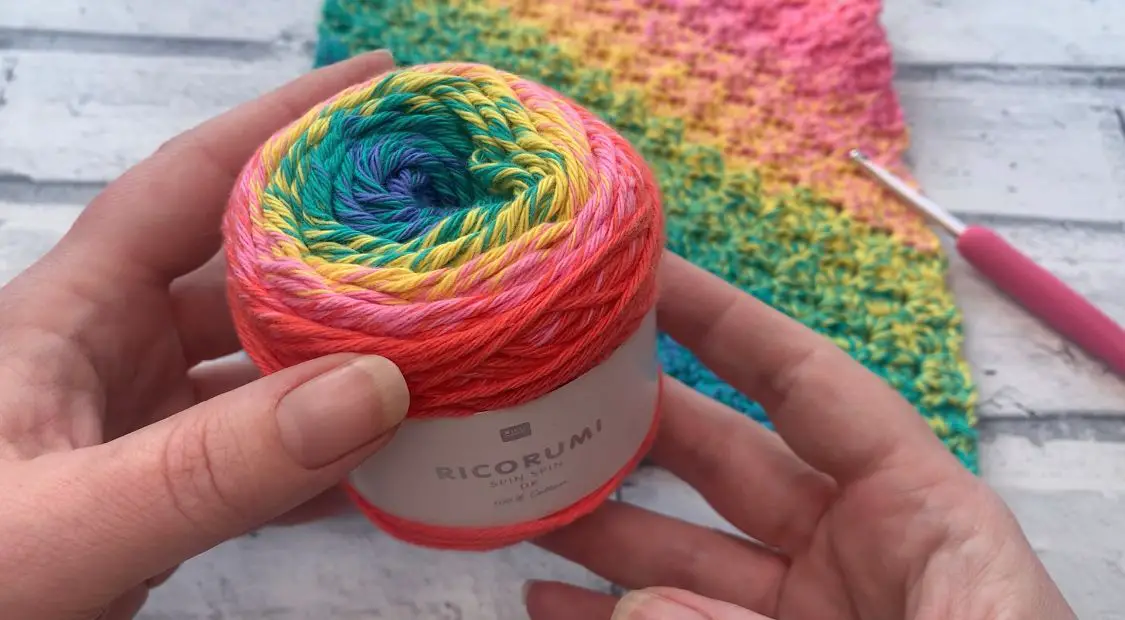
- I used 2 x Rico Ricorumi Spin Spin DK in shade Classic Rainbow, 50g = 115m, 100% cotton
- 4mm crochet hook
- Darning needle
- Scissors
- 1 – button
Abbreviations – US Terms (UK in brackets)
St(s) – Stitch(es)
Ch – Chain
Ch Sp – Chain space
Sl St – Slip stitch
Sc (dc) – Single (double) crochet
Hdc (htr) – Half double (treble) crochet
Inc block – Increase Block
Block – Block
Dec block – Decrease Block
Special Stitches
Inc Block = Increase Block
- Chain 5
- Hdc in 3rd ch from hook,
- Hdc in next 2 chs (1st block complete)
Block
- Chain 2
- Work 3 hdc in ch-2 sp
- Slip Stitch to ch-2 sp of block on previous row to join.
Dec Block = Decrease Block
- Ch 1
- Sl st across the top of next 3 hdc
- Sl st in ch-2 sp
- Ch 2
- Work 3 hdc in ch-2 sp
- Sl St to ch-2 sp of block on previous row to join.
Additional Notes
If you are not using a self striping yarn or want to control your colour changes:
Changing Colour in Increase Block
- When changing colour, change to the new colour to complete the last stitch of the final block before turning project.
Changing Colour in Decrease Block
- Continuing in same colour
- Ch 1
- Sl st across the top of next 3 hdc
- Change to next colour before continuing to finish decrease block.
How to Crochet a Mini C2C Clutch Bag
Row 1: Ch 5, hdc in 3rd ch from hook, hdc in the next 2 Ch (Inc Block worked), turn. (1 Block)
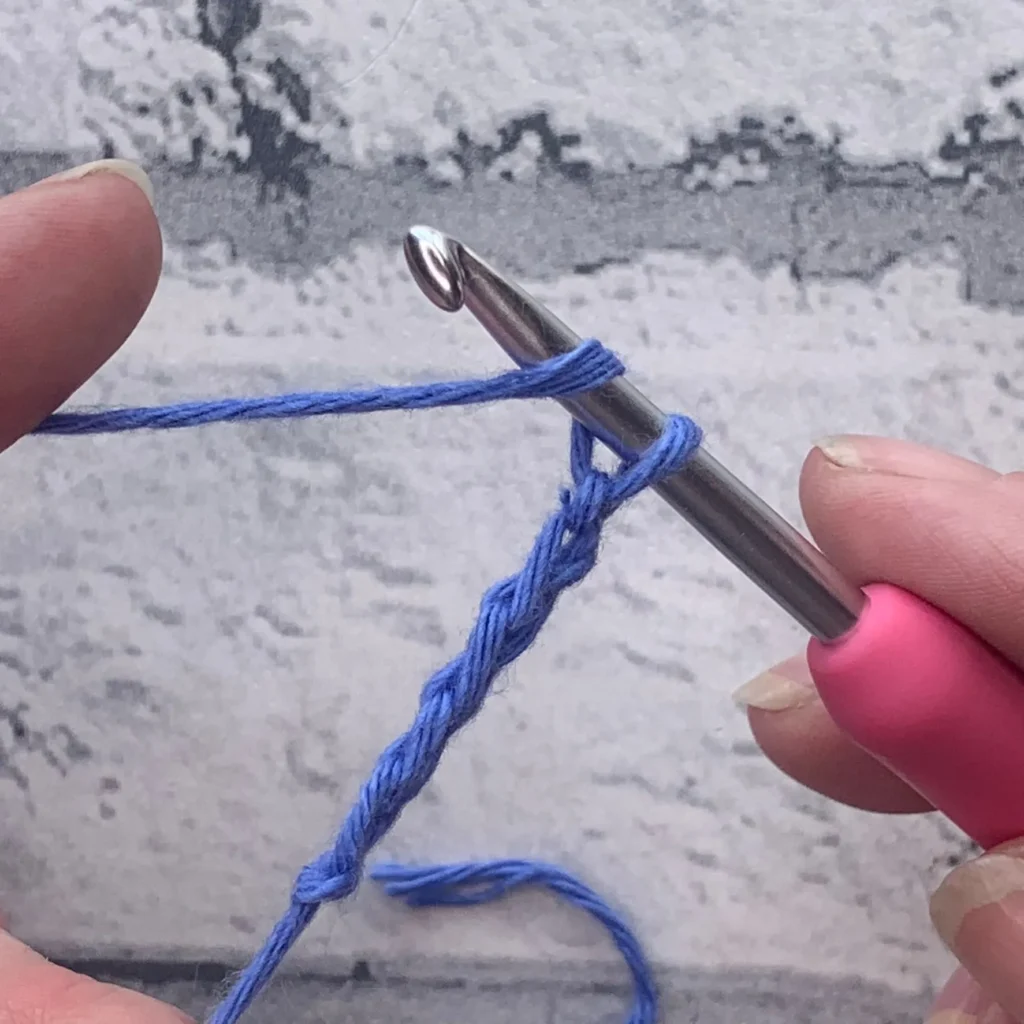
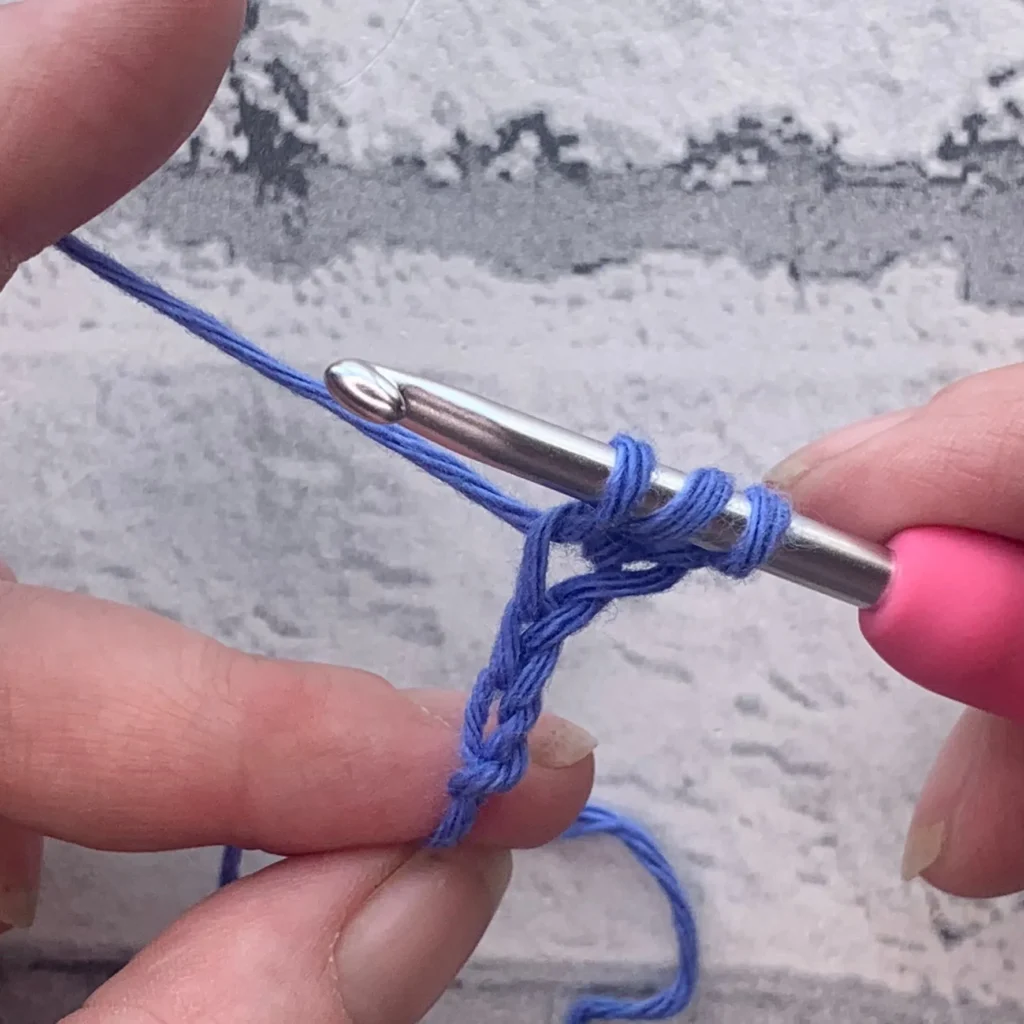
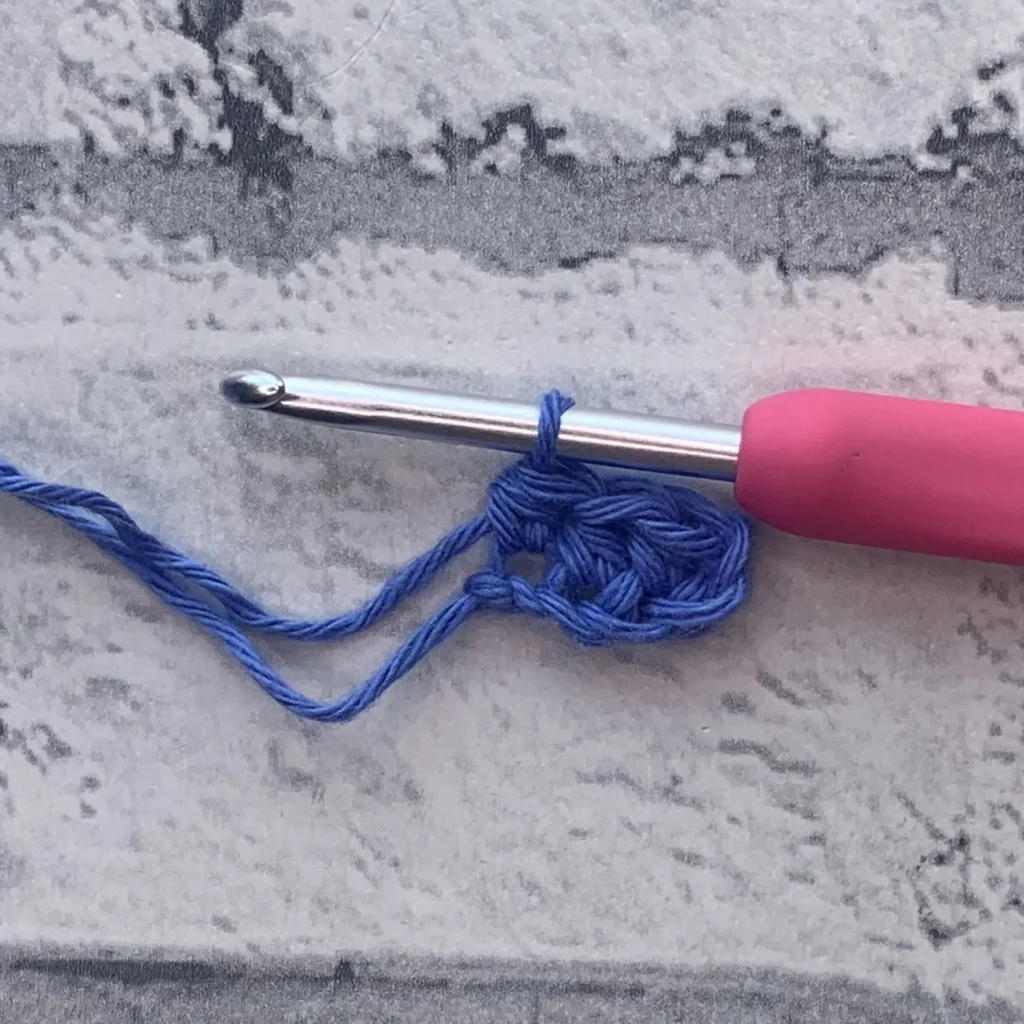
Row 2: Inc Block (ch 5, hdc in 3rd ch from hook, hdc in the next 2 ch), sl st to ch-2 sp to join block, block (ch 2, 3 hdc into ch-2 sp), turn. (2 Blocks)
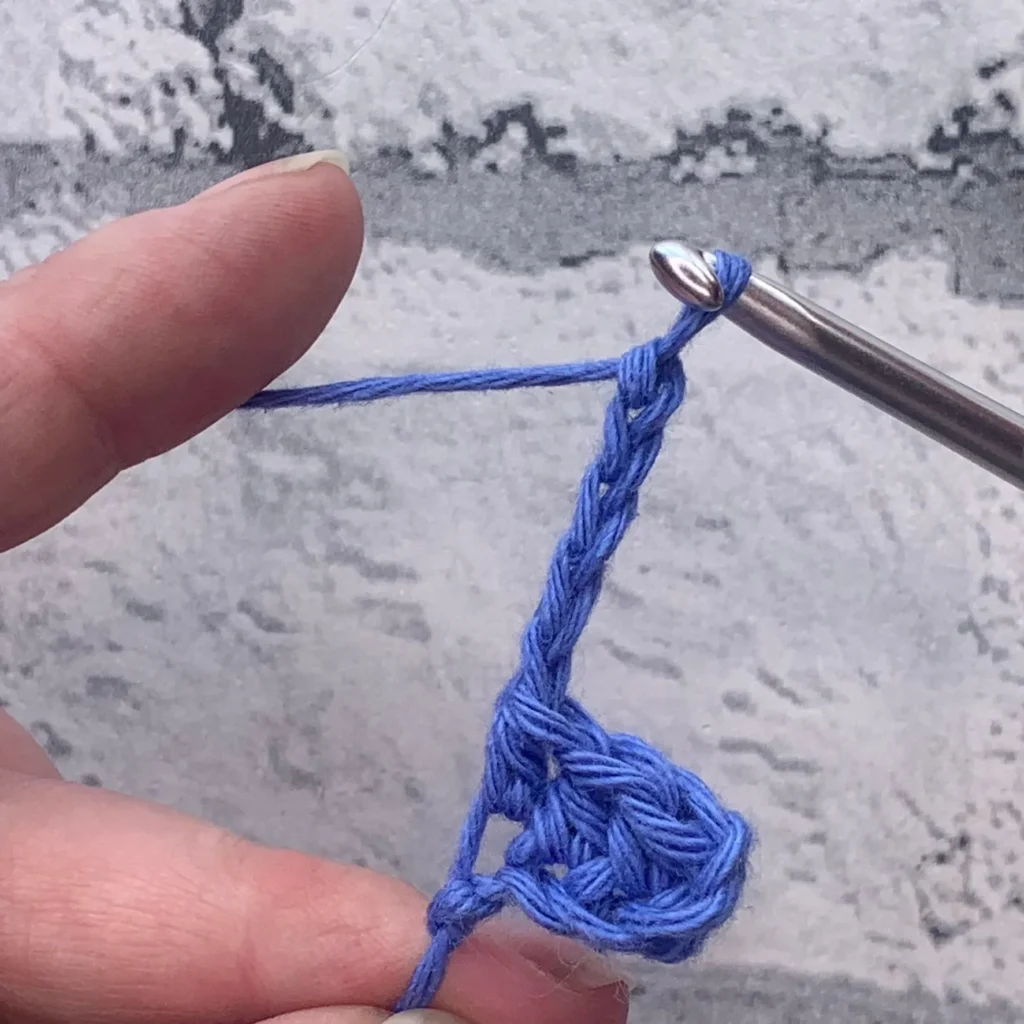
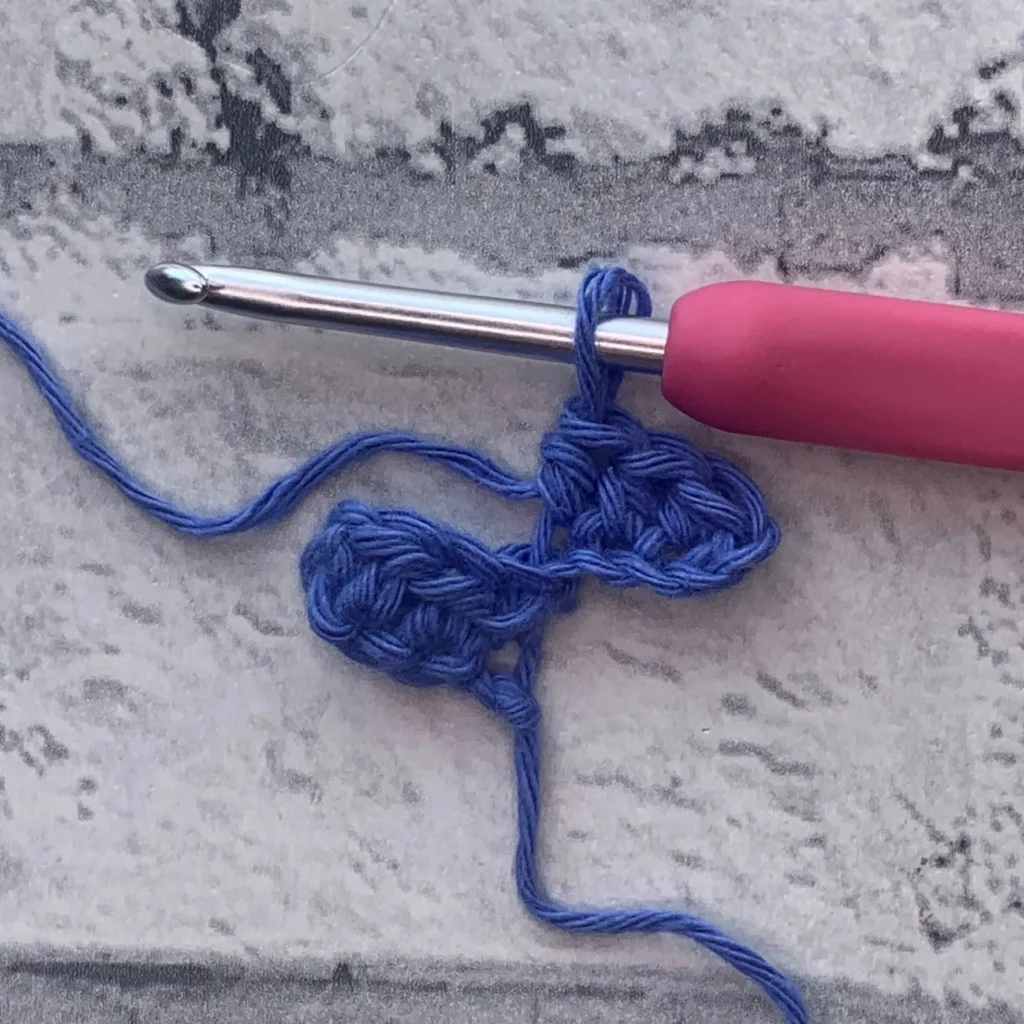
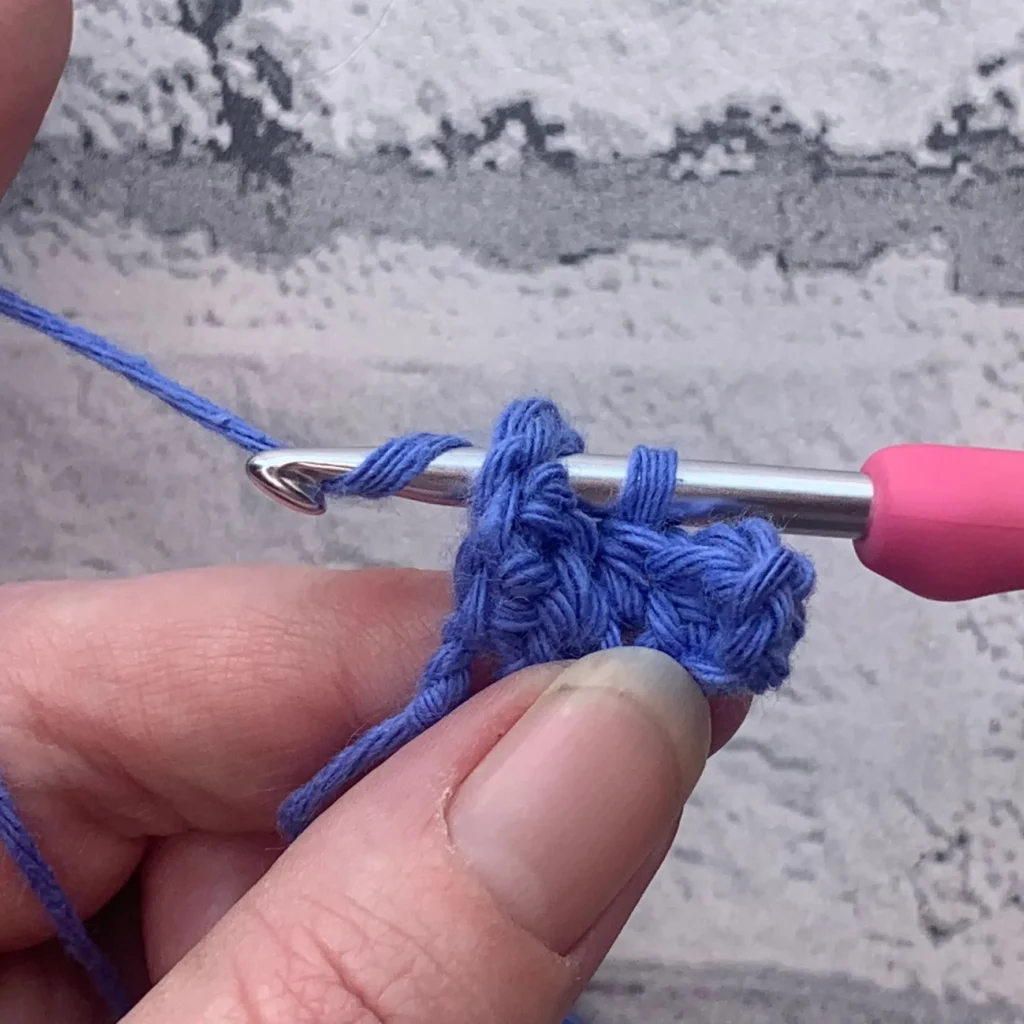
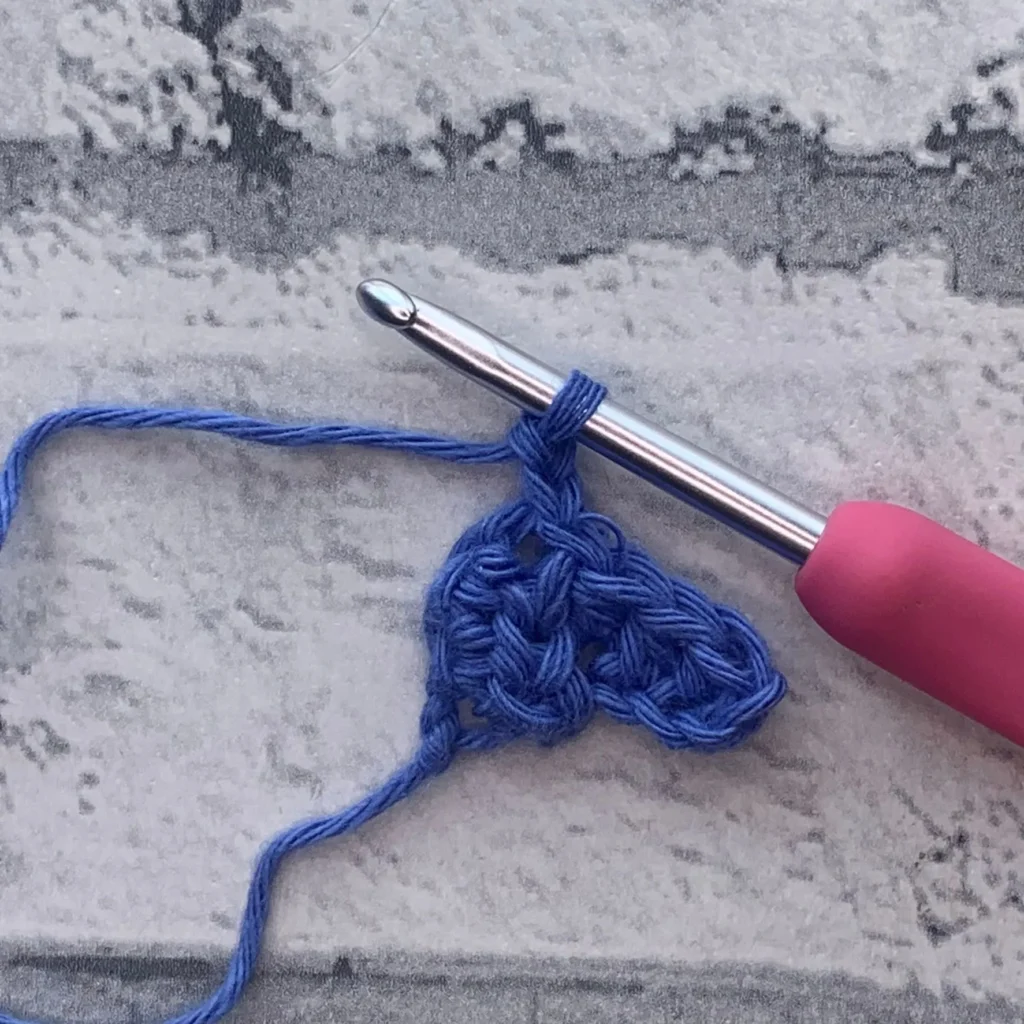
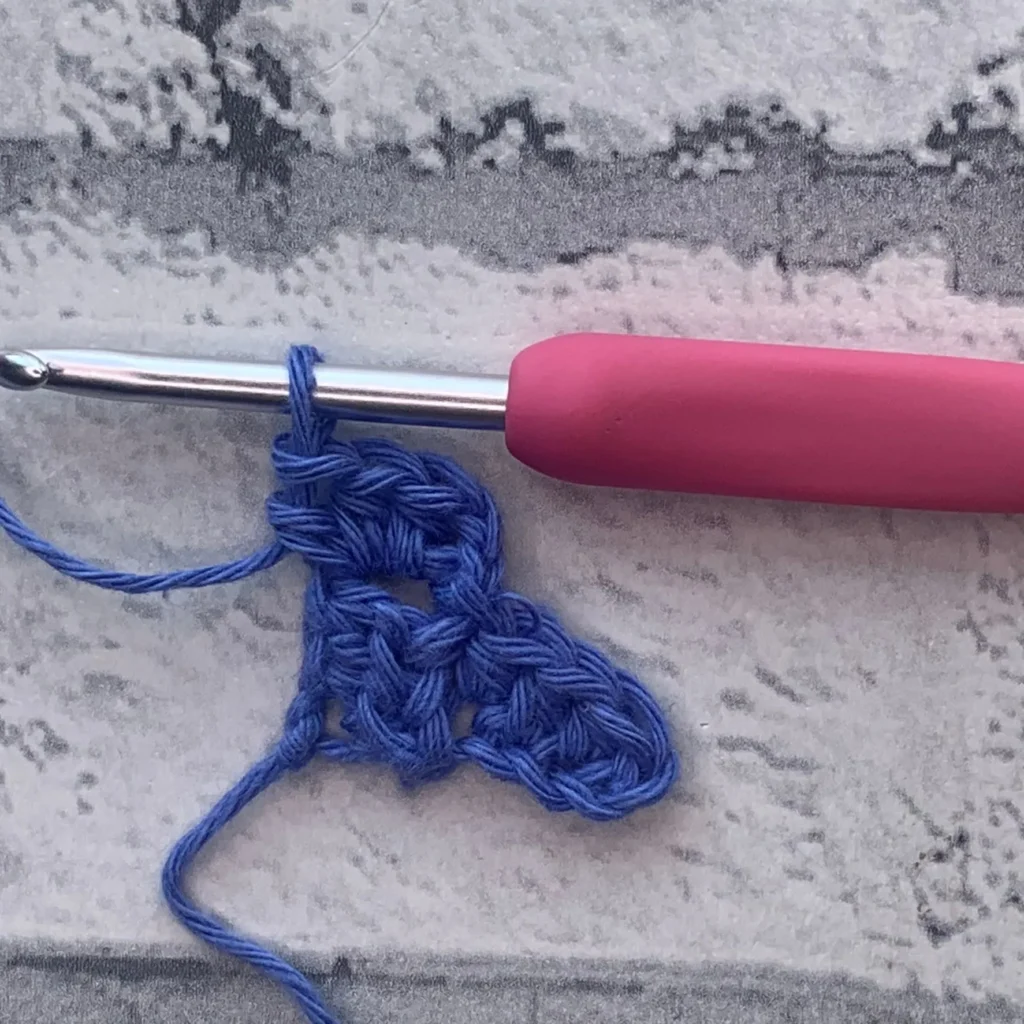
Row 3: Inc Block, sl st to ch-2 sp to join block, block into each ch-2 sp across, turn. (3 Blocks)
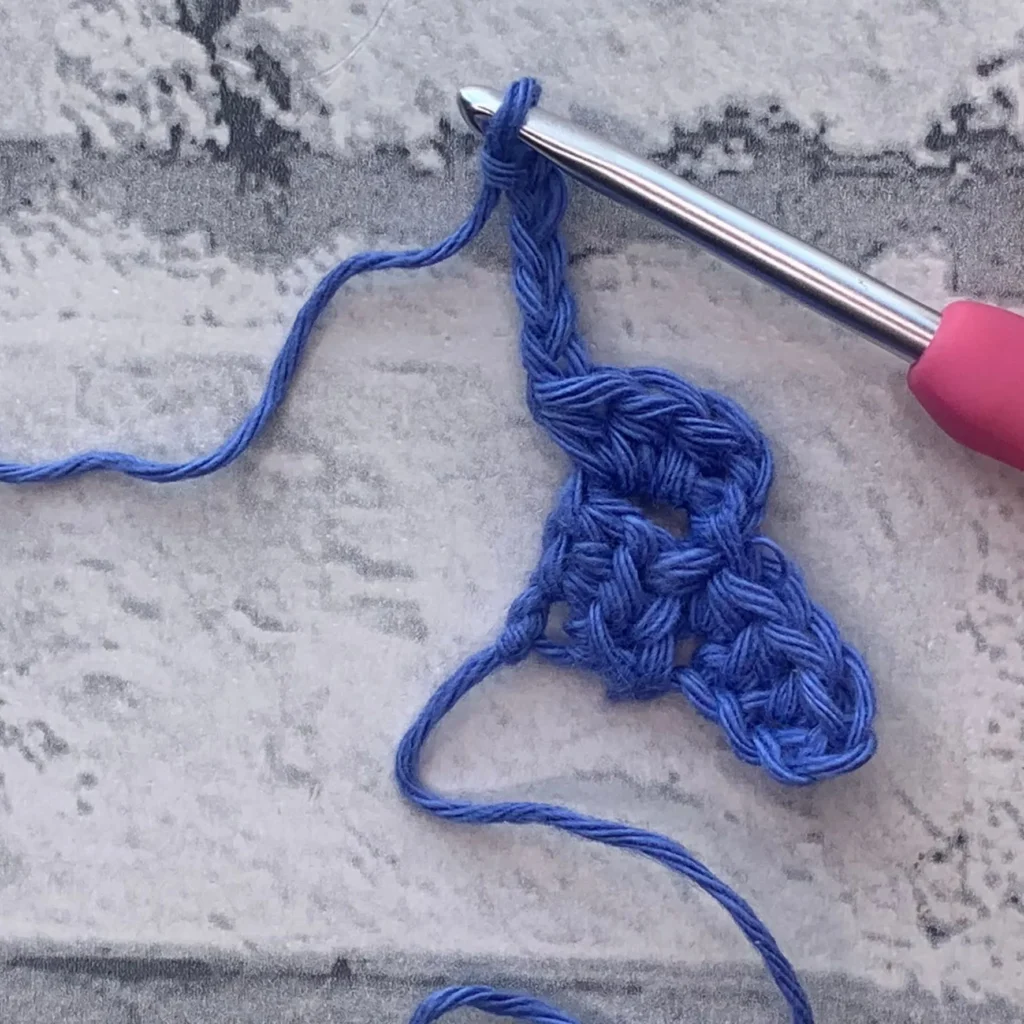
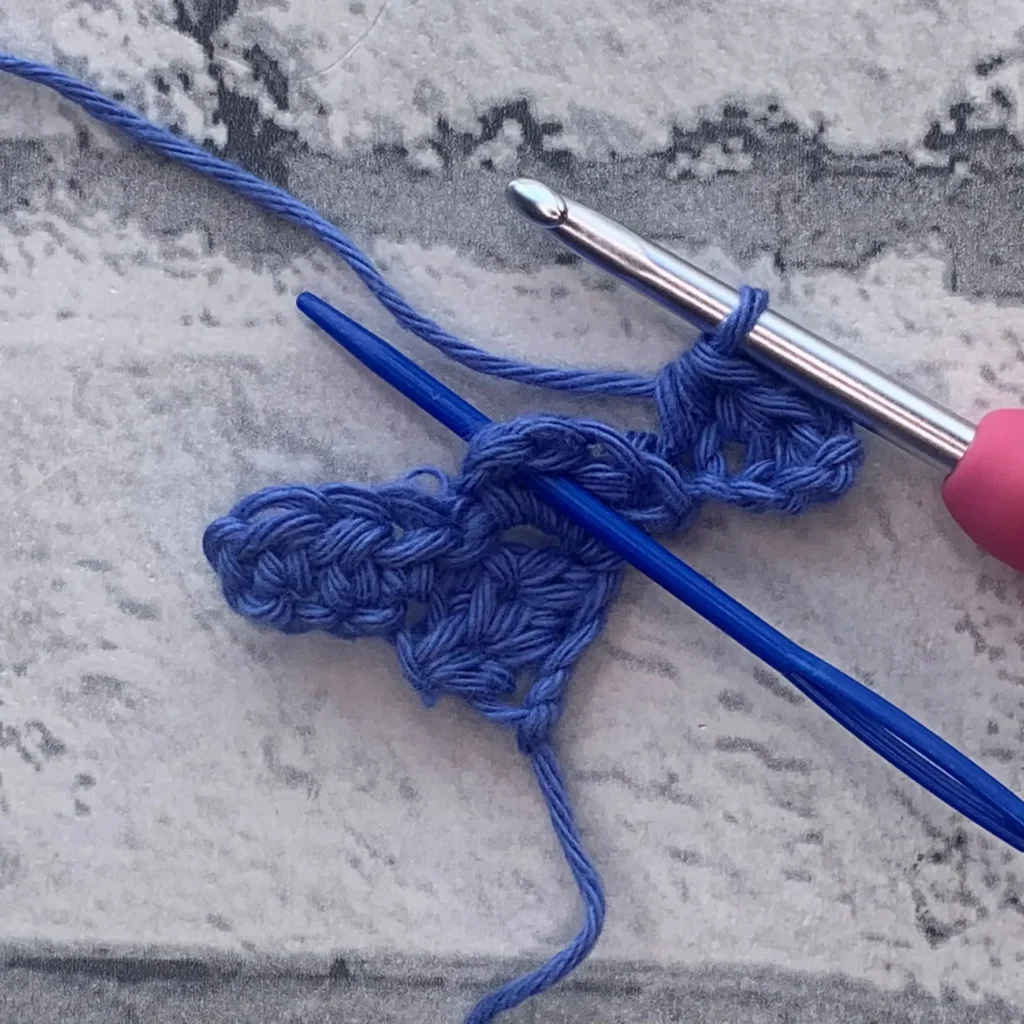
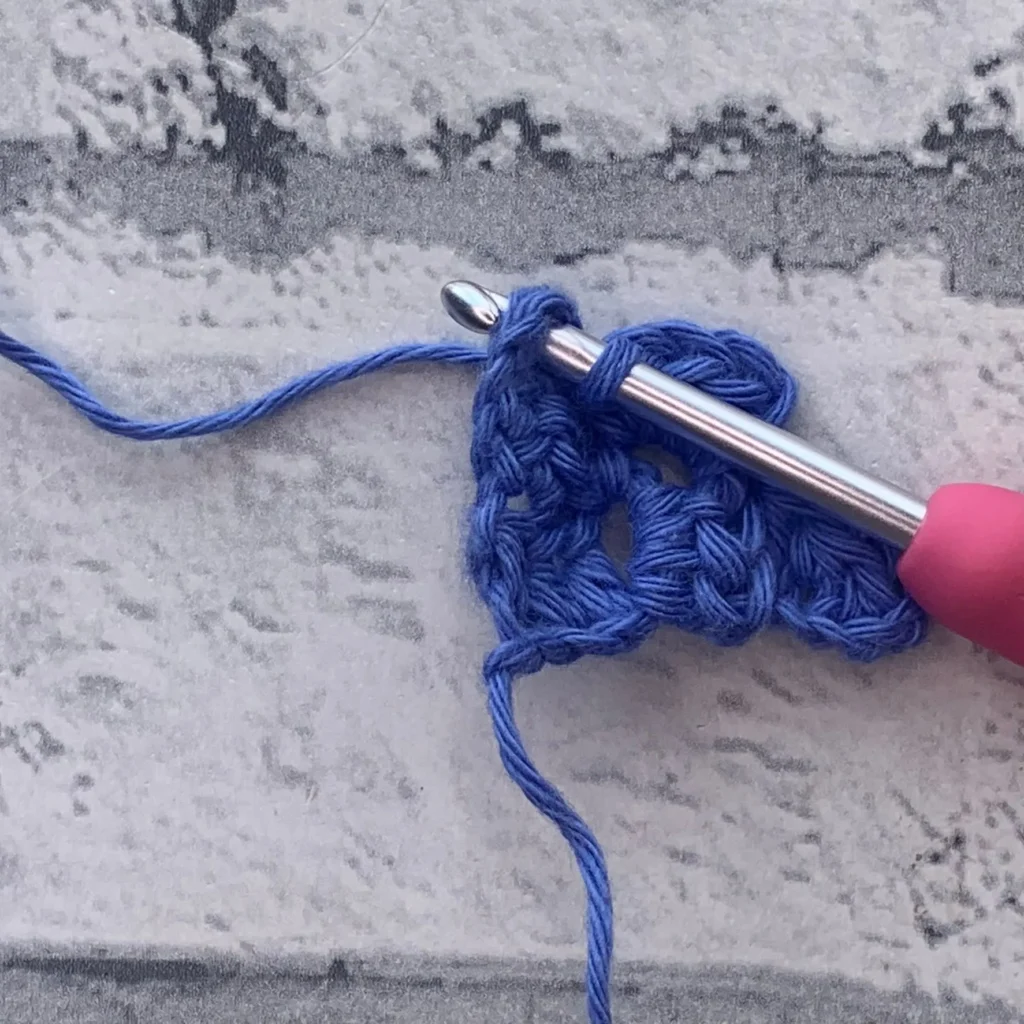
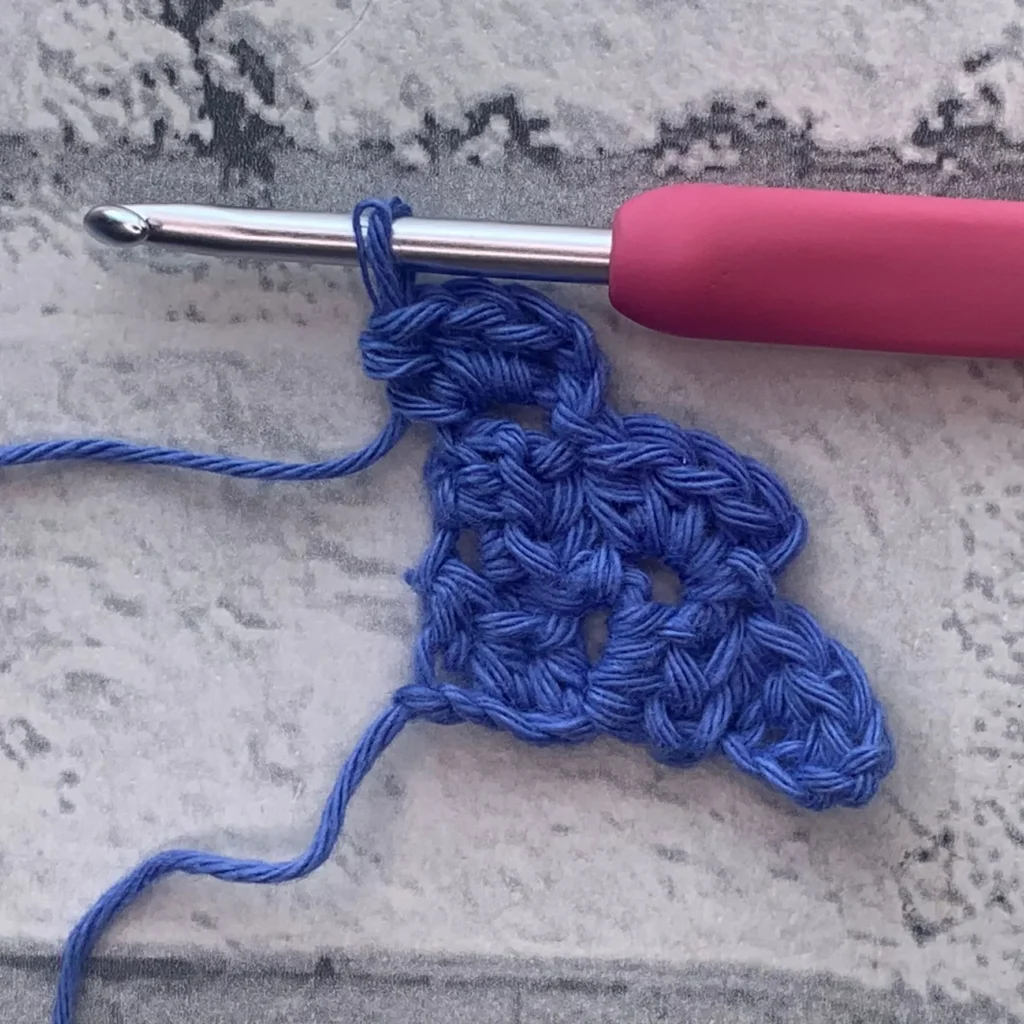
Rows 4-17: Repeat Row 3. (17 Blocks after Row 17)
Block count will increase by 1 with each row
Row 18: Ch1, sl st across next 3, sl st into ch-2 sp (Dec Block worked), block into each ch-2 sp across, turn. (17 Blocks)
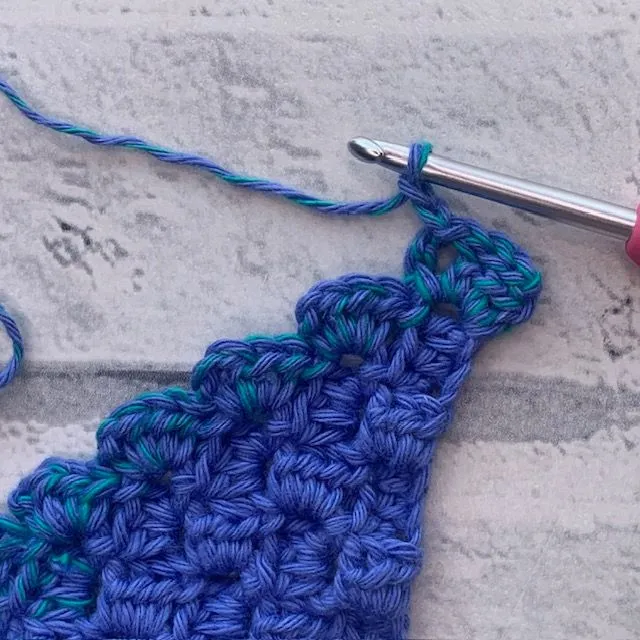
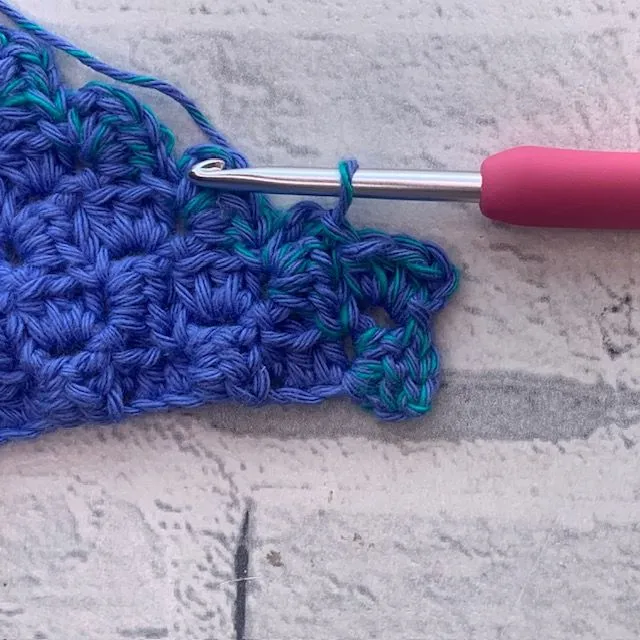
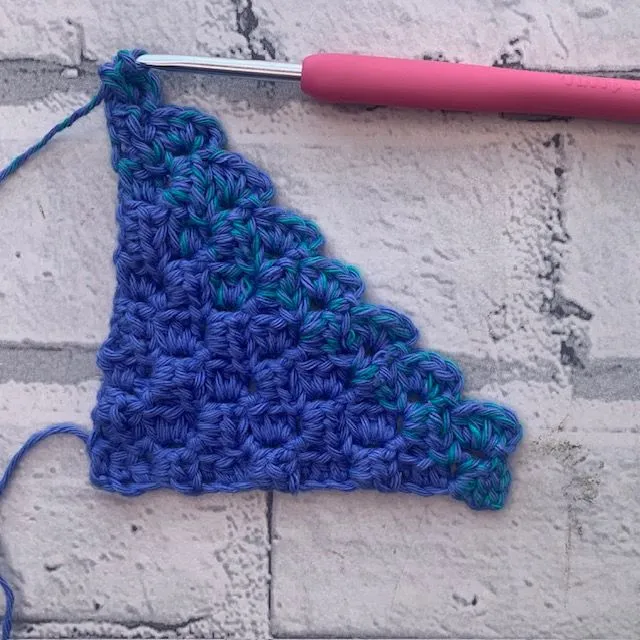
Row 19: Inc Block, sl st to ch-2 sp to join block, block into each ch-2 sp across, turn. (17 Blocks)
Rows 20-42: Repeat Rows 18-19.
Row 43: RS. Ch 1, (sl st across next 3, ch 2, sl st in ch -2 sp) 8 times, sl st across next 3, ch 10, sl st in ch -2 sp, (sl st across next 3, ch 2, sl st in ch -2 sp) to end, do not turn.
Fold bottom of panel up to last ch-2 sp joined to create bag pouch.
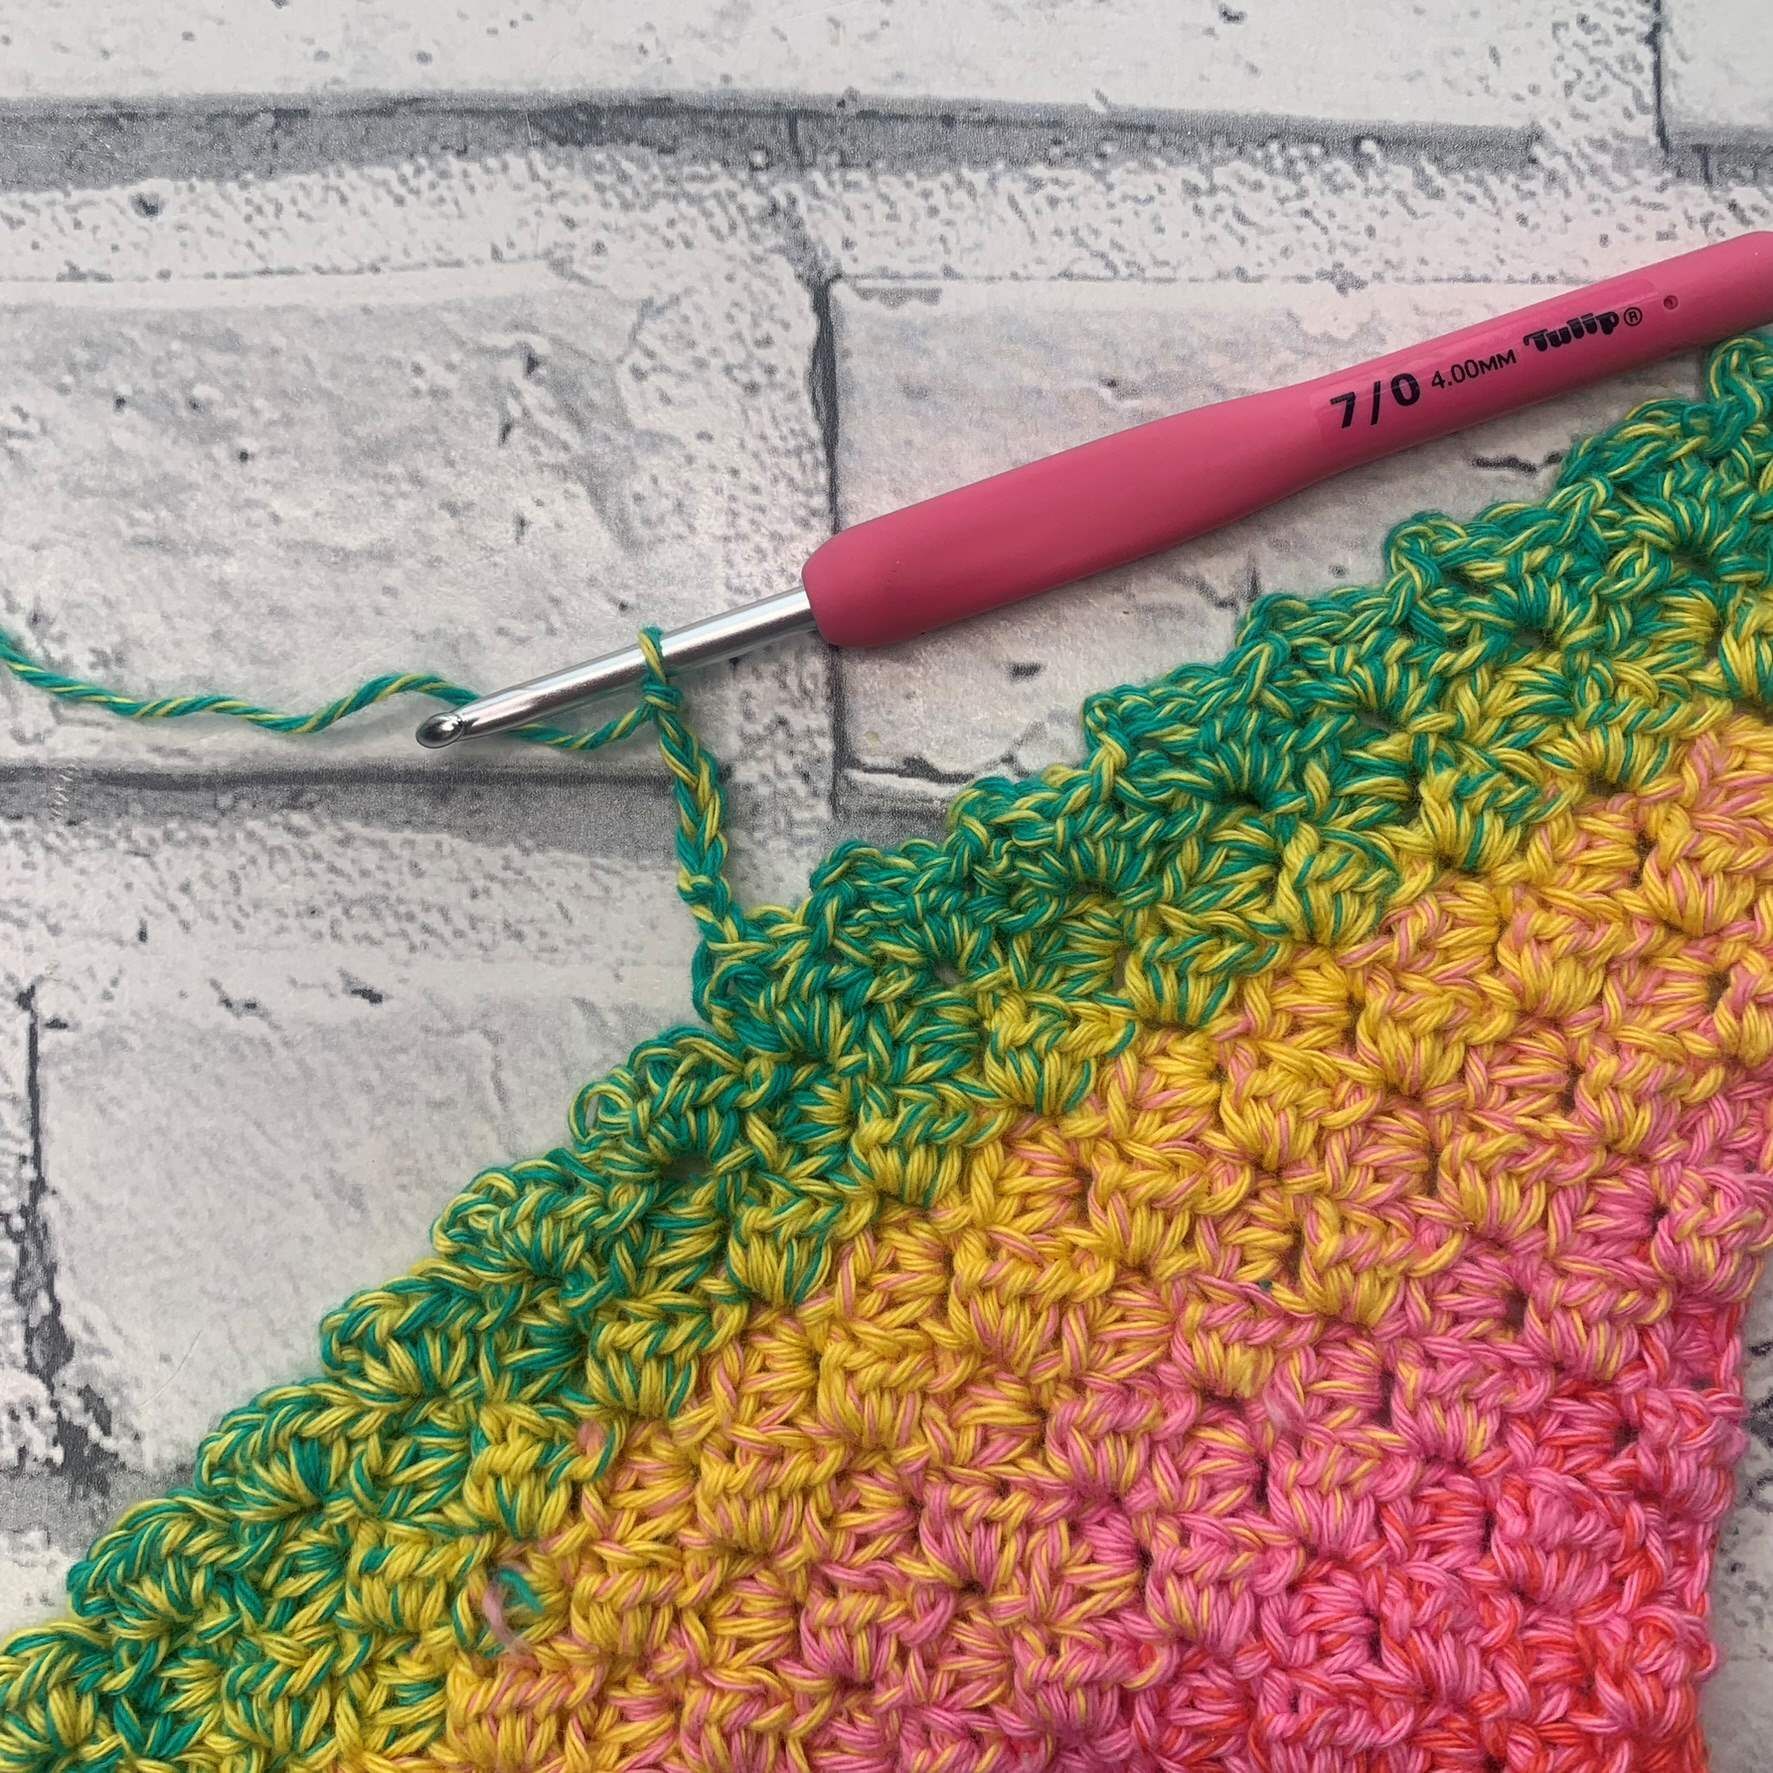
Seaming Clutch Bag
Seaming
- Ch 1, working through both sides of panel, sc evenly to join sides. Fasten off.
- Join yarn in opposite lower corner, sc evenly to join other side. Do not fasten off.
- Ch 1, rotate to work across bag opening, sc in each ch-2 sp and st across.
- Fasten off, weave ends.
Add a button to secure closure, aligned with ch 10.
Made it?
Come and share a photo of your finished Prismatic Crochet Clutch Bag in the community group so we can all celebrate your success!


