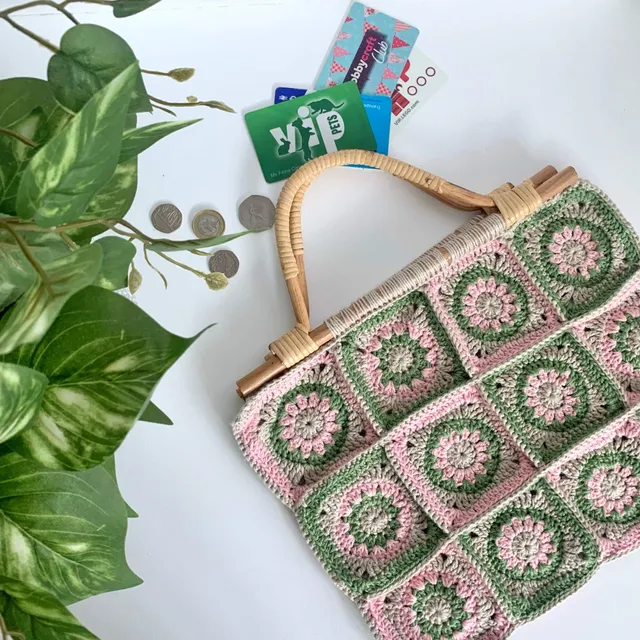
Crochet Clutch Bag Free Pattern
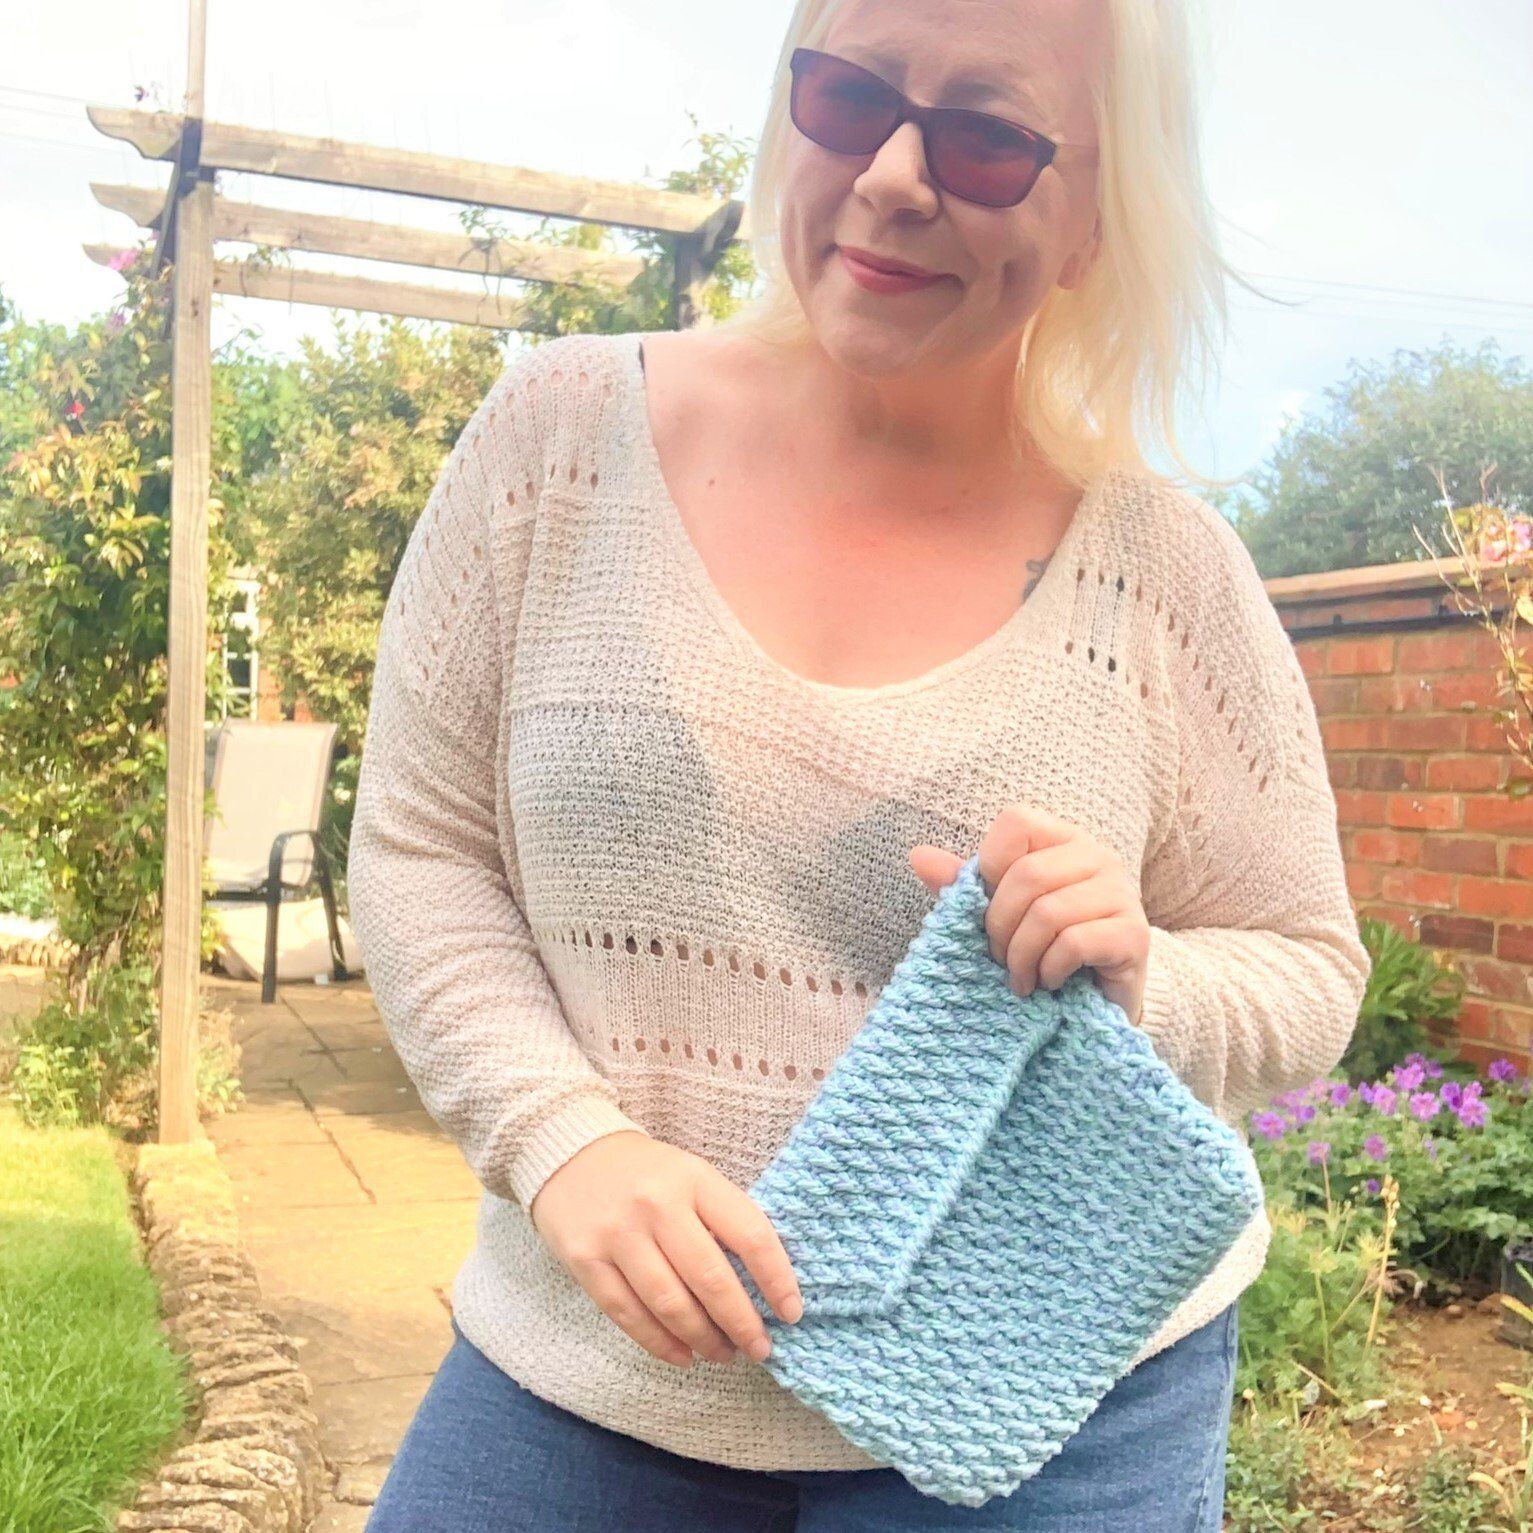
With this free crochet bag pattern, you will easily create your own crochet clutch bag with lots of texture. The Front Post stitches create a rippled effect and make the bag sturdy too.
Please note that some of the links in my blog are affiliate links. I may earn a small commission if you purchase via these links, but the price you pay is not affected
Pool Ripple Clutch Bag | Free Crochet Pattern
The Pool Ripple Clutch bag is the 2nd pattern to feature the raised front post stitch and create such a wonderful texture.
The design was inspired to be a corresponding pattern for the Pool Ripple Sunglasses Case – this pair of patterns are a perfect set to take away on holiday.
This crochet clutch bag pattern is a quick make that is worked in the round to create a seamless bag with no sewing or joining required.
Purchase the Printable PDF Pattern
You can purchase a printable copy of the Pool Ripple Clutch Bag crochet pattern by simply clicking the link below to be taken to your favourite crochet pattern shop.
Double Stranded Yarn
This pattern uses 2 strands of yarn which are worked together at the same time.
There is 2 reasons for this:
- To create extra firmness in the bag’s structure
- Create a unique colour way
If you are not familiar with working with multiple strands of yarn or want to learn more, click here.
Just as with the glasses case pattern, I combined 2 different colours of my favourite cotton blend – Stylecraft Naturals Bamboo Cotton.
With over 40 different shades to choose, the number of unique colour combinations you can create seem almost endless.
I used the shades Aqua (7141) and Cornflower (7140) together as they reminded me of the ripples created in a swimming pool.

Skill level: Advanced Beginner
Abbreviations
US Terms (UK terms in brackets)
St(s) Stitch(es)
Ch Chain
Sc (Dc) Single Crochet (Double Crochet)
Sc2tog (Dc2tog) Single (double) crochet 2 stitches together
Dc (Tr) Double Crochet (Treble Crochet)
FPTr (FPDTr) Front Post Treble Crochet (Front Post Double Treble)
Crab St Crab Stitch
RS Right Side
Materials:
- 250 yds DK/Size 3 Cotton or cotton blend. I used Stylecraft Naturals Cotton Bamboo (60% Bamboo, 40% Cotton) (100g, 250m/273yds) in the following 2 shades held together:
- A – 70m 7141 Aqua
- B- 70m 7140 Cornflower
- You can opt to use 2 strands of the same colour
- 4mm Crochet Hook
- Scissors
Optional:
- 2 Snap fasteners
Gauge: 18 sts and 8 Rows in pattern = 4″ (10cm) with 4mm hook. Adjust hook size if necessary to obtain gauge.
Finished Size:
- 10″ by 7.5″

How to make this Free Crochet Clutch Bag Pattern
Pattern Notes:
- Read through entire pattern before beginning. Please email [email protected] if you need assistance
- This pattern is worked holding 2 strands of yarn together throughout.
- The pattern is worked in 3 sections; Bag, Flap and edging
- The bag is worked in joined rounds and the flap in rows.
- Ch 1 at the beginning of the row DOES NOT count as a stitch.
- Ch 3 at the beginning of the row DOES count as a stitch.
- There is an unspoken rule when working post sts 2 rows below, the st of the current row directly behind the post st is skipped – this pattern follows that rule.
Special Stitches:
Front Post treble crochet (FPtr)
- Yo 2 times
- Insert hook around from front to back to front of dc 2 rows below
- yo, pull up loop
- [yo, pull through 2 loops] 2 times
Crab Stitch (reverse sc) (stitch is worked in opposite direction)
- insert hook in previous st
- yo, pull up loop
- yo, pull through 2 loops
Round 1 (RS): Holding 1 strand of A and B, ch 41, dc in 4th ch from hook (skipped chs count as dc), dc in each ch across, rotate to work in opposite side of starting ch, dc in each across to end, sl st to top of ch-3 to join, turn–78 dc.
Round 2: Ch 1 (does not count as st), sc in each around, join, turn–78 sc.
Round 3: Ch 3 (counts as dc here and throughout), *FPtr around dc 2 rounds below, dc in next; repeat from * around, join, turn–39 FPtr, 39 dc.
Round 4: Repeat Round 2–78 sc.

Round 5: Ch 3, FPtr around next dc 2 rounds below, *dc in next, FPtr around next dc 2 rounds below; repeat from * around to last st, FPtr around ch-3 2 rounds below, turn–39 FPtr, 39 dc.
Rounds 6-25: Repeat Rounds 2-5. Fasten off, weave in ends.
Continue to Flap.

Crochet Clutch Bag | Flap
Flap
- Flatten Clutch, place marker in FPtr (near join), place marker in 39th st (opposite join).
- Join yarn in marked with RS facing.
- Flap will be worked in turned rows.
Row 1: Ch 3, *FPtr around dc 1 round below, dc in next; repeat from * across to next marked, turn–19 FPtr, 20 dc.
Row 2: Ch 1 (does not count as st), sc in same, sc2tog, sc in each across to last 3, sc2tog, sc in last, turn–37 sc.
Rows 3-15: Repeat Rows 1-2,ending on Row 1
repeat. Do NOT turn after completion of Row 15.
Continue to Edging.
Crochet Clutch Bag | Edging
Round 1: Ch 1, crab st in each across edge of flap, rotate to work across row ends of Flap, continue crab st in each around opening of Clutch, continue across row ends of opposite side of Flap, join.
Fasten off, weave in ends.
Optional:
Sew on 2 snap fasteners, on on each edge of flap to secure opening.
A huge thank you to my pattern testers, Bernadine and Sarah who kindly tested this pattern – it’s always such a pleasure to see a pattern come to life
Purchase the Printable PDF Pattern
You can purchase a printable copy of the Pool Ripple Clutch Bag crochet pattern by simply clicking the link below to be taken to your favourite crochet pattern shop.