Easy Pretty Granny Square Iris Stitch
Learn how to make a pretty granny square using the iris stitch with this free granny square pattern. The lace stitch, is simple to recreate with a 1 row repeat throughout.

Please note that some of the links in my blog are affiliate links. I may earn a small commission if you purchase via these links, but the price you pay is not affected
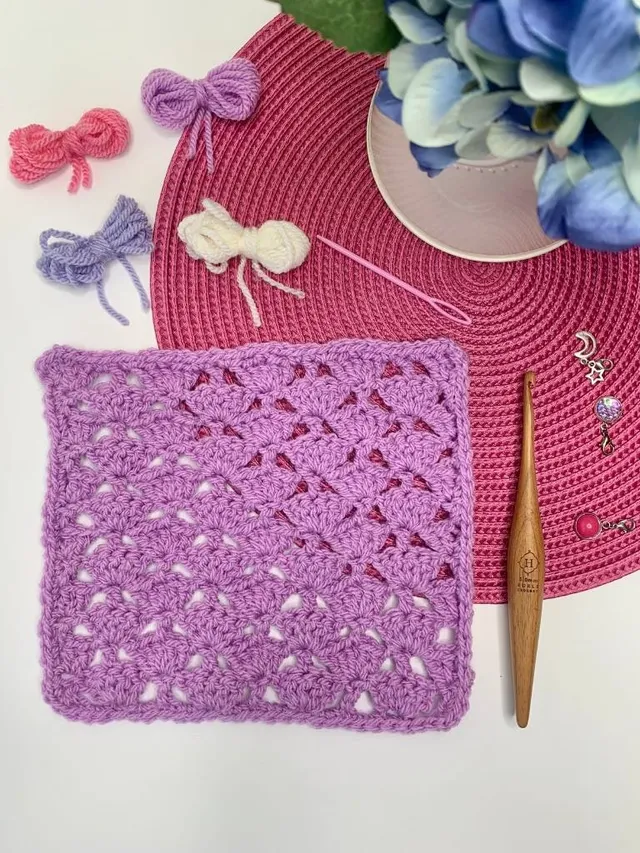
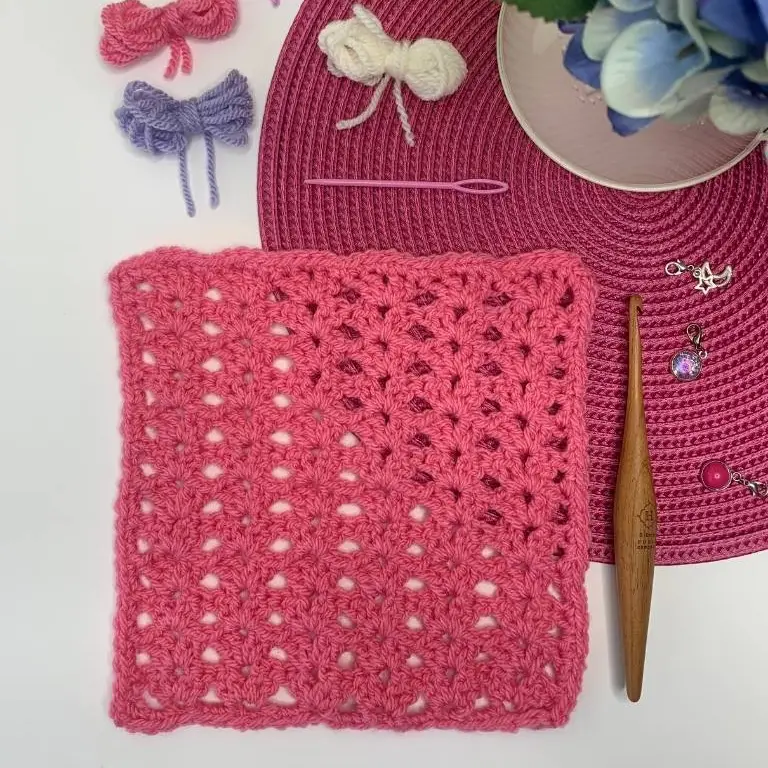
Iris Stitch Granny Square | Free Crochet Pattern
This easy granny square is the 5th square to be released as part of the Hodgepodge Granny Square crochet along and will surprise you with how quickly this granny square stitches up.
The open crochet stitches are created by working the small fans of stitches on top of each other; this also makes it a super easy stitch to know where to work the next stitch.
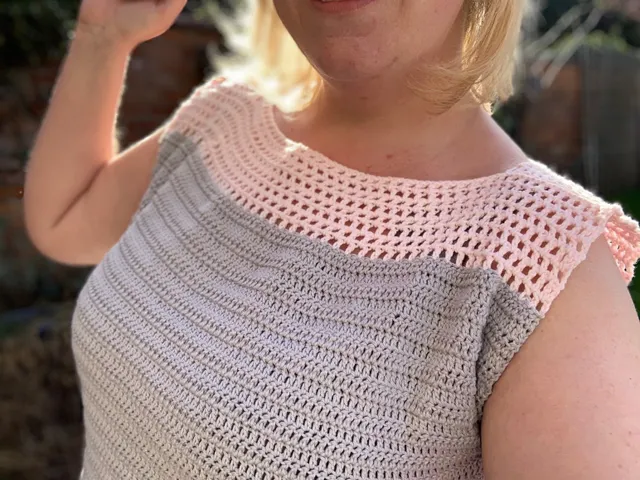
I’m a big fan of the iris stitch and have already featured this stitch pattern in a crochet pattern released earlier this year – The Iris Blossom Beach Tunic was a great cover up that I used on my holiday in Mexico.
You’re going to love stitching up this square and will enjoy the easy repeat of the stitches used to create this lacy crochet granny square.
Purchase the Printable Patterns
You can purchase a printable copy of the full Hodgepodge Blanket pattern including the joining and edging

Abbreviations
US Terms (UK terms in brackets)
St(s) – Stitch(es)
Ch – Chain
Ch Sp – Chain Space
Sc (Dc) – Single Crochet (Double Crochet)
Dc (Tr) – Double Crochet (treble crochet)
RS – Right Side
TCh – Turning chain
[ ] – Stitches within square brackets should be worked into the same stitch or chain space
Skill level: Beginner
Materials:
- Aran/worsted weight yarn
- I used used 55m PaintBox Simply Aran 100% Acrylic yarn in the following shade – 250
- 5mm Crochet Hook
- Scissors
- Tapestry needle
Gauge: gauge not essential – Use a larger or smaller crochet hook to obtain the correct finished square size.
Finished Size:
- 8″ x 8″

How to make this Iris Stitch Granny Square
Pattern Notes:
- Please read through the entire pattern before beginning, regardless of skill level. Please contact me ([email protected]) if help is needed to understand any part of pattern.
- Beginning ch-1 does not count as sc.
- Beginning ch-3 DOES count as dc .
- Pattern will also look great worked with 2 different colours, changing colour every 2nd row.
Row 1: RS. Ch 27, [2dc, ch 1, 2dc], in 5th ch from hook (skip ch4 counts as dc), *skip 3 ch, [2dc, ch 1, 2dc], repeat from * to last 2 ch, skip 1 ch, dc in last, turn. (6 ch-1 sp, 26 dc)
Row 2: Ch3, *[2dc, ch 1, 2dc] in ch-1 sp, repeat to end, dc in in top of tch, turn. (6 ch-1 sp, 26 dc)
Row 3-13: Repeat Row 2.
Continue to edging
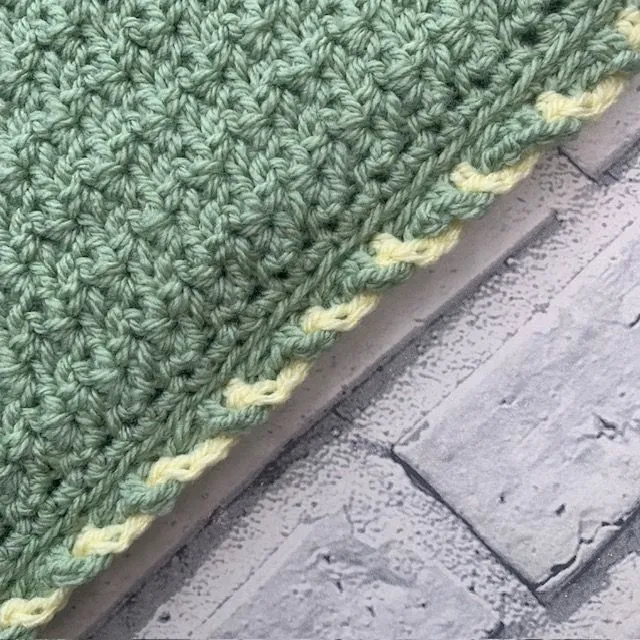
Edging:
Ch1, 24 sc evenly across ends of rows, (sc, ch1, sc) in corner, sc in each st of other side of ch, (sc, ch1, sc) in corner, sc evenly across ends of rows, (sc, ch1, sc) in corner, sc across each st to end, ch1, sl st to 1st sc to join.
Fasten off, weave in remaining ends.
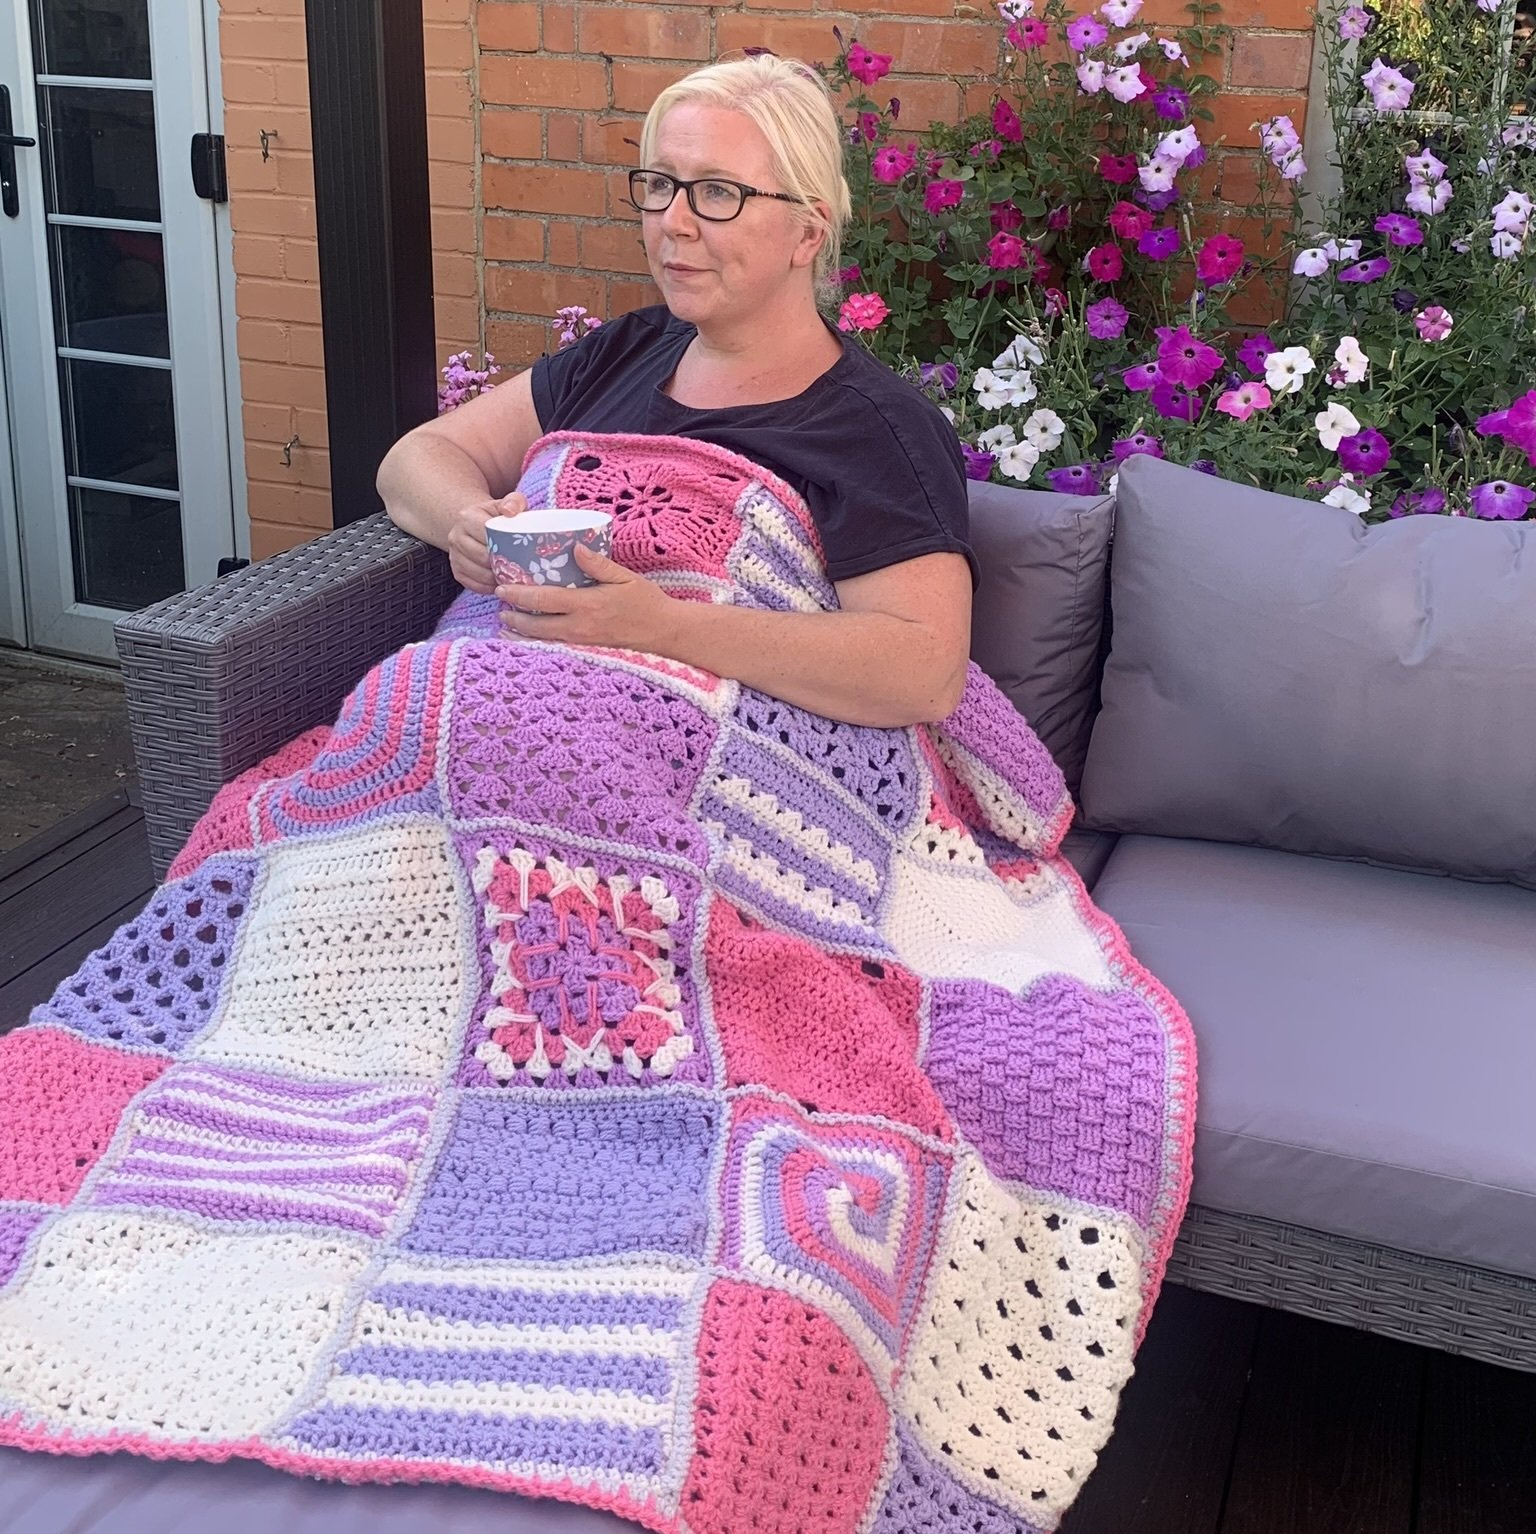
Hodgepodge Granny Square Blanket CAL
Join the fun of this event is running from 15th August 2022 – 13th September 2022 with 30 new granny squares designs, one released each day.
Click here to see all the 30 square designs and decide which one you will be stitching up next!
A huge thank you to my pattern testers and editor who kindly helped test all 30 of the square designs to check for accuracy in this pattern – it’s always such a pleasure to see a pattern come to life.