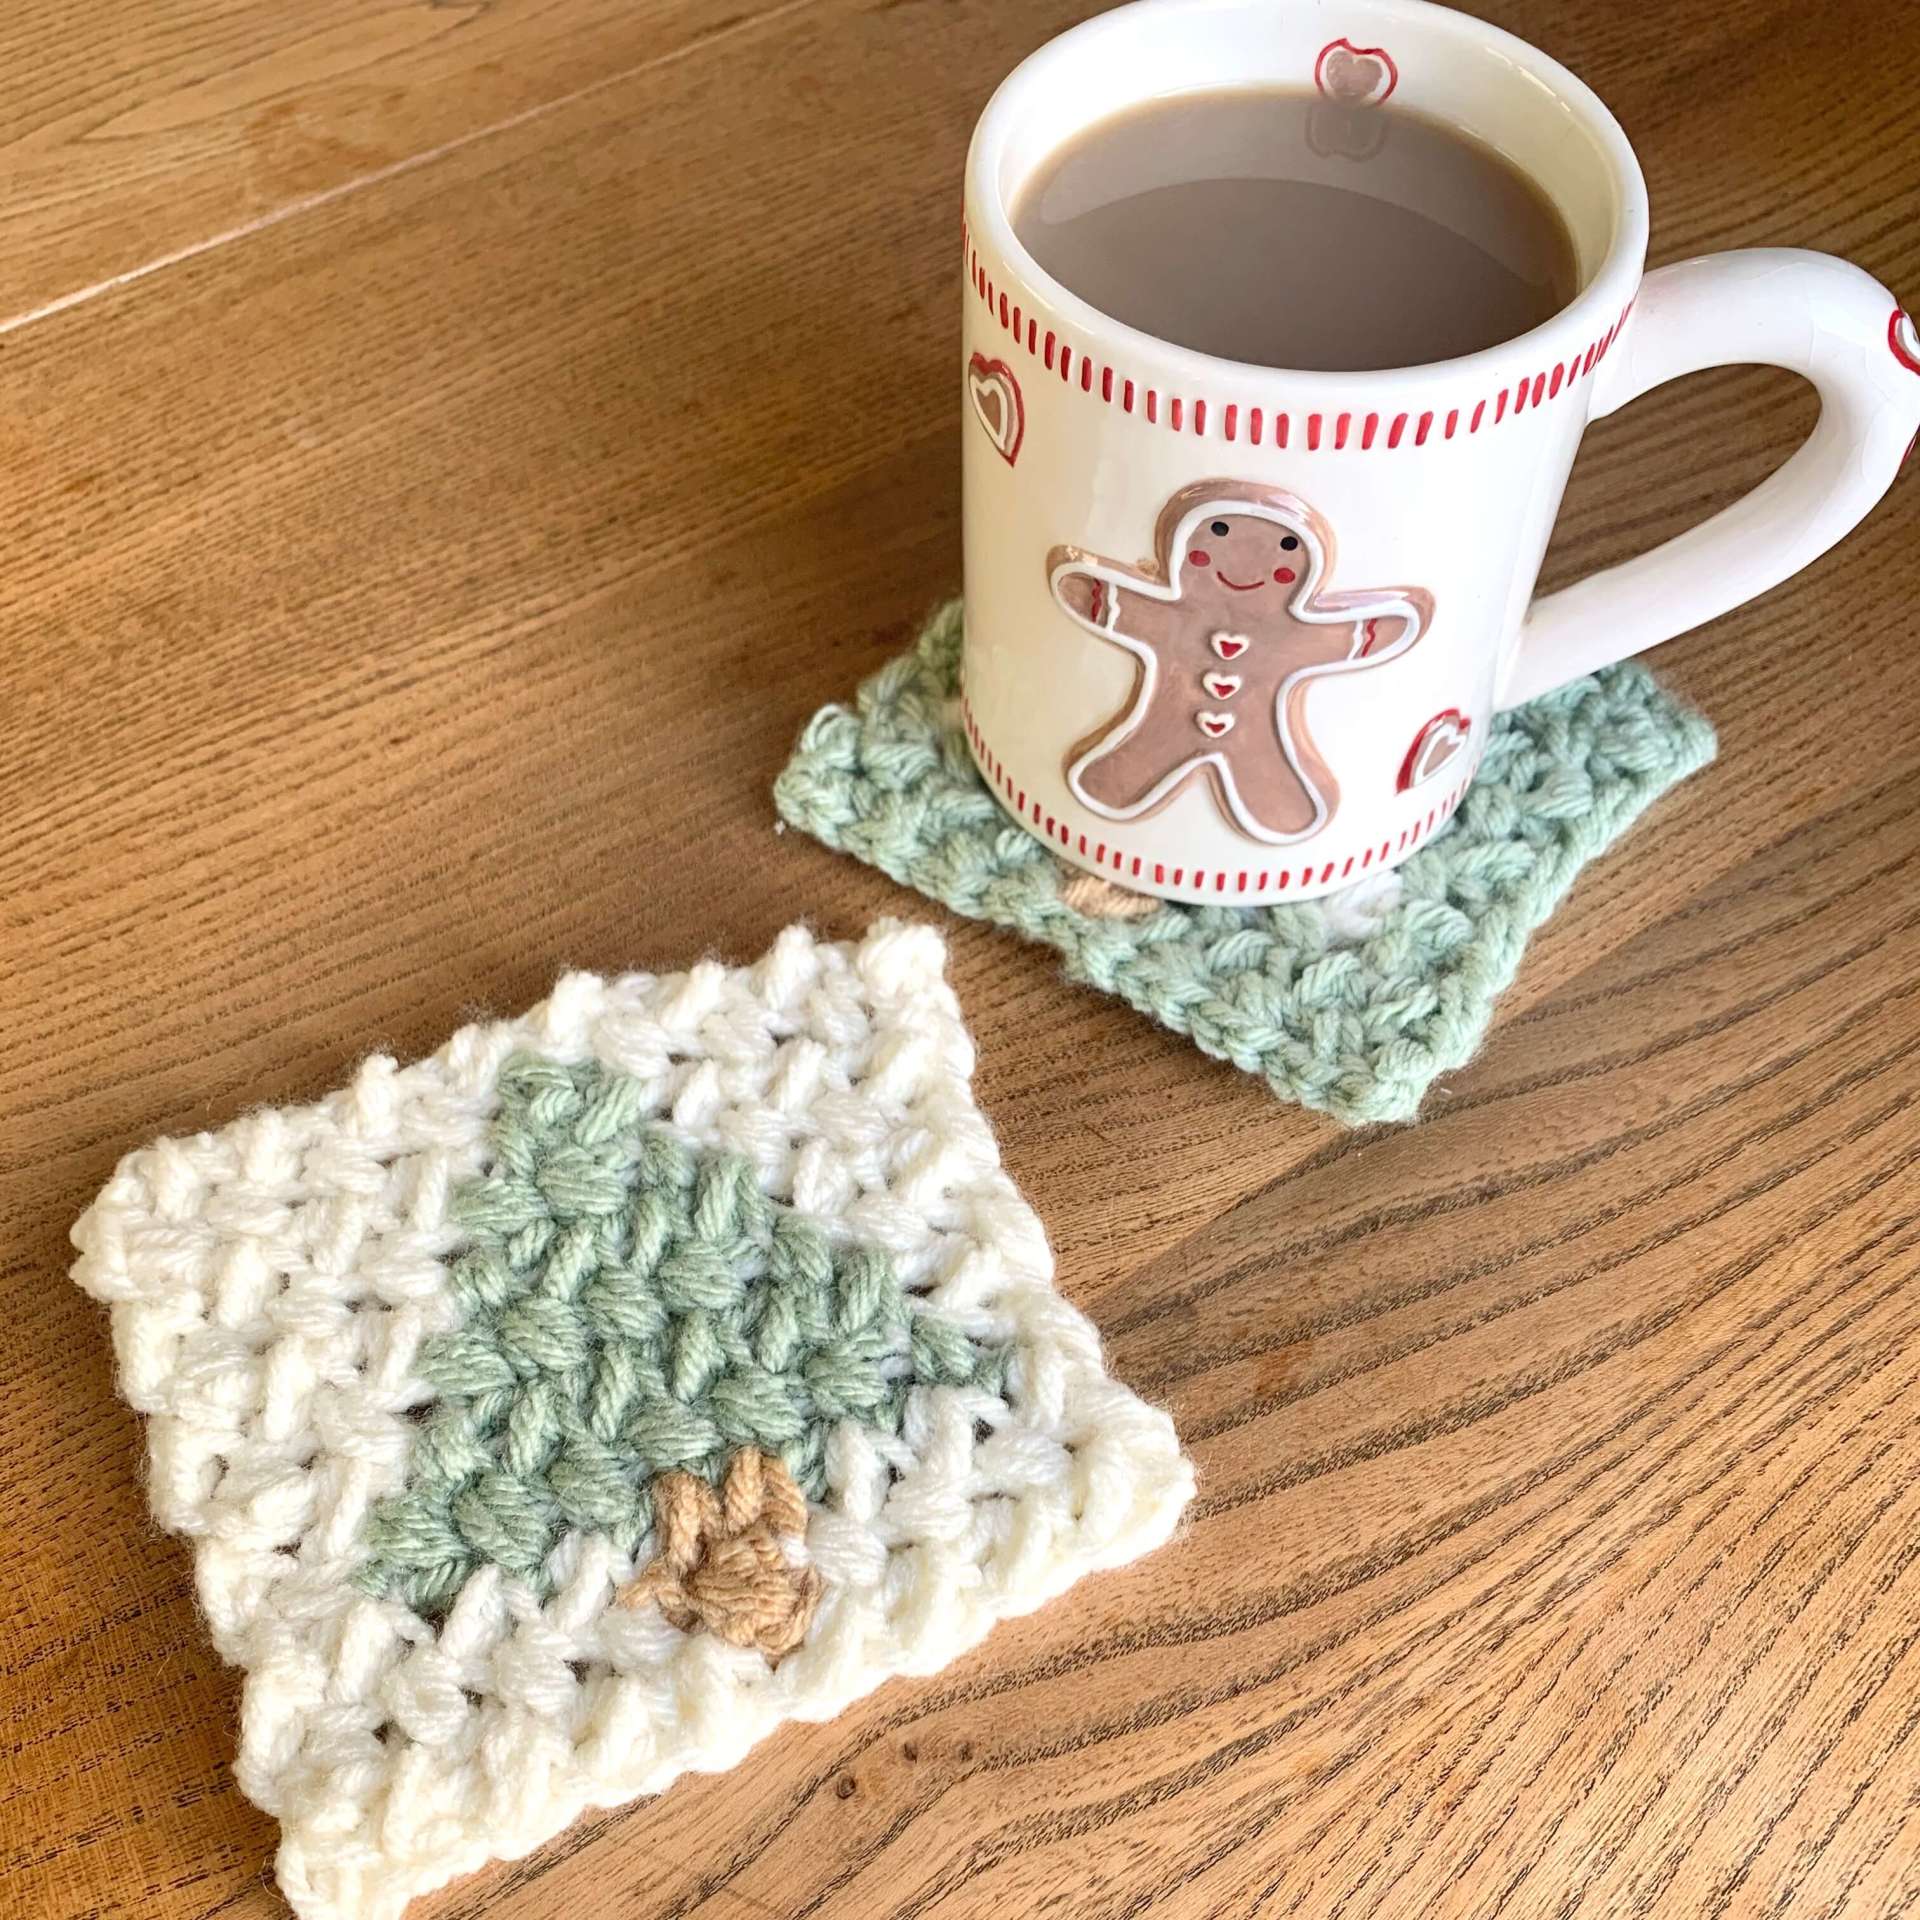
Free Crochet Christmas Tree Coaster Pattern
Nothing is better than dressing the dining table for the holiday season. This free crochet Christmas Tree Coaster pattern works perfectly for every mealtime, including my favourite – breakfast! They are quick and easy to make, so you can crochet lots, one for every guest or even gift them to those that you love!
Christmas Tree Coaster | How to crochet a coaster
The Christmas tree has a wonderful history dating as far back as the 16th Century! Over the centuries, it has gone from simply bringing an evergreen tree into the home to being decorated in the fashion we know and love now. In Britain, the tradition of decorating churches and homes with evergreens was long established prior to Queen Victoria’s delight and love of the candlelit Christmas tree which made the custom more wide spread across the country.
The sight of a decorated tree that is twinkling with lights, will forever warm my heart on a cold winters night. For me, it symbols a time to celebrate the holidays with those that you hold dearest, coming together to share a feast and to give the most precious gift of all, your time.
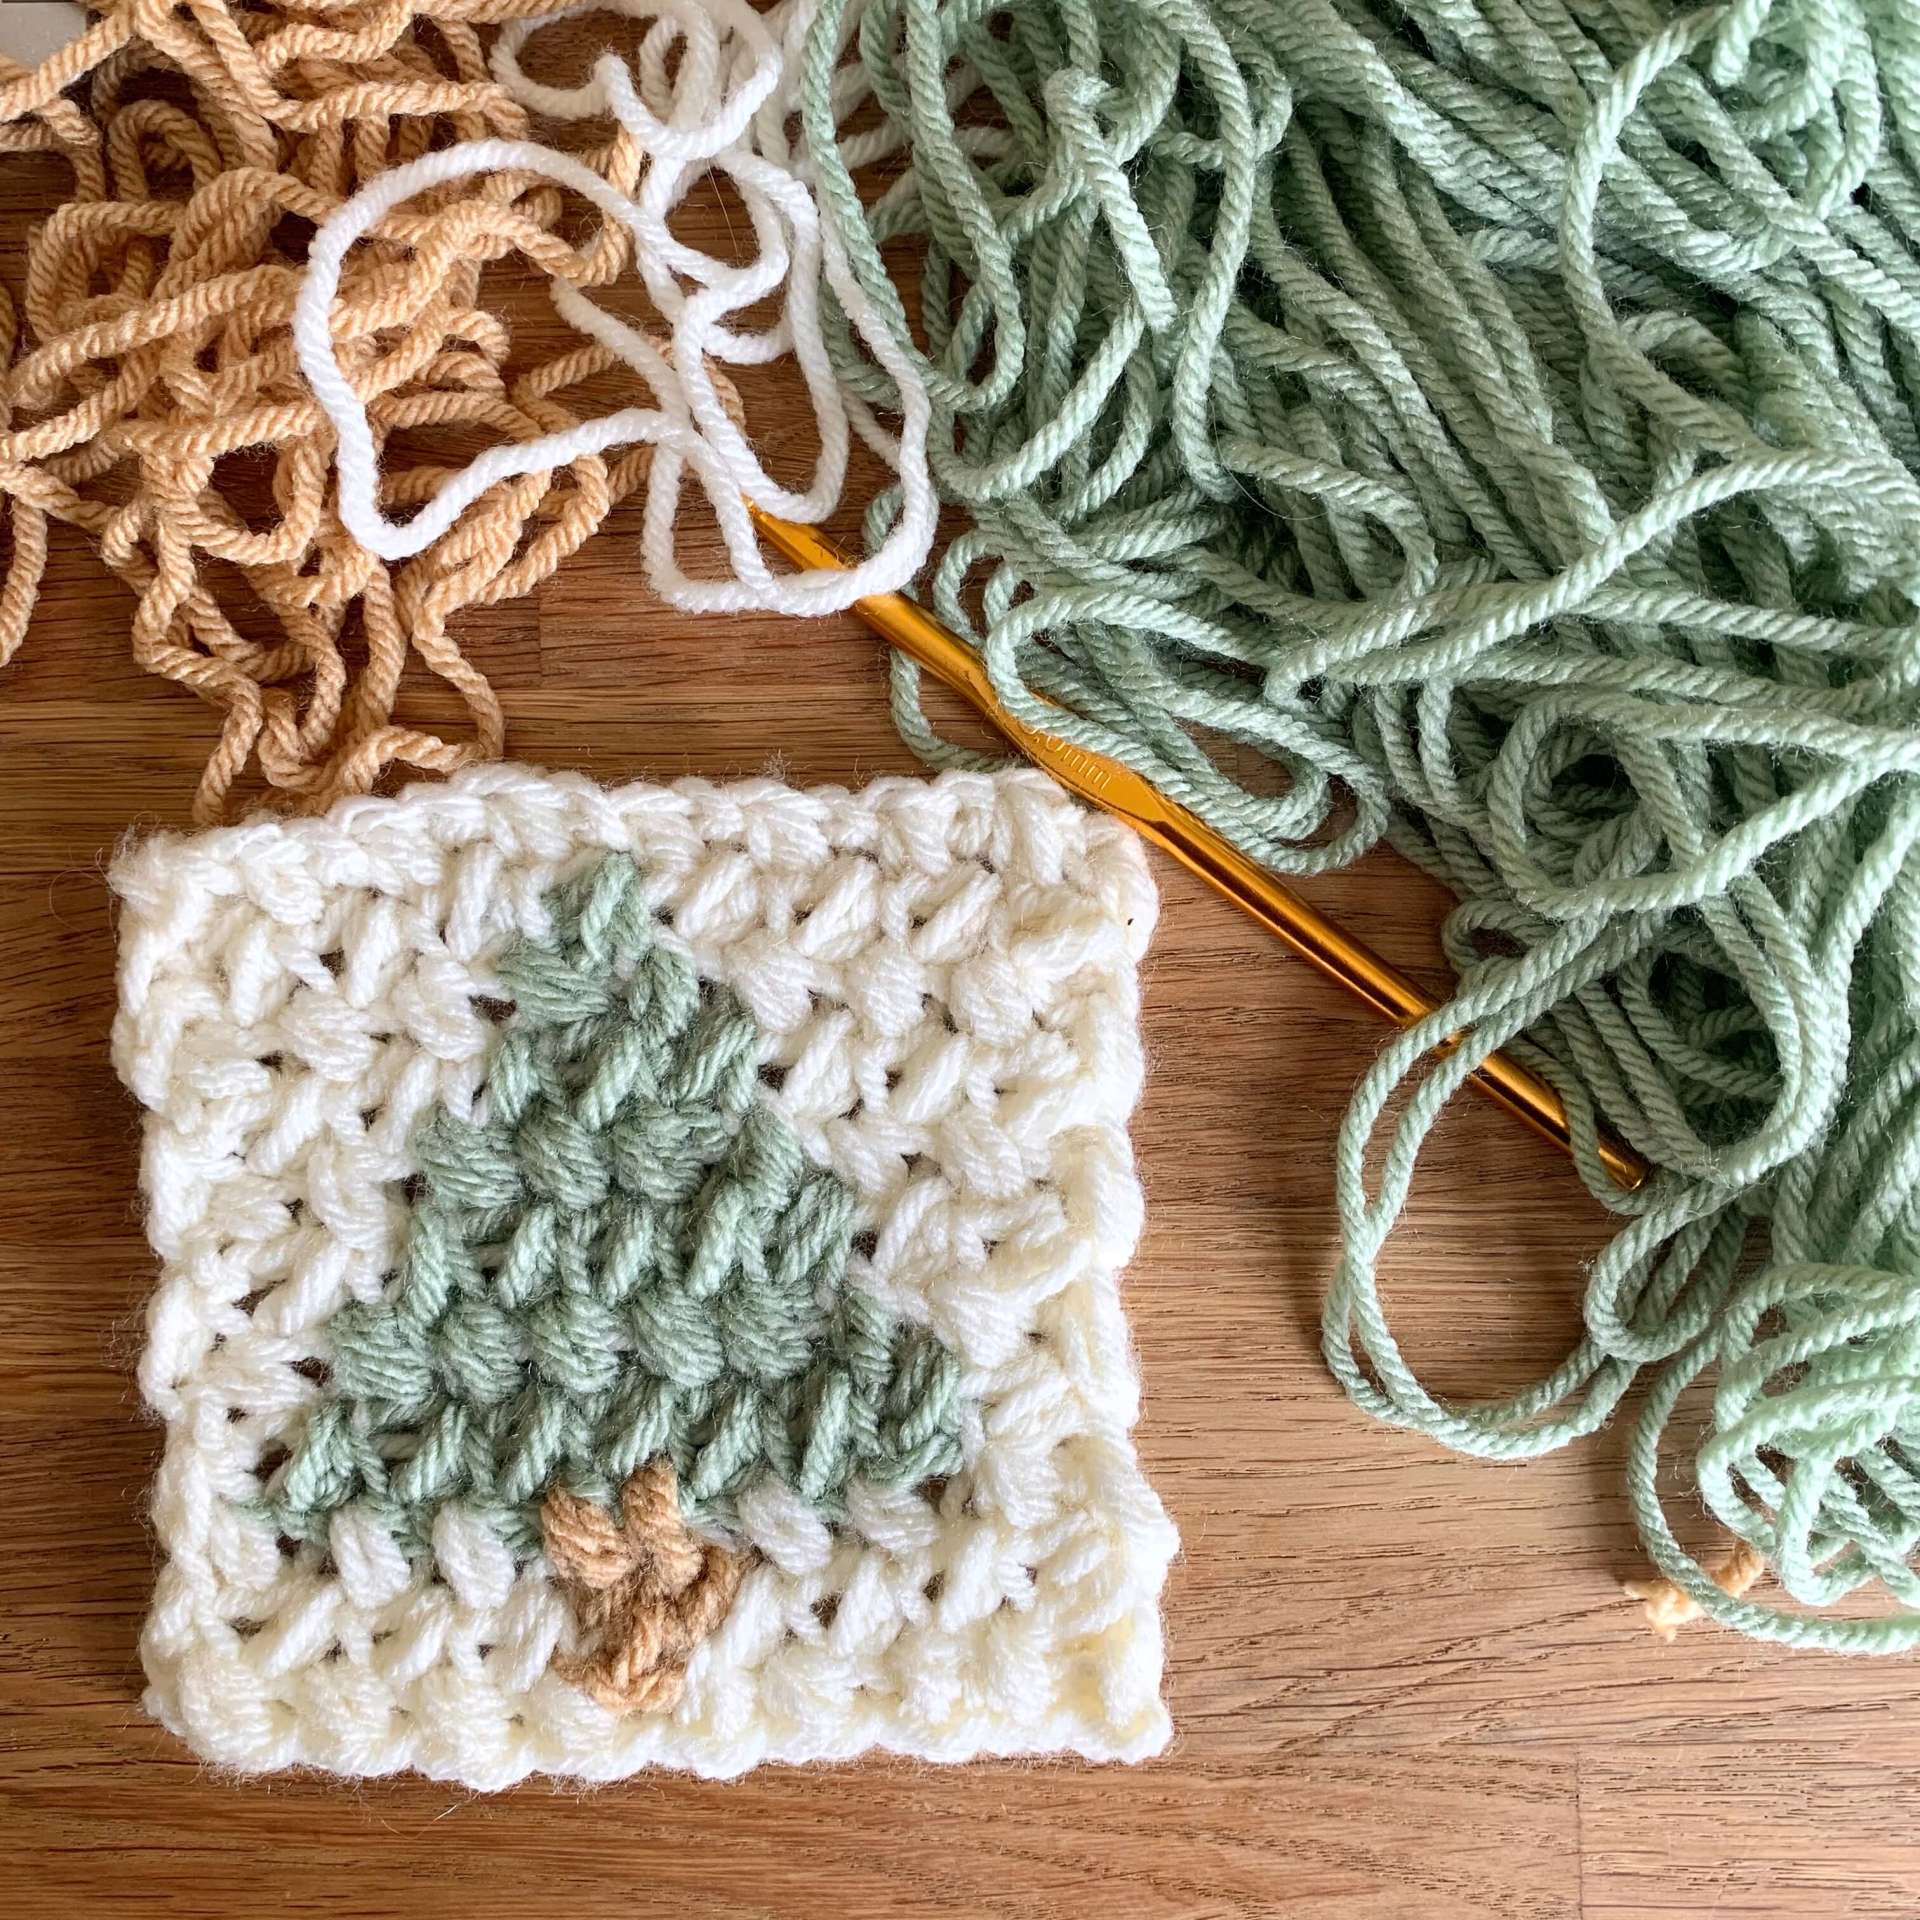
This is why this coaster pattern is so, so precious to me and why I am so excited to share it with you. It features one of my favourite textured stitches, the Elizabeth Stitch. The stitch also allows us to work 2 colours at the same time with minimal effort.
Please note that some of the links in my blog are affiliate links. I may earn a small commission if you purchase via this links, but the price you pay is not affected.
Ad Free Printable Pattern
You can purchase an Ad-Free printable copy of this Crochet Christmas Coaster pattern for just £2.50 over on either my Etsy Shop or my Ravelry store. Simply click the button below.
How to Crochet A Christmas Tree Coaster
Skill Level– Beginner looking for an easy Challenge
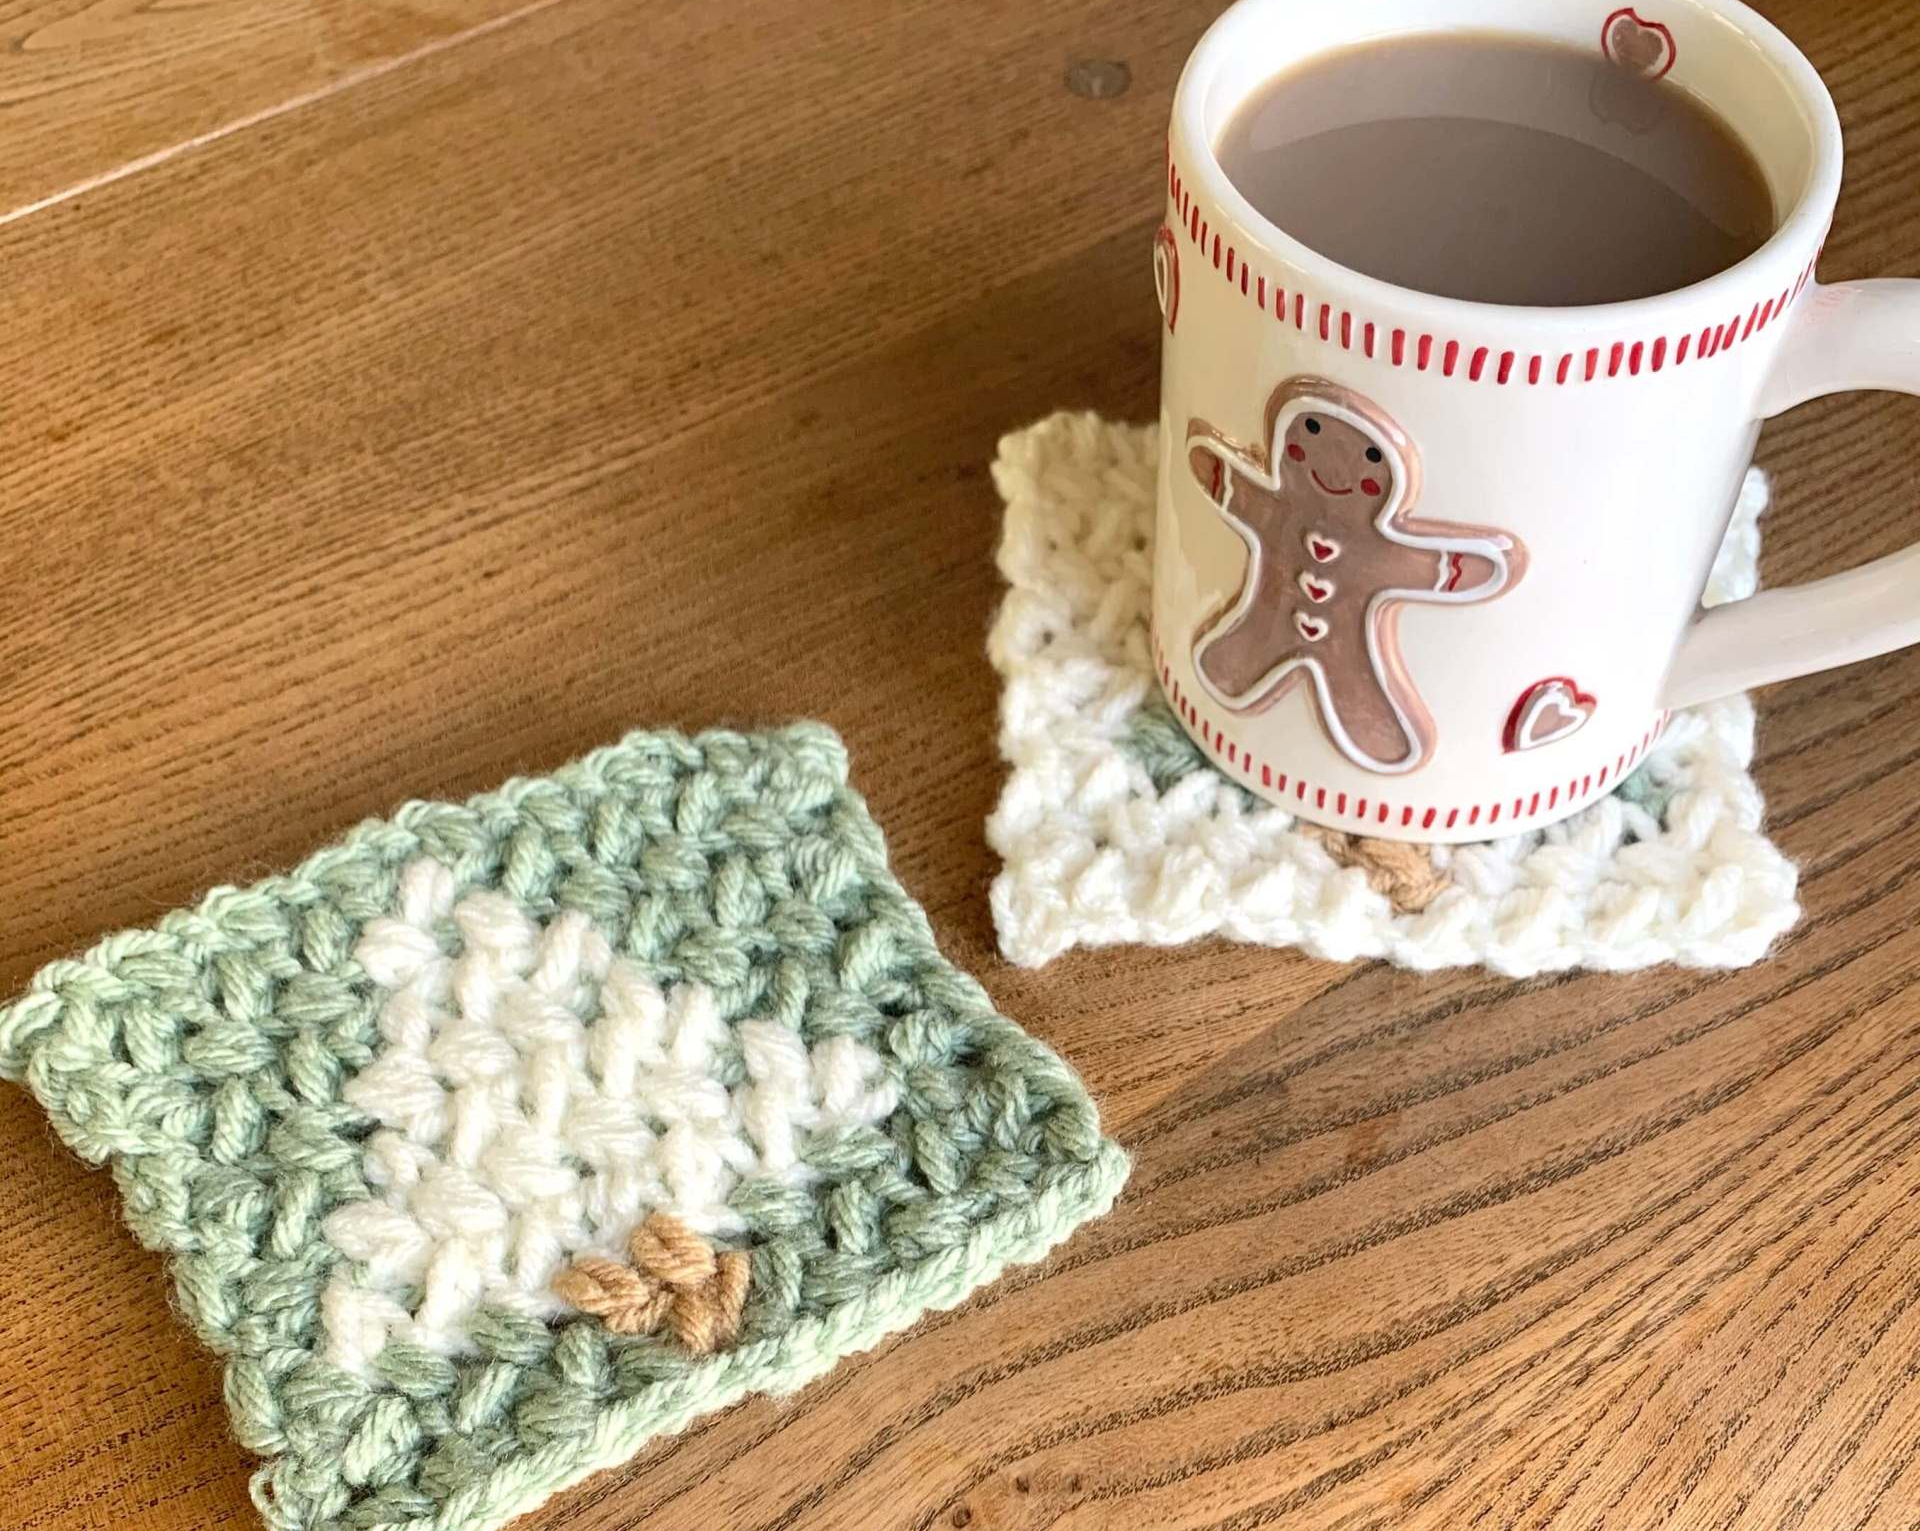
Materials –
Paintbox Yarns Simply Chunky (100g/3.5oz 136m/149yd). I used shades the following shades:
302 – Champagne White
308 – Light Caramel
332 – Washed Teal
Click here to purchase your yarn
6mm (Size J/10) crochet hook
Darning needle
Scissors
Stitch Markers (optional)
Gauge – it is not essential for this pattern as I would recommend blocking the finished coasters so they are all the same size.
Finished Size – 5 inches square
Abbreviations –
St(s) Stitches
Ch Chain
Ch Sp Chain Space
Bean Mini Bean Stitch (see special stitches)
MC Main Colour
CC Contrast Colour
Pattern Notes:
- Whatever your skill level with crochet, I would always recommend reading through this pattern before starting.
- Use the colour chart provided below to see which colour to use in each stitch.
- You don’t need to carry the contrasting colour as you will pick it up to use in the next row.
- You will need to carry the main colour and work over the main colour while using the contrasting colour.
- Change colours after completing the previous Bean stitch. Do not chain to secure the new colour.
Special Stitches:
Mini Bean Stitch (Elizabeth Stitch)
- Insert hook in to stitch, yarn over and bring loop through stitch. (2 loops on hook)
- Yarn over, re-insert hook in to same stitch.
- Yarn over and bring loop through stitch. (4 loops on hook)
- Yarn over and pull through all 4 loops on hook.
- Ch1 to complete stitch.
Click below to to see a tutorial on Mini Bean Stitch.
How to Make a Christmas Tree Coaster
Ch19
Row 1: Using MC, In 3rd ch from hook, *Bean, skip next ch* Repeat between * and * across the chain. Turn. (9 Beans)
Row 2: Ch1, Bean x 4, change to CC, Bean, change to MC, Bean x 4. Turn.
Row 3: Ch 1, Bean x 3, change to CC, Bean x 2, change to MC, Bean x 4. Turn.
Row 4: Ch 1, Bean x 3, change to CC, Bean x 3, change to MC, Bean x 3. Turn.
There is a simple to follow colour chart available within the printable PDF crochet pattern.
Row 5: Ch 1, Bean x 2, change to CC, Bean x 4, change to MC, Bean x 3. Turn.
Row 6: Ch 1, Bean x 2, change to CC, Bean x 5, change to MC, Bean x 2. Turn.
Row 7: Ch 1, Bean x 1, change to CC, Bean x 6, change to MC, Bean x 2. Turn.
Row 8: Ch 1, Bean x 1, change to CC, Bean x 7, change to MC, Bean x 1. Turn.
Row 9: Ch 1, Bean x 3, change to Brown, Bean x 2, change to MC, Bean x 4. Turn.
Row 10: Ch 1, Bean x 4, change to Brown, Bean x 1, change to MC, Bean x 4. Turn.
Row 11: Ch1, Bean x 9. Fasten of and weave in all ends.
Don’t forget to show me your completed coasters! Post a photo over on my Facebook Page – I’d love to see them!
If you’d like to get your hands on a printable copy of this lovely crochet pattern, simply click the button below to purchase.