How to sew a zipper to yarn
Learn how to sew a zipper to yarn projects without worrying about damaging your project with these easy steps.
Add a Zip to your crochet projects
It’s perfectly normal to be concerned that you might ruin your finished project when you sew in a zip, but this article will help you tackle this stage of your project with all the confidence you need to make it practically perfect.
There are some essential tools that will help you sew a zipper to yarn that will secure it properly and help you correct any errors you might make too – although, if you read on, and follow the easy steps, you’ll be unlikely to make any mistakes.
Please note that some of the links in my blog are affiliate links. I may earn a small commission if you purchase via this links, but the price you pay is not affected
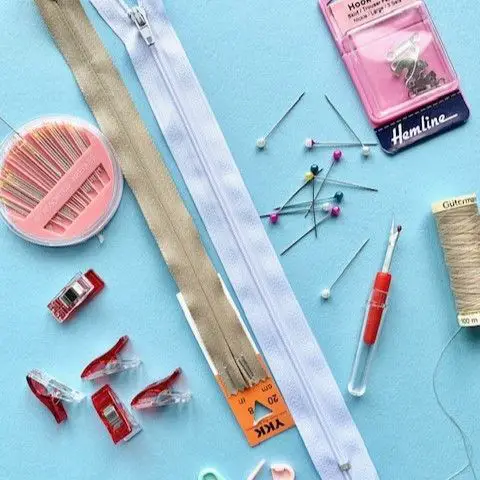
What materials do you need to sew a zip on to crochet?
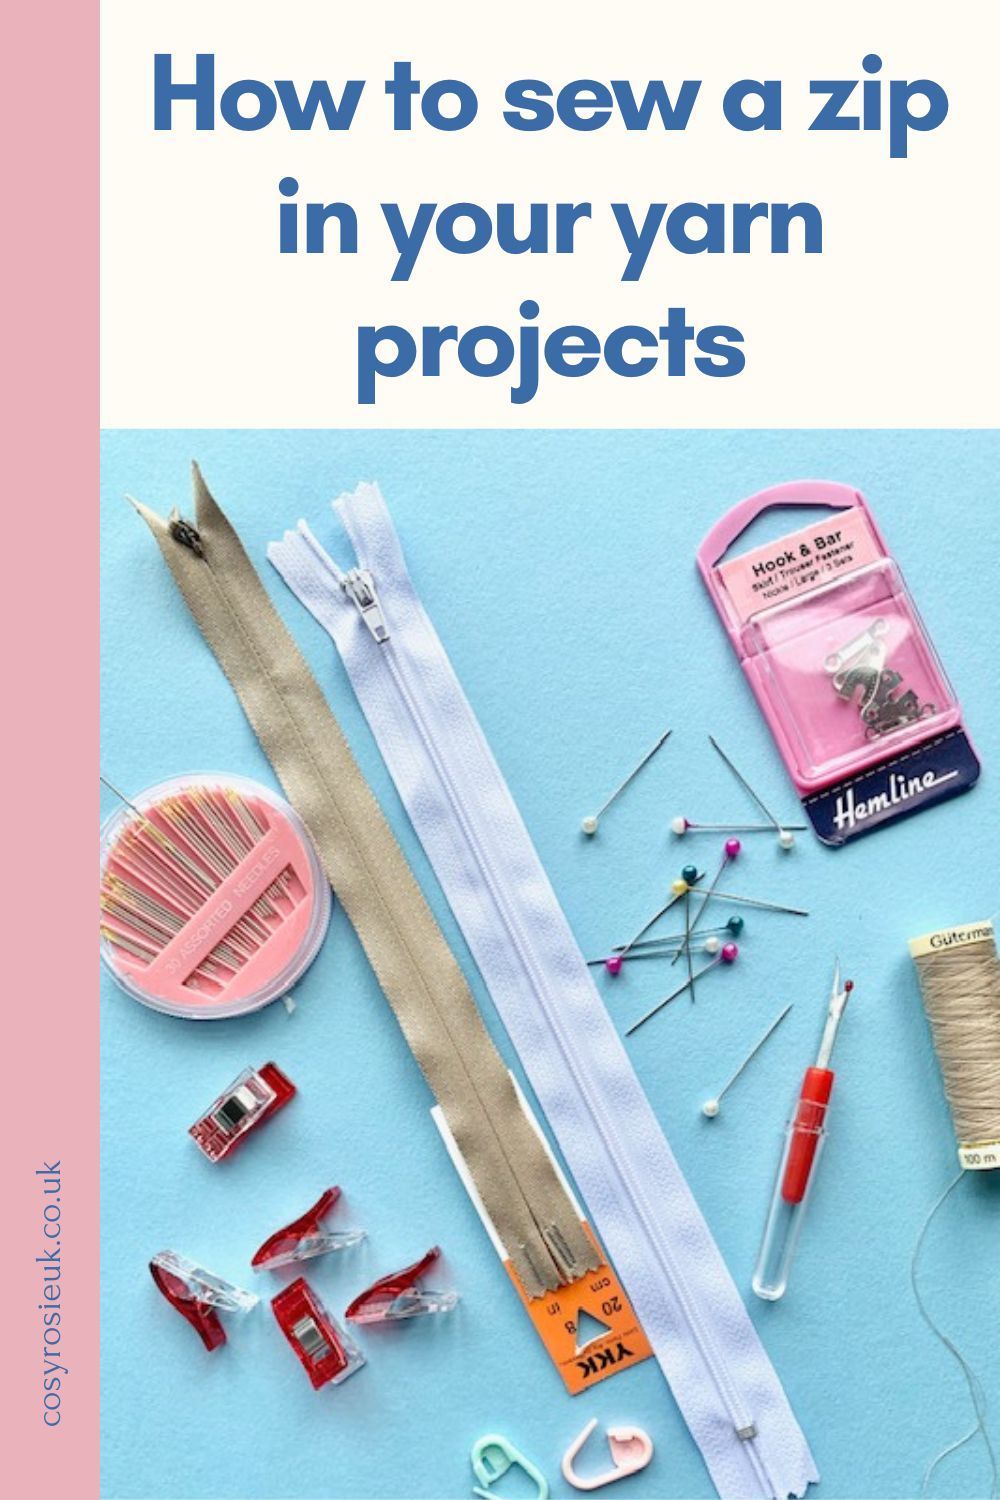
The basic tools you’ll likely have in your notions bag already, but here’s a list of recommended materials you’ll need to sew in that zip:
- Sewing Thread
- Ensure you select a strong thread that contains no elastic and doesn’t break easily – those zipper tapes (the material at the side of the zipper teeth) can be quite dense to get a needle through
- I recommend Gutterman Threads as they have a huge colour selection
- Self Threading Needle
- If your eye’s aren’t quite what they once were, you can find sewing needles that will allow you to simply thread the needle by pushing through the eye – there is a little gap that the thread will go through easily
- Seam Ripper
- Just in case, have a seam ripper on hand – do not go near any mis-sewn areas with your scissors! There is a risk you will hit one of your stitches and cause your project to unravel.
- Stitch Markers
- Make sure they are lockable stitch markers so they can’t fall out once placed
- Straight Pins
- Pins will allow you to secure the zip in place and check the positioning before you start sewing in the zip
There are a few other things to consider before purchasing your zip:
- Zipper Type – Standard or Invisible
- Standard or traditional zips are visible from the outside of your project such as a zipper used on a bag
- Invisible Zips are normally seen on garments like skirts where a small, cut seam covers the zip
- The difference between these types is that the zipper teeth are on the reverse of the zip for the invisible zips, but both fasten from the front.
- Zipper Length
- Select the type of zipper that’s best for your project opening
- If you’re adding the zip to fasten clothing – choose a zip 1″ longer than the opening
- When adding a zip to a bag, select a zip that is close to the size of your opening to allow seaming to either side of the zip for a neat finish
- You can shorten the length of a zip if required – Check out this tutorial on Melly Sews
- Zip Colour
- You can choose from a zip close to the colour of your project, or choose a zip to be a feature of your project.
- Thread Colour
- If hand sewing the zip in – select the thread colour to match your zip, not your project as the sewing stitches will only be seen on the zipper side (inside) of your project
- If machine sewing:
- Spool – match the colour to the zipper
- Bobbin – match the colour to your project
The final recommendations
- Work on a clear, flat surface
- This will ensure that you have space to have all your materials to hand and the space needed to move your project around, and sew without distorting the placement of your pins.
- Take some time
- There’s no rush – You’ve taken all this time to make your project, what’s a few more minutes to…
- Double check before the sewing begins – check again and get going….
How to Sew A Zipper on to Yarn Projects
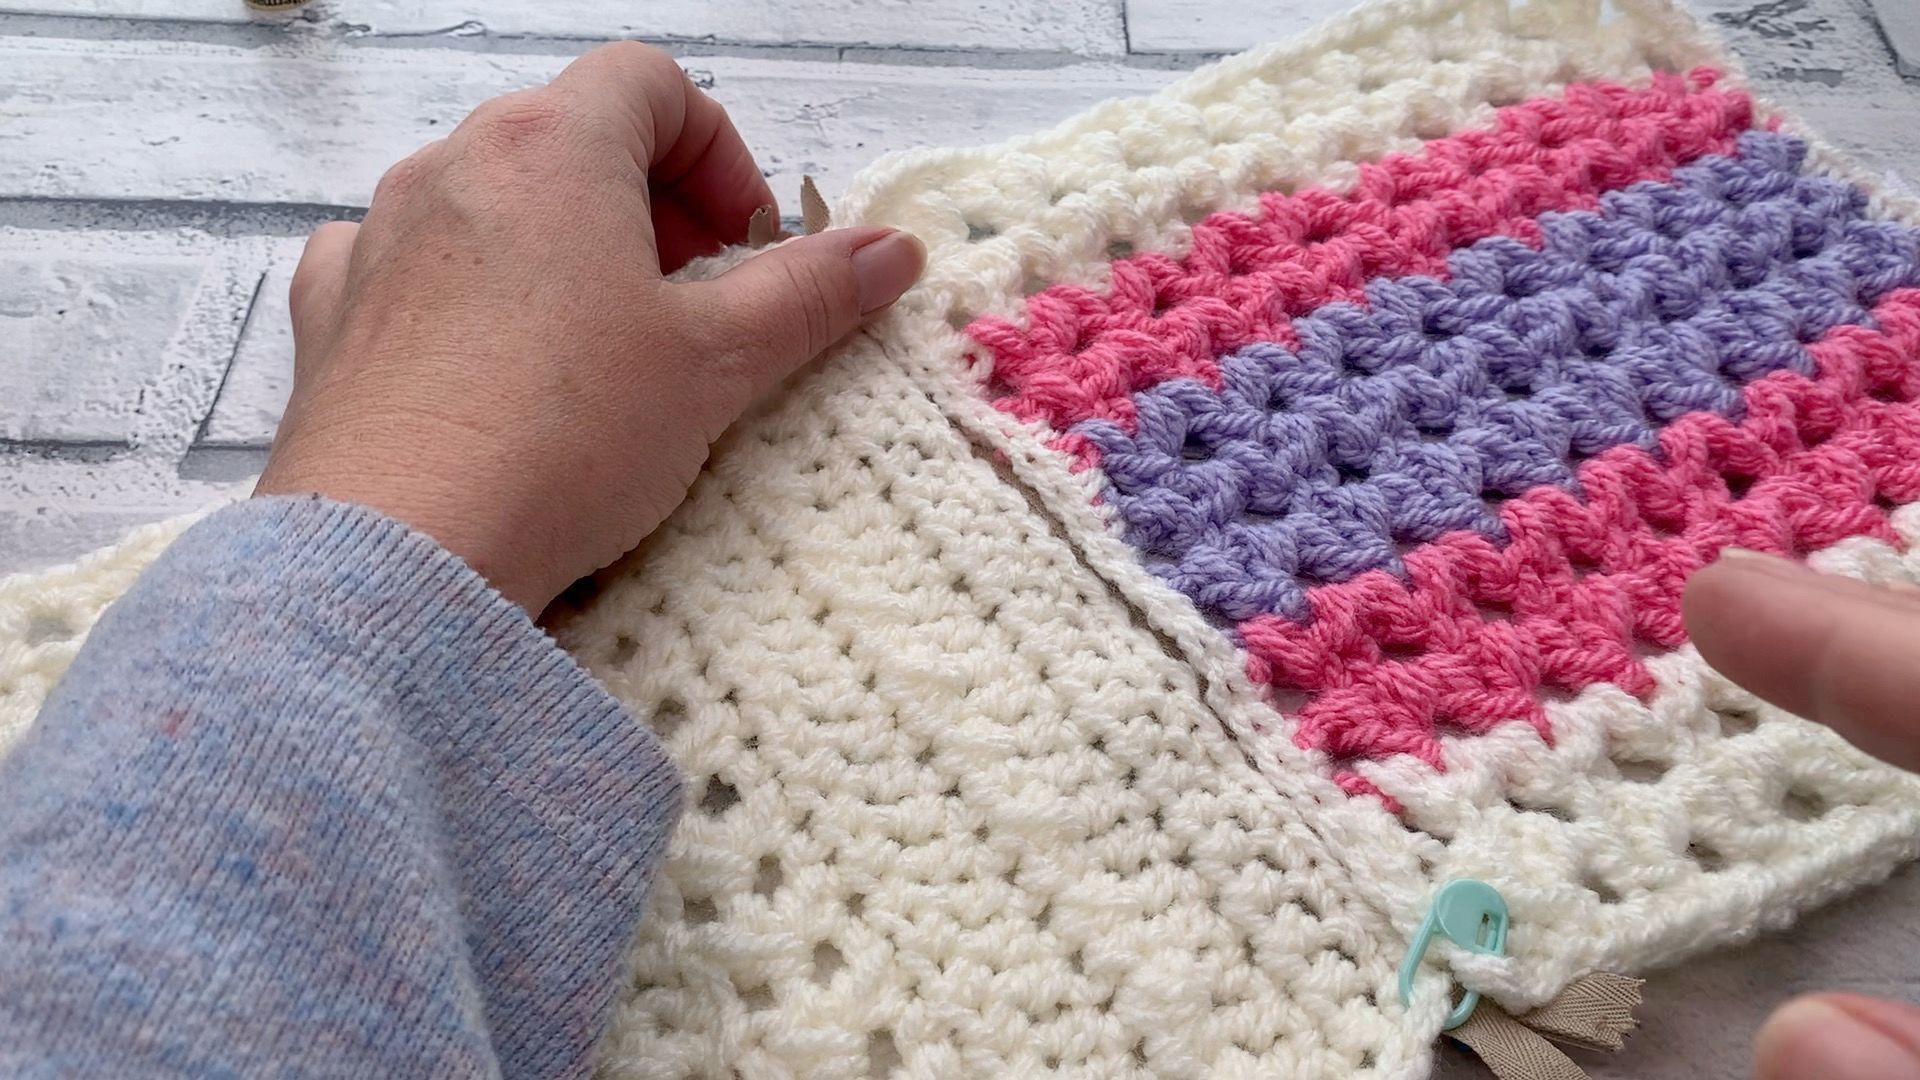
Secure your project with stitch markers:
- Arrange the two sides that will be joined with a zip so the edges touch but don’t overlap
- Secure the top and bottom where the project meets to ensure both sides are aligned
- Secure the base of where the zip will finish, again to ensure both sides are aligned
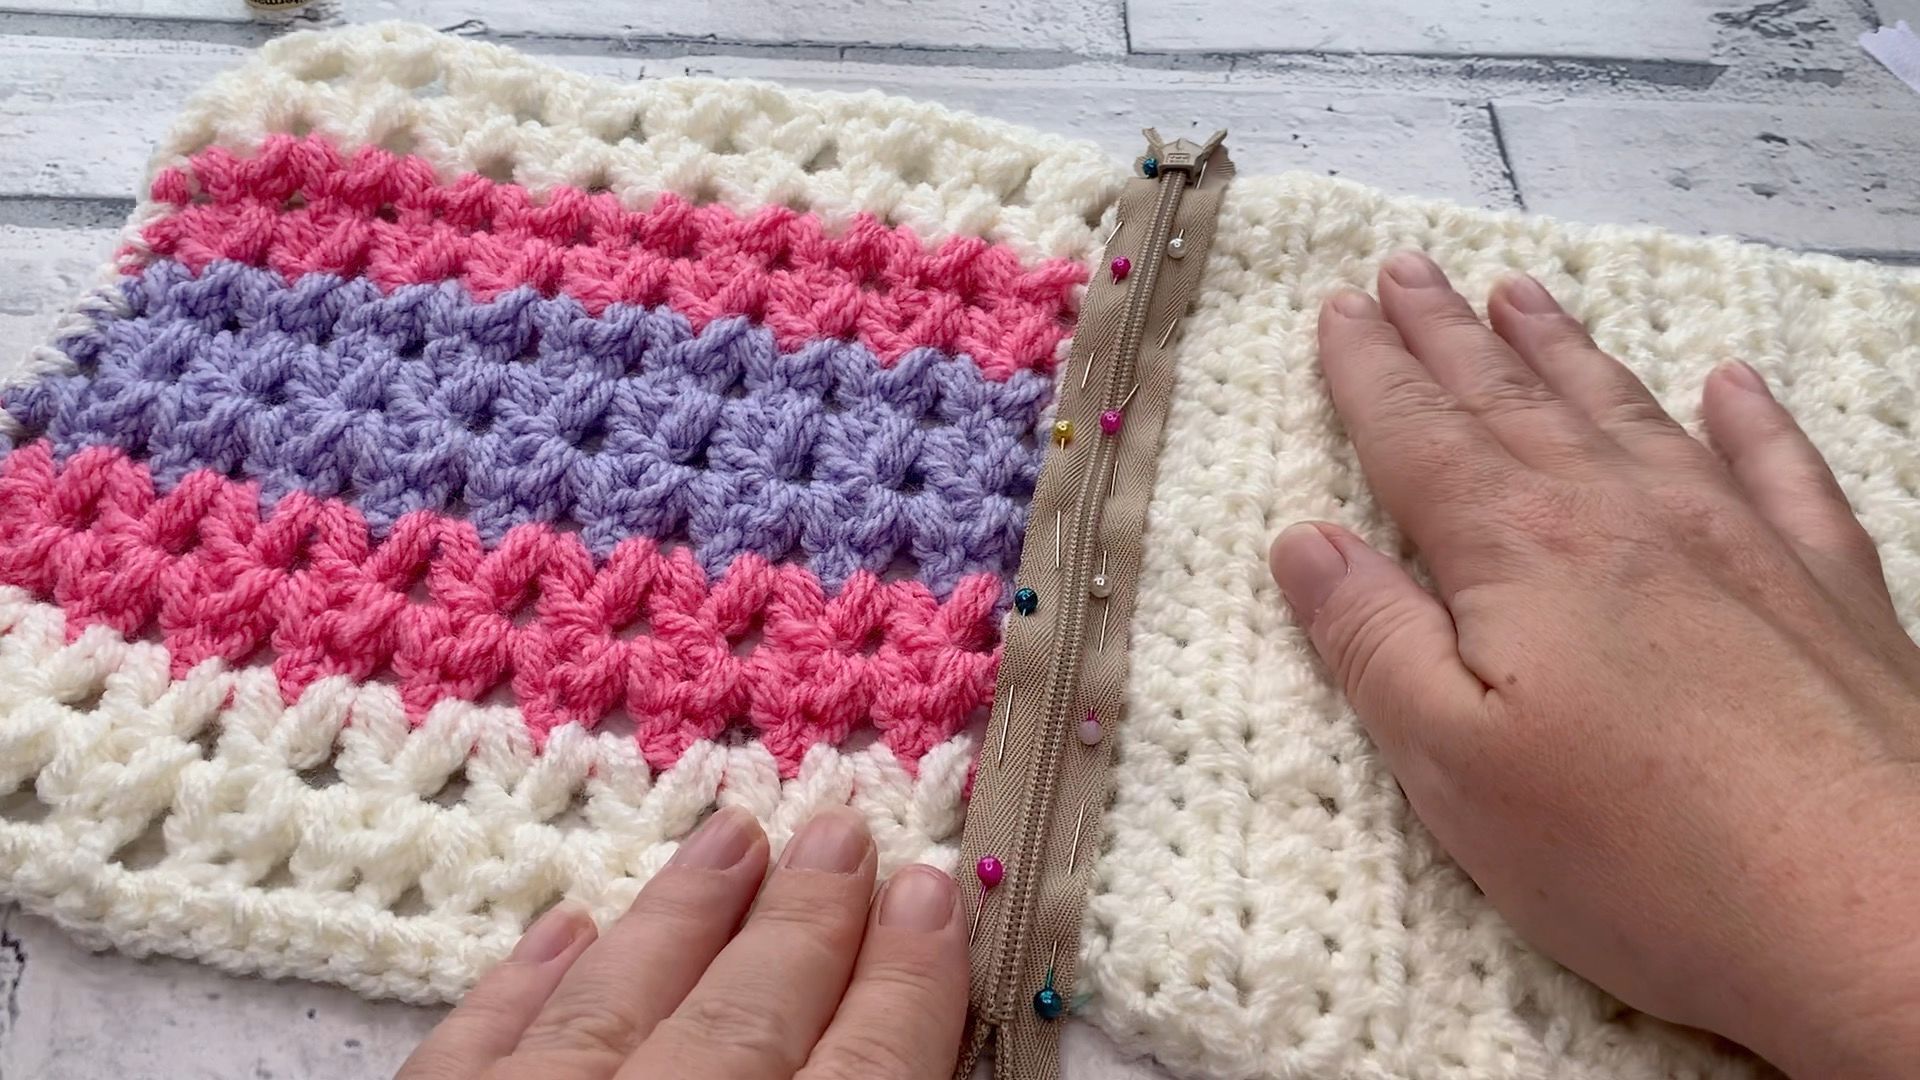
Pin zipper in place
- Turn the project inside out (wrong side facing)
- Zip the zipper up (closed)
- Centre the zip to where the 2 sides meet
- make sure the zipper edges align with the same column of stitches all the way from bottom to top
- Align the top of the closed zipper with the top of your project – NOT the top of the zipper tapes (the flappy bits)
- Pin the zipper in place along both sides of the zipper tape and at the base of the zip
- Optional – sew the zip in place using a contrasting sewing thread colour using large stitches – these will be removed once the zipper is sewn in correctly, it will just prevent the zip moving around
- Turn the project right side out and check the zip placement at the top and bottom of your project/zip – adjust as required
Sew the Zipper In
- Turn your project inside out and using a sewing needle and thread matching the zip, sew each side of the zipper to your project close to the zipper teeth, using either a back stitch or a running stitch to sew on the zip.
- Begin at the top edge of either side of the zip and sew down to the bottom of your zip, sew across the bottom of the zip before working up the other side
- Ensure your stitches are small and shallow to avoid coming through the right side of your project.
- Optional – Remove the contrasting thread stitches used to secure the zip
- Sew down the outside edge of the zipper using back stitch or a running stitch to prevent the zipper stretching the fabric
- Fold down the zipper tape flaps and sew in place to secure
Turn right side out and admire your finished project – you did it!!
Made it?
Come and share a photo of your completed project in the Cosy Rosie Community Group on Facebook or tag me in your photo on social media using @cosyrosieuk