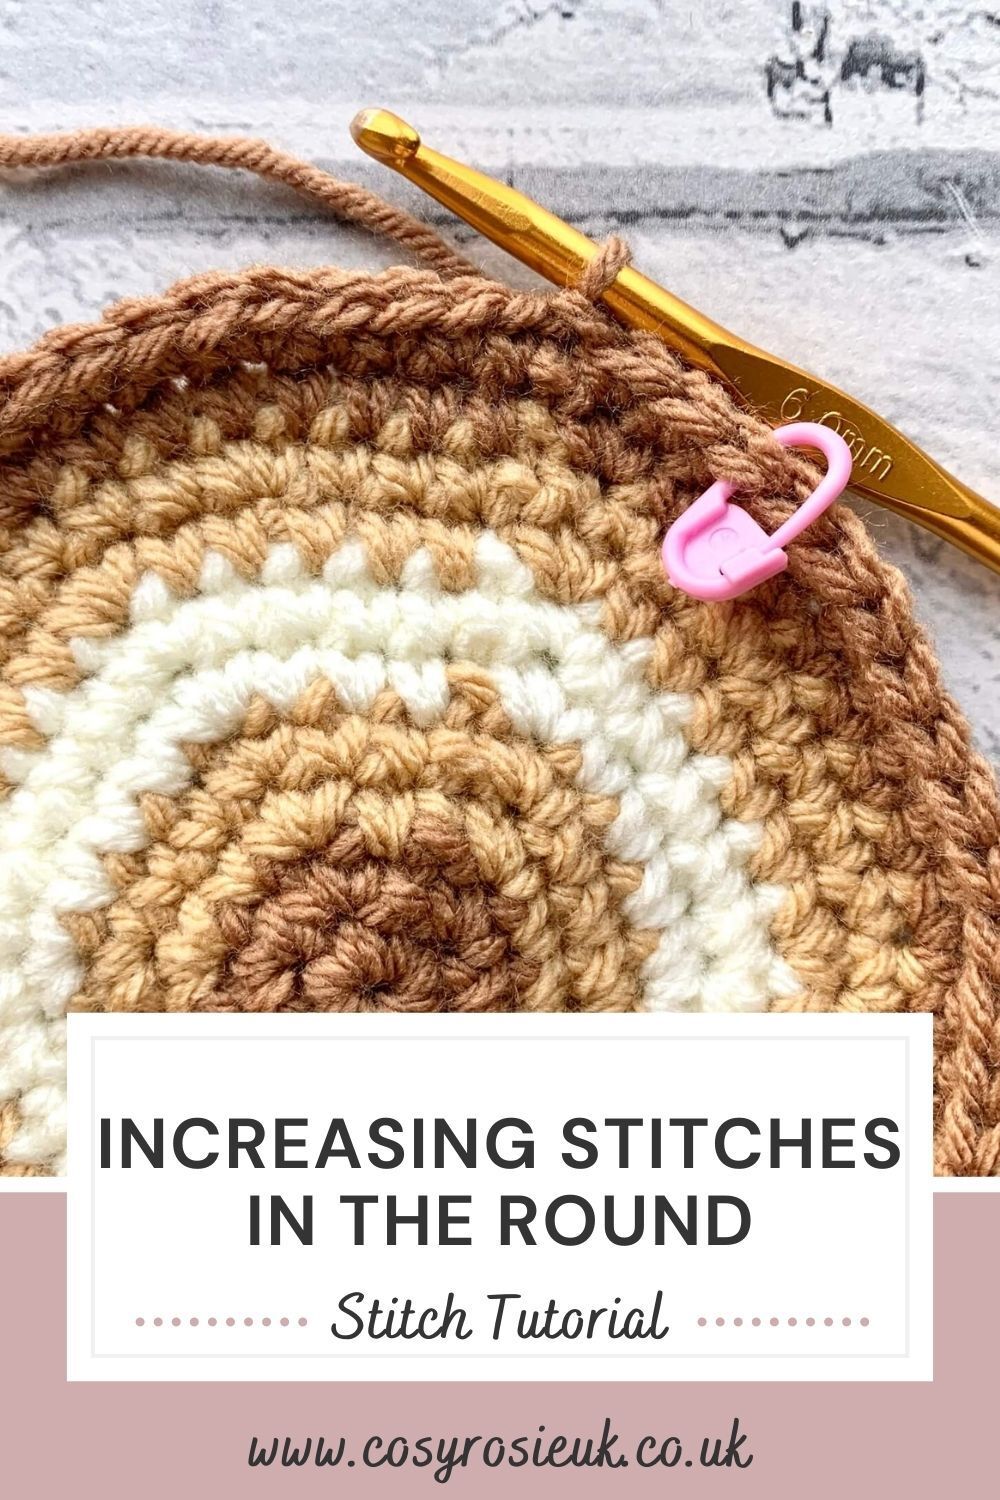
Increasing Crochet in the Round
The way that you increase your crochet stitches in the round, will impact on the ability to crochet a flat circle. Lots of crochet patterns begin with a circle including Amigurumi, bags, even beanies and hats! It’s so important to get your crochet projects off to the best start with a flat circle.
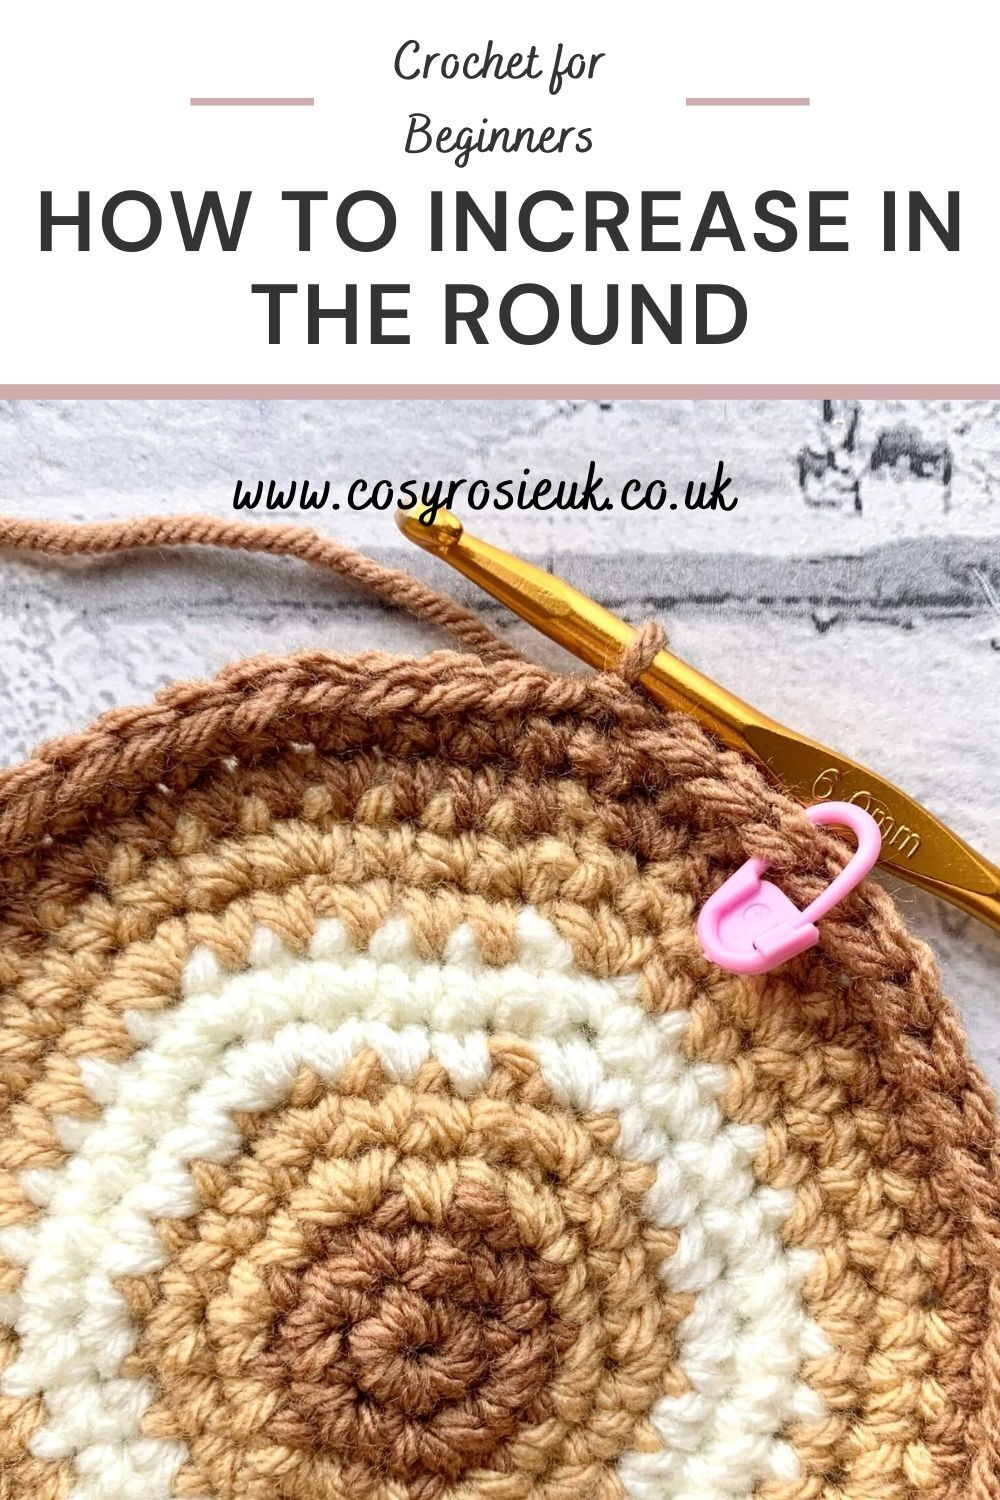
Increasing Crochet in the Round | Free Crochet Stitch Tutorial
In this post, you’ll learn the “rules” for working in the round. Like every rule, they can be broken but in most cases this will be the way in which you will be increasing crochet in the round.
One of the most common questions raised when learning to crochet to in the round, is “Why isn’t my crochet circle flat?”. There isn’t one simple answer, but circles tend to ruffle or or curl usually due to the incorrect number of stitches being increased or the increased stitches being worked in the wrong place. There are other reasons that can cause your crochet circle to not be flat. You can find out more about how to crochet a flat circle by clicking here.
When crocheting in the round, to create a circle or to begin another crochet project, you need to start with the right number of stitches.
Please note that some of the links in my blog are affiliate links. I may earn a small commission if you purchase via this links, but the price you pay is not affected
How to Increase Crochet in the Round?
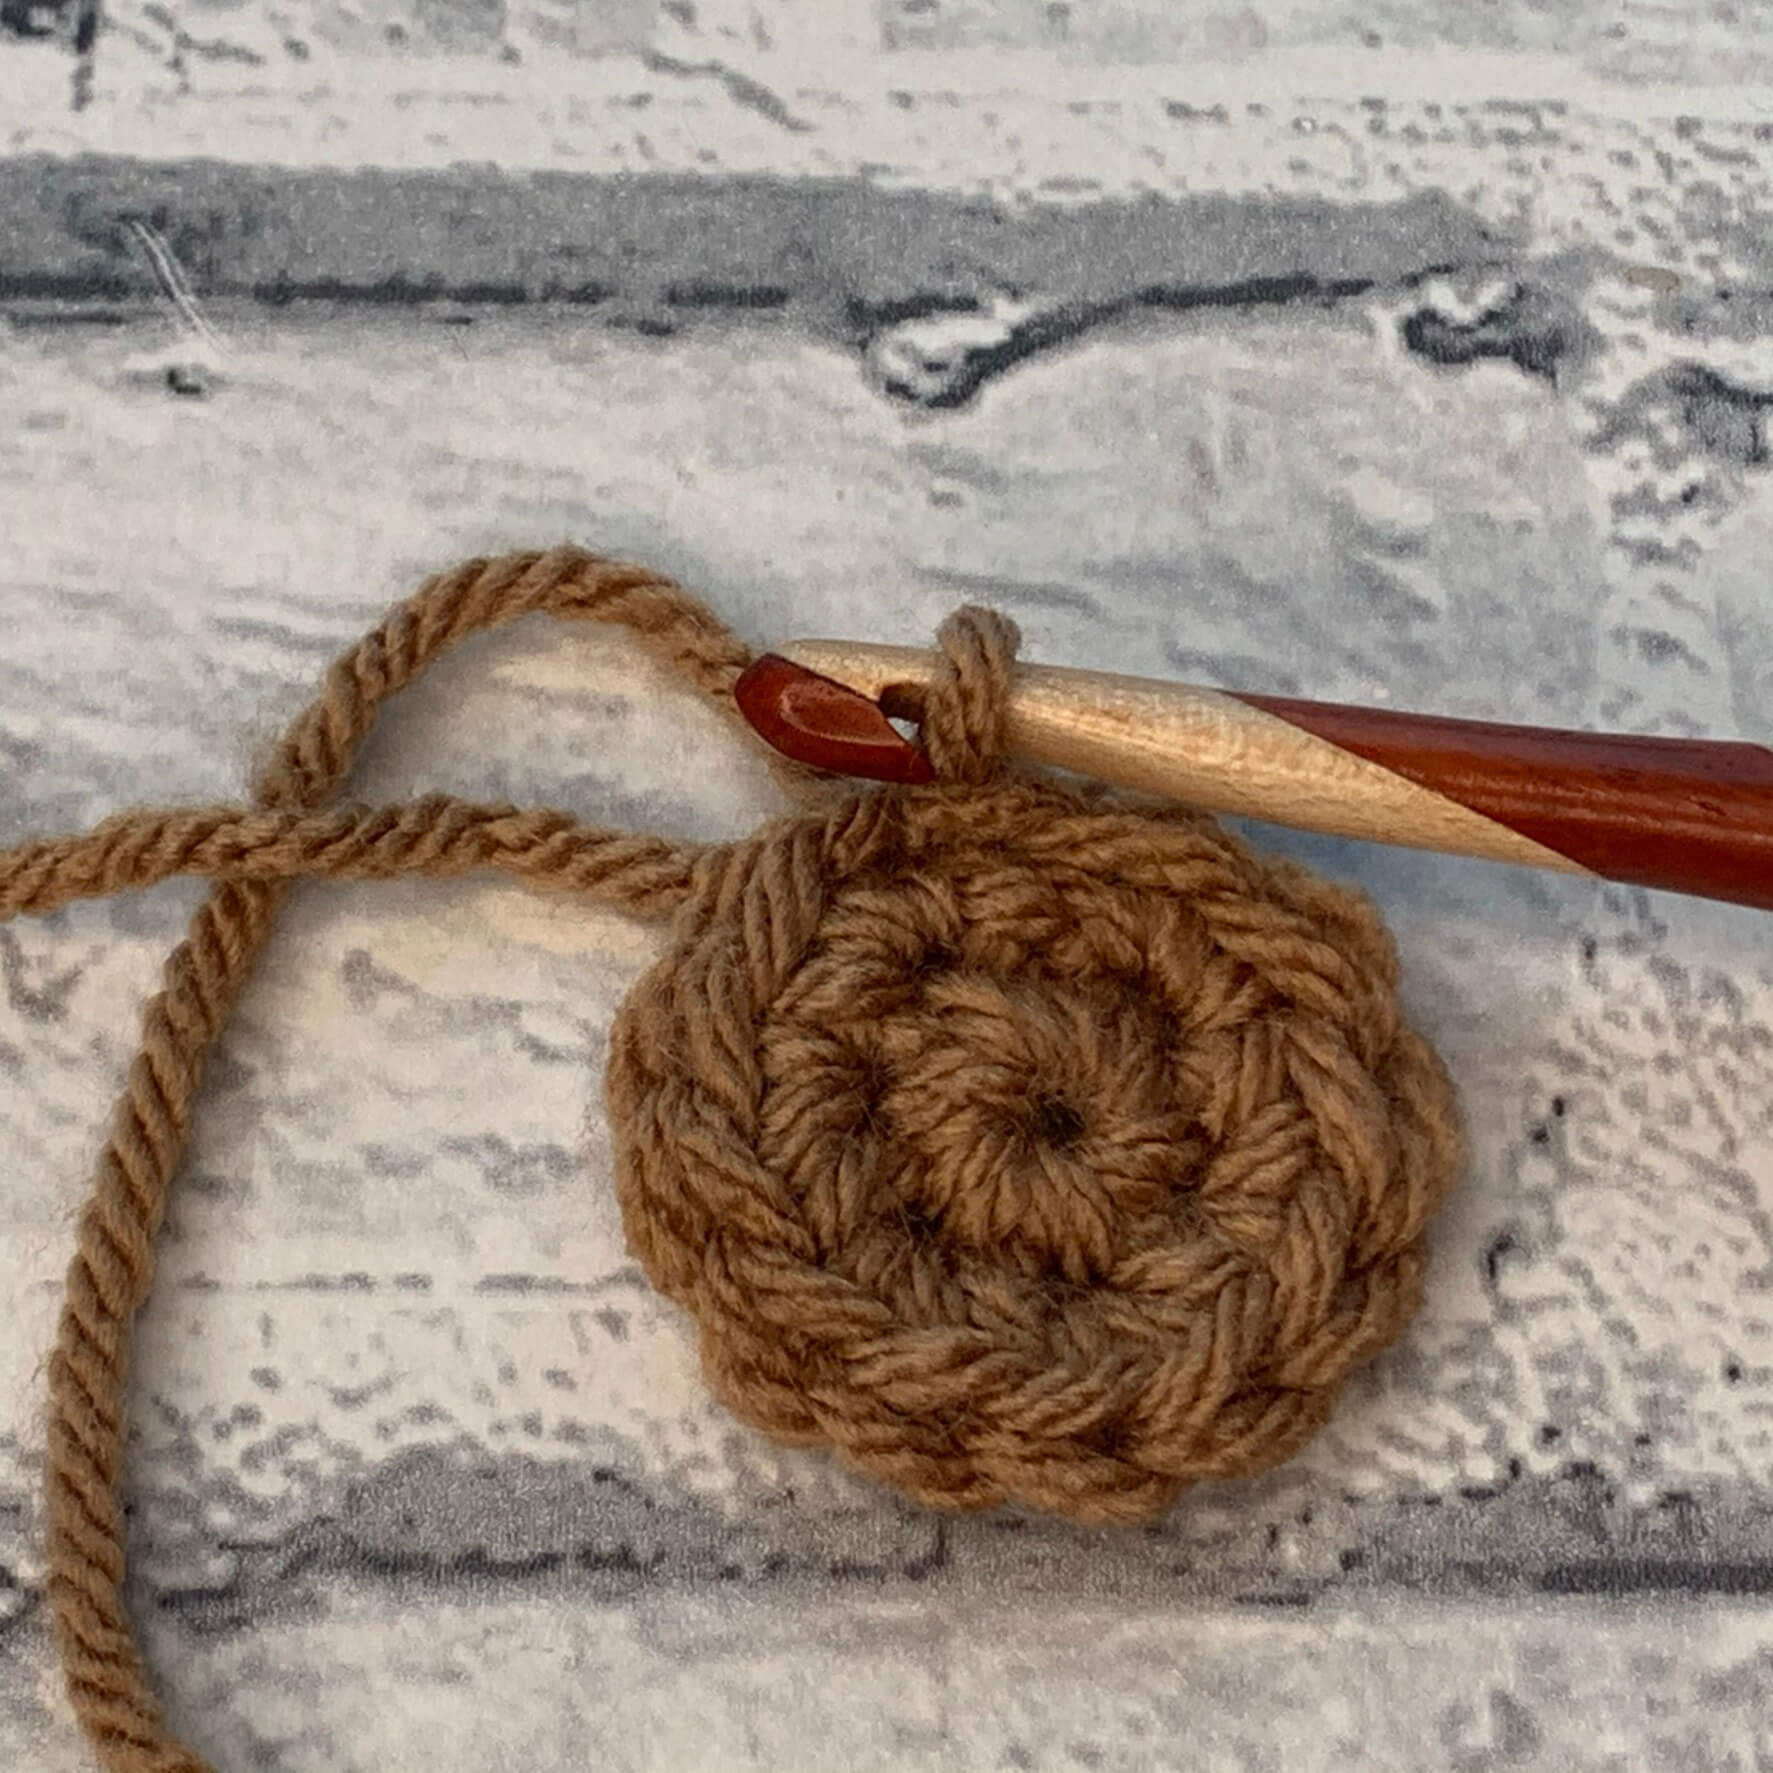
ROUND 1:
Lets start at the very beginning, the number of stitches to be worked into the magic circle (or by chaining 4 and slip stitching to join to make a ring is decided by the stitch you are starting your project with:
| Starting Stitch – US | Starting Stitch UK | Number Of Stitches to start |
|---|---|---|
| Single Crochet | Double Crochet | 6 |
| Half Double Crochet | Half Treble Crochet | 8 |
| Double Crochet | Treble Crochet | 10 |
As you can see from the table above, the stitch you are starting your crochet circle with, determines the number of stitches you need to increase your stitch count by in eahc round to ensure it remains flat.
ROUND 2:
To ensure that your circle remains flat, each subsequent round will see the total number of stitches increased – where 2 stitches are worked into one stitch.
- In Round 2 of any flat crochet circle, you will always increase into each stitch around, crocheting 2 stitches into each stitch around.
For example:
Single Crochet:
- Round 1: starting stitches 6
- Round 2: 2Sc into each stitch around = 12
Half Double Crochet
- Round 1: starting stitches 8
- Round 2: 2HDc into each stitch around = 16
Double Crochet:
- Round 1: Starting stitches 10
- Round 2: 2Dc into each stitch around = 20
Space Stitch Increases Evenly
For each subsequent rounds in your crochet circle, your stitch count will increase by the same number of stitches as the starting stitch. Also, you will notice that the number of stitches to work in-between each of the increases increases by 1.
When you place your increase stitches evenly into each round, the distribution of the increase stitches helps to keep your circle flat and it also increases your stitch count by the number of stitches you started your project with.
In Round 2, every stitch was increased. From Round 3 onwards, you will begin to place 1 more stitch in between the increased stitches.
Below is a chart to so the number of stitches worked between placing the increase stitch.
| Round No. | Stitches between increases | Round No. | Stitches between increases |
|---|---|---|---|
| 1 | Starting number of stitches | 11 | 9 |
| 2 | Every stitch | 12 | 10 |
| 3 | 1 | 13 | 11 |
| 4 | 2 | 14 | 12 |
| 5 | 3 | 15 | 13 |
| 6 | 4 | 16 | 14 |
| 7 | 5 | 17 | 15 |
| 8 | 6 | 18 | 16 |
| 9 | 7 | 19 | 17 |
| 10 | 8 | 20 | 18 |
If you are planning on making a circle of more that 20 rounds, continue to increase the number of stitches by 1 in between each increase stitch.
Changing the Shape!
If you want to change from making a flat circle, you can simply stop increasing your stitches or change where you are working your increase stitches.
Changing where you place the increase:
This is commonly seen in Amigurumi projects to change the shape from a flat circle to create shape to a face or an arm by working 3 increase stitches into the next 3 stitches.
Stop Increasing:
When you stop increasing altogether, your circle will begin to form a tube. This technique is frequently used in beanie and hat patterns to create the length of a hat when the crown has been made wide enough.
Keep Practicing!
Click Here to put these rules to the test and make your very one crochet coaster!
This pattern is a great way to practice increasing your crochet stitches in the round.