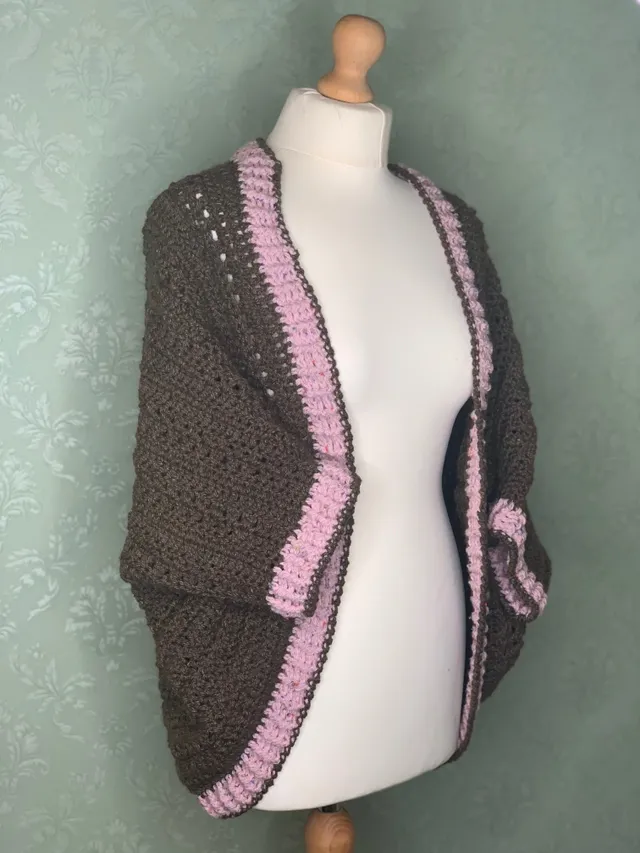
Seaming and Creating the Armholes – Rose Cardigan CAL
It’s times to seam the side panels to the back panel and create the armholes at the same time – you can then try on your cardigan to check the fit before we work the sleeves onto the cardigan.

Rose Crochet Cardigan CAL
This free cardigan pattern is being released as a Free Crochet Along (CAL) and below you will find the written pattern and video tutorial to make the back panel of this pattern.
How does this crochet along work?
Each the section of the pattern will be forever-free to view on this website, as will the video tutorials be available to view on my YouTube Channel.
Each section will be released over the course of a few weeks – depending on which length option you choose to make, it will be possible to complete your cardigan during the event.
You can find all the links to the other section of the Rose Cardigan CAL by clicking here.
Have you made your both your side panels?
As soon as you have completed both the left and right decreases to your side panels, you can join them to the back panel to create the shape of your cardigan.
Once all the pieces are joined, we can add on the sleeves.
When is the next section released?
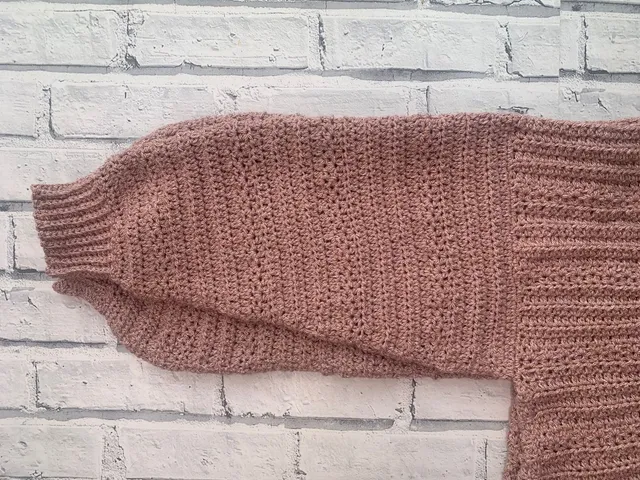
The next part of the pattern is to add the sleeves onto each armhole.
There are 3 different sleeve options to choose from:
- Round
- Short
- Long
- Tapered

Purchase the Printable PDF Pattern
If you’d like to increase your pattern reading skills, make notes as you work, or simply prefer to work from a printed pattern, you can get an AD-FREE, printable PDF version from Ravelry by clicking the button below

How to Mattress Stitch the Panels Together
Materials and Notions Needed:
- Corresponding yarn for the panels
- Stitch markers
- Darning Needle
Pattern Notes
- Get in touch if you need any help completing the pattern – [email protected]
- The pattern is worked with 1 back panel, 1 left panel and 1 right panel which is seamed before working the sleeves onto the cardigan.
- Beginning ch-1 does NOT count as a stitch.
- Please read through entire pattern before beginning; if preferred, highlight appropriate stitch counts for your size which will be written in size order. XS (S, M, L, XL, 2XL, 3XL, 4XL, 5XL)
Gauge
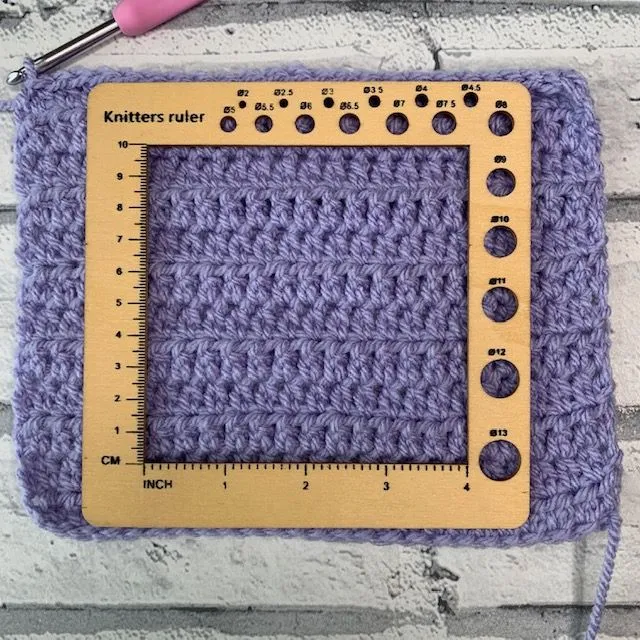
12 sts and 8 rows in ehdc = 4”/10 cm with 5mm hook. Adjust hook size if necessary to obtain gauge.
How to Seam the Panels
Position the Side Panels
Placing the WS together, position the 2 Side Panels on top of the main panel.
Secure the bottom of the Front and Back Panels with stitch marker.
Create the Armholes
Measuring down the side from the top corner, secure panels with stitch markers leaving Armhole opening size of your choice:
Suggested Armhole sizes: 7” (7.5”, 8”, 8.5” 9”, 9.5”, 10”, 10.5”, 11.5”)
Please note that the opening measurement multiplied by 2 will be the beginning sleeve circumference for the tapered sleeve option and throughout the Round sleeve options.
Repeat for other Side Panel, ensuring the same number of rows have been marked on each panel and each side.
Seam Side Panels
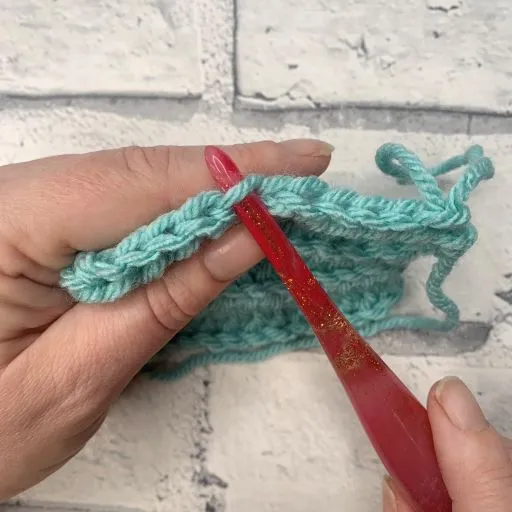
Sew each Side Panel to the Back Panel working from the bottom up to the base of the Armhole. Designer used mattress stitch – see video tutorial linked above how to complete the mattress stitch.
Sew each Side Panel to the Back Panel through the corresponding stitches to create the
shoulders.
Continue to Sleeves.
Made it?
Come and share a photo of your finished back panel in the community group so we can all celebrate your success!

