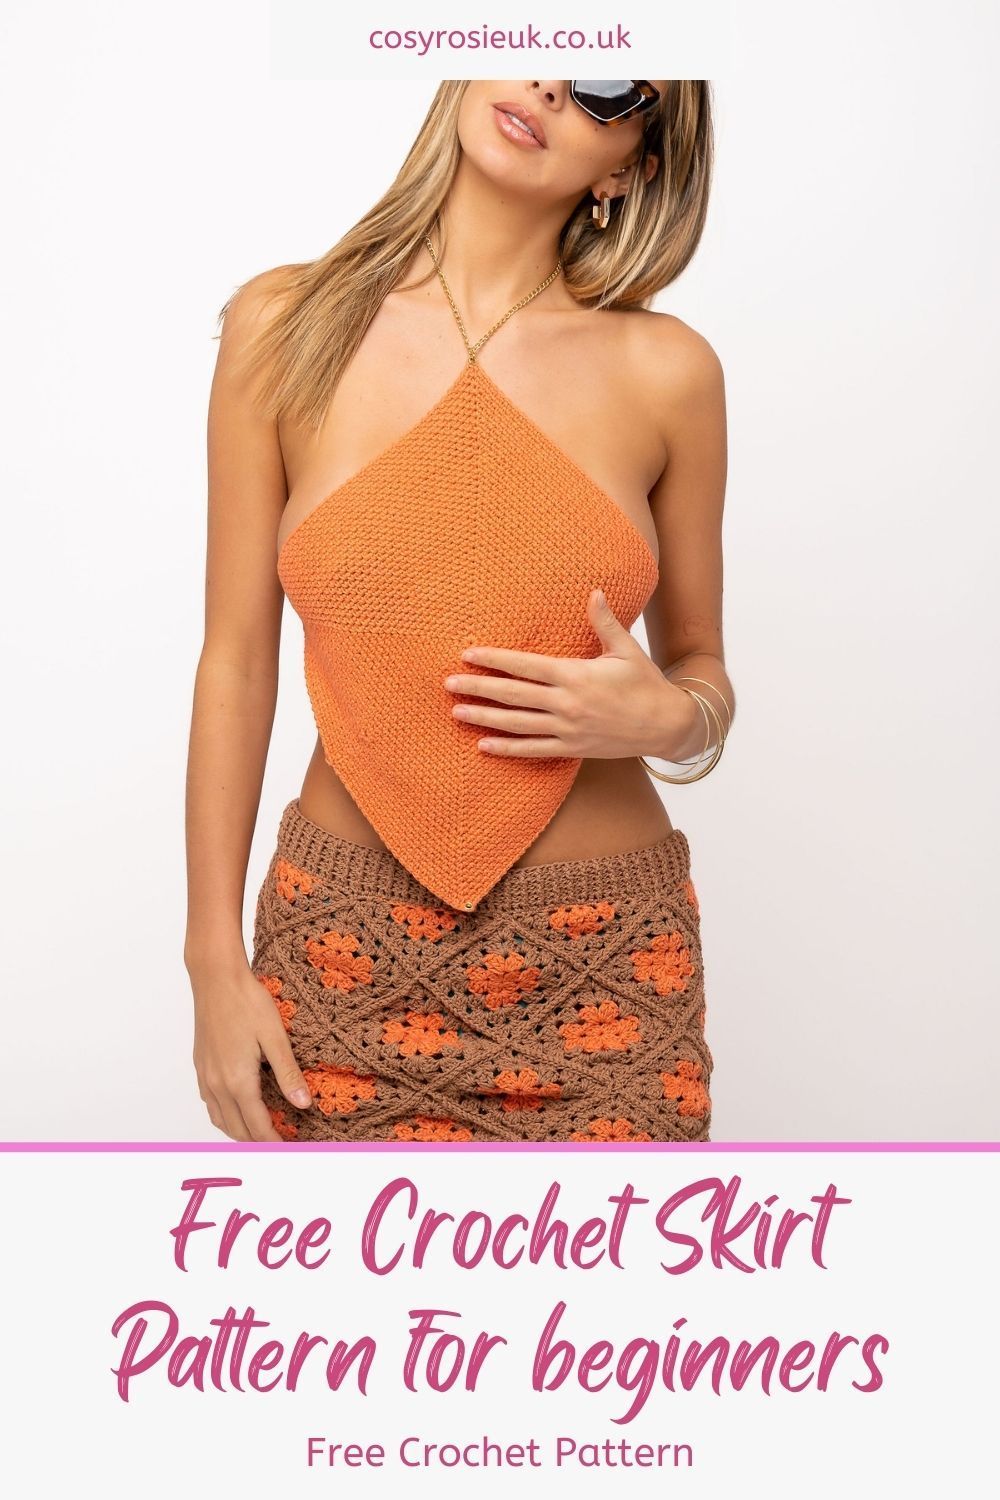
Granny Square Crochet Skirt Pattern
Learn how to crochet a skirt using this free granny square pattern to create a style of your own – you can create a short crochet skirt or a longer version by adding more granny squares.

Granny Square Crochet Skirt Pattern | Granny’s in a Twist
This free crochet skirt pattern takes the traditional granny square pattern and joins them in a diagonal formation to create a modern granny square design that is suitable for all.
By combining the traditional granny square with the granny square triangle pattern, the square can be joined on a diagonal slant to create an new and exciting look.
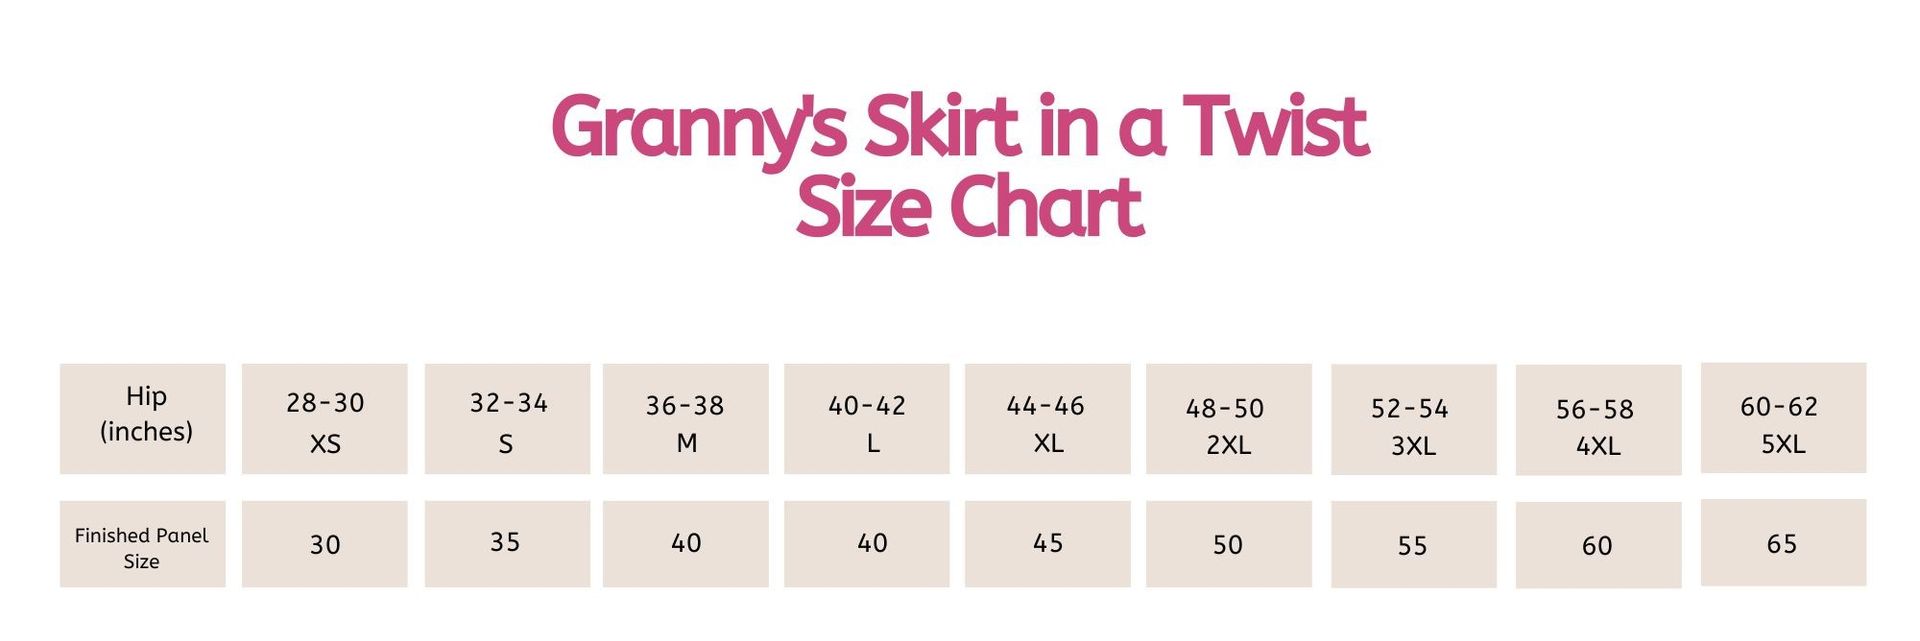
The pattern is written for 4 different lengths – for a longer skirt, you will simple need more squares:
- Micro – 12″ length
- Mini – 17″ length
- Knee Length – 22″ length
- Below Knee – 27″ length
The number of triangles needed to square off the crochet skirt panel remains unchanged regardless of which size you are making.
Read on to find out how many granny squares are needed per size and length.
Purchase the Printable PDF Pattern
If you’d like to increase your pattern reading skills, make notes as you work, or simply prefer to work from a printed pattern, you can get an AD-FREE, printable PDF version from Etsy or Ravelry by clicking the button below
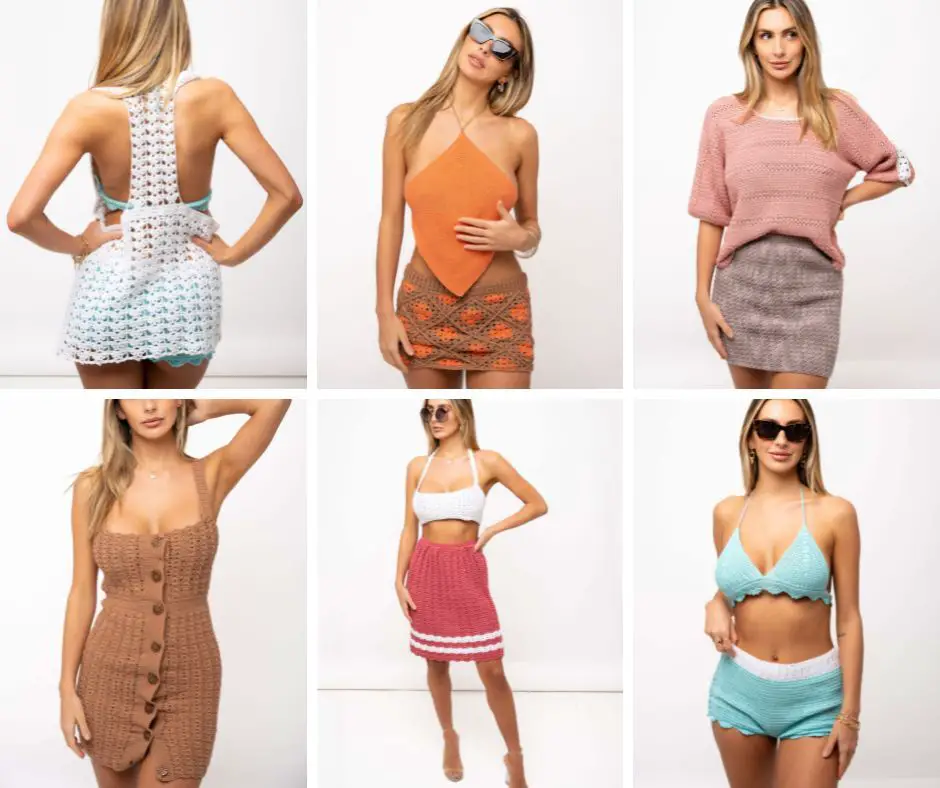
Grab all the printable crochet patterns by Cosy Rosie Crochet which featured on the Crochet Fashion Week Runway hosted in Atlanta in February 2023, including the Granny’s Skirt in a Twist and the corresponding backless chained top for a super low price. Click the button below to find out more about the Crochet Fashion Week Collection – See all the patterns included
How to crochet a skirt
The first thing to do before starting any crochet garment is to check your measurements – click here to find out more about how to measure yourself for the best fit.
Once you have your measurements, use the size chart below to confirm which size you are making – this will show you how many crochet granny square you need for a crochet skirt.
Crochet Skirt Pattern Details
Materials
- Any Size 3/DK weight Cotton or cotton blend. I used
- C1 – WeCrochet (70% Tanguis Cotton, 30% Linen, 123 yds/50g) in shade Conch
- C2 – Paintbox Yarns Cotton DK (100% Cotton, 50g/1.8oz, 125m/137yds) in shade Soft Fudge
- 4mm Crochet Hook
- Scissors
- Tapestry needle
Abbreviations
US terms (UK in brackets)
St(s) – Stitches
Ch – Chain
Ch Sp -Chain Space
Sl St – Slip Stitch
Sc (dc) – single crochet (double crochet)
Sc2tog – Single (double) crochet decrease
Hdc (htr) – Half Double (treble) crochet
Fphdc (fphtr) – Front post half double (treble) Crochet
Bphdc (fphtr) – Back post half double (treble) Crochet
Dc (tr) – Double crochet (treble crochet)
3dc (3tr) – work 3 double /9treble) crochets into indicated
RS – right side
WS – wrong side
Pattern Notes
- Get in touch if you need any help completing the pattern – [email protected]
- This pattern is created by joining granny squares and triangles that are seamed to create a skirt panel.
- The waistband is worked on the top of the skirt to reduce the width at the waist.
- The finished length can be adjusted by increasing the number of rows of squares added between the triangle rows. See size chart to confirm the number of squares needed.
- Ch 3 at the beginning of the rows DO count as a stitch.
- Ch 1 at the beginning of the rows DO NOT count as a stitch.
- Take a moment to go through the pattern and highlight the stitch counts for your size which will be written size order. e.g XS (S, M, L, XL, 2XL, 3XL, 4XL, 5XL)
Gauge
4 rounds = 4 inches (10cm) in granny square with 4 mm hook. Use a larger or smaller crochet hook to obtain the correct tension.
Special Stitches
FPhdc (front post half double crochet) = yo, insert hook around post from front to back, yo, pull up loop, yo, pull through 3 loops
BPhdc (back post half double crochet) = yo, insert hook around post from back to front, yo, pull up loop, yo, pull through 3 loops
How many granny squares do you need to make this crochet skirt?
The chart below shows you how many granny squares you will need to make based on the size and length of crochet skirt that you are making.

How to crochet a granny square
Granny Square Pattern – Worked in the round
Make as many as indicated by the size chart
Round 1: With C1. Ch 4, sl st to 1st chain to form a ring, ch 3, working into the centre of the ring, (2 dc, ch 2, [3 dc, ch 2] 3 times), sl st to the top of the ch 3 to join, sl st across to next ch-2 sp corner space. (12 dc, 4 ch-2 sps)
Round 2: Ch 3 (counts as dc), (2dc, ch 2, 3dc, ch1] in same ch-sp as ch-3, [(3dc, ch 2, 3dc, ch 1) in next ch sp] 3 times, join, sl st across next 2 dc to corner space. (24 dc, 4 ch-2 sps, 4 ch-1 sps)
Round 3: With C2. Ch 3, (2 dc, ch 2, 3 dc, ch 1) in same ch-sp as ch-3, [3 dc in next ch-sp, ch 1, (3 dc, ch 2, 3 dc ch 1) in next ch-2 sp] 3 times, join, sl st across next 2 dc to ch-2 space. (36 dc, 4 ch-2 sps, 8 ch-1 sps)
Round 4: Ch 3, (2 dc, ch 2, 3 dc, ch 1) in same ch-sp as ch-3, [(3 dc, in next ch-1 sp, ch 1] 2 times, (3 dc, ch 2, 3 dc, ch1) in next ch-2 sp] 3 times, join, sl st across next 2 dc to ch-2 space. (48 dc, 4 ch-2 sps, 10 ch 1- sps)
Fasten off, weave in ends.
How to crochet a granny triangle
Granny Triangle Pattern – worked in turned rows
Make as many as indicated in size chart
Row 1: With C1. Ch 4, sl st to 1st chain to form a ring, ch 4 (counts as (dc, ch 1)), working into the centre of the ring, (3 dc, ch 2, 3 dc, ch 1, dc), turn (8 dc, 1 ch-2 sp, 2 ch-1 sps)
Row 2 (RS): Ch 4 (counts as (dc, ch 1)), (3 dc, ch1) in same ch-sp as ch-4, (3 dc, ch 2, 3 dc, ch 1) in next ch-2 sp, (3 dc, ch 1, dc) in next ch-1 sp, turn. (14 dc, 1 ch-2 sp, 4 ch-1 sps)
Row 3: With C2. Ch 4, (3 dc, ch1) in same ch-sp as ch-4, (3 dc, ch 1) in next ch-1 sp, (3 dc, ch 2, 3 dc, ch 1) in next ch-2 sp, (3 dc, ch 1) in next ch-1 sp, (3 dc, ch 1, dc) in next ch-1 sp, turn. (20 dc, 1 ch-2 sp, 6 ch-1 sps)
Row 4: Ch 4, (3 dc, ch1) in same ch-sp as ch-4, [(3 dc, ch 1) in next ch-1 sp] 2 times, (3 dc, ch 2, 3 dc, ch 1) in next ch-2 sp, [(3 dc, ch 1) in next ch-1 sp] 2 times, (3 dc, ch 1, dc) in next ch-1 sp, DO NOT TURN. (26 dc, 1 ch-2 sp, 8 ch-1 sps)
Row 5: Rotate to work across inside edge of triangle, ch 1, 18 sc evenly around to other corner. (18 sc)
Fasten off, weave in ends.
Continue to Layout
How to layout your granny squares and Triangles
The layout for placing the squares and triangles remains the same which ever length is being made.
The number of squares in the diagonal line will increase with the longer length skirts, as show in the examples below with the length as shown in these two different lengths.
Arrange your squares and triangles as indicated for the length you are creating then continue on to Joining.

Joining
With RS facing and working diagonally, join yarn in any ch-2 sp (corner) of Triangle and in any ch-2 sp of Square, ch 1, sc in same, *working in FLO Triangle and corresponding BLO of Square, sc in next; repeat from * across all sts and ch-sps to next ch-2 sp (corner), working in ch-2 sps of Triangle and Square, sc in ch-2 sp, ch 1.
With RS facing, using Image 1 as reference, continue adding Squares (and Triangles), insert hook in any ch-2 sp (corner) of new Square(s) (and Triangle), sc in same ch-2 sp. *working in FLO of bottom Square and corresponding BLO of upper Square (Triangle), sc in next; repeat from * across all sts and ch-sps to next ch-2 sp (corner), working in ch-2 sps of both Square(s) (and Triangle), sc in ch-2 sp, ch 1.
Once all squares have been joined diagonally to create panel, repeat joining for the other direction so all edges of square are joined.
Once completed, fold over the panel to create the skirt, join along the final edge to complete the join.
Continue to Waistband.

Waistband
Row 1: With C1. Join in any seam or Triangle middle (the choice is yours – this will become the middle of the back of your skirt), ch 1, hdc in same and each st and seam across, turn. 120 (140, 160, 180, 180, 200, 220, 240, 260) hdc
Row 2: Ch 1 (does not count), hdc in same, *fphdc around next, bphdc around next; repeat from * to last, hdc in last, turn. 59 (69, 79, 89, 99, 109, 119, 129) fphdc, 59 (69, 79, 89, 99, 109, 119, 129) bphdc, 2 hdc.
Rows 3-6: Repeat Row 2.
Fasten off, weave in ends.
Continue to Edging.
Edging
Round 1: With C1.Working in opposite end of Waistband, join in any, ch 1, working in each st and seam end, hdc in each around, sl st to 1st to join.
Fasten off, weave in ends.
Made It?
Come and share a photo of your finished Granny’s in a Twist Skirt in the community group so we can all celebrate your success!