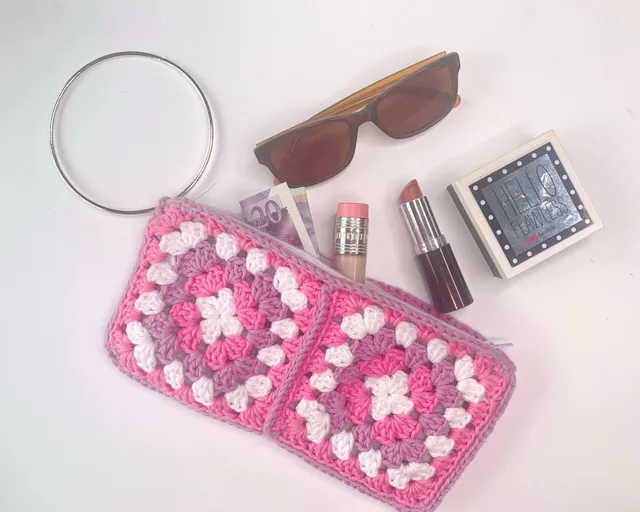
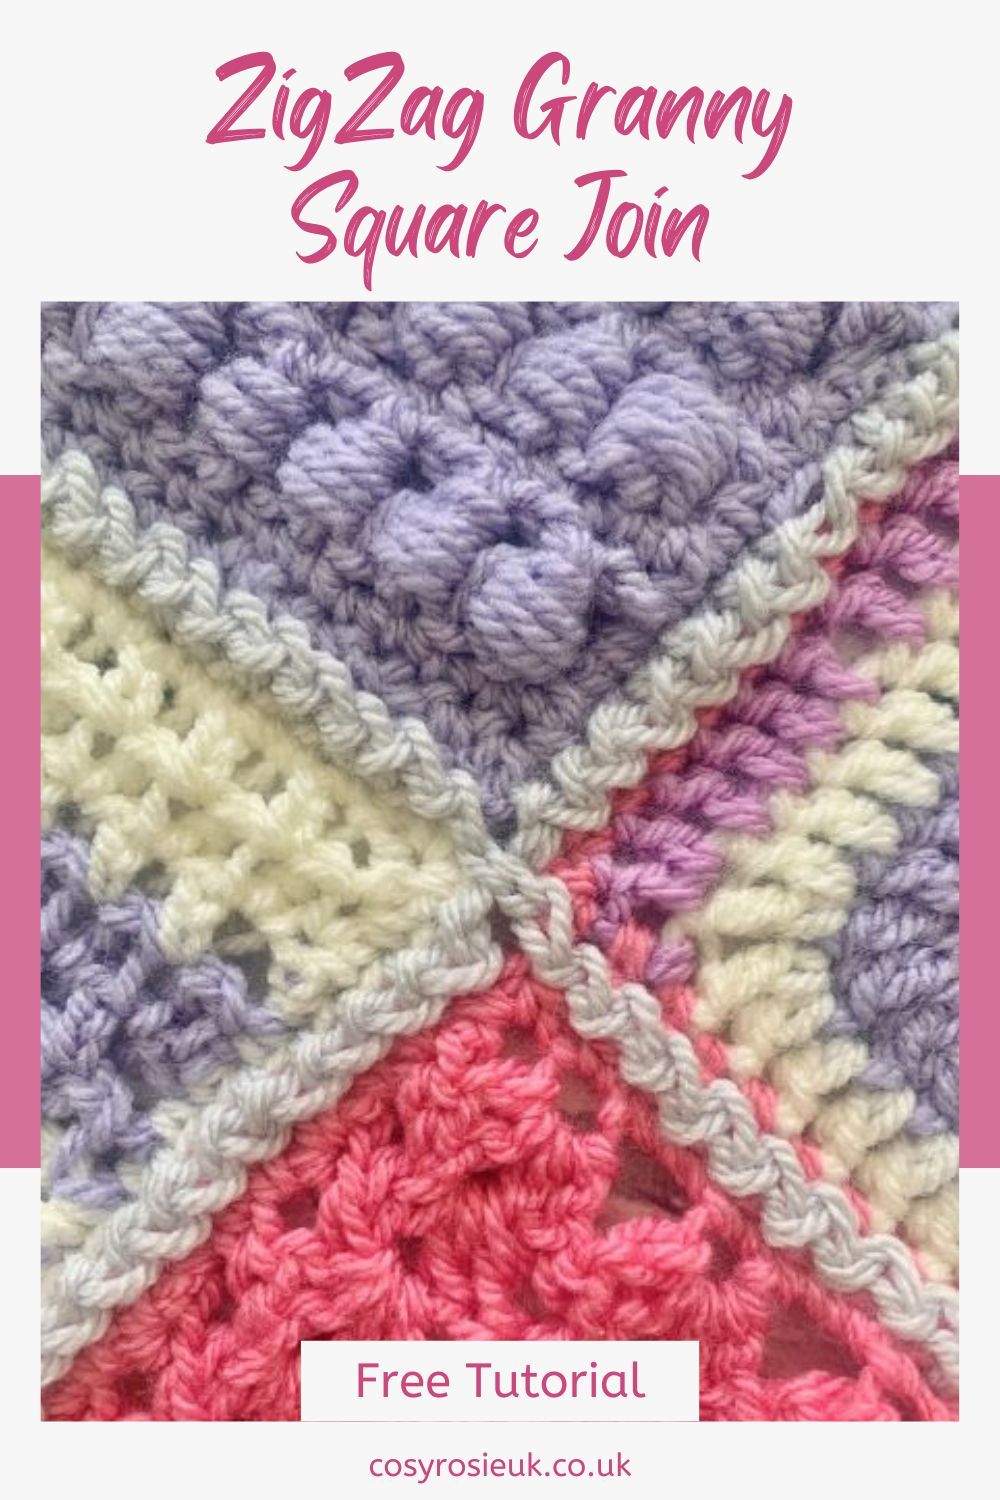
A Unique Way to Join Granny Squares Together
There are many ways to join squares together, but this zigzag crochet join is a pretty and unique way to join granny squares together with a flat, zig zag seam.

Please note that some of the links in my blog are affiliate links. I may earn a small commission if you purchase via these links, but the price you pay is not affected
A Unique Way to Join Granny Squares | Free Crochet Pattern
There are lots of different ways that granny square can be joined from:
- Whip Stitch (sewing)
- Mattress Stitch (sewing)
- Slip Stitch Join
- Single Crochet join
- Join as you go
I felt that the Hodgepodge Blanket deserved a join that was a little bit different and that would add some extra flare to the finished projects.
The Zig Zag Slip Stitch join creates a braded look on one side and a flat seam from the slip stitch on the other.
This join is also really forgivable for any differences there maybe in the stitch counts on the squares.
Purchase the Printable Patterns
You can purchase a printable copy of the full Hodgepodge Blanket – simply click the button below to purchase.
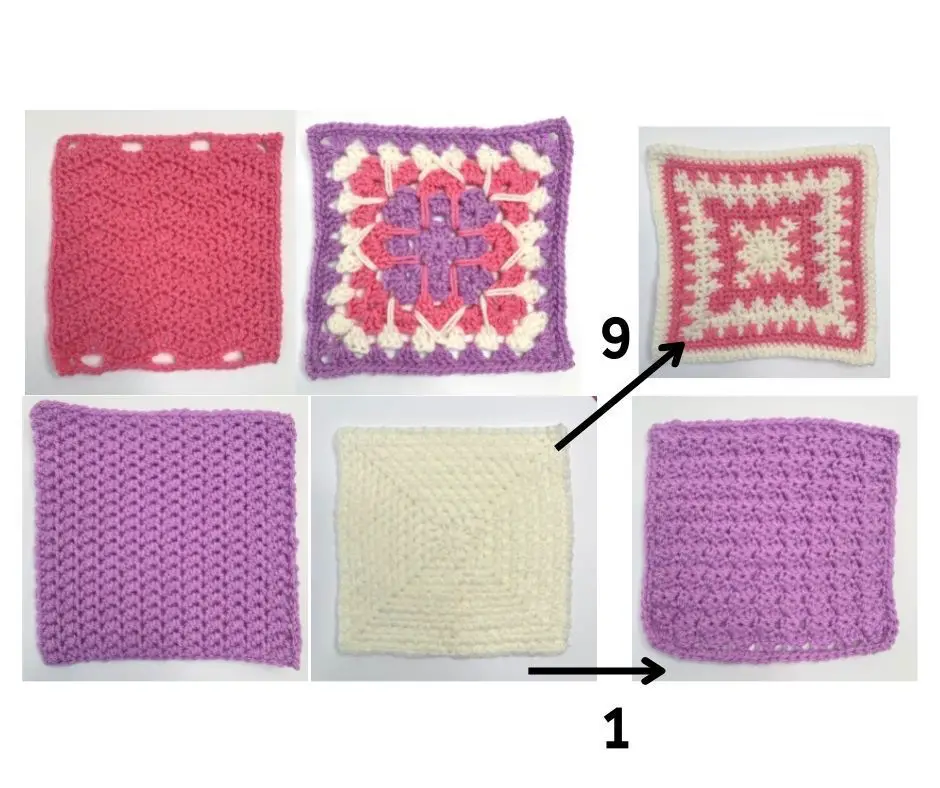
Arrange your Granny Squares
Before you join your squares, take a few moments to decide your layout. It might take a few times and rearrangement before you are happy with how they are joined.
Below you will see an image depicting how I arranged my squares; it’s important that you arrange yours how you like them.
You could aim for one or 2 multicoloured squares per row, or aim for 1 lacy square per row. You could simply makes sure that you’ve mixed your colours evenly.
Abbreviations
US Terms (UK terms in brackets)
St(s) – Stitch(es)
Ch – Chain
Sl St – Slip Stitch
Skill level: Beginner
Materials:
- Aran/worsted weight yarn
- I used used 100m PaintBox Simply Aran 100% Acrylic yarn in the shade 203 – Stormy Grey
- 5mm Crochet Hook
- Scissors
- Tapestry needle
Gauge:
- gauge not essential – Use a larger or smaller crochet hook to obtain the correct finished square size.
Finished Size:
- n/a

How to crochet the Zig Zag Slip Stitch join for granny squares
Pattern Notes:
- Please read through the entire pattern before beginning, regardless of skill level. Please contact me ([email protected]) if help is needed to understand any part of pattern.
- See Hint’s and Tip’s to learn now to adjust counts for different stitch counts on neighbouring squares.
- Working your join in a contrasting colour will make the join stand out more.
- You can use your preferred join in place of the zig zag slip stitch.
- Layout your squares to find a pattern you are happy with before beginning joining
- You can opt to join the 1st row vertically or horizontally. Designer joined the vertical (longest length 1st)
Too Many Stithces?
There is no need to worry if you have more stitches in one square than another, you can work the following adjustments and no one will ever know.
In fact, if you look closely enough at the image of my join, you can spot where I’ve worked an extra or two!
On the square with too many stitches
- [Insert your hook into the next stitch, draw up loop], twice
- pull loop through remaining 2 loops
Or
On the square with too few stitches
- Work a 2nd slip stitch into the stitch already worked.
Alternate between the 2 ways to create an even seam as you join your square.
Once you have decided which order your want your squares to be joined:
- Pick up the 1st 2 squares to be joined,
- insert hook into corner stitch through both squares
- ch1
- insert hook through right side of same as ch 1,
- sl st
- insert hook through from the top (right side), of 2nd square,
- sl st.
- Repeat steps 5-8 across the length of both square to the corners
*please note that directions will be reversed for left handed.
 Step 2
 Step 6
 Step 7
 Step 8
Adding the next 2 Squares
At the corner, we are ready to add the next 2 squares
*please note that directions will be reversed for left handed.
- Ch1
- Pick up the next square, insert hook into corner of square diagonally opposite through the top of the square, sl st to join,
- insert hook through next square to be joined
- sl st
- continue sl st down length of squares joined, to next corner.
- Repeat steps 1-5 adding new square until all joined in length
Once all squares have been joined to length, continue to Adding Next Row

 Step 1
 Step 2
 Step 5
 Step 6
Adding the Next Row of Squares
Once all the squares have been joined to a Row, the next Row can be joined.
- Pick up the 1st square from the next row to be joined,
- insert hook into corner stitch through both squares, re-join yarn,
- Ch 1
- insert hook through right side of same as ch 1,
- sl st
- insert hook through from the top, of square to be joined,
- sl st.
- Repeat steps 5-8 across the length of both square to the corner
- Repeat steps of Joining your Square 2 to add remaining squares in Row.
Repeat for All Rows of squares to be added.
Continue to Joining In Between
*please note that directions will be reversed for left handed.
Joining Along the Other Direction
Once all the squares have been joined in Rows, the vertical joins, we can join across the horizontal rows.
- Pick up the 1st 2 horizontal squares to be joined,
- insert hook into corner stitch through both squares, re-join yarn,
- Ch 1
- insert hook through right side of same as ch 1,
- sl st
- insert hook through from the top, of square to be joined,
- sl st.
- Repeat steps 5-8 across the length of both squares to the corner
- Sl st over ch 1 of previous join
- Pick up the next square, insert hook into corner of square diagonally opposite through the top of the square, sl st to join,
- insert hook through next square to be joined
- sl st
- Repeat Steps 8-12 to join all squares in horizontal
- Repeat for All Rows.
Continue to Edging (available 15th September 2022)
*please note that directions will be reversed for left handed.

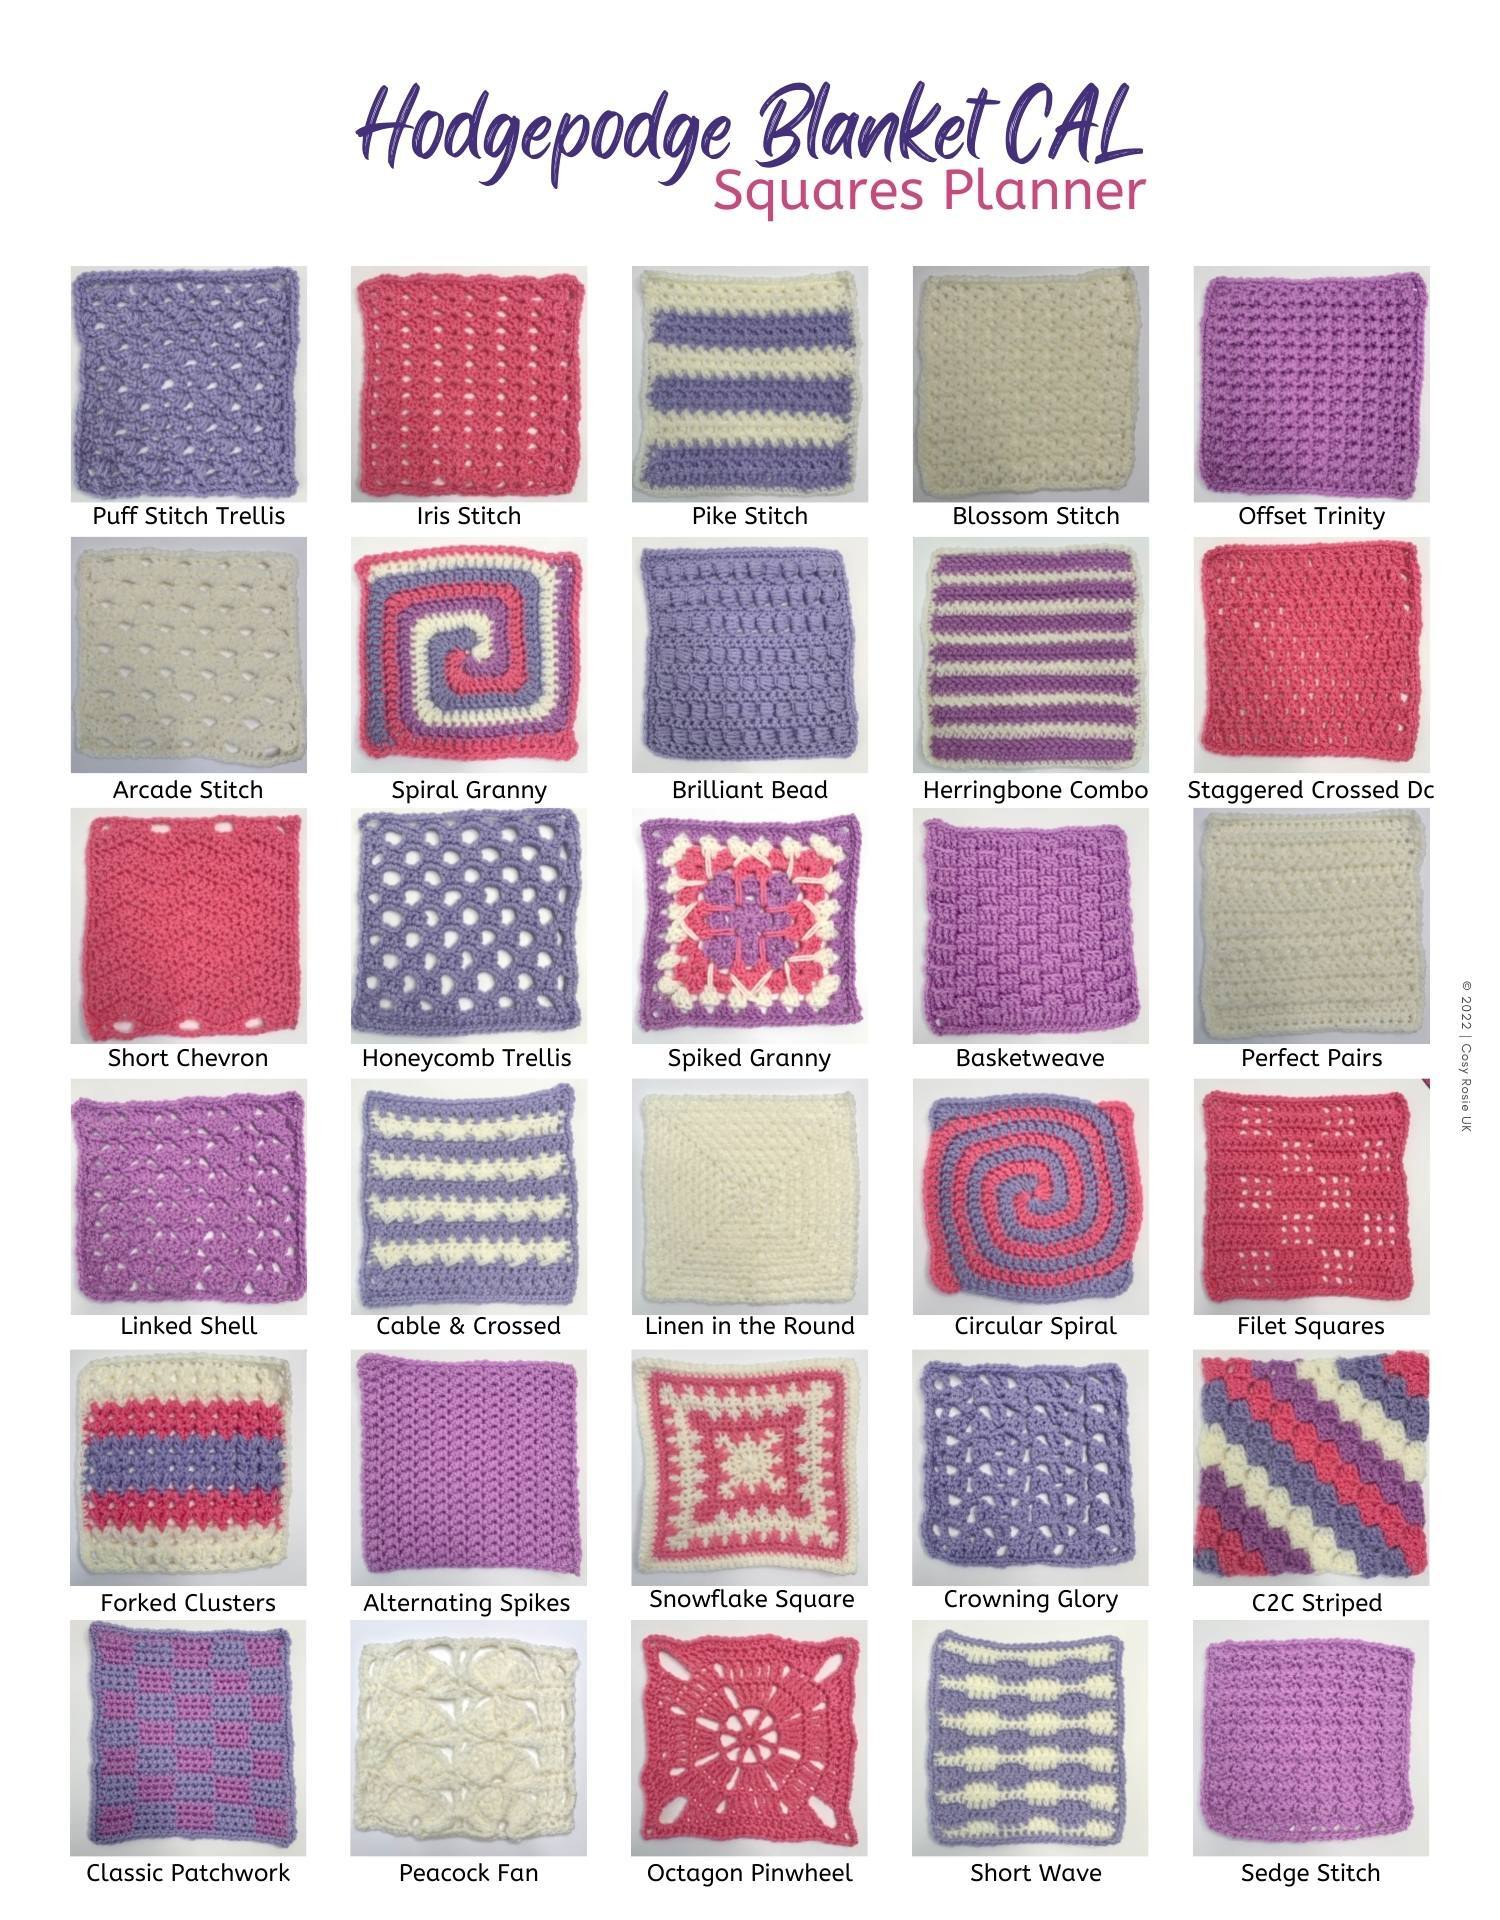
Hodgepodge Granny Square Blanket CAL
Join the fun of this event is running from 15th August 2022 – 13th September 2022 with 30 new granny squares designs, one released each day.
Click here to see all the 30 square designs and decide which one you will be stitching up next!
A huge thank you to my pattern testers and editor who kindly helped test all 30 of the square designs to check for accuracy in this pattern – it’s always such a pleasure to see a pattern come to life.