Free Granny Square Clutch Bag
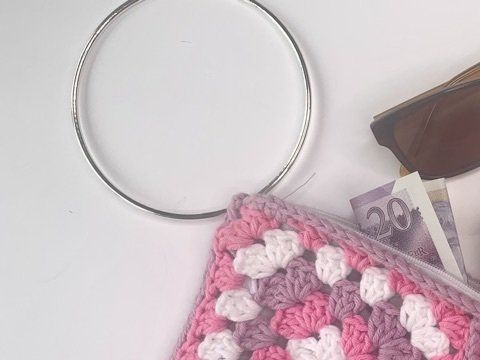
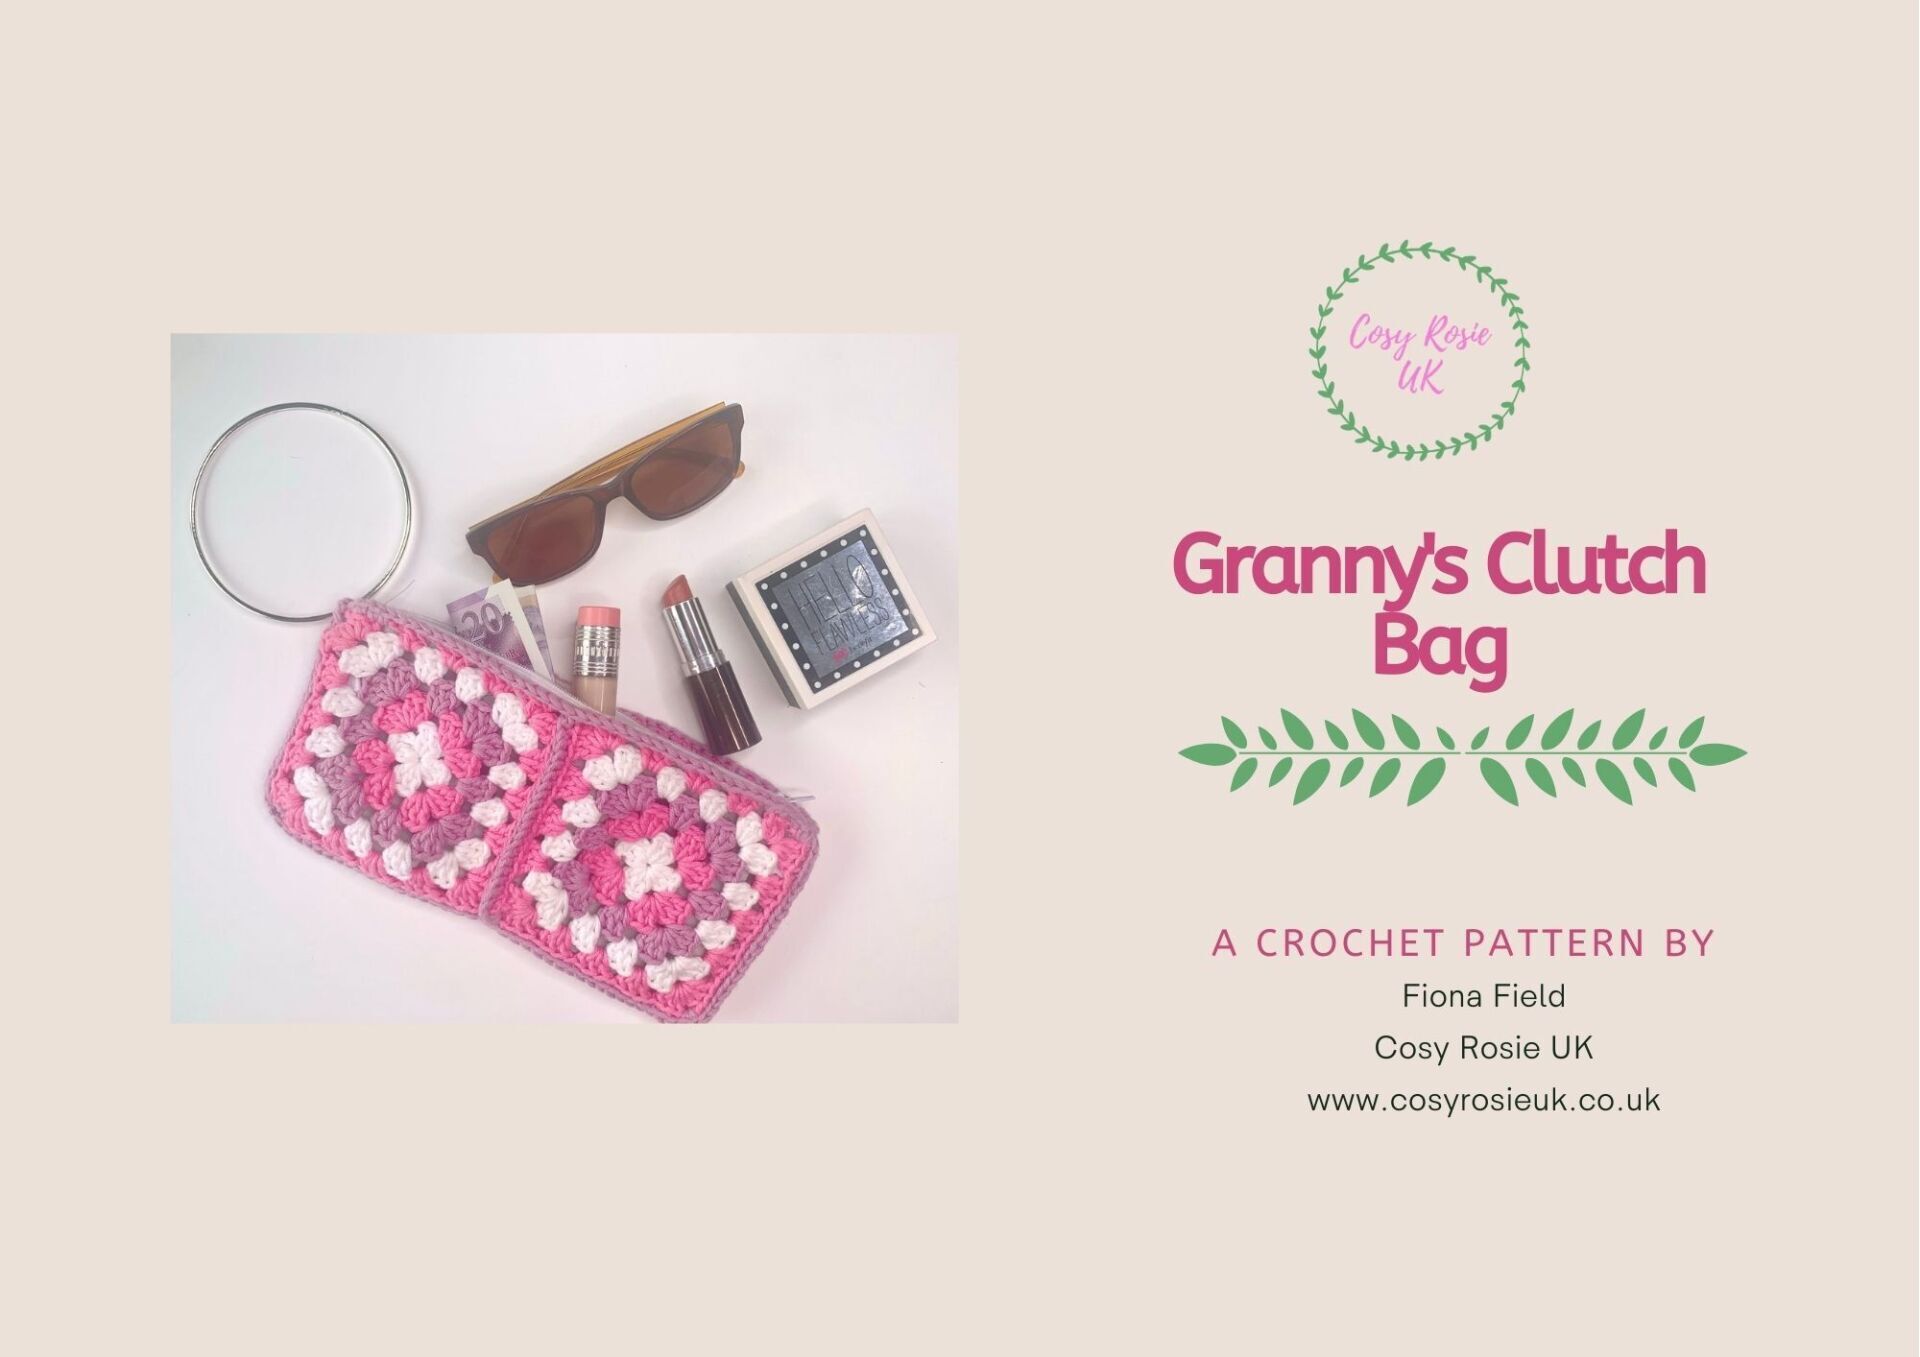
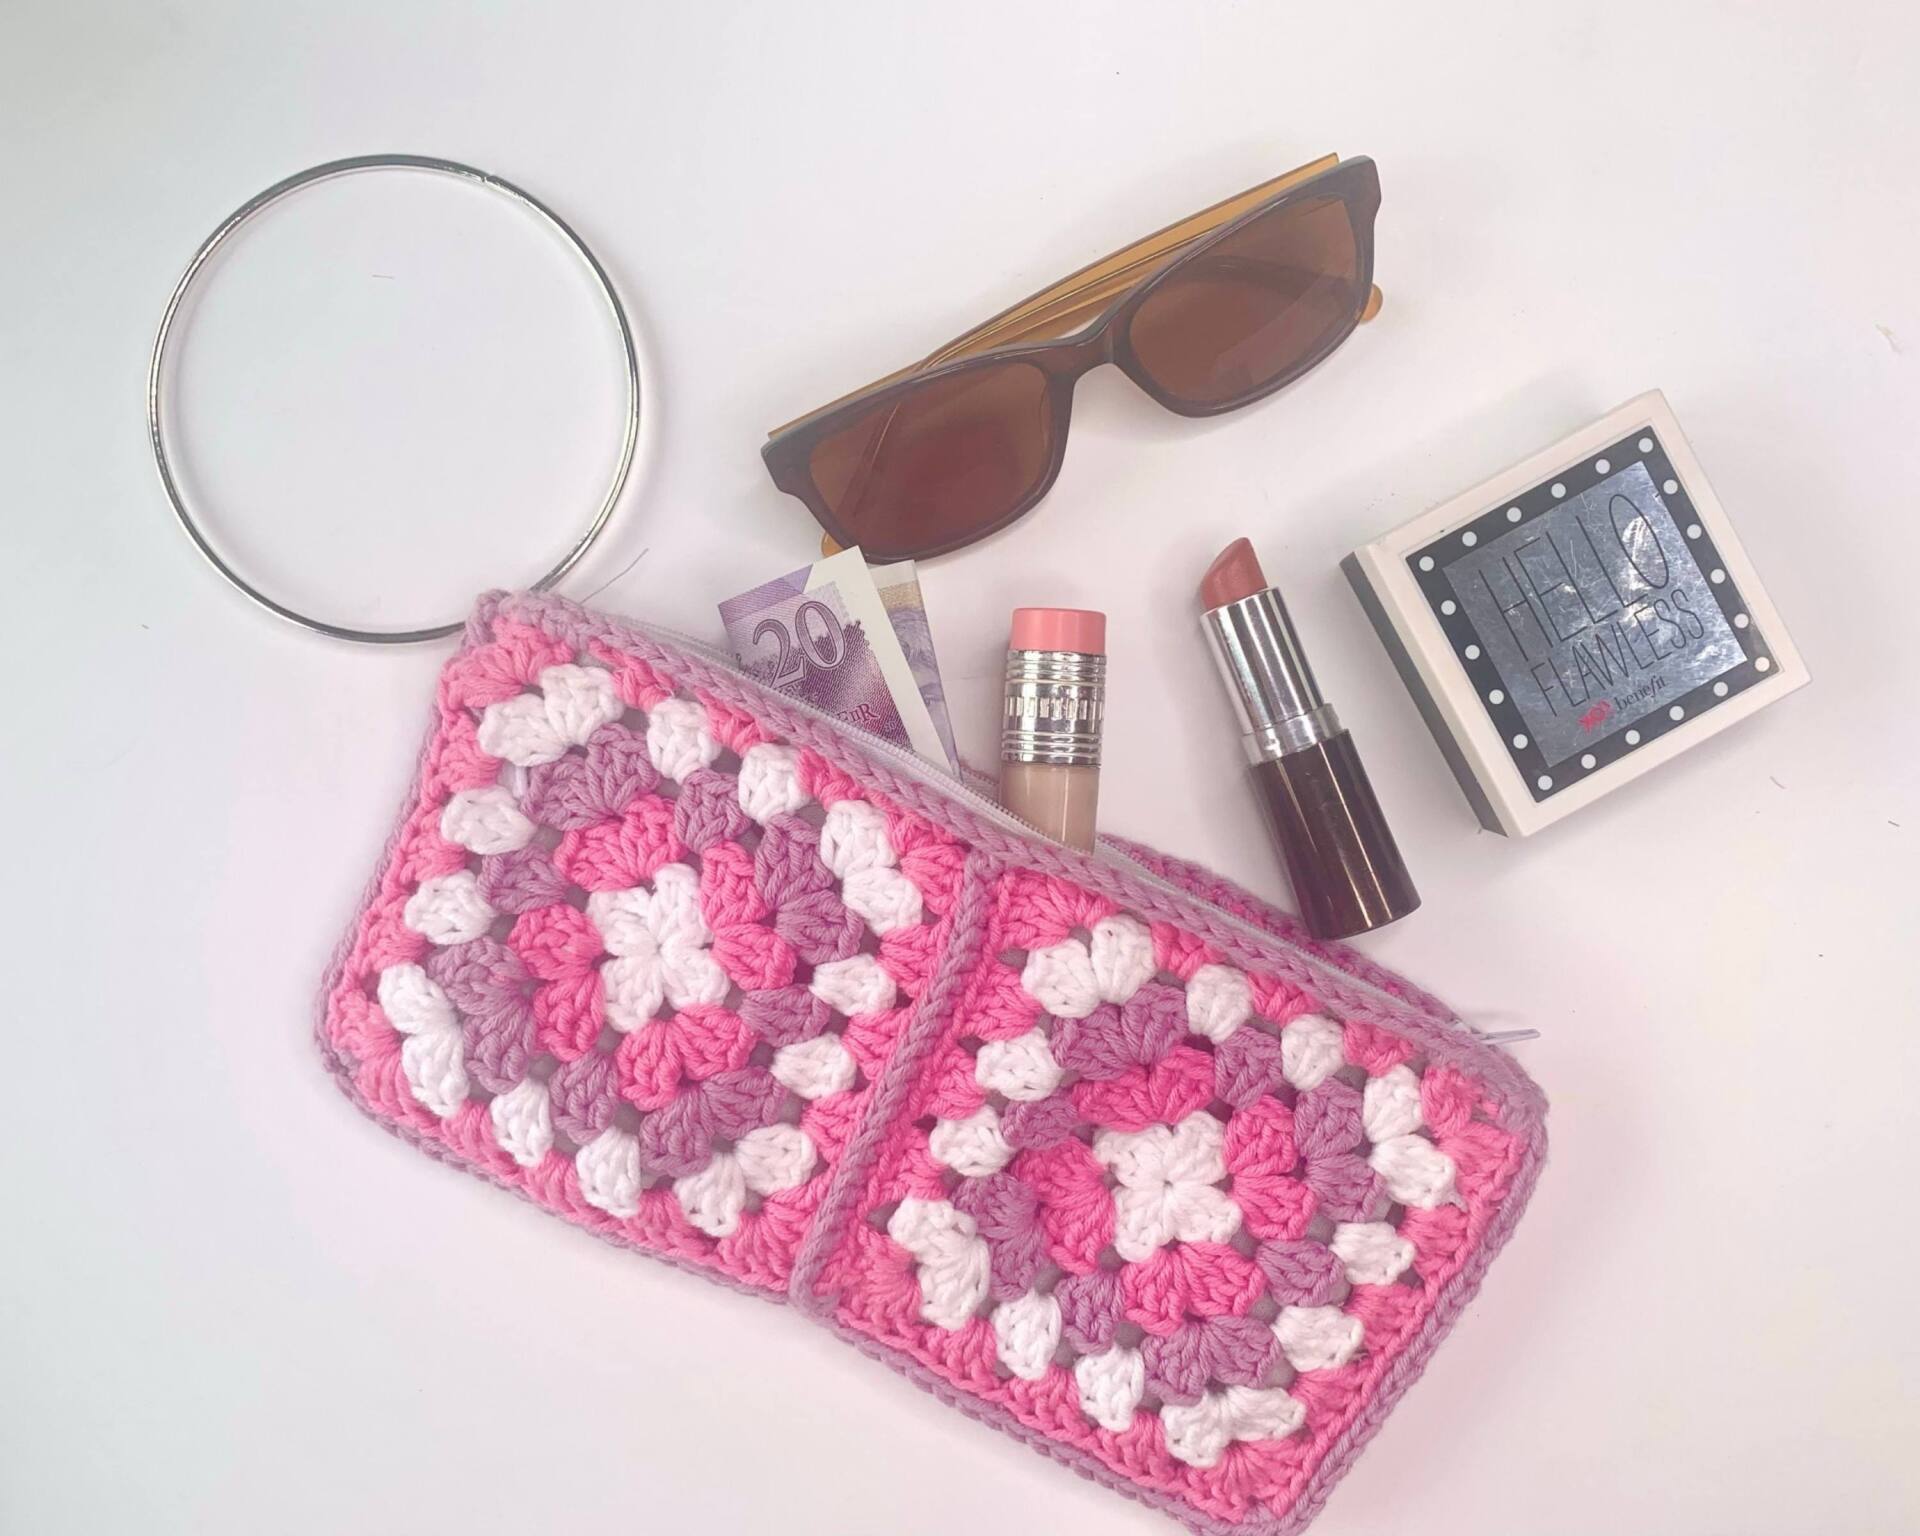
Learn how to crochet a granny square clutch bag with this free crochet pattern. I love anything that features traditional granny square and this crochet bag pattern uses a Macramé ring as a wrist band to keep your bag on you at all times!
Please note that some of the links in my blog are affiliate links. I may earn a small commission if you purchase via these links, but the price you pay is not affected
Granny Square Clutch Bag | Free Crochet Patterns
This pattern only needs 4 basic granny squares and a few other materials to create your own granny clutch bag that will make the perfect crochet summer bag!
As this is such a quick make, that it makes the a perfect crochet gift pattern. Crochet Granny squares can be used for so many things from bags, blankets and garments!
I love the simplicity of the granny stitch and how quickly it works up too! The fact that they can be joined in so many different ways just adds to my love of them!
Once you add in the simply way to change colours, your imagination can run wild on how bold and bright you can go! Granny squares also look so fabulous in neutral colours too!
Purchase the Printable PDF PatternYou can download your printable PDF copy of the Granny Square Clutch bag pattern from both my Etsy Shop or Ravelry Shop. Click the button below to purchase.
Crochet Granny Square Clutch Bag Pattern
Skill Level: Easy
Materials:
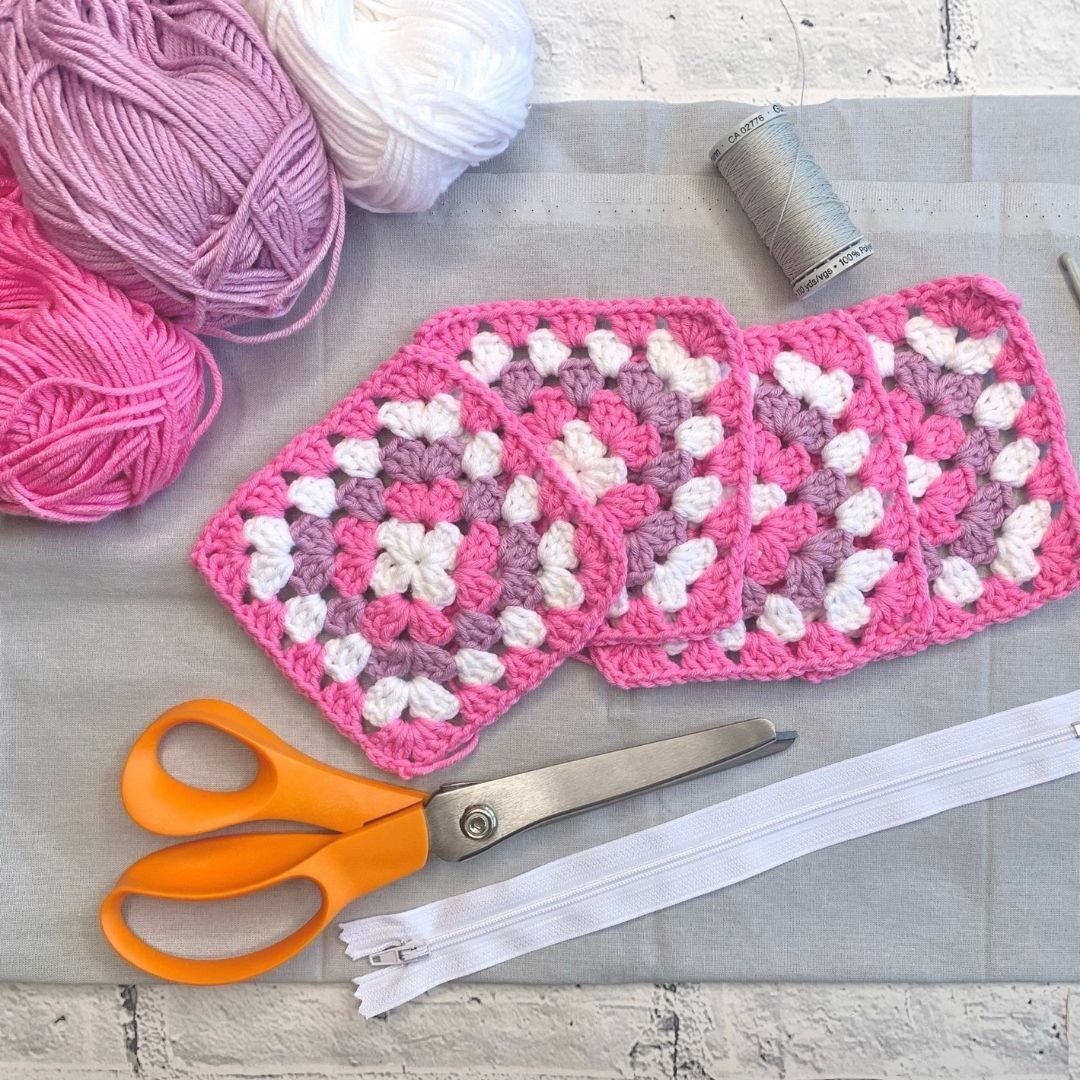
To complete this project you will need:
- DK Cotton or Cotton blend yarn
- I used Hobbycraft Cotton Blend (50% Acrylic, 50% Cotton. 215m/100g) in the following shades:
- White
- Hot Pink
- Lilac
Less than 50 metres of each colour is needed
- 4mm crochet hook
- Darning needle
- Scissors
- 10 inch zip
- fabric measuring a minimum of 11″ x 7″
- 10cm Macramé Ring or metal bracelet
- Sewing needle
- thread
Abbreviations: US terms
St(s) Stitch(es)
Ch Chain
Ch Sp Chain Space
Sl St Slip Stitch
Sc Single Crochet
Dc Double Crochet
3Dc Work 3 Treble crochet into the same space
Gauge:
- Gauge is not essential for this project
Finished Size:
- 9 inches x 5 inches
Pattern Notes:
- Whatever your skill level with crochet, I would always recommend reading through this pattern before beginning. Get in touch if you need any help completing the pattern.
- This bag is worked by joining 4 squares, lining the bag before joining the side and attaching the macramé ring.
- Ch3 at the beginning of each round DOES count as as stitch.
- Ch1 at the beginning of the row DOES NOT count as a stitch.
How to make this Granny Square Clutch Bag
Make 4 Granny Squares:
With Colour 1: Ch4. Sl St to 1st chain to form a ring.
Round 1: Ch3, working into the centre of the ring 2Tr, Ch2, *3Tr, Ch2*. Repeat between * and * twice more. Sl St to the top of the Ch3 to join the round. Sl St across next 2 Tr into corner space. (4 x 3Tr clusters)
Round 2: Change to Colour 2. Ch3, [2Tr, Ch2, 3Tr, Ch1] in same Ch Sp as Ch3, * [3Tr, Ch2, 3Tr Ch1] in next Ch Sp*. Repeat between * and * twice more. Sl St to the top of the Ch3 to join the round. Sl St across next 2 Tr into corner space. (8 x 3Tr clusters)
Round 3: Change to Colour 3. Ch3, [2Tr, Ch2, 3Tr, Ch1] in same Ch Sp as Ch3, *3Tr in next Ch Sp, Ch1, [3Tr, Ch2, 3Tr Ch1] into corner space*. Repeat between * and * twice more. Sl St to the top of the Ch3 to join the round. Sl St across next 2 Tr into corner space. (12 x 3Tr clusters)
Round 4: Change to Colour 1. Ch3, [2Tr, Ch2, 3Tr, Ch1 in same Ch Sp as Ch3, *[3Tr, in next Ch Sp, Ch] 2 times, (3Tr, Ch2, 3Tr Ch1) into corner space*. Repeat between * and * twice more. Sl St to the top of the Ch3 to join the round. Sl St across next 2 Tr into corner space. (16 x 3Tr clusters)
Round 5: Change to Colour 2. Ch3, [2Tr, Ch2, 3Tr, Ch1] in same Ch Sp as Ch3,*[3Tr, in next Ch Sp, Ch] 3 times, (3Tr, Ch2, 3Tr Ch1) into corner space*. Repeat between * and * twice more. Sl St to the top of the Ch3 to join the round. Sl St across next 2 Tr into corner space and fasten off. (20 x 3Tr clusters)
Joining the squares:
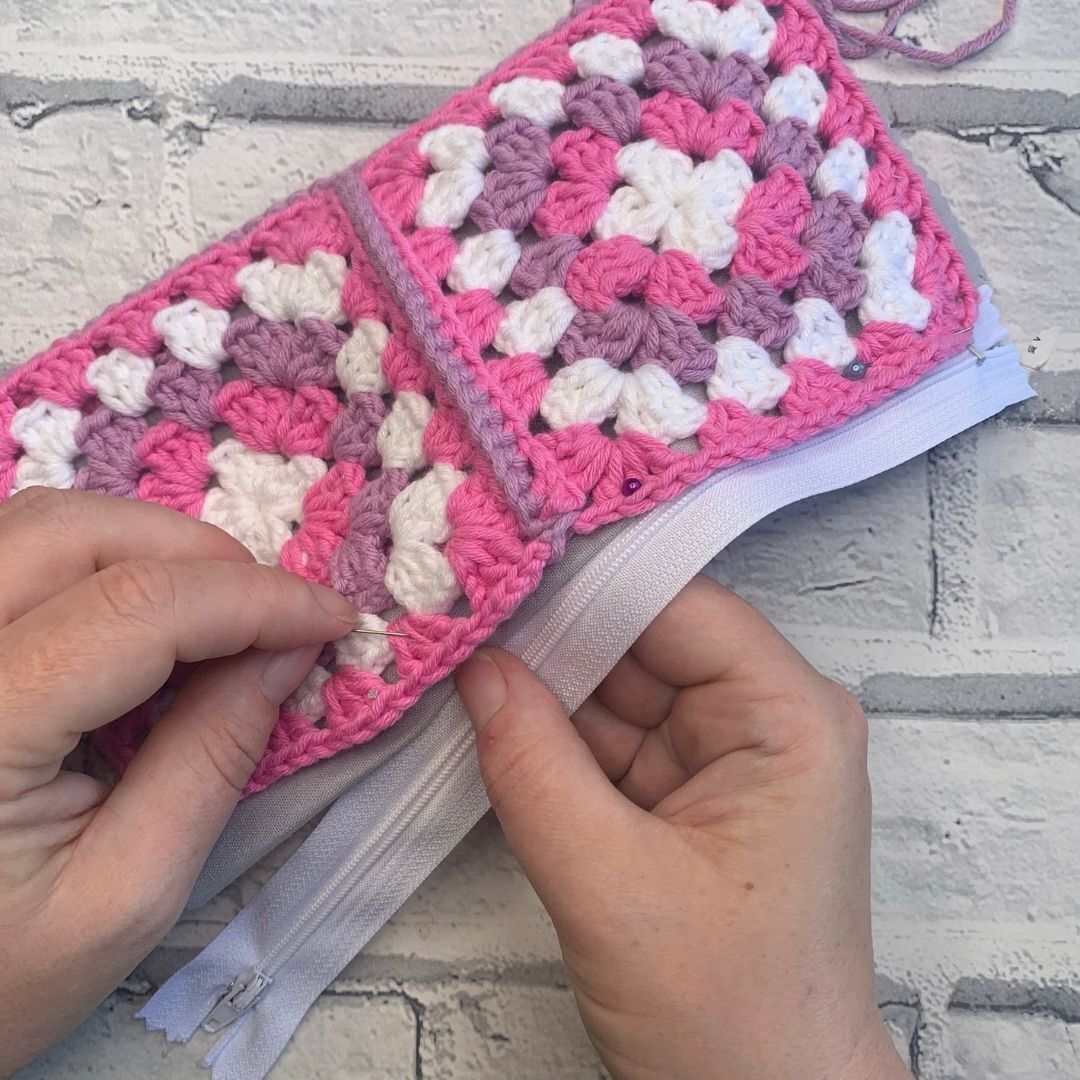
Arrow 1.
- Starting from 1 re-join yarn into the corner of the first square.
- Sl St through the 1st and 2nd square ensuring both wrong sides are facing.
- Working through the back loop of the front square and the front loop of the back square Dc through each stitch and chain across to the 1st corner.
- In the corner space, Dc, Ch1.
- Working into the 2 other squares, Dc into the corner space.
- Working through the back loop of the front square and the front loop of the back square Dc through each stitch and chain across to the corner.
- Dc into the corner space and fasten off.
Arrow 2.
- Starting from 2, re-join yarn into the corner of the first square
- repeat steps 2 -4. Do not Ch1.
- Dc across the join.
- Continue with steps 4-6
Lining the Bag | Granny Square Clutch Bag
- Place your fabric over the joined granny squares, and fold the bag in half.
- Trim the fabric so that there is no fabric over hanging the sides.
- Trim the fabric along the top leaving 1cm to fold over and attach the zip.
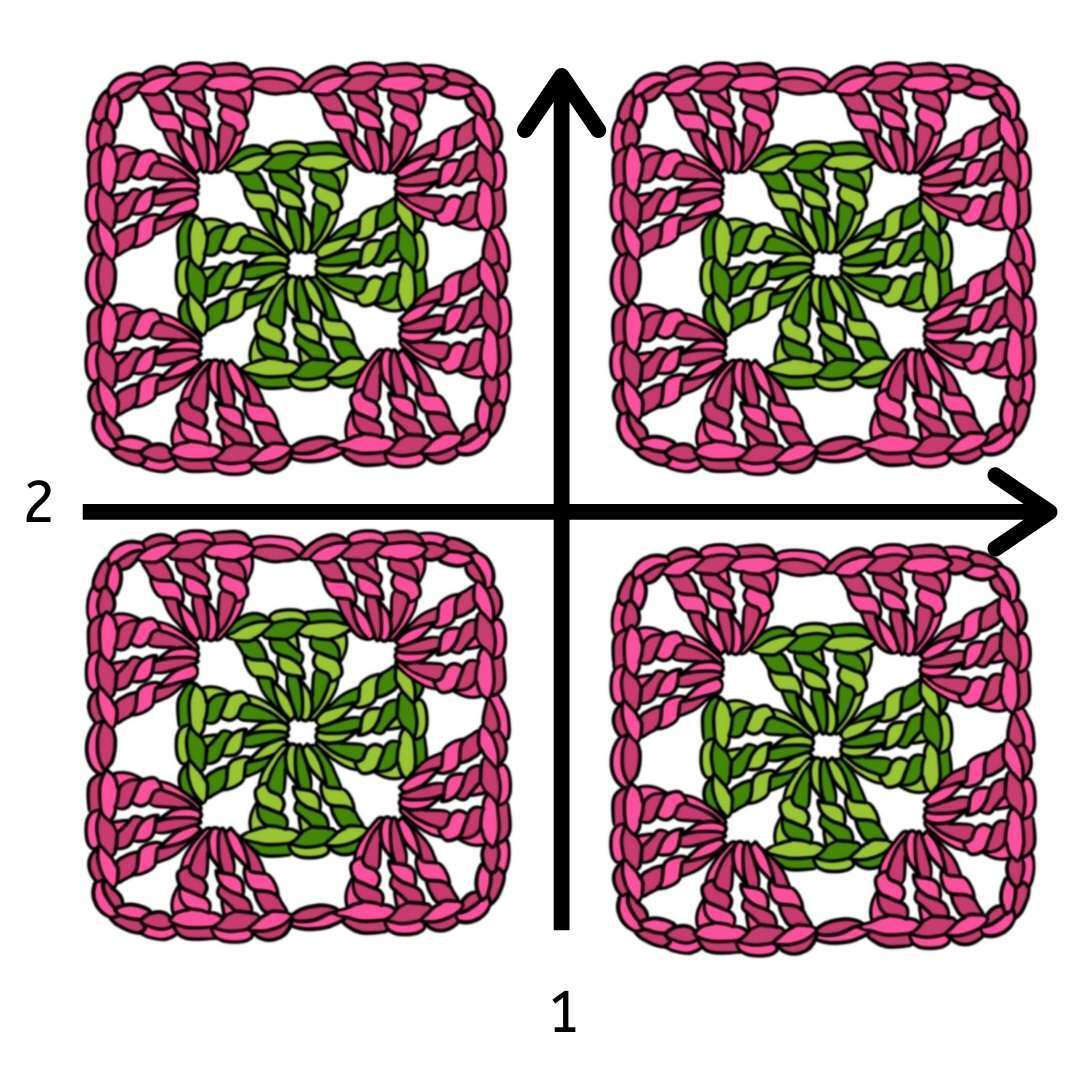
Pin the fabric and the zip along the top of the bag ensuring to leave the V of the stitch unsewn.
Using your needle and thread, sew the zip, lining and bag together.
Rejoin the yarn into one of the stitch in the corner:
- Dc across the top through both loops of the stitch, then work down the sides working through both squares to join.
- Fasten off.
- Repeat the above along the other side of the top of the bag and join the other side of the bag.
Adding the Macramé Ring
- Tie on yarn through the corner closest to the zipper tag when the zip is closed.
- Insert hook through the same corner, Ch4.
- Put the ring over the chain and Sl St into the corner space to secure.
