Free Crochet Tank Top Pattern
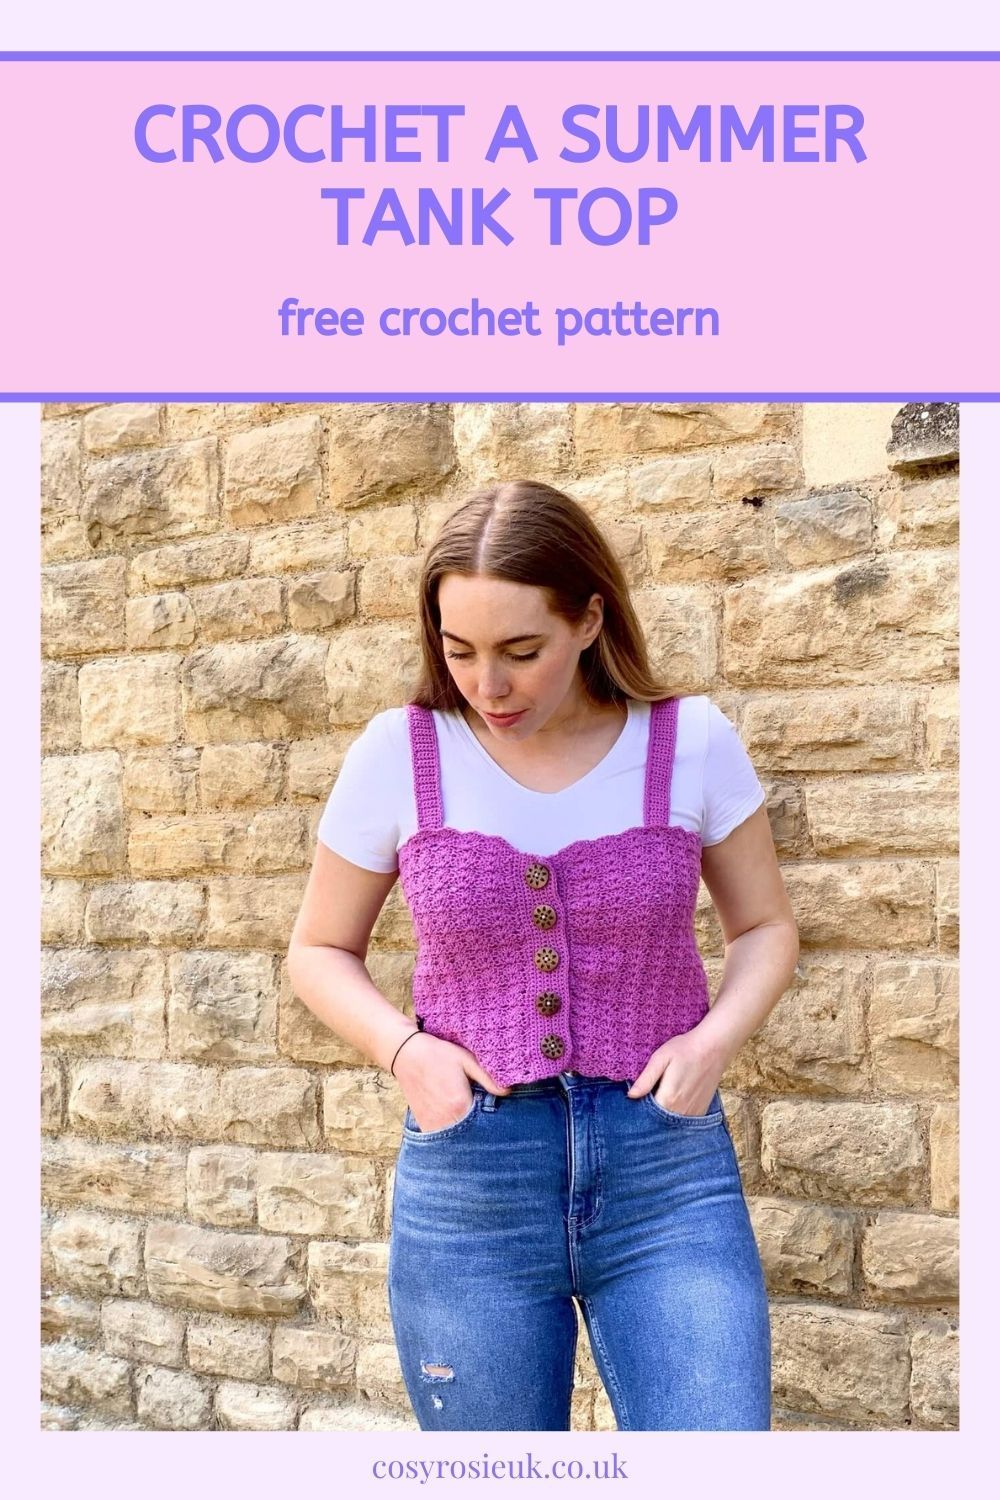
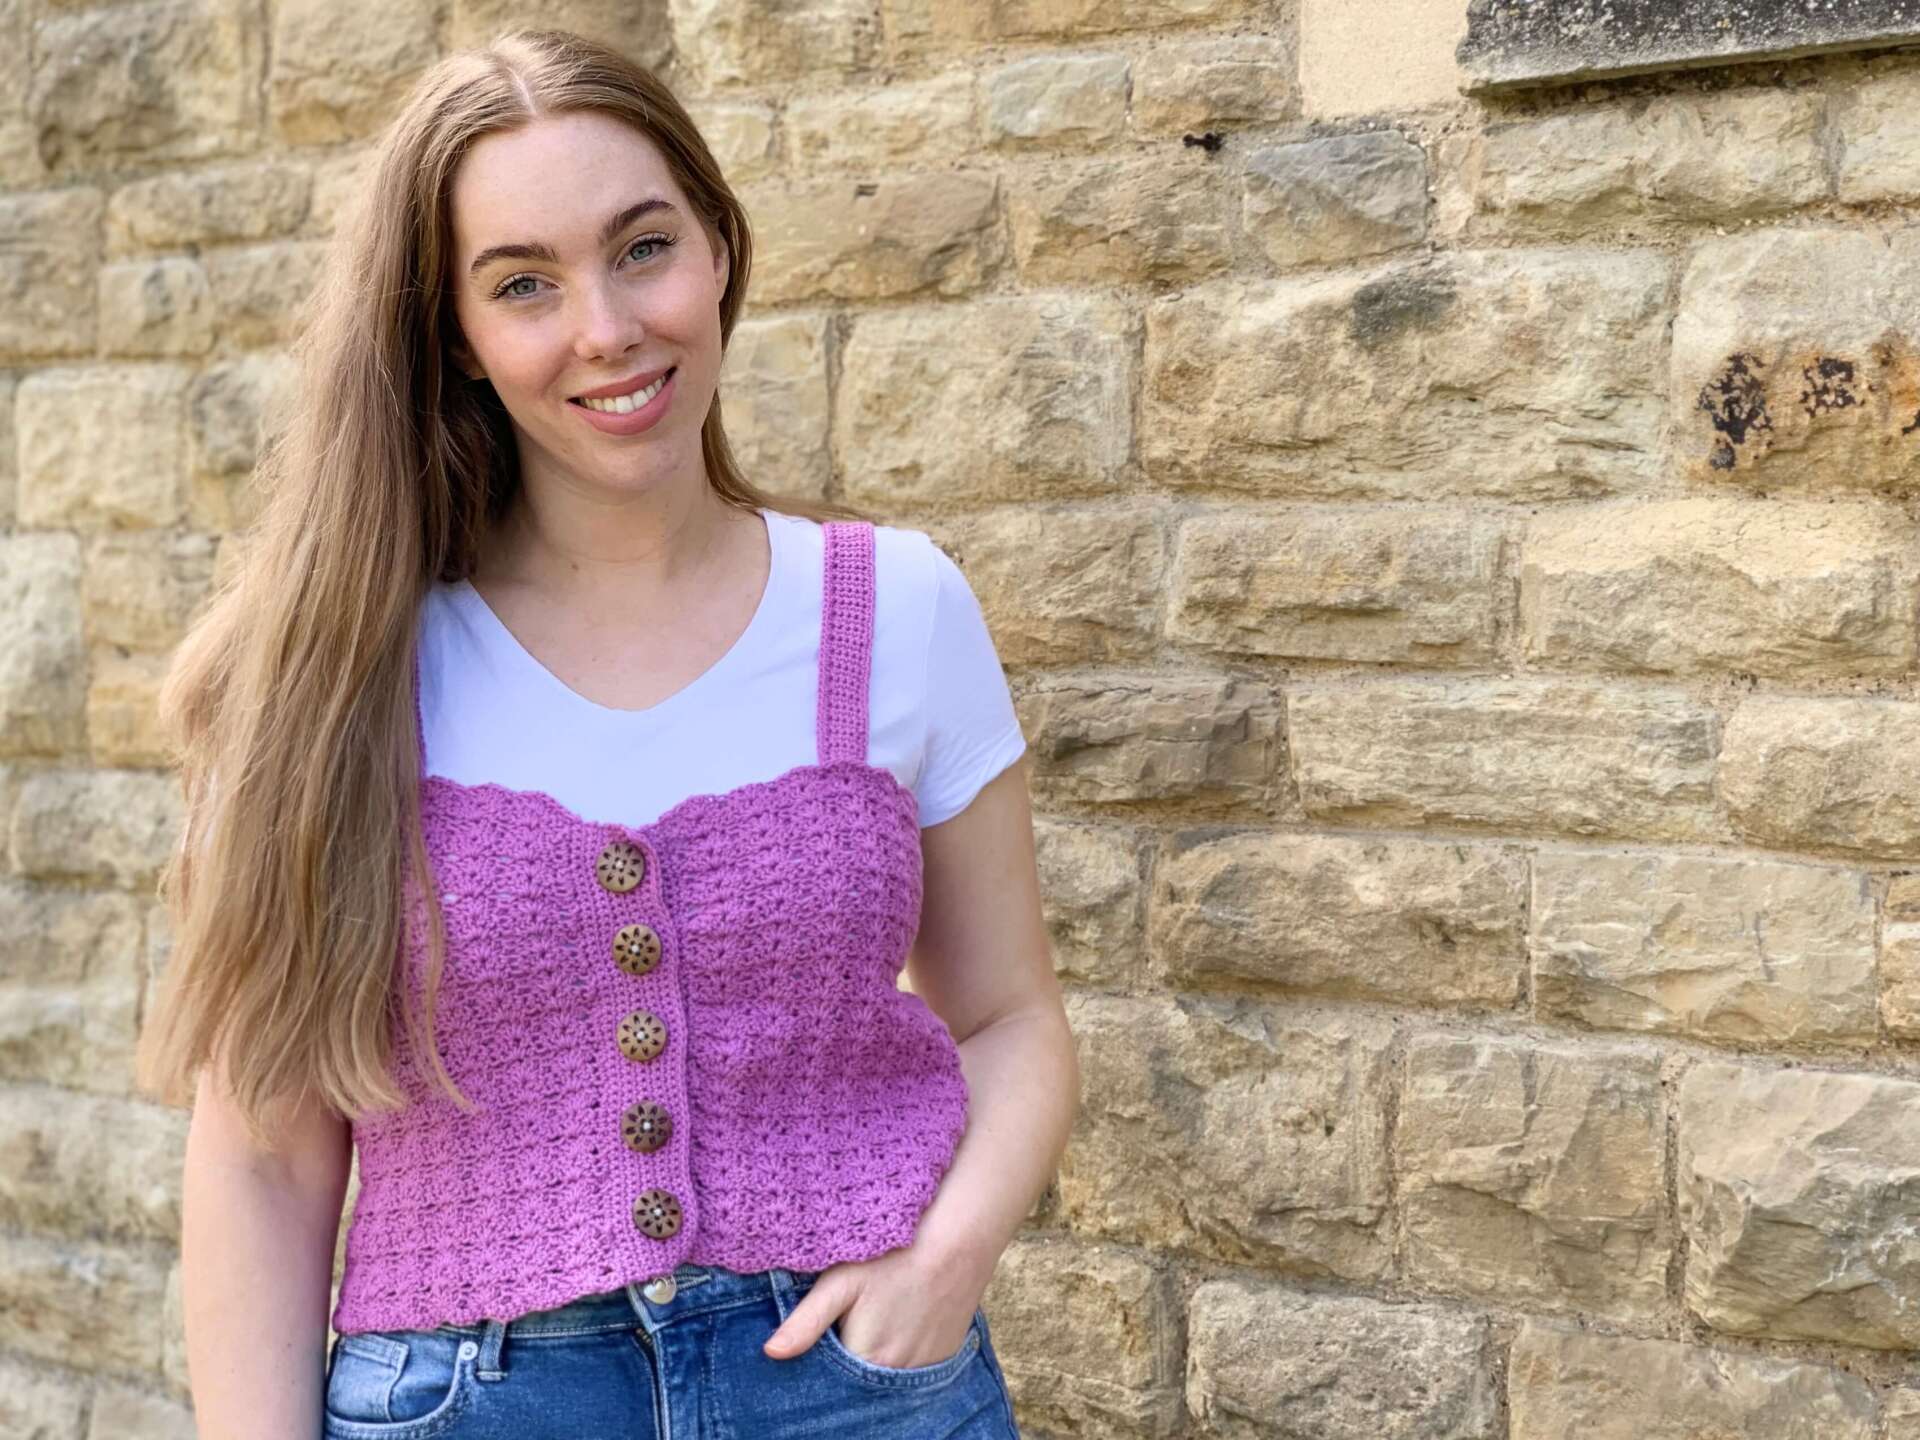
This easy summer crochet tank top pattern is the perfect crochet vest top for all your summer style needs! It can be teamed with a cardigan, worn on its own, or teamed with a t-shirt for some simple summer layering!
With it’s cropped length and button detail, this crochet pattern is packed full of style while still being suitable for advanced beginners.
Please note that some of the links in my blog are affiliate links. I may earn a small commission if you purchase via these links, but the price you pay is not affected
All Buttoned Up Vest Top | Free Crochet Pattern
The All buttoned up vest top is the ideal summer crochet wearable to add a handmade element to your wardrobe.
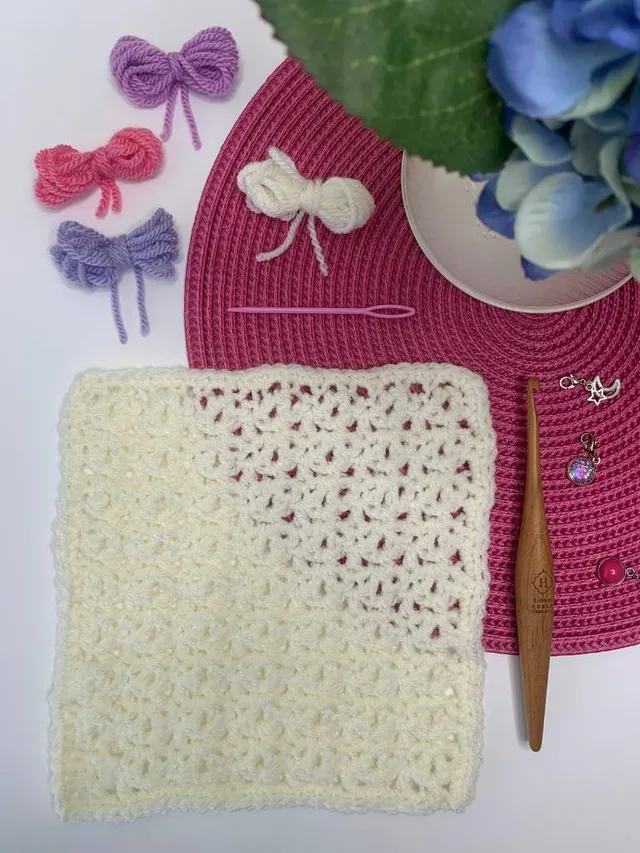
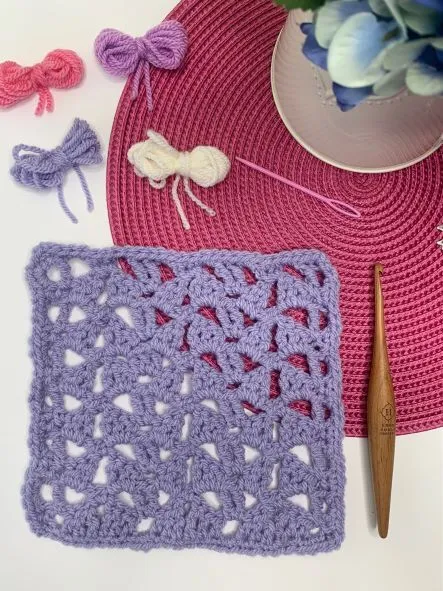
This crochet tank top patterns uses one of my favourite crochet stitches; the open scallop stitch.
This crochet stitch features shells that are stacked on top of each other to create a detailed yet lightweight and textured fabric.
This pattern is a beginner friendly crochet garment pattern which is size inclusive, written for 9 sizes – XS through to 5XL.
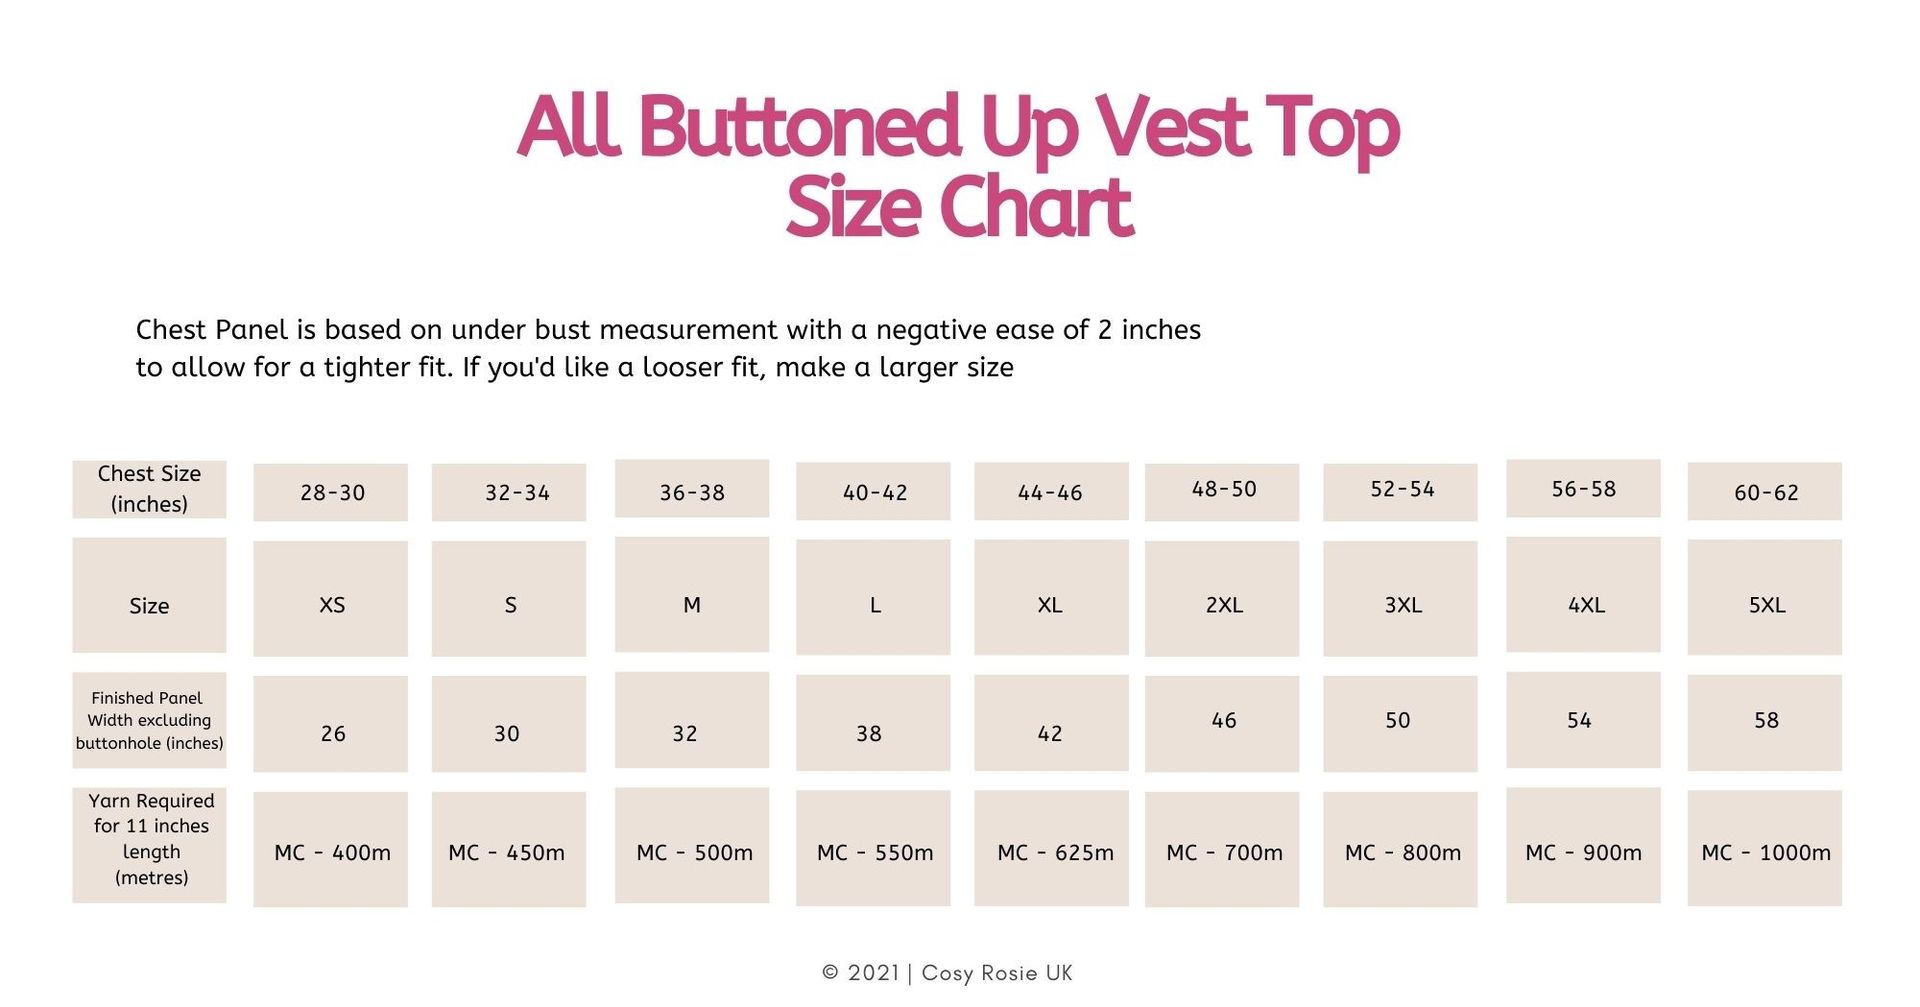
Below you can find the size chart which details the sizing and the yarn amounts required for each size too.
This crochet tank top is simply worked from the bottom up to make 1 panel which you then add the button band and the straps.
Yes, – this pattern is a great way to learn how to make a button band for your crochet projects as you also learn how to make button holes!
The crochet technique to make a button band and create a buttonhole is one that that I shied away from while I was learning to crochet. I was convinced I would ruin my project, but I can assure you that all the pattern testers who checked over the pattern for me, were first time button band makers.
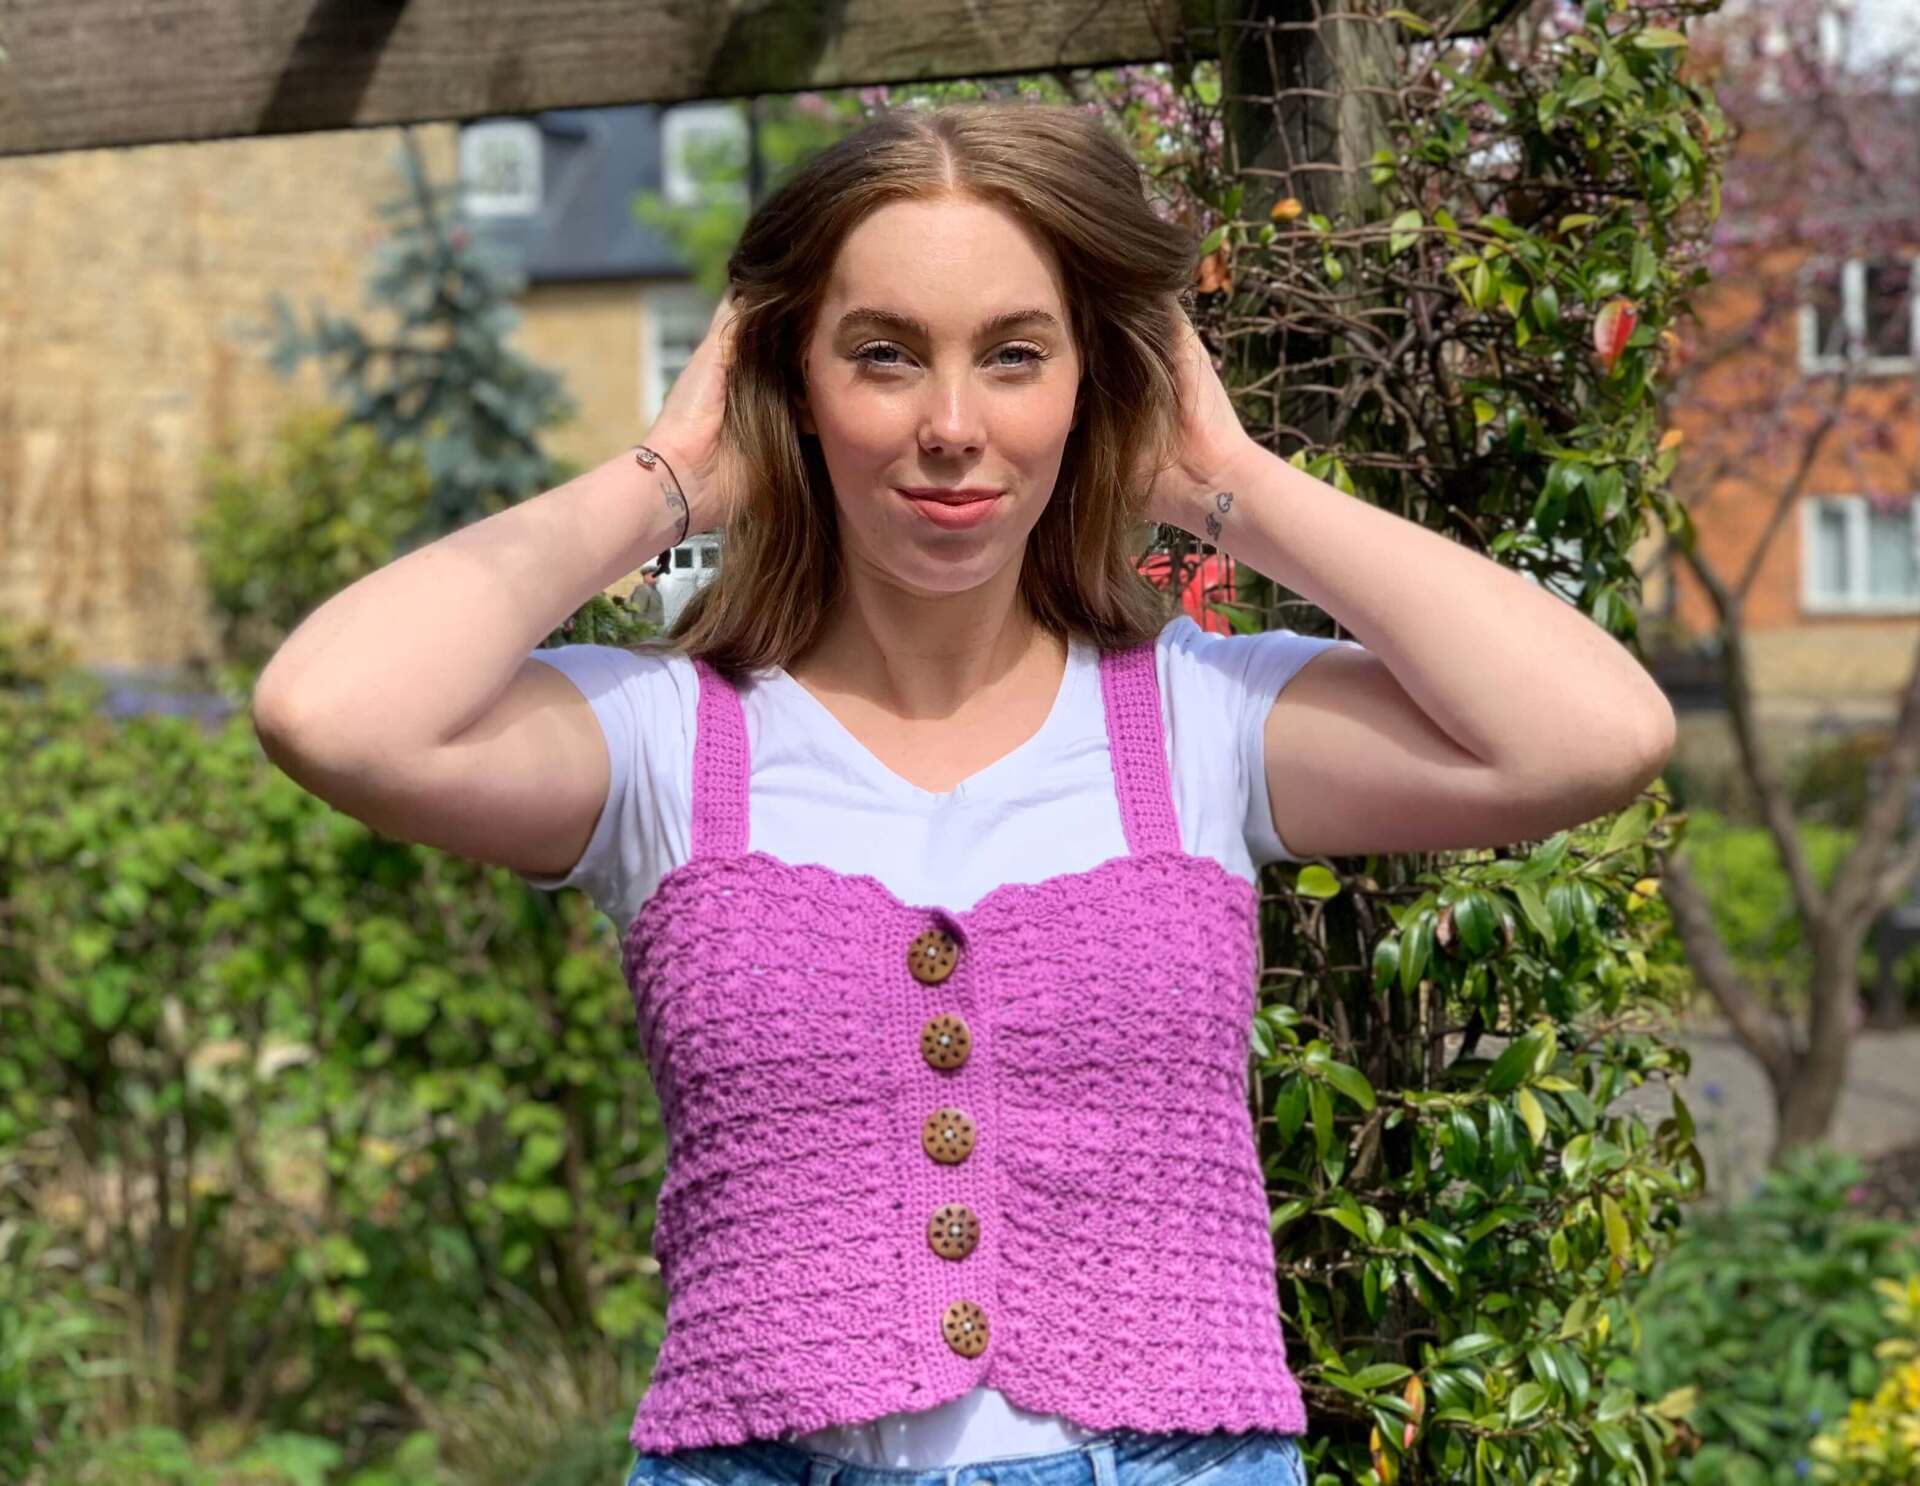
As you can see from their finished project photos below, they all made the most beautiful versions of the All Buttoned Up Vest pattern – and so can you!

Cat is really rocking her All Buttoned Up Top and I can see why! She looks fabulous and that yellow is such a sunny colour!
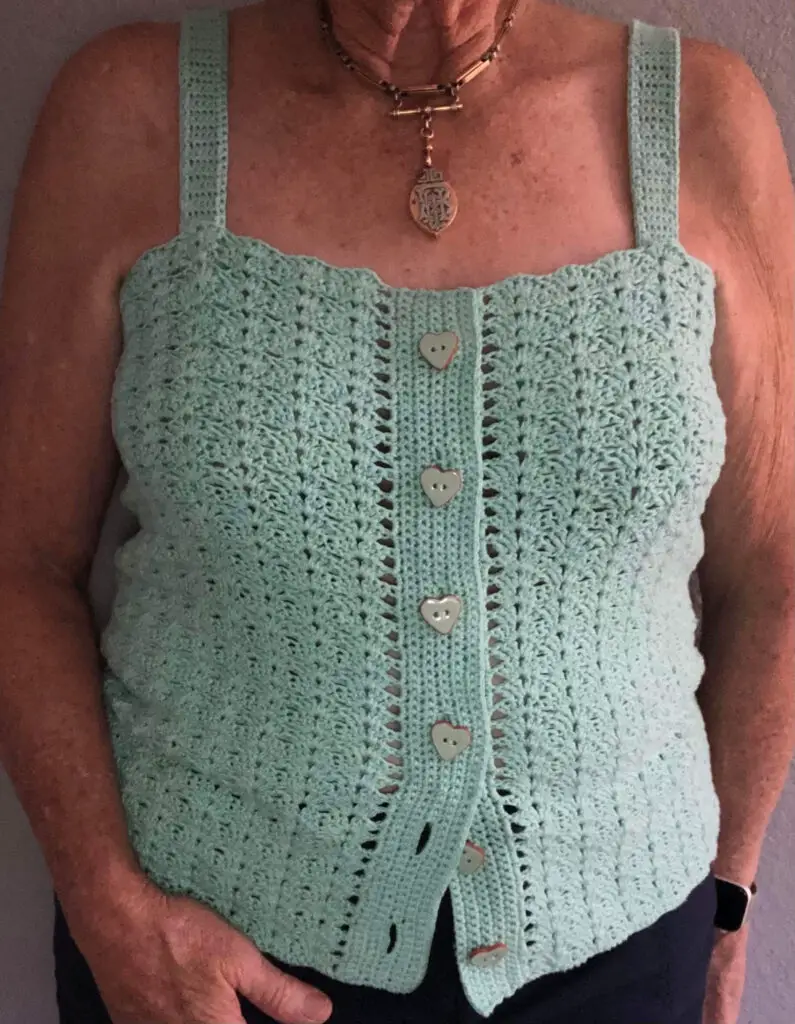
Beverly made the longer version of the top and again chose a super colour – perfect for summer!
She used Lion Brand Coboo, and used a 3mm hook with this super soft yarn.
Purchase the Printable PDF Pattern
You can download your own printable PDF copy of the Running Rings Around Granny Bolster Cushion from either my Etsy Shop or Ravelry Shop by clicking the buttons below where you’ll receive 2 copies of the patterns – 1 version in UK Terms and 1 in US Terms.Purchase on Etsy Purchase on Ravelry
Pin this pattern for later
What’s the best yarn to make a crochet summer top in?
One of the best fibers to crochet with for those warmer days is cotton – click here to see more crochet projects to make with cotton.
I can’t recommend LoveCrafts Simply Cotton enough! It’s a DK weight yarn that creates a wonderful, soft drape to the finish of this easy crochet summer top, and their choice of colours always blows me away!
Pattern Details
Skill Level: Advanced Beginner
Materials:
- 100% Cotton DK (size 3) yarn
- I used PaintBox Yarns Simply Cotton (50g/125m) in shade: Tea Rose (443)
- 4mm Crochet Hook (click here to see my favourite hooks)
- Scissors
- Tapestry needle
- Stitch Markers (optional)
- Buttons
- 5 x 1 inch buttons for 11 inch length top
- or 8 x 1 inch buttons for 18 inch length top for the longer length
With over 50 shades to chose from, LoveCrafts really do have all the colours you’ll love to choose from.
Click here to purchase your yarn from LoveCrafts
Abbreviations – US terms (UK in brackets)
St(s) – Stitches
Ch – Chain
Ch Sp – Chain space
Sc (dc) – Single crochet (double crochet)
Dc (tr) – Double crochet (treble crochet)
Wdc2Tog (wtr2tog) – Wide double (treble) crochet 2 together
RS – Right side
WS – wrong side
Gauge
3.5 repeats and 9 rows = 4 inches (10cm) in pattern repeat a 4mm hook. Use a larger or smaller crochet hook to obtain the correct tension.
Pattern Notes
- Get in touch if you need any help completing the pattern.
- This pattern is worked in rows to create a seamless main panel which is worked from the bottom up
- The buttonhole panels are then worked onto the edge of the panel.
- The straps are worked separately before sewing on.
- Ch1 at the beginning of the rows DO NOT count as a stitch.
- Ch3 at the beginning of the rows DOES count as a stitch.
- Take a moment to go through the pattern and highlight the stitch counts for your size which will be written in size order. e.g XS (S, M, L, XL, 2XL, 3XL, 4XL, 5XL)
Special Stitches
Wide Double Crochet 2 Together (wdc2tog) = yo, insert hook in indicated, yo, pull up loop, yo, pull through 2 loops on hook (2 loops on hook), skip 3 stitches, yo, insert hook in next stitch, yo, pull up loop, [yo, pull through 2 loops on hook] 3 times.
Shell = (2 dc, ch 1, 2dc) in indicated
Sizing
The chart below shows you and estimation on how much yarn you’ll need per size. The top is designed with a 4 inch positive ease to give you a little breathing room – ideal for those All Inclusive holidays, where the buffet is too much of a temptation!
How to make this free crochet tank top pattern
Row 1: Ch 140 (158, 170, 200, 225, 242, 266, 284, 302), sc in 2nd ch from hook and each ch across, turn. 139 (157, 169, 199, 223, 241, 265, 283, 301) sc
Row 2: Ch 3, skip next, dc in next (counts as wdc2tog), shell in next, *starting in next wdc2tog, shell in next; repeat from * across to last 3, starting in next and ending in last, wdc2tog, turn. 23 (26, 28, 33, 37, 40, 44, 47, 50) shells, 24 (27, 29, 34, 38, 41, 45, 48, 51) dc
Row 3: Ch 3, skip next, dc in next (counts as wdc2tog), shell in next ch-1 sp, *starting in next, wdc2tog, shell in next ch-1 sp; repeat from * across to last 3, starting in next and ending in last, wdc2tog, turn.
Rows 4-26 (40): Repeat Row 3
Do not turn or fasten off at the end of Row 26 (40).
Panel will measure 11 (18)”.
To increase panel length, Repeat Row 3 until desired length.
Continue to Button Panel
Button Panel
After the panel is desired length, work down the side of the panel to add Button Panel, where the buttons will be sewn.
Button Panel Please note that the stitch count is shown in length order e.g. (11” length, 17” length)
Row 1: Ch 1, working in row ends, place 2 sc evenly across in each row end, turn. 52 (80) sc
Rows 2-10: Ch 1, sc in each across, turn. 52 (80) sc
Fasten off.
Continue to Calculating your Button Placement
How to add Buttons to your crochete project
Button Placement:
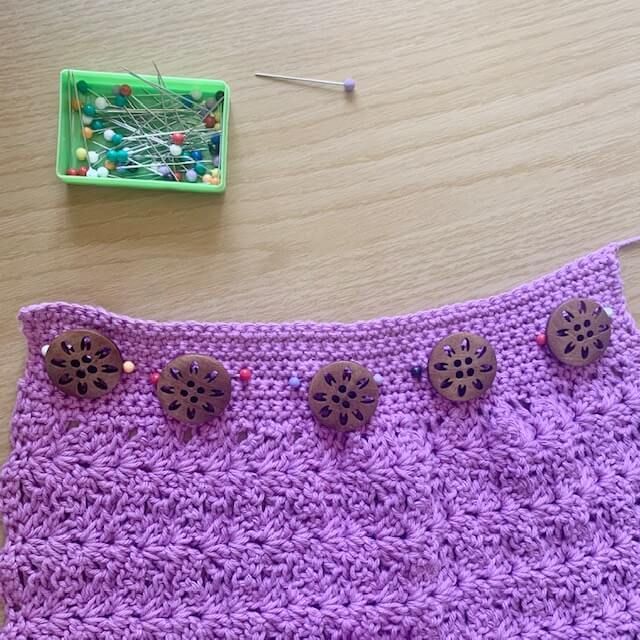
To help work out the number of stitches between each button hole, place the buttons evenly spaced across the length of the button panel.
The example provided is based on an 11 inch length vest top using 5 x 1 inch buttons.
- If you are using smaller sized buttons, you will need more than the 5 buttons suggested and adjust the distance between them.
- If you are making a 18 inch length top, increase the number of buttons to 8.
I left 3 stitches unworked from from the top of the vest, placing the buttons evenly leaving 4 stitches unworked.
I marked the edges of the buttons with pins so I could count the stitches where the buttons had been placed and the stitches between each of the buttons.
- Stitches for Buttons: 6 – Ch 5 for button hole
- Stiches Between Buttons: 3 = 4 stitches between button holes
- By reducing the chains for the button holes, they will be slightly smaller than the buttons for a tighter fit.
- Do not sew buttons on until buttonhole panel complete.
Buttonhole Panel:
Reattach yarn with RS facing in the corner to work down the side of the panel.
Row 1: Ch 1, working in row ends, 2 sc evenly across, turn. 52 (80 sc)
Rows 2-5: Ch 1, sc in each st across. Turn. 52 (80 sc)
Row 6: Ch 1, sc in same, sc in next 2, *ch5, skip 4, sl st into next, sc in next 4 sts; from * across to last 4, svc in last 4, turn. (5, 8 buttonholes)
Row 7: Ch 1, working in each st and ch, sc in each across. 52 (80 sc)
Rows 8-11: Ch 1, sc in each st across. Turn. 52 (80 sc)
Fasten off at the end of row 11 and weave in all ends.
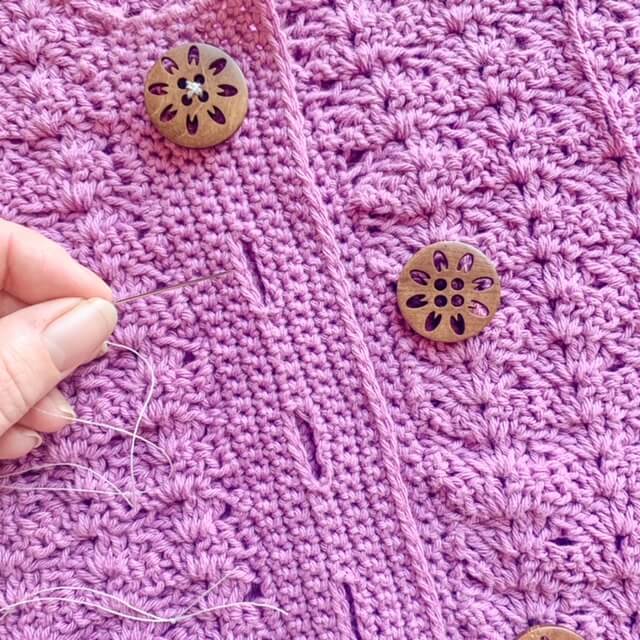
Sew on Buttons.
Place the buttonhole panel over the button side to check button placement is central to your buttonholes and sew in place.
Continue to Straps
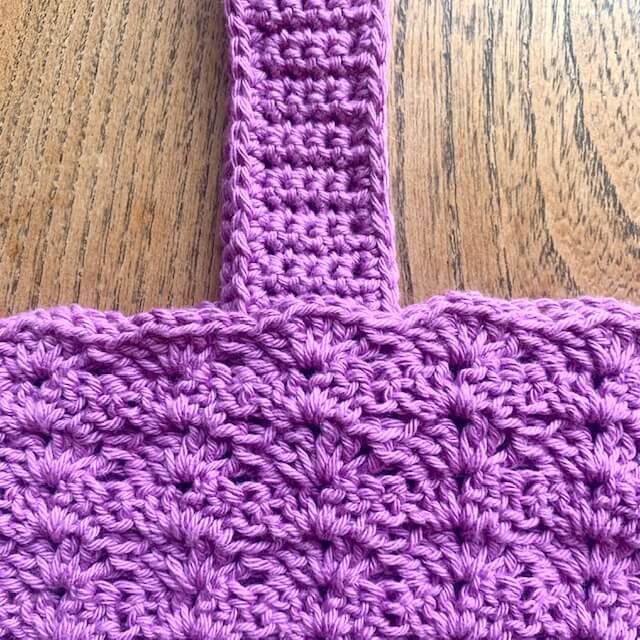
Straps
Straps – Make 2
Designers straps measured 17 inches with a gentle stretch after row 80.
The strap length can be adjusted by increasing or decreasing the number of rows.
Pin your 1st strap to your top and try it on to ensure you are happy with the length before repeating the same pattern for your 2nd strap.
Row 1: Ch 6, sc in 2nd ch from hook and in each ch across, turn. (5 sc)
Rows 2-80: Ch 1, sc in each st across. Turn. (5 sc)
To edge the strap and prevent overstretching during wearing, we will work a Sc into each st the end of each row.
Row 81: Working down the length of the strap, in row ends, sc in each across to last, (sc, ch 1, sc) in last, rotate to work across starting ch, sc in each across to last, (sc, ch 1, sc) in last, rotate to work across row ends, sc in each across to last, sl st to join to 1st of Row 80.
Fasten off, weave in ends.
Sewing on the Straps
Before sewing your straps in place, pin both straps and try on your top to ensure they are placed evenly.
Designer placed placed them on the 4th shell counting out out from the button panel.
Placed the button panel in the middle and fold the straps in half placing the ends to correspond to the front placement.
To check the placement matches for both straps, count the shells between each strap, along the underarm area, to ensure the number of shells match.
Once you are happy with your placement, sew the straps in place under a shell, into the last row.
Weave in remaining ends.
