How to adjust a crochet pattern for different yarn weight
If you haven’t met gauge, or you want to substitute for a different yarn weight or fibre, you’ll learn the quick way to follow the pattern in the new yarn weight or how to adjust the pattern stitches and rows with some basic maths.
Yarn Substitution Basics
In my previous article about swapping the yarn you are using, the overall recommendation was to simple choose a yarn in the same weight as the pattern recommends.
There are times when using the same weight yarn isn’t an option:
- The recommended yarn in a crochet pattern has been discontinued
- You can not purchase the yarn in your country
- The shade of yarn you want isn’t available
- You have a sizable yarn stash and you can’t justify buying more
- You can to use a different weight yarn to create a lighter finished project
- You want to use a yarn in a different fibre than recommended
In this article, I will be taking you through how to calculate your gauge and check if you can simply follow another written size in the pattern, plus how you can adjust the pattern, calculating how many stitches and rows you need to make to achieve the correct finished size.
Whatever the reason you need to substitute your yarn, the first step is to complete your yarn swatch in the yarn you want to use.
Please note that some of the links in my blog are affiliate links. I may earn a small commission if you purchase via this links, but the price you pay is not affected
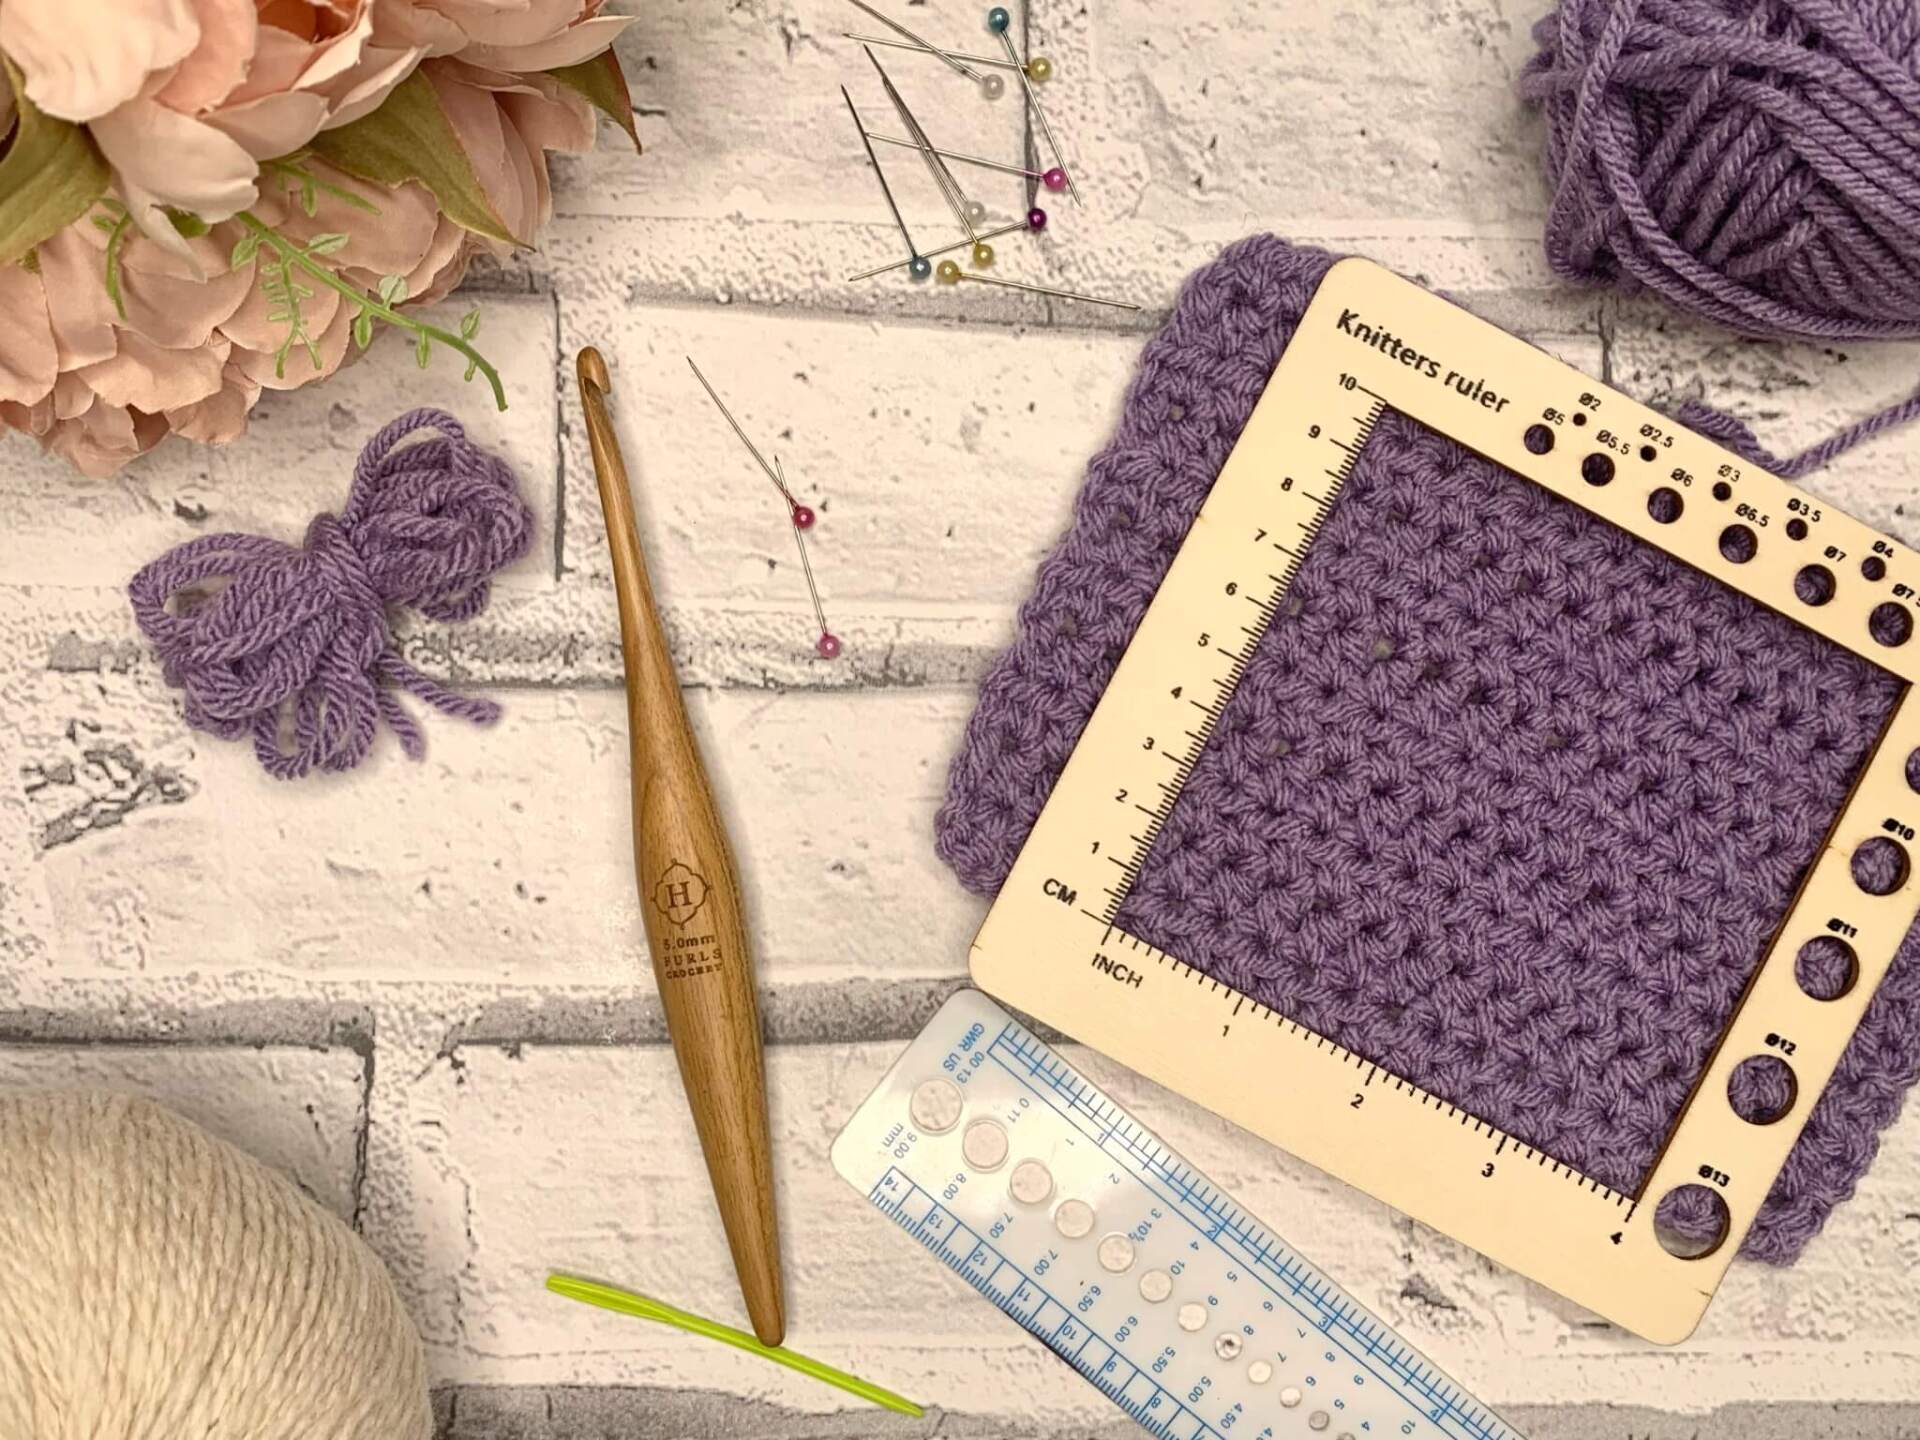
Make your Gauge Swatch
Before any calculations can be made, you need to create a gauge swatch as stated in the pattern you want to follow.
If you’d like more information creating a gauge swatch, click here.
In this article, I will be using the Cable & Crossed Cardigan pattern to highlight pattern adjustments and size options as we walk through the process of adjusting to a different yarn weight.
There Cable & Crossed Cardigan has a written pattern for gauge, which means that the gauge swatch is measured in pattern – you’re welcome to stitch up your own swatch in this pattern to work through these steps to adjust the pattern.
What’s wrong with your gauge?
Do you have too many or too few stitches compared to the gauge in the pattern? Perhaps you don’t have enough rows?
I commonly see people questioning if being “out” by 1-2 stitches on gauge really matters – for smaller projects, it wont make a huge difference, but if you consider the finished size of a garment for instance, it really can make a BIG difference:
- Garment finished size – 36″
- 1-2 stitches extra every 4 inches
- 36″divided 4″ = 9 extra stitches
- This will add an extra 2.25 inches to the overall finished size!
It’s worth trying the easy way to meet gauge before trying out the maths as it might prevent you a lot of hard work.
The Easy Way to Meet Gauge
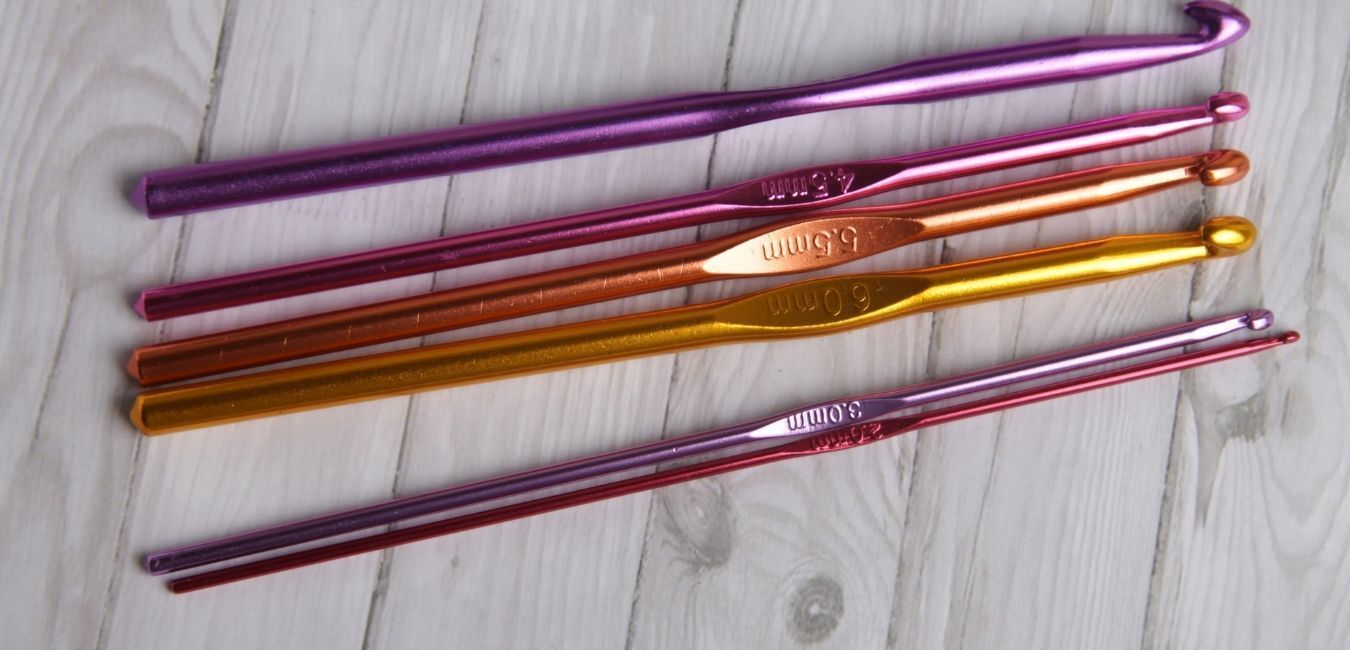
The simplest way to adjust your tension or gauge is to make another square, adjusting the hook size to increase or decrease the number of stitches/rows you achieved:
- If you have too many stitches, increase your hook size so you create less stitches
- If you don’t have enough stitches, try a smaller hook size.
It’s important to note that you don’t want to make too drastic a change in hook size as this will also impact on the finished drape of a garment; the crochet fabric will be tighter if you change to a smaller hook or looser with a larger hook.
Going up or down by 1 hook size won’t impact too much but more than that will – you don’t want a garment to be too stiff to wear or a top hanging in the wrong places!
Another quick way to get your gauge right – Try double stranding your yarn.
Working with multiple yarns can allow you to achieve a similar yarn weight to what has been used by the designer – click here to read my guide to multi-strand yarn where you can find out how many strands equal different yarn weights.
The Easy Way to Adjust the Pattern to Follow
Once you have your gauge measured, you need to confirm which size you want to make in the pattern you are following – these will help us complete some easy maths to shortcut our way to creating the correct finished size project.
We are going to firstly look at the gauge we have and work out if you can simply follow a different size to achieve the correct finished size without the complications of adjust the pattern.
Depending on which size you are making, you can actually use the pattern to allow you to use the hook and yarn you want, with this simple maths.
Using your gauge swatch
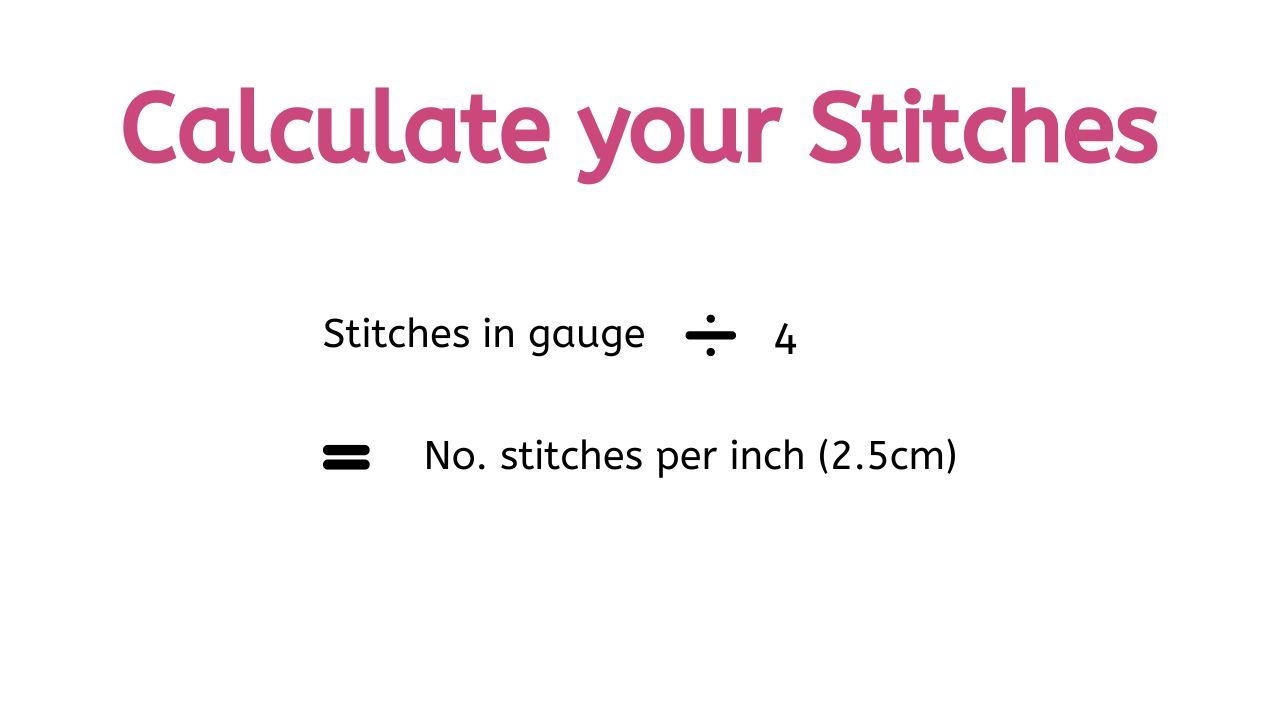
- Take your stitches per 4” and divide by 4 (it’s ok if it’s not a whole number), this will give you the number of stitches you have per inch – note the number down
- Using the finished size of the project you want to make, pick the measurement of the largest section
- Multiply the number of stitches you have in 1” (the number you noted for step 1), by the finished size of the largest section
- The number is the total number of stitches you need to achieve the finished size.
Example
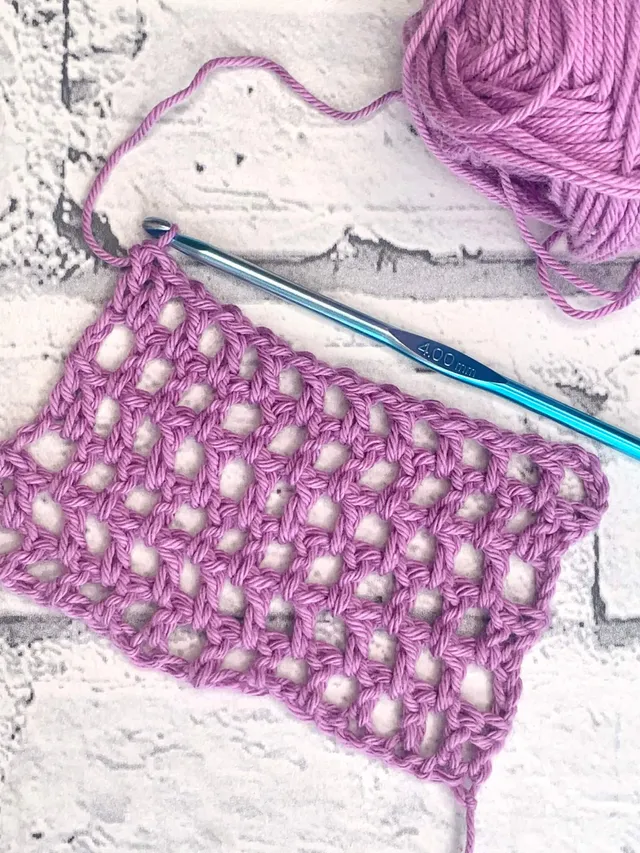
Using the Cable & Crossed Cardigan swatch pattern, I worked the swatch up with Size 3/DK weight yarn and a 4mm hook and achieved 18 sts in the 4” which gives me 4.5 stitches in each inch.
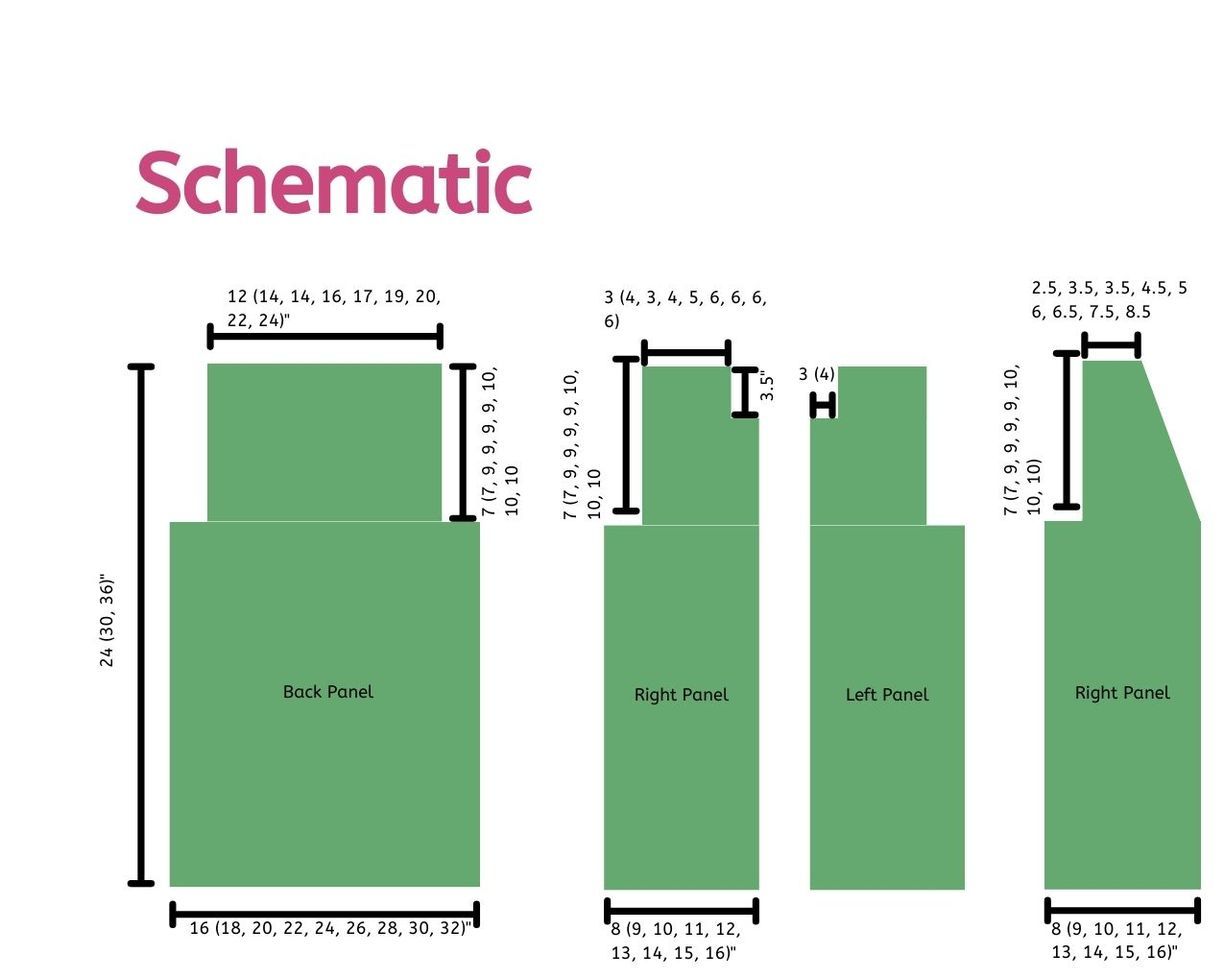
To achieve the finished size of the back panel of this pattern, I would need to create 24″ in width – see the example below.
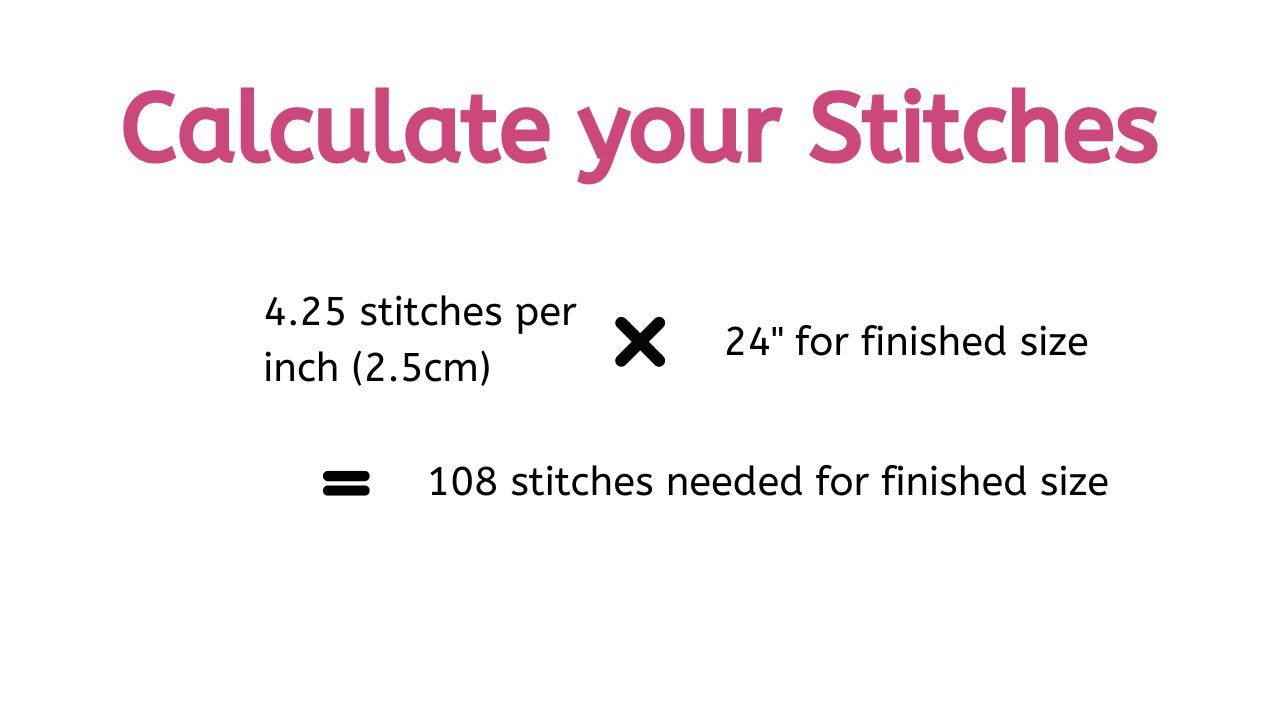
The formula states that to achieve the finished size of 24″, I would need 108 stitches.
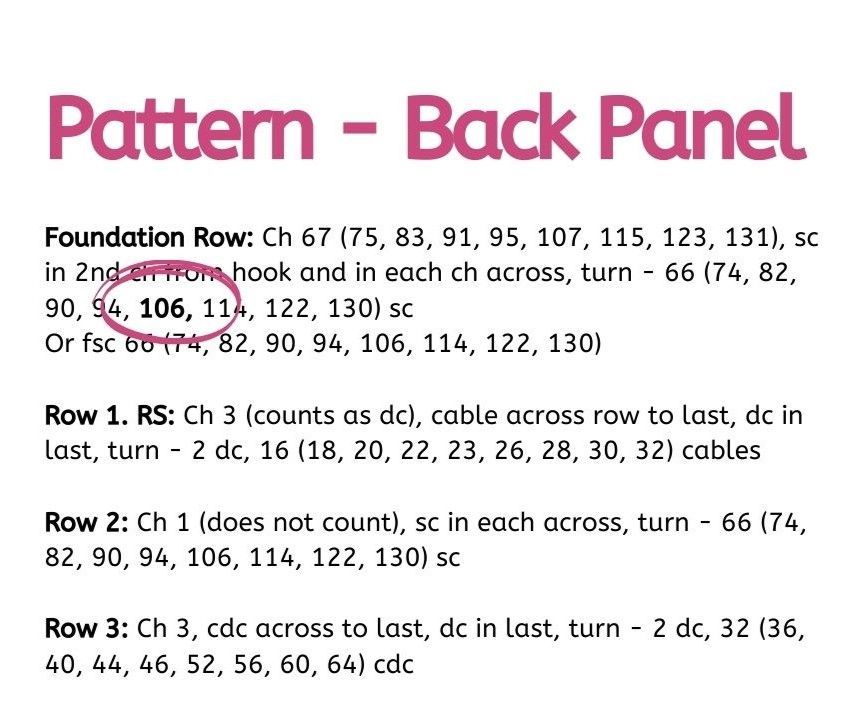
Looking at the pattern for the Back Panel of the Cable & Crossed Cardigan, the written pattern for 2XL uses 106 stitches to create the back panel – needing 108 stitches to achieve the correct finished size, I can simply follow the written pattern for the 2XL throughout my project, using the yarn and hook I created the swatch and achieve the finished size I want.
I truly believe that its magic not maths knowing that it can be as simple as that to substitute for a different yarn weight.
A little note for those at the end of the usual size charts – It’s not quite as easy for a 5XL who needs to make a bigger size or an XS who needs smaller, as they would need to calculate the stitch multiple and add or subtract those extra stitches on – I will say, if you need that information or sizing for any of my patterns, reach out and I will calculate it for you 😊
So, we’ve sorted the stitches, what about if the rows are out?
Adjusting the Finished Length
The height of your stitches can be adjusted by changing how you yarn over or how tightly you pull your stitches , but will you remember to adjust that throughout making a large project? Probably not, so how else can we fix it?
Adding extra length requires caution as you do need to check if the pattern has any shaping along the body. If you are just intending on simply adding additional rows to increase the finished length, you will need to ensure that it will not impact on where the shaping for the body is worked.
Patterns that are worked top down tend to include additional information on where to add extra length, but those that are worked bottom up may not.
Shaping for the body is usually worked near the waist or bust areas, increasing of decreasing to create a shapely fit – the shaping is calculated based on average body sizes, so additional length should be added before you reach the first section of any shaping.
In the case of the Cable & Crossed Cardigan, the pattern is created straight, with no body shaping, with stitches skipped to create a good fit for the armholes – any additional length would need to be worked before the armhole shaping.
Note – make a note of additional rows worked to ensure that subsequent panels/sections made for the pattern are also worked with the additional length.
Calculate How Many Rows you Need
Using your gauge swatch, you can calculate the total number of rows you need to achieve your desired finished length:
- Take your rows per 4” and divide by 4 (it’s ok if it’s not a whole number), this will give you the number of rows you have per inch – note the number down
- Use the finished length of the project you want to make, or your chosen finished length and multiply the number of rows you have in 1” (the number you noted for step 1), by the finished length
- The number is the total number of rows you need to achieve the finished length
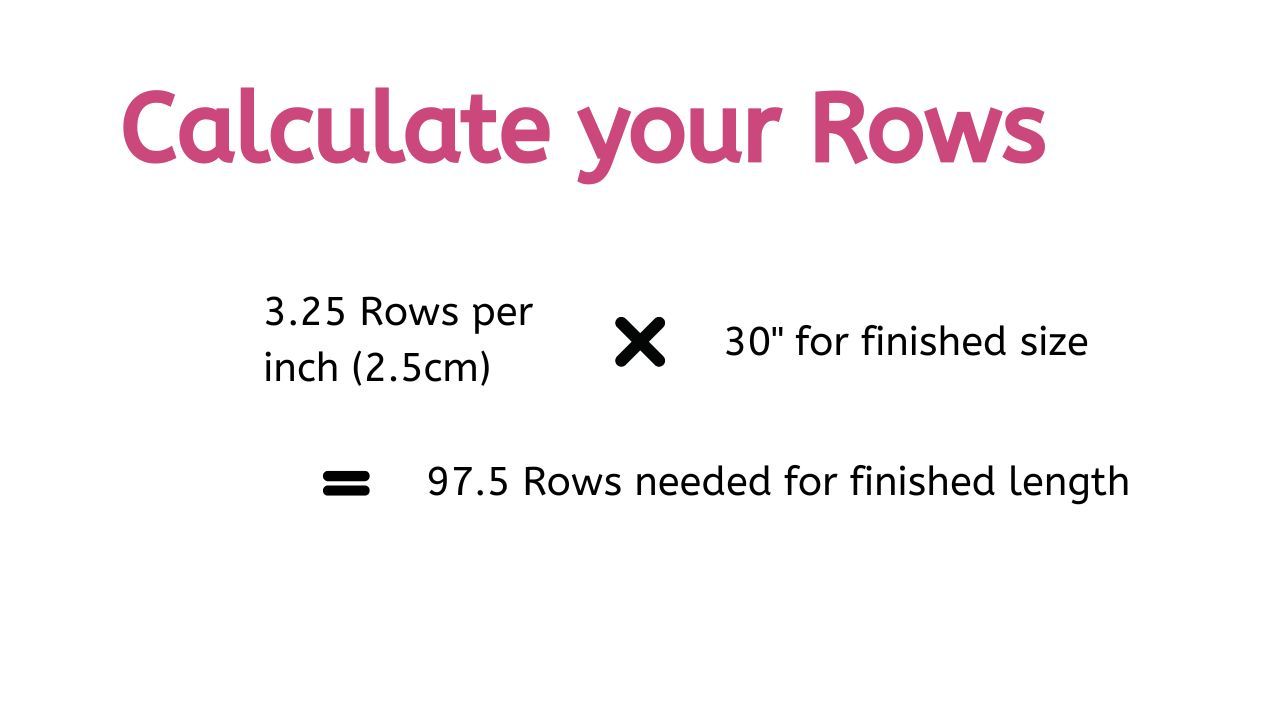
In the example of the Cable & Crossed Cardigan, there is more than one section worked for each panel – the number above (97.5 rows) is the overall, total number of rows to be worked.
If there is a step in the pattern where stitches need to be skipped, or a regular decrease worked to create neck shaping, you will need to complete additional maths to make it work.
In this example, I am using the V-Neck option for the Cable & Crossed Cardigan, where from the armhole shaping, the decreasing also begins for the V-Neck.
As you can see on the schematic, there is a measurement for the height that the neck shaping is worked – 7″ (7″, 9″, 9″, 9″, 9″, 10″, 10″, 10″)
To ensure the V-Neck is recreated correctly, you would need to calculate the number of rows needed to work the shaping over, but also how many stitches you would need to decrease by at a regular interval.
Using the XL measurement of 9″ for the top section of the Right panel, and multiplying that by the number of rows per inch (3.25), there would be 30 (29.5 rounded up) rows worked for that section.
It’s important to also note it there is a pattern repeat, where it is worked over a certain number of rows – in this case, there is a 4 row repeat.
As 30 is not divisible by 4, the number of rows to be worked in the top section would be increased to 32, which is divisible by 4.
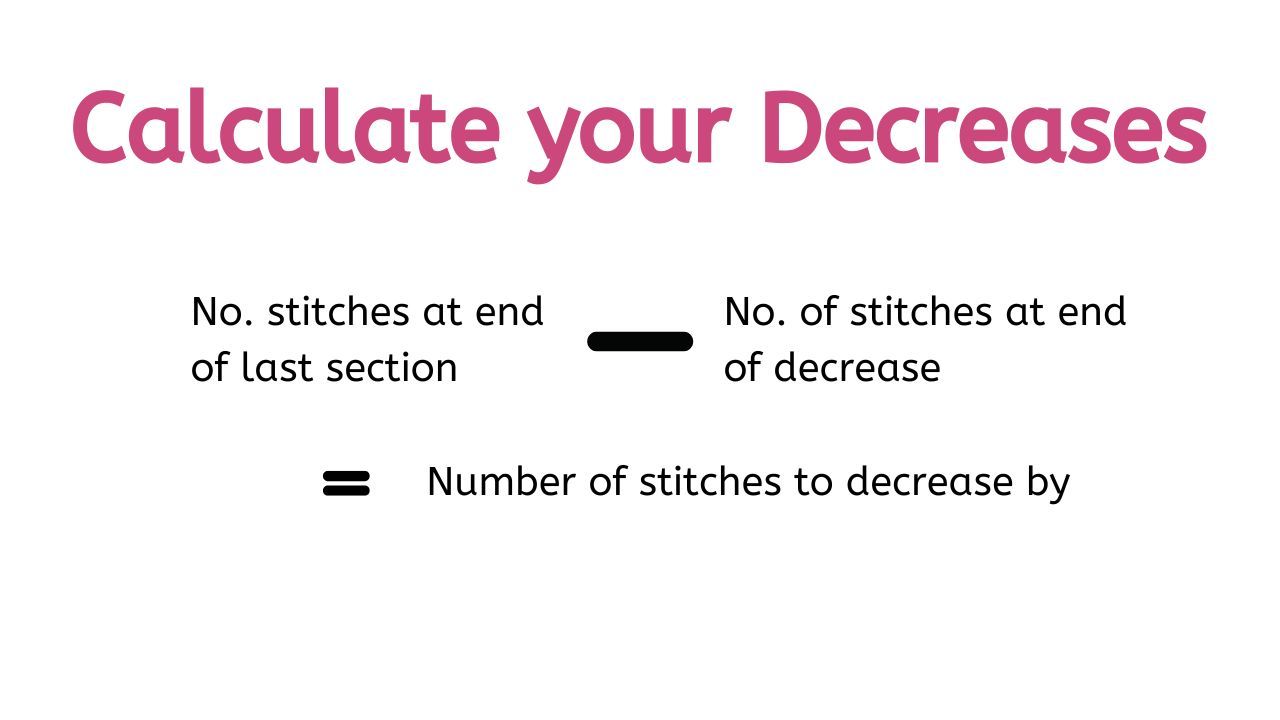
Once you have the number of rows to work, you can calculate how many stitches you will need to decrease by over that number of rows.
For the V-neck shaping for the XL, the front panel, before shaping for the shoulders ends with 54 single crochet stitches and the neck shaping ends with 20 stitches. This means that the stitch count needs to decrease by 34 stitches over the 32 rows.
Recommendations for Decreasing
It’s is not recommended to work a decrease on the final row of a pattern, so the number of rows that the decreased can be worked should be reduced by 1 to allow for this.
You should aim to work your decreases evenly where possible, alternating one decrease row with one no-decrease row.
Check the pattern for the decrease pattern
By reading through the pattern, you will see how frequently the decreases are worked – there is usually a pattern to how decreases are worked.
In the case of the Cable & Crossed Cardigan, the pattern is written to decrease 4 stitches every 4 rows – they are physically worked in only 3 rows, with 2 decreases worked in 1 row and 1 decrease worked in the remaining 2 rows.
For this example, I would simply follow the pattern, decreasing 4 sts every 4 rows, 8 times giving a total of 32 decreases – not quite the 34 decreases needed, but close enough in my book!
Not quite so simple maths
That maths isn’t quite so simple as following a different size in a pattern, and it really might be worth using the same weight yarn as the designer in the case of your row gauge being out by a huge about – I know I would to avoid this about of maths.
But at the same time, with pre-reading the pattern, and studying the schematic, it really is possible to substitute the yarn weight and recreate the pattern to the size you want!
Don’t forget this helps too!
One final thing to remember, small changes to the stitch counts can be also be helped with blocking – I forgot a whole repeat on my cardigan, but was still able to block it to size as crochet stretches a lot more in length than it does in width.
Let me know if you will be recreating a pattern in a different size, or if you’ve successfully calculated and adjusted a pattern to recreate it in your desired size.