How to crochet a Bag Handle
Learn how to crochet a bag handle with this quick and easy tutorial that create a multicoloured crochet bag handle that is an easy way to upgrade your clutch bag and help keep your hands free.
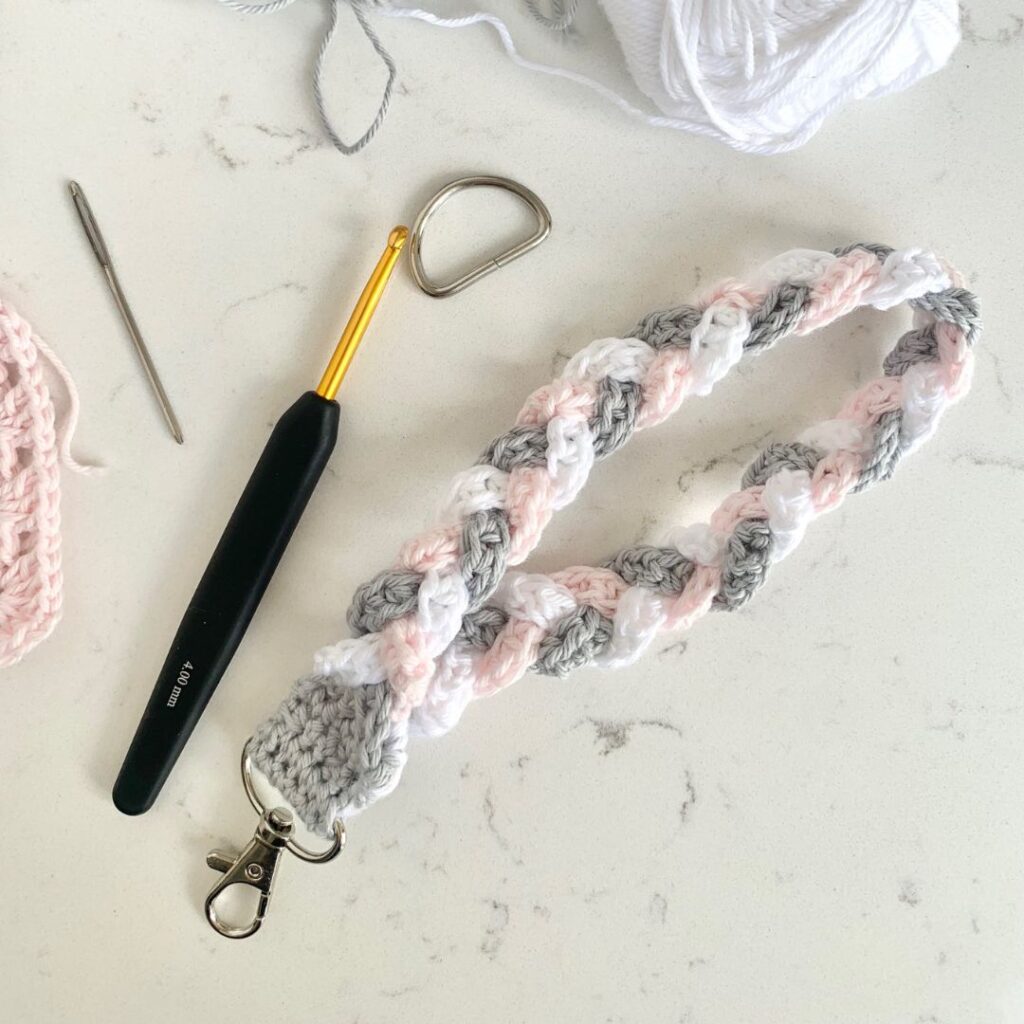
DIY Braided Bag Handle | Crochet A Bag Handle
The simplicity of a clutch bag is the smaller size compared to larger tote bags – plus there’s no concern about the handmade handles stretching beyond use!
I wanted to create an option that can transform clutch bags to another use and mean that it’s no longer a requirement to clutch it all night long – and this plaited bag handle is a quick way to create a handle that allows you to wear your bag on your wrist.
Plus, this project can be made from the scrap yarn left over from stitching up your bag too!
I love the fact that you can stitch up this handle in lots of different colours and the swivel hook means you can swap out and change your handle for a differently look easily!
Pin this tutorial for later

Materials Required to make your own Plaited Bag Handle
- 50m DK/Size 3 100% cotton
- I used Paintbox Cotton DK in the following 3 shades:
- A Stormy Grey (405)
- B Paper White (400)
- C Candyfloss Pink (450)
- I used Paintbox Cotton DK in the following 3 shades:
- 4mm crochet hook
- Scissors
- Tapestry needle
- Swivel Snap Hook
- D-Ring to use on bag
Swivel Snap Hook
I found this great set on Amazon that contained both the snap hooks and D-rings, plus slide buckles that are a bit like hens teeth! You can find the set I bought by clicking the button below
Abbreviations – US TERMS
ch – chain
sc – single crochet
hdc – half double crochet
Video Tutorial to crochet a braided bag handle
How to crochet a handle | Step by Step Tutorial
Row 1: With A, ch 70, hdc in 2nd ch from hook and each across, turn, fasten off – 69 hdc
Row 2: Insert hook in first st of Row 1, with B, ch 70, hdc in 2nd ch from hook and each across, turn, fasten off – 69 hdc
Row 3: Insert hook in first st of Row 2, with C, ch 70 hdc in 2nd ch from hook and each across, turn, fasten off – 69 hdc
Weave ends, continue to Create Tab
Create Tab
Row 1: Rotate to work along row ends, with A, join under slip knot, ch 1, 2sc across each row end, turn – 6 sc

Rows 2-6: Ch 1, sc in each st across, turn – 6 sc
Fasten off, leaving a long tail (estimated 16″) for sewing.
Continue to plaiting
Plaiting
Beginning from under the Tab, plait the 3 strands together, aiming to keep the strands flat as they are used. Continue to Securing Swivel Ring.

Securing Swivel Ring
- Insert swivel ring over Tab
- Ensuring plait is not twisted, bring plait ends up to Tab
- Fold tab in half, covering plait ends
- Thread long tail on to needle, sewing through both layers of tab and through plait ends to secure, stitch across the tab
- Whip stitch around edge
- Fasten off, weave remaining ends


That’s your left to do is get your bag set for attaching the the D-ring to clip to the swivel clip. Where you place your D-ring is completely your choice – I just simply add a tab, in the same way it was worked for the handle, insert the D-ring, fold the tab and secure and it’s ready!
I’d love to know which crochet bag you’ll be attaching your bag handle on to and which colours you’ll stitch your handle in – let me know in the comments below