How to Line a Crochet Bag with a Base
If you want to learn how to line a crochet bag with a base that needs boxed corners, but been overwhelmed with how complicated it seems, this step-by-step tutorials will make it quick and easy to line your bags in not time at all – well except the sewing it in bit.

How to line a crochet bag | Boxed Lining
The skills to create this lining are easier than you first think – you also don’t need to be a maths whiz, or worry about stumbling over a load of different measurements to make that lining fit! You don’t even need a sewing machine – although, it will be much quicker if you do have one.
I love to find easy way’s to finish off my projects and a bag lining takes your handmade, crochet bags from basic to beautiful – and it’s so simple. You can use your finished bag to create the right sized lining.
Why you should line your crochet bag
There are many upsides to lining your bag including it protecting the crochet fabric you made your bag from, from liquid spills or keys pocking through, damaging your hard work.
It doesn’t take long to line a bag, but it can extend the lifespan of your crochet bag by years, preventing the bag from loosing it’s shape or stretching too much when it’s being used.
Adding a lining can also make it easier to add a zipper, or add extra pockets inside your bag. Those techniques are both ones I want to gain more experience in, but are a little beyond my skill set at the moment – there’s always something to learn, huh?
What’s fabric is best to line a crochet bag?
The best fabric to line your crochet bags with is cotton or polyester blend fabric. Both fabrics are strong and hardwearing and available it so many different colours, that you can choose to match your crochet fabric, or choose a contrasting colour to stand out!
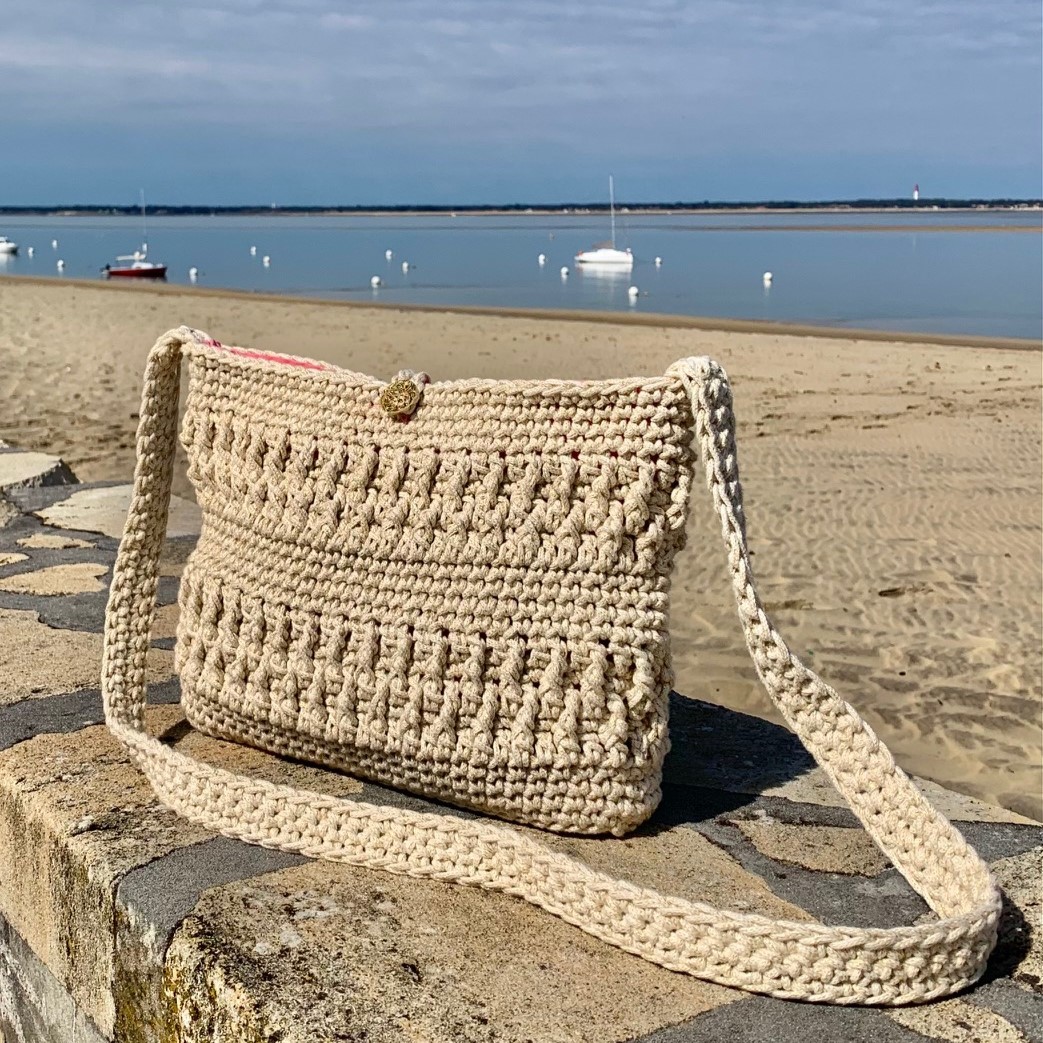
You can see a peep at the brightly coloured fabric I used to line my bag – I love how it’s a little surprise to see the bright pink!
I choose my fabric from the huge selection available at Hobbycraft, where you can order only what you need and pick up from your local store. Note – I purchased the fabric using my staff discount.
How to line a crochet bag with a base video tutorial
Once you have complete your crochet bag, if your handles are being attached to the inside of the bag, like in the Sunny Days Crossbody, attach them, before starting your lining.
How much fabric do I need?
The amount of fabric you will need to line your bag will be 2 times the height of your bag, plus a little extra to create a neat fold along the top.
Cut the lining to size
- With your fabric folded, pattern side together, place the bag on top, lining the centre of the bag base with the folded edge of the fabric
- Ensure there is extra fabric beyond each side of the bag, and fabric above the top of the bag; this will allow you to create neat seams
- Cut and remove any excess fabric

- Fold the top down inline with the bag opening, folding the non-patterned sides together – ensure the centre of the bag base remains covered
- 3rd image shows the bag covered by the fabric to check the height
- Iron the fabric to keep the top fold in position
- Mark the non-patterned side of the fabric along both sides of the bag to mark the bag width
- Sew the fabric along the lines on each side, leaving the top opening not sewn
- Cut any excess fabric next to the side seam created

Now the sides are seamed, we can use them to create the boxed lining and ensure it is centred.
- Measure the width of the bag base
- Fold the fabric so the sewn seams are in line
- Measuring from the corner point, mark a line across up from where it measures the width of bag base
- Repeat for the other side of the lining
- Sew across the line on both sides
- Cut the excess fabric below the seam created after the point

When you open up the lining from the top, there will be a box shape created by removing the “corners”, perfect to slip into your finished bag.

- Insert the lining into the bag, with non-patterned side of the fabric against the inside of the bag
- Line up the seams with the centre of the handles
- Line up the top of the lining to the top of the bag
- Pin the lining into place
- Sew the lining to the bag

You can opt to sew the lining into the bag using a sewing machine, the bag and it’s lining was a tiny bit too large for me to fit under the foot on my machine, so I handstitched the lining in using a running stitch. I am simply not very good at hand sewing, but it was secure enough to use with confidence – and it’s quite the finishing touch.
The picture above shows the lining sewn into Laura’s Sunny Days Bag – this was the first time she had lined a bag and the fabric is such a great match for the yarn she used.
I would love to see your lined bags – tag me on the socials using @cosyrosieuk

