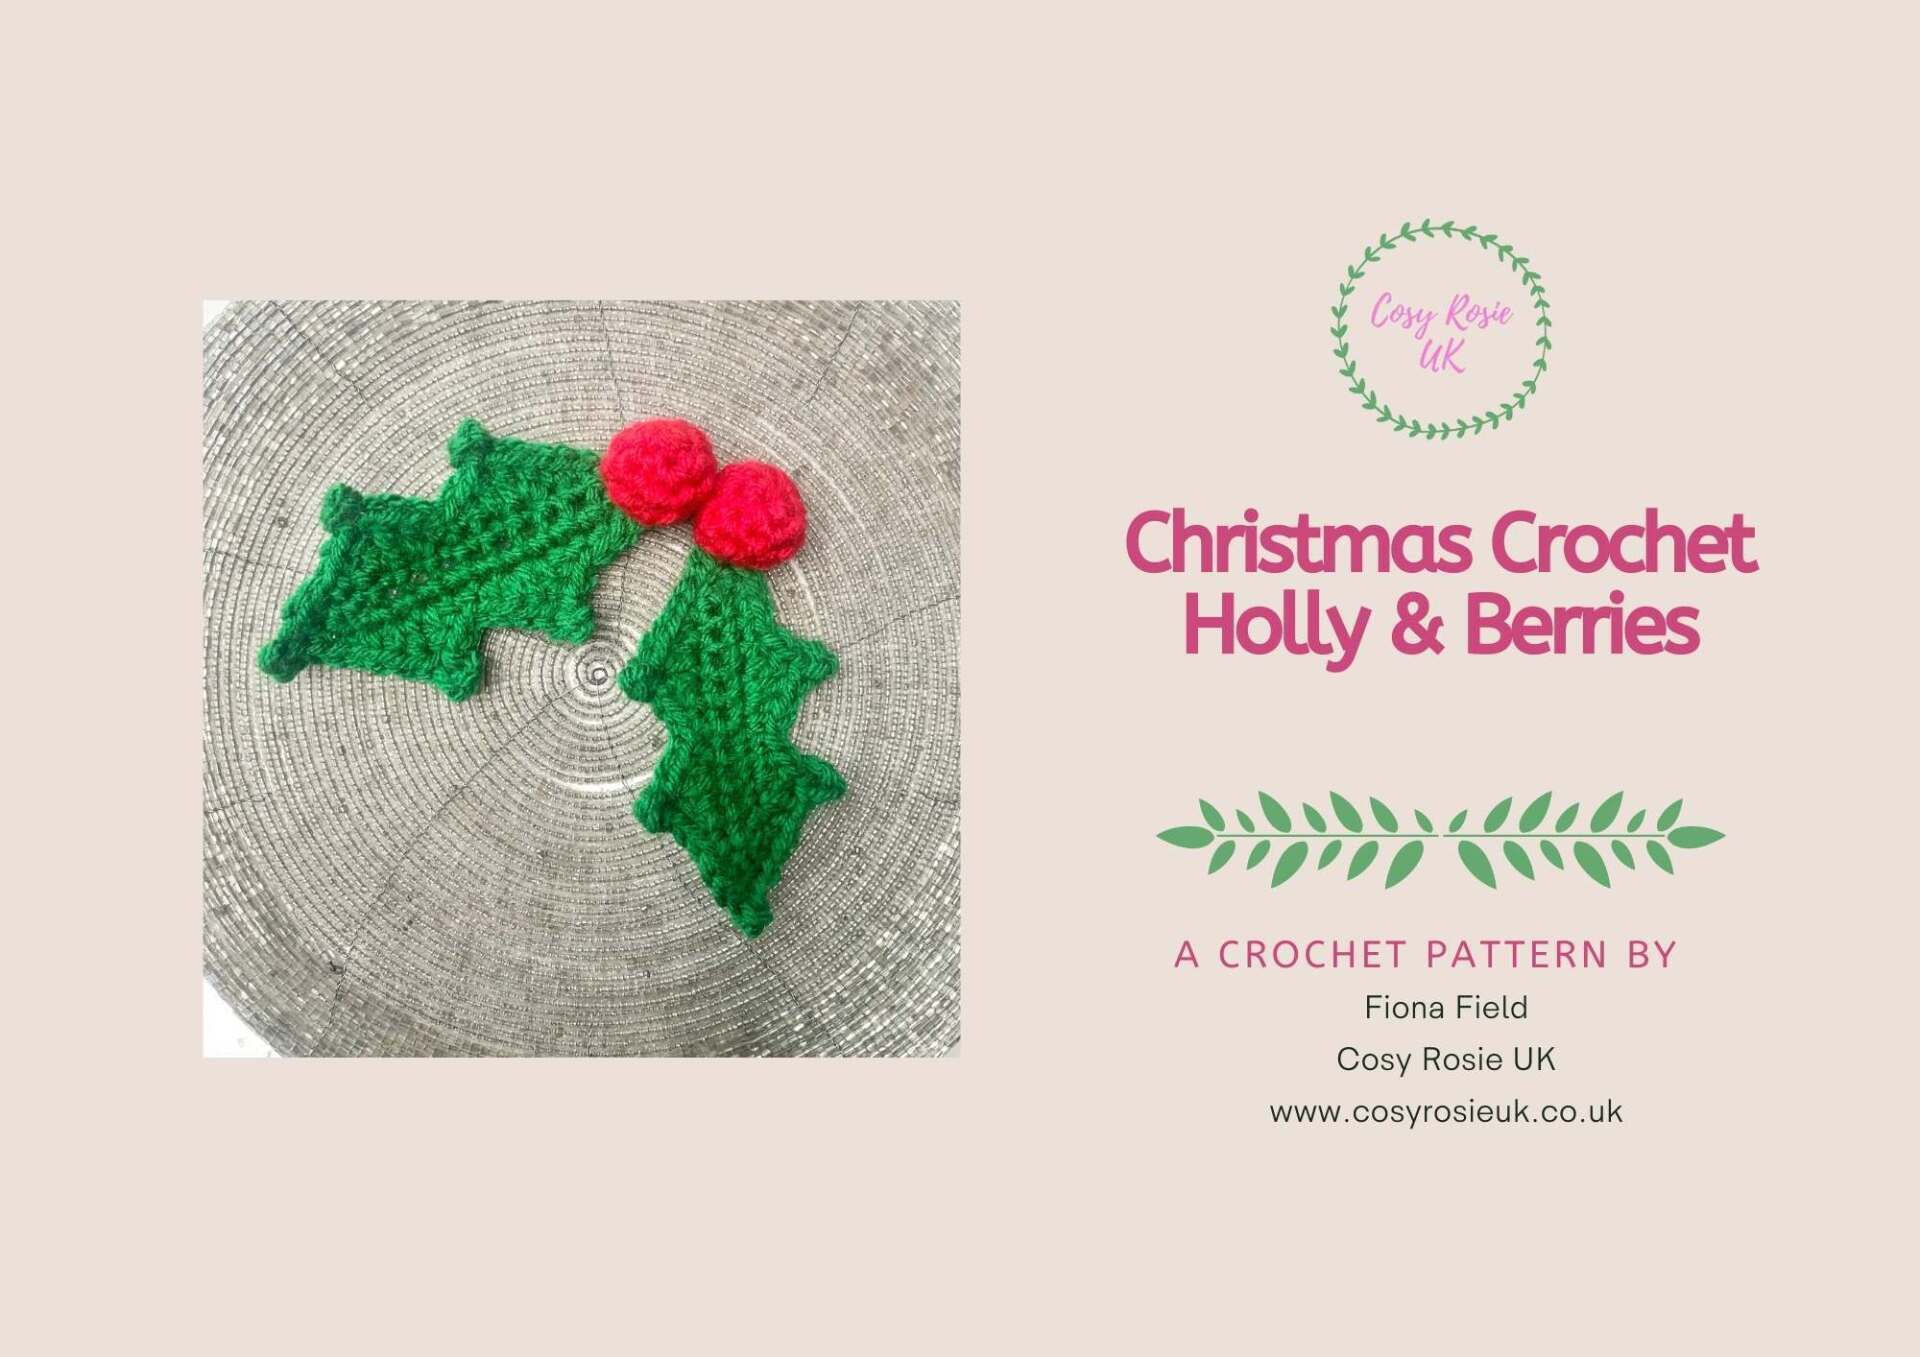
How to Crochet Holly leaf and Berries
Learn how to crochet a holly leaf and berries with this video tutorial and written pattern. This quick crochet project creates medium sized crochet holly leaves and berries that you can use to decorate your gifts, add to wreaths and any other festive crochet pattern!
Please note that some of the links in my blog are affiliate links. I may earn a small commission if you purchase via these links, but the price you pay is not affected
Crochet Holly Leaf and Berries | Free Crochet Patterns
You can crochet a holly leaf and add red berries to create your own Christmas Holly Garland or add them to Christmas gifts to jazz up your gift tags and present wrapping!
This easy to follow crochet pattern for Holly and Berries has a full video tutorial (scroll down to watch) so you can complete this beginner friendly crochet pattern with confidence, no matter how much crochet experience you have!
I’m a real Christmas lover and begin my festive preparations well in advance! From handcrafting gifts for my family or Christmas craft fairs – but, even if you are short of time, you can whip up a whole bunch of holly in next to no time at all!
Purchase the Printable PDF Pattern
You can download a printable PDF copy of the Christmas Holly and Berries crochet pattern from either my Etsy Shop or Ravelry Shop. Click the button below to purchase.
The tradition of decking the halls with boughs of holly is a very long standing one!
The practice began with the Pagan belief to lighten their homes with evergreens to ensure the return of Spring following winter. In Christianity, the holly is a symbol of Christ’s Crown of Thorns, with the red berries to represent his blood. The evergreen nature of the holly bush is a metaphor of life after death.
Holly is actually one of Britain’s most common native trees with over 200 varieties and been used for making furniture for centuries! Yet in the 19th century, more exotic varieties were brought into Britain from China and Japan to add to the mix!
How to Crochet a Holly Leaf and Berries
Skill Level: Beginner
Materials:
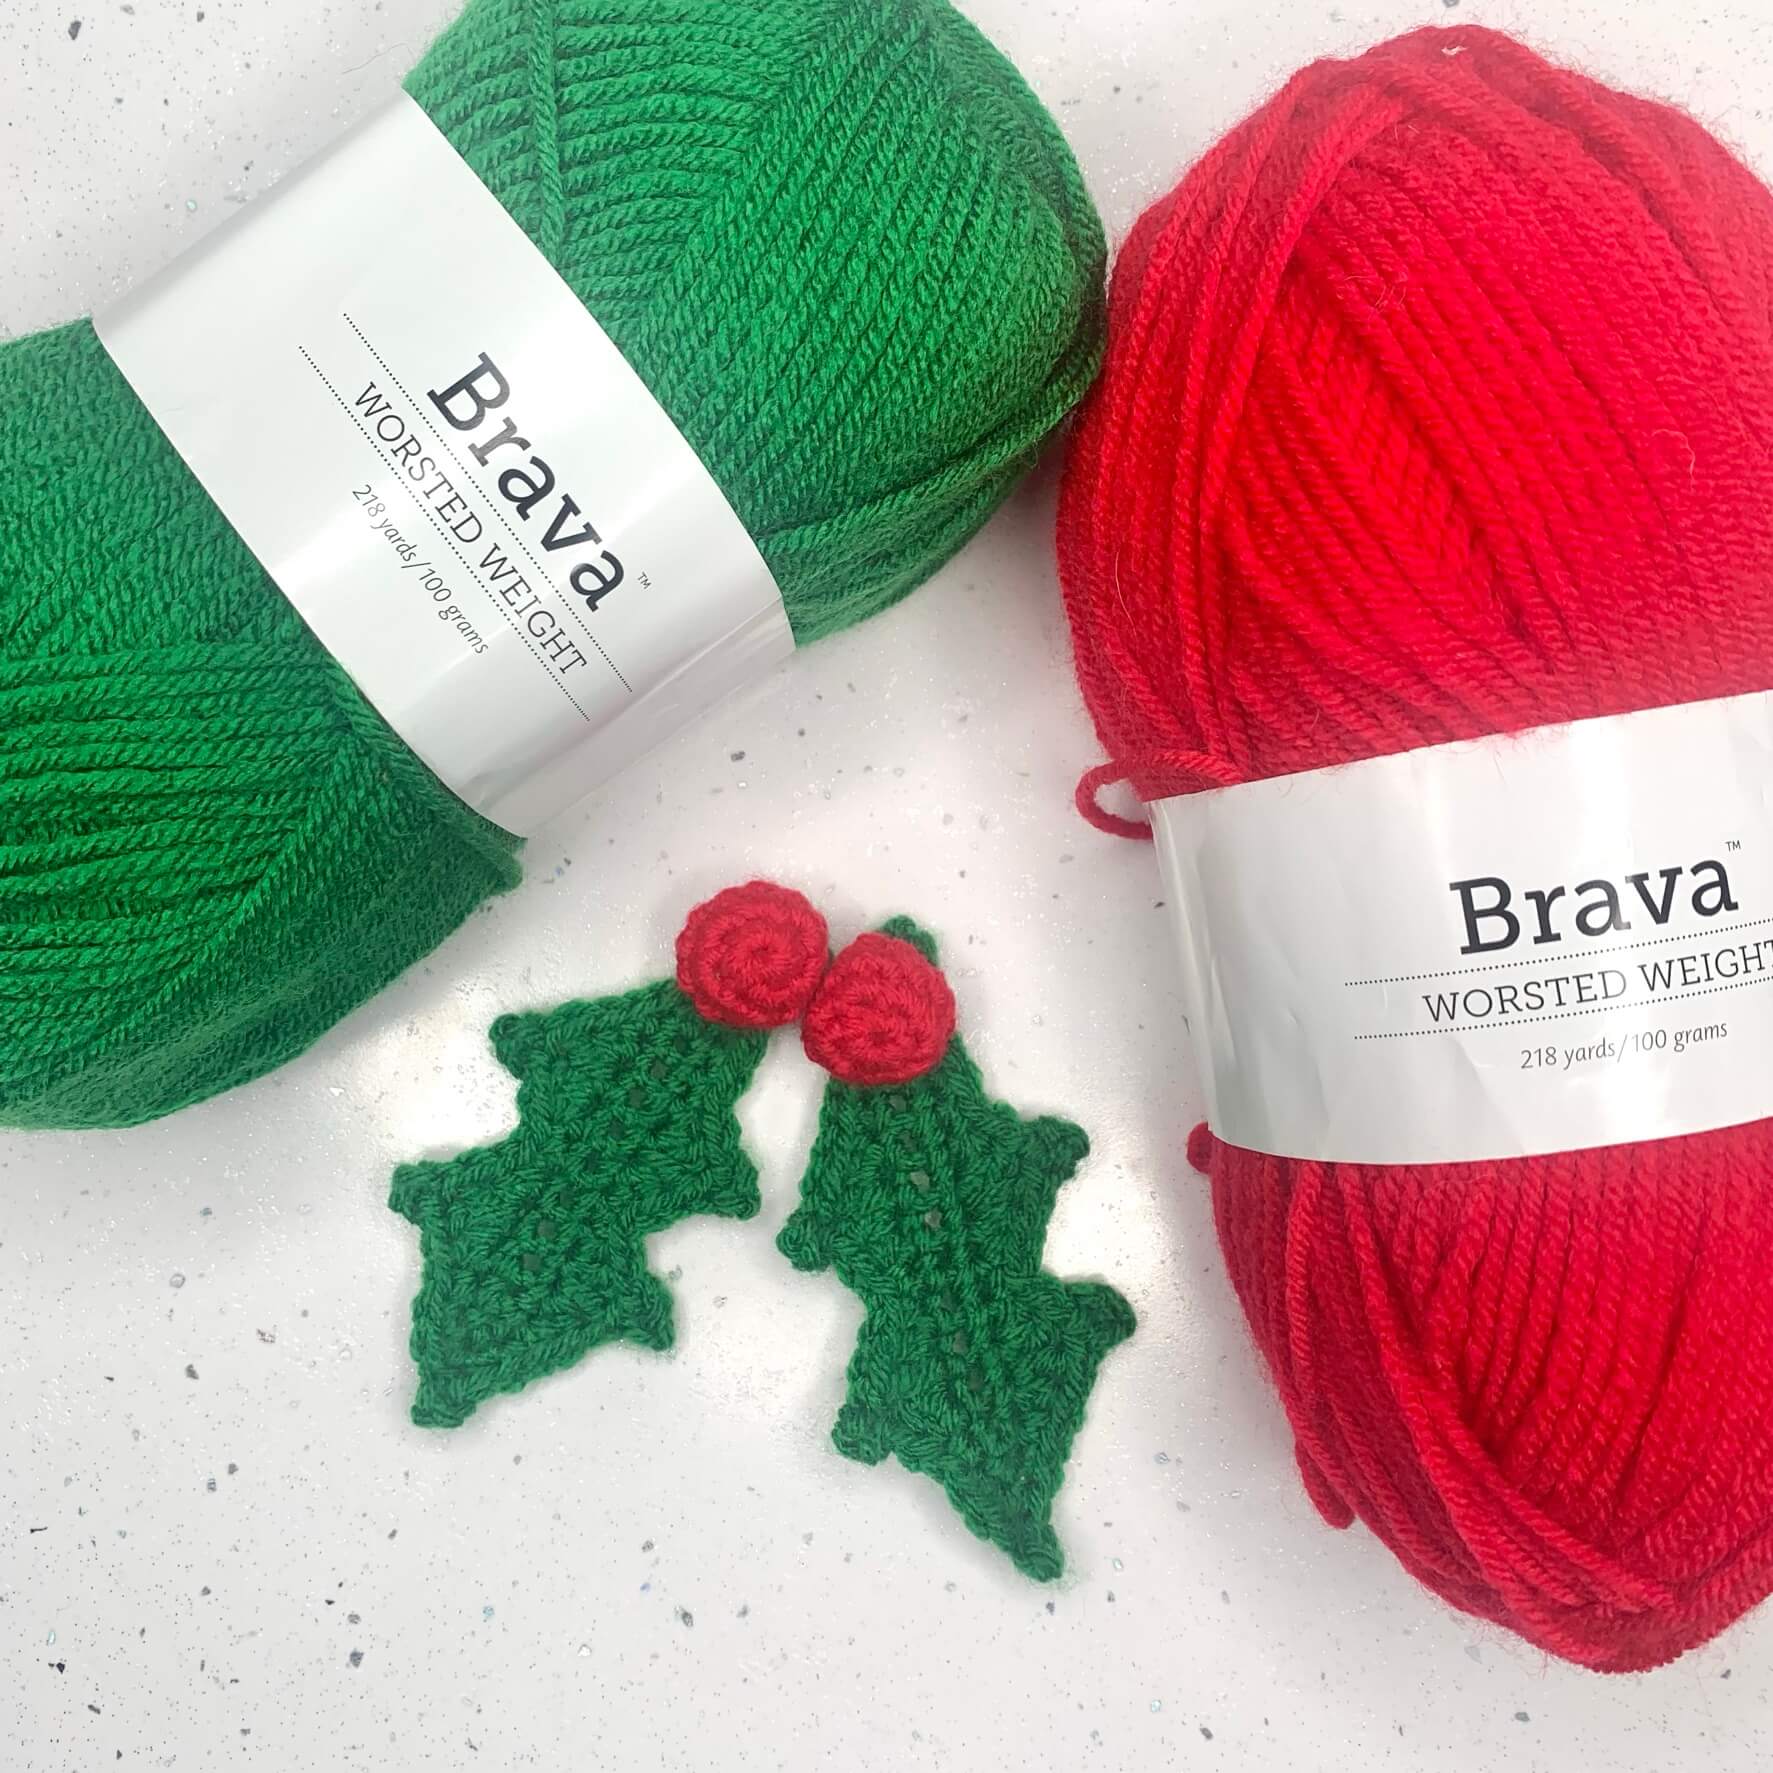
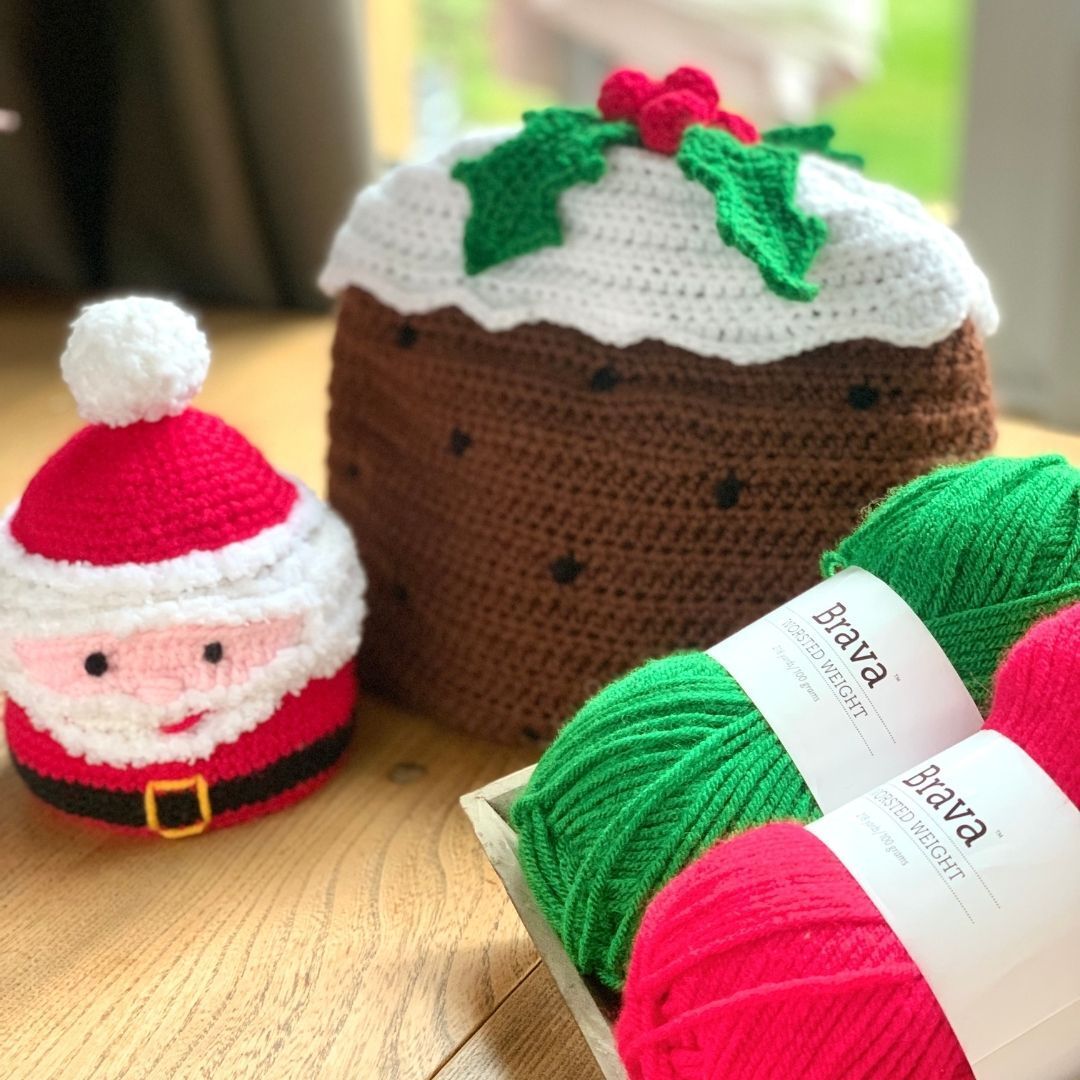
- Worsted weight yarn in the following 2 colours: I used Brava Worsted Weight, 100% Acrylic (218yrds/100g
- Colour 1: Green 20yds
- Colour 2: Red 15yds
- 4mm Crochet Hook
- Fibre fill
- Scissors
Click here to purchase your yarn from WeCrochet
Abbreviations: US terms (UK in brackets)
St(s) Stitch(es)
Ch Chain
Sc (Dc) Single Crochet (Double Crochet)
2Sc (2Dc) Work 2 (or number indicated) Single (Double) Crochet into the same stitch
Sc2Tog Decrease 2 single crochet stitches to 1
HDc (HTr) Half Double Crochet (Half Treble Crochet)
Dc (Tr) Double Crochet (Treble Crochet)
[ ] Stitches show inside [ ] are to be worked in the same stitch
Gauge:
- Gauge is not essential
Finished Size:
- Holly Leaves – 1″ across x 3″ long
- Berries – 1/2″
You can crochet smaller holly leaves and berries by choosing a smaller yarn and corresponding crochet hook
Pattern Notes:
- Whatever your skill level with crochet, I always recommend reading through this pattern before beginning. Get in touch if you need any help completing the pattern.
- Ch1 at the beginning of the rows DO NOT count as a stitch.
Crochet Holly Leaf Pattern | Free Crochet Patterns
With 4mm crochet hook and Colour 1,
Ch12,
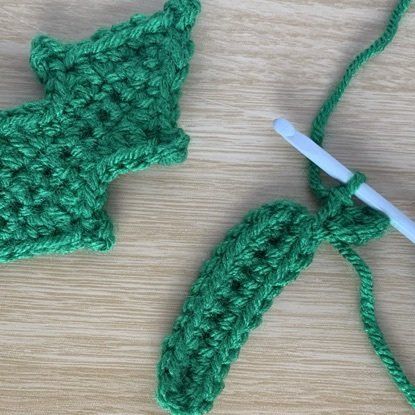
Round 1: Sc in 2nd ch from hook, Sc in next 9 ch, 3Sc in last ch, Working on other side of ch, Sc into each ch across, ch4, Sc into 2nd ch from hook and next 2 ch, sl st to 1st Sc in round to join. (26)
Round 2:
- Skip st Sl St’ed into, Sc in next 2 sts,
- *[HDc, Dc, ch4, sl st into 1st ch], [Dc, HDc], Sc in next 2 sts*.
- Repeat between * and *, once.
- [HDc, ch4, sl st to 1st ch, HDc],
- Sc in next 2 sts,
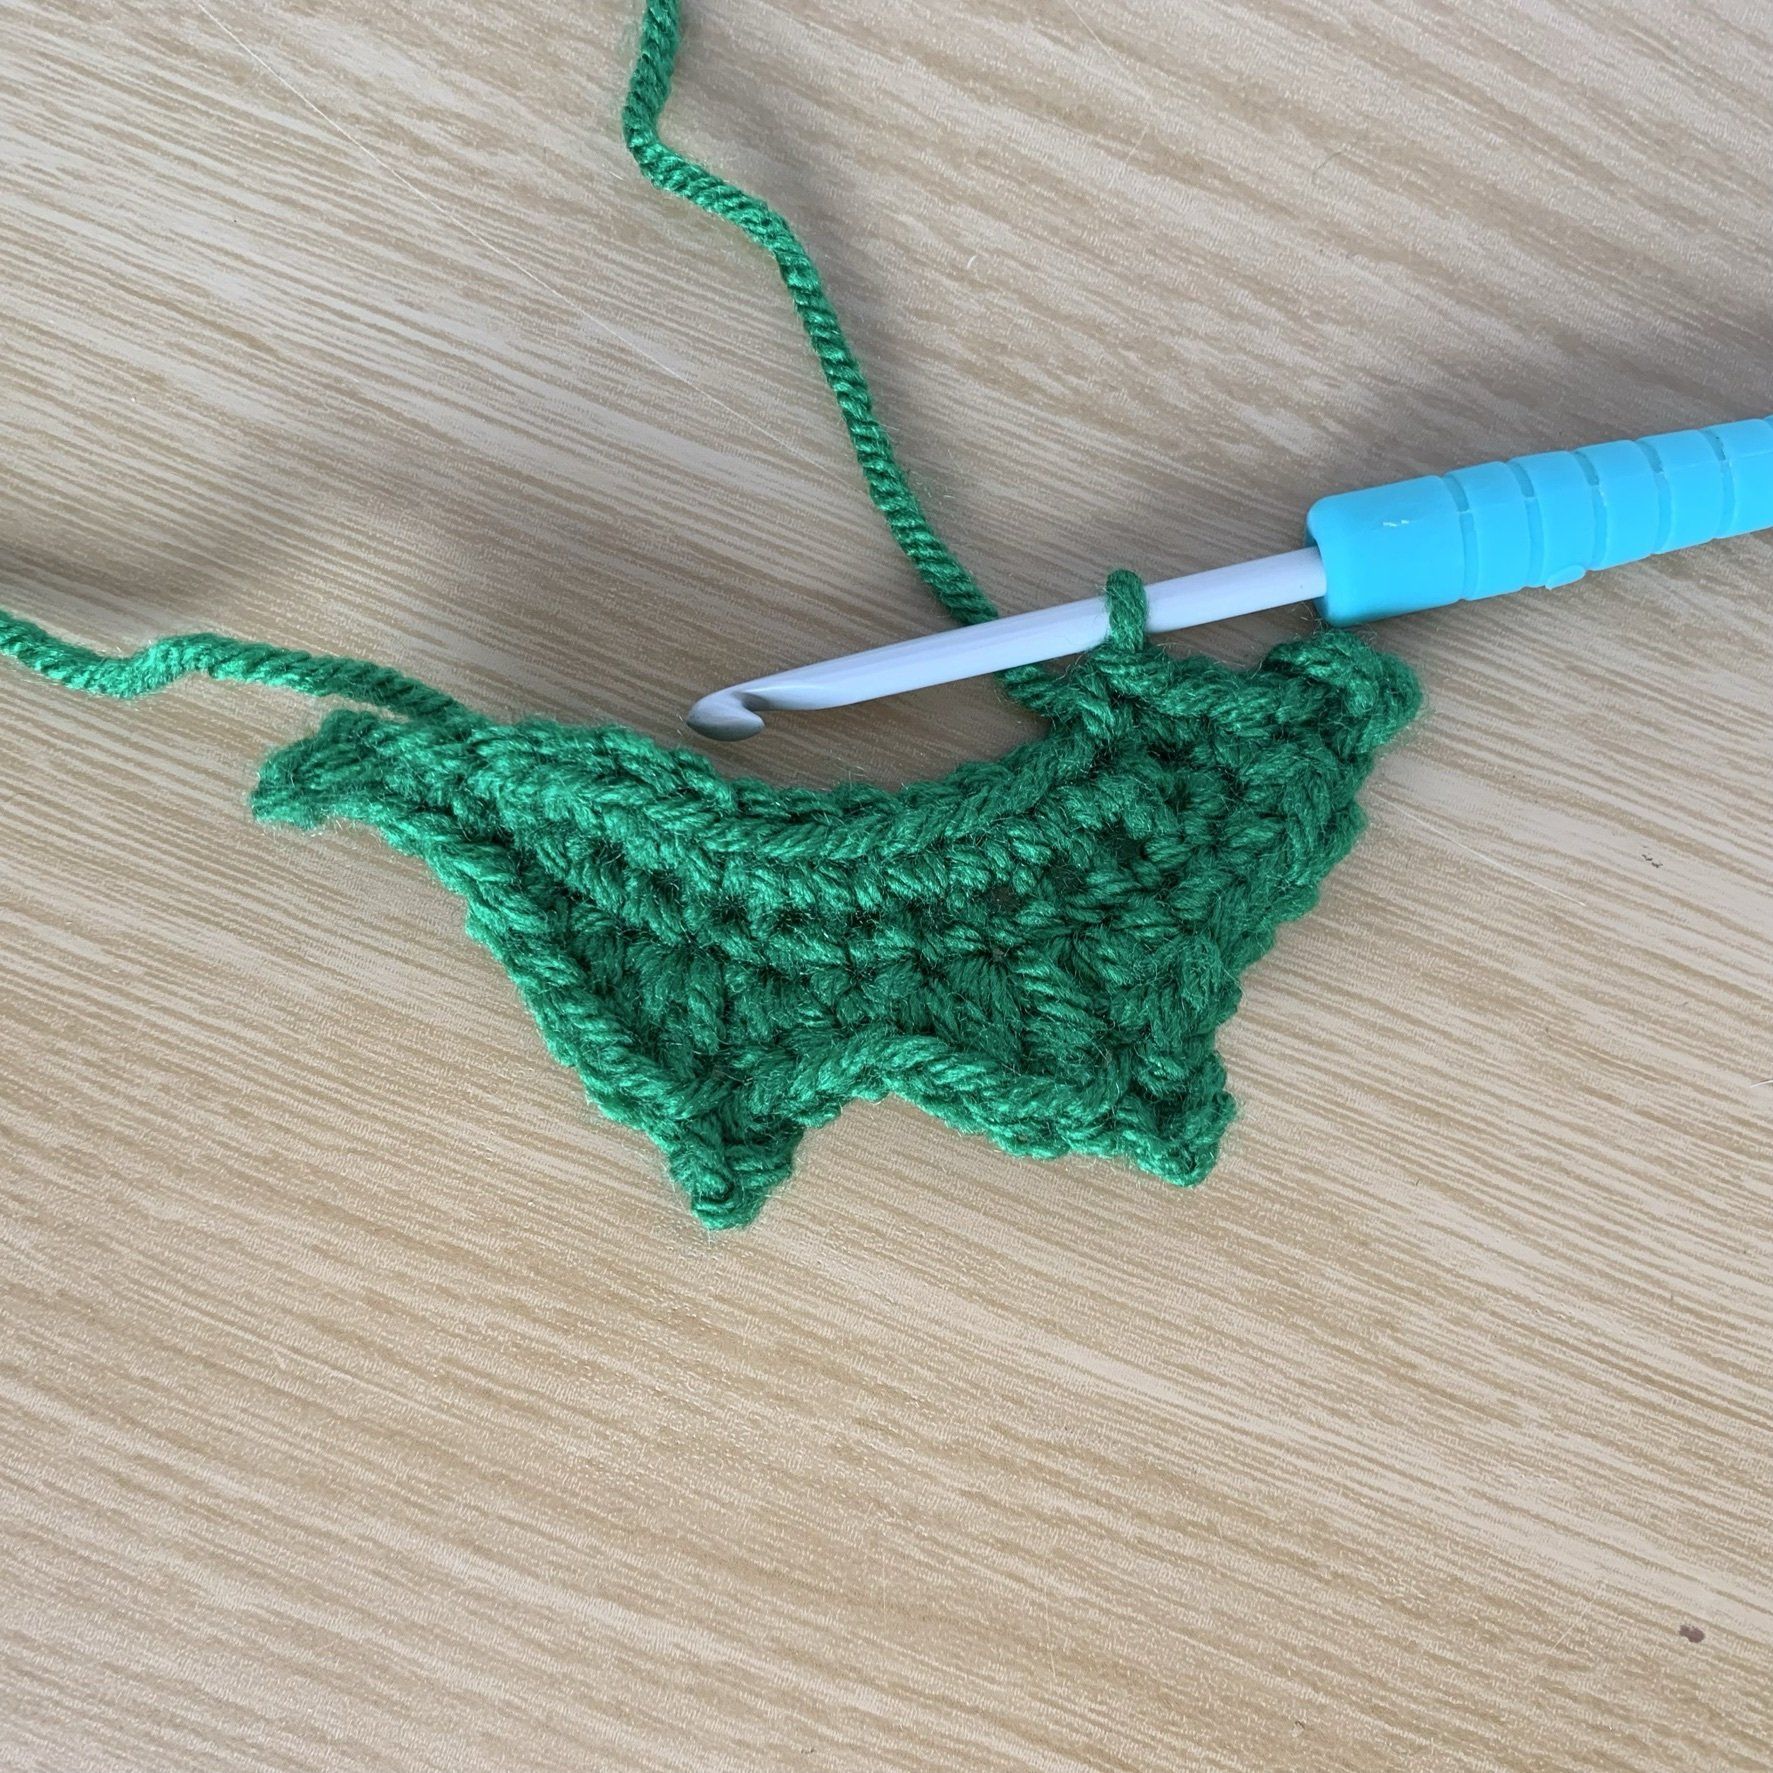
Round 2 Cont.:
- *[HDc, Dc, ch4, sl st into 1st ch], [Dc, HDc], Sc in next 2 sts*.
- Repeat between * and *, once.
- Sc in next st,
- sl st across 4 sts on other side of stem.
- Fasten off leaving a long tail for sewing.
These holly leaves look great when 3 or 4 are put together to create a holly sprig! Once you’ve made as many leaves as you’d like, read on to learn how to crochet the berries to go with your leaves.
How to crochet Holly Berries
Berries – with Colour 2
Make a magic circle (adjustable ring)
Round 1: 6Sc into centre of ring. (6)
Round 2: 2Sc into each Sc around. (12)
Round 3: Sc into each Sc around. (12)
Round 4: Sc2Tog across each pair of sts around. Stuff firmly. Fasten off. (6) Weave through the front loops of each remaining stitch to close hole.
Inspiring Images!
There are so many ways to use this Holly and Berries crochet pattern. I have used them to top my Christmas Pudding Teapot Cozy to add some extra detail to this festive crochet pattern.
Purchase the Printable PDF Pattern
If you’ve enjoyed making your own Crochet Holly and Berries, why not treat yourself to the printable copy of the crochet pattern.
You can download your printable PDF copy of the pattern from my Etsy Shop or Ravelry Shop. Click the button below to purchase from your preferred retailer:
If you would like to make more Christmas Crochet Projects, why not check out these patterns: