Crochet a Coin Purse Pattern
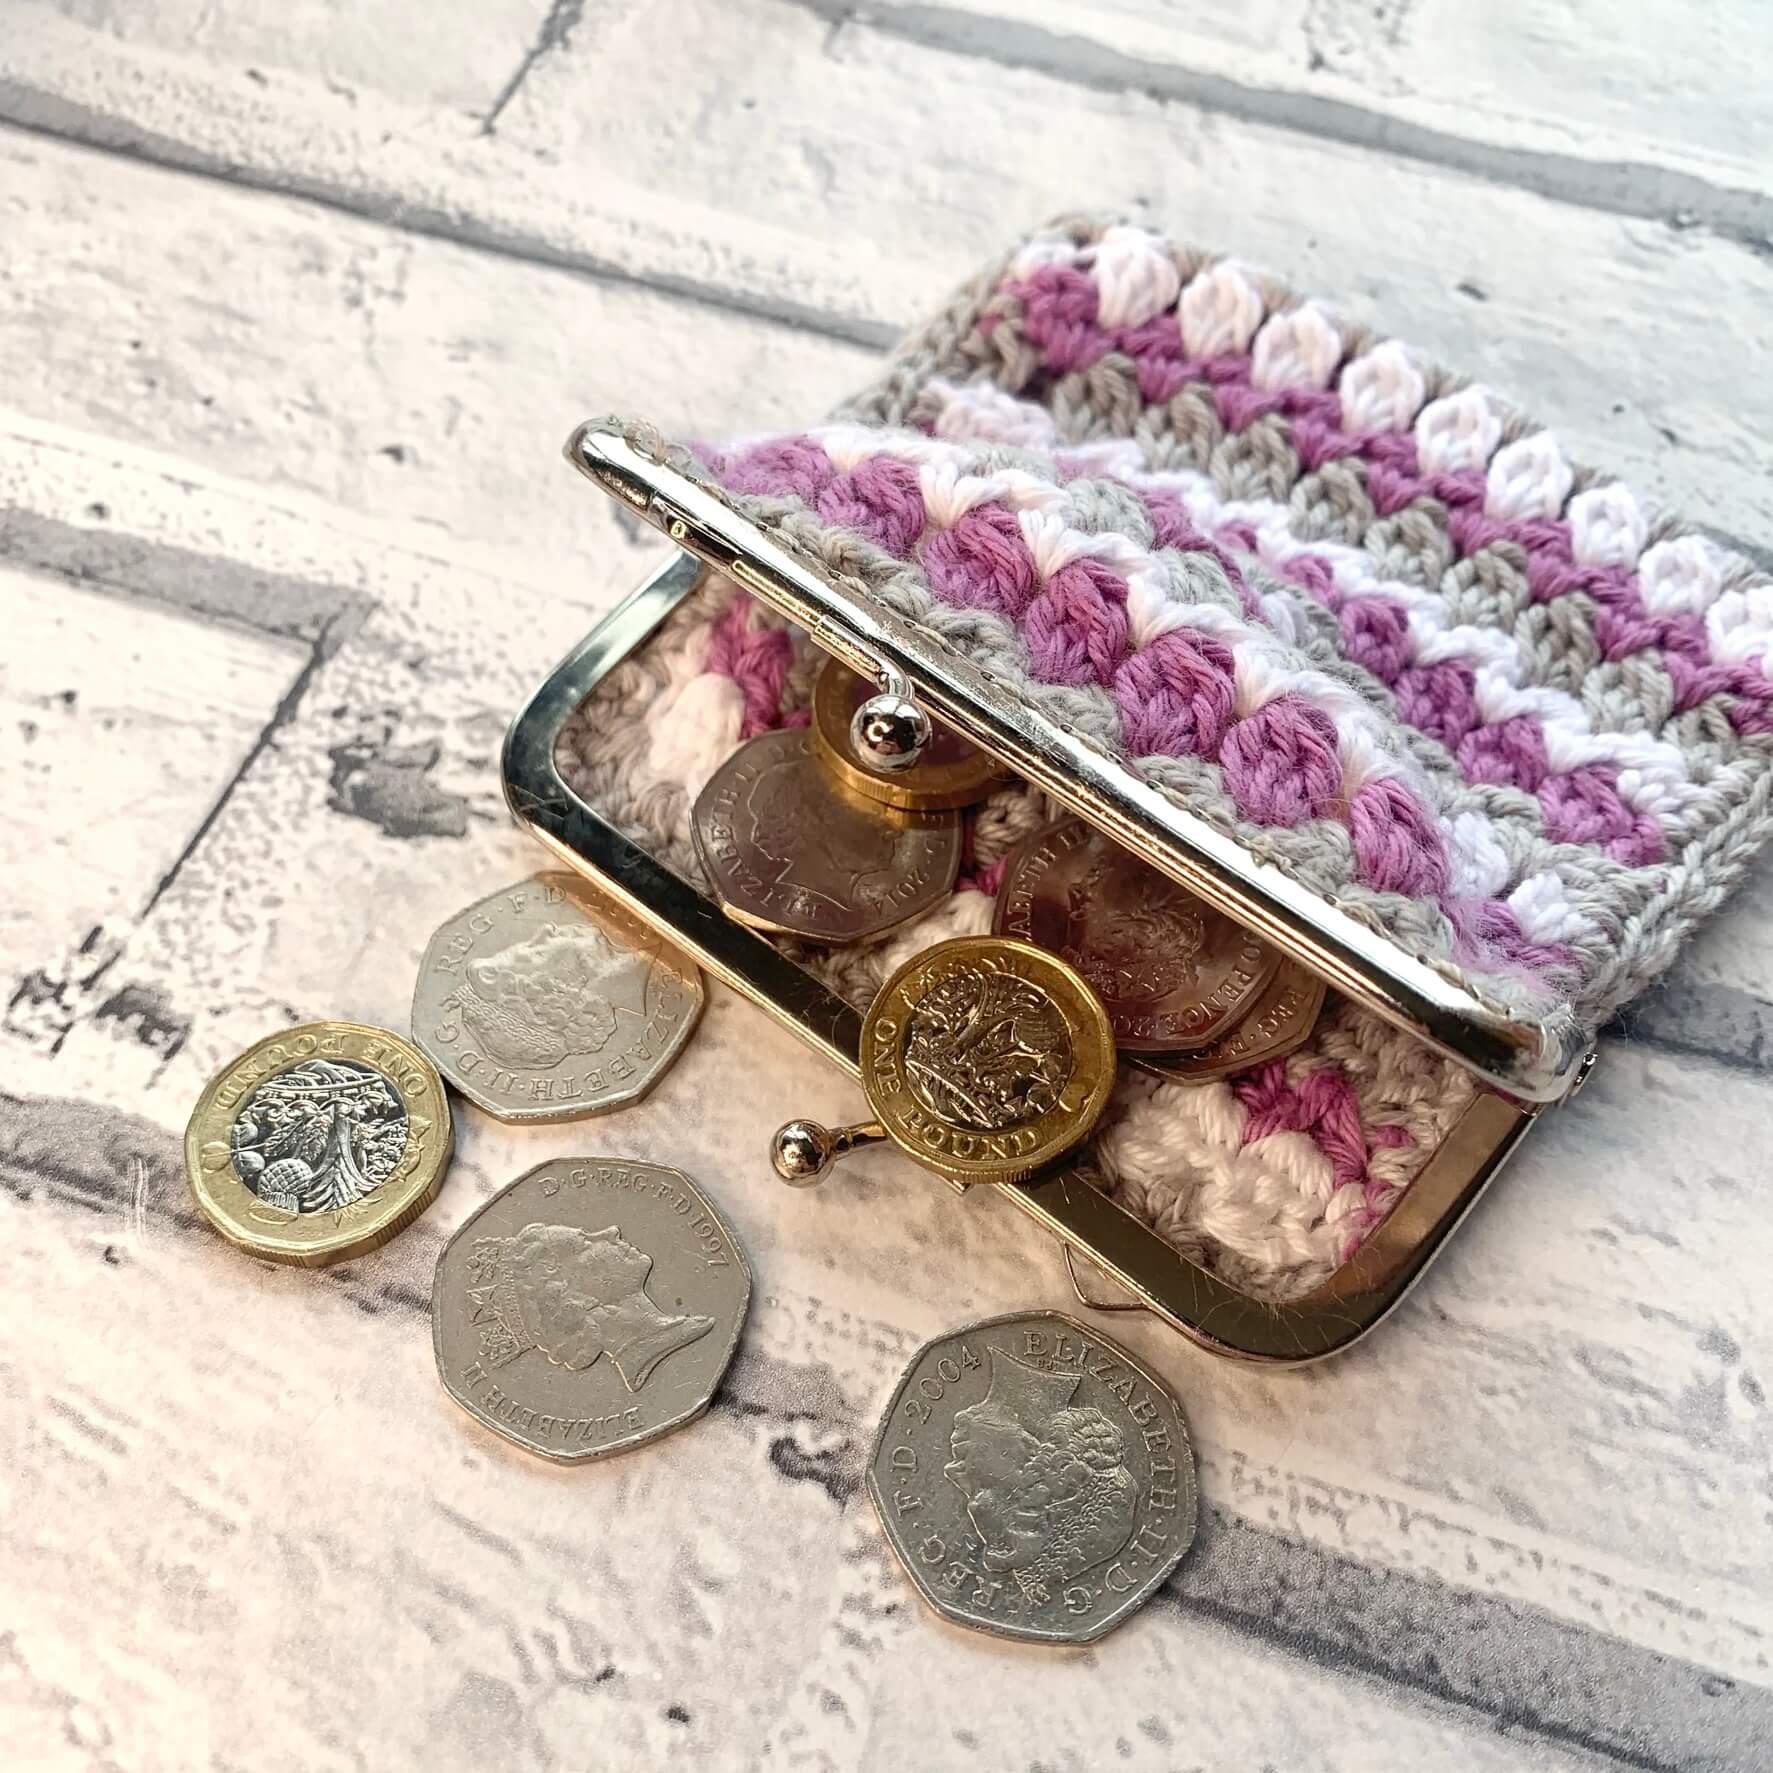
Everyone needs somewhere to store their pennies and I can think of no where prettier than in this crochet coin purse! Even better, there is a matching bag pattern for those of us who like our accessories to match! Crochet handbags and purses are very much the height of fashion with all the major fashion houses including Fendi offering various crochet accessories in their collections! So, this pattern can save you pounds as well as help you crochet somewhere to put them!
Please note that some of the links in my blog are affiliate links. I may earn a small commission if you purchase via this links, but the price you pay is not affected
Crochet Coin Purse Pattern | Free Crochet Pattern
I love that crochet enables me to add to my handbag and purse collection, all for the cost of yarn and my time! I do have quite a collection of bags and accessories already, but I really can’t resist making my own.
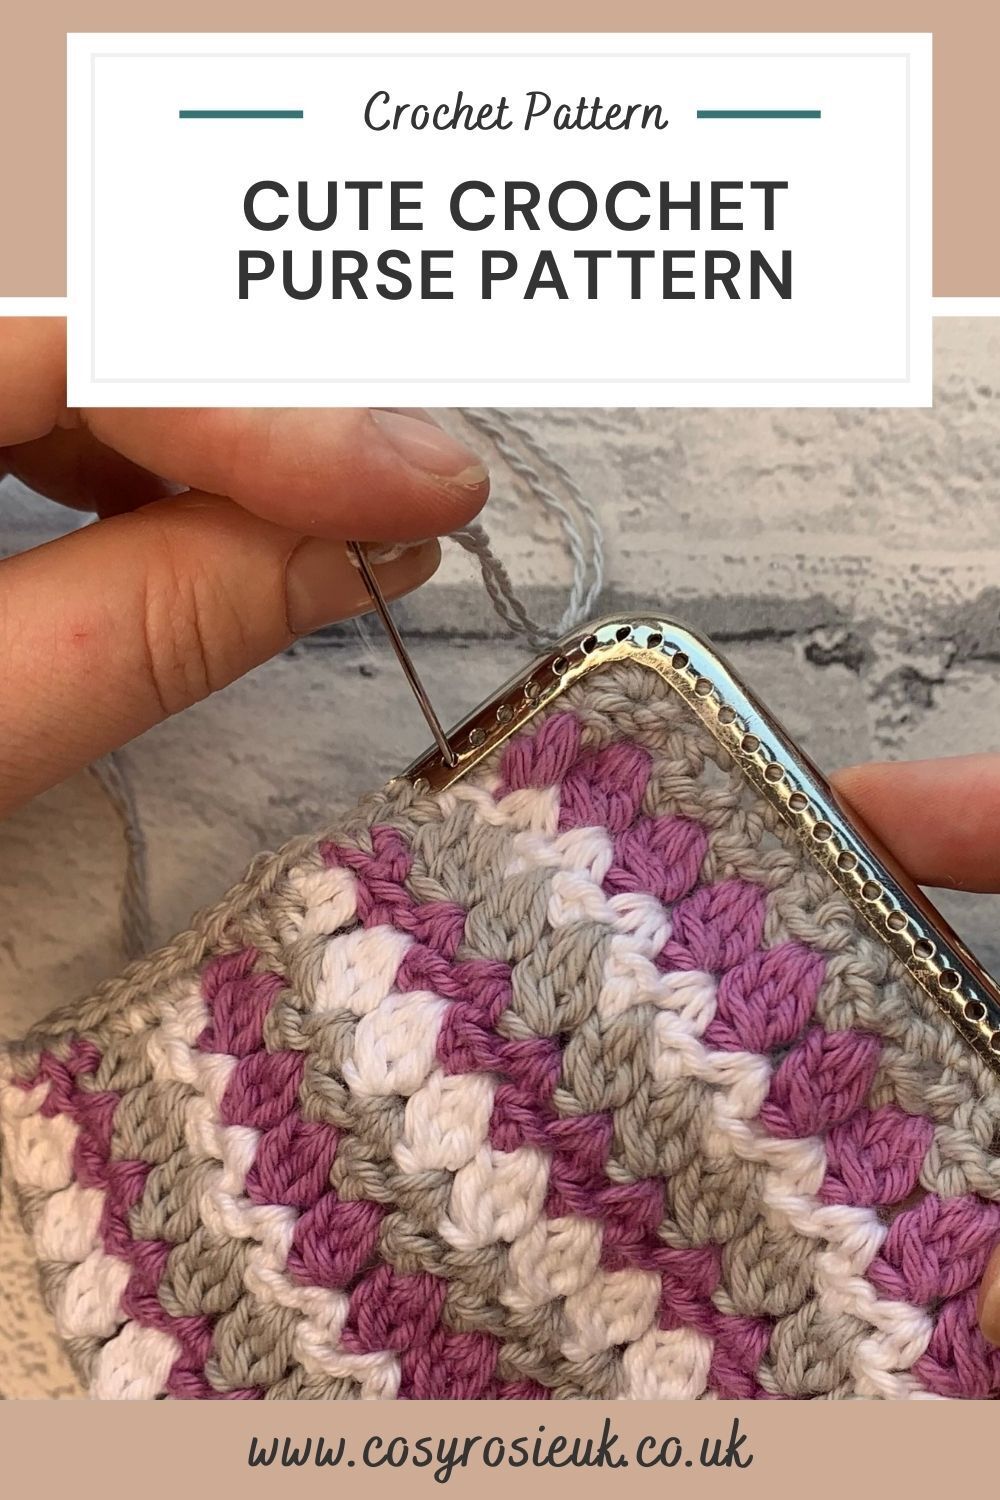
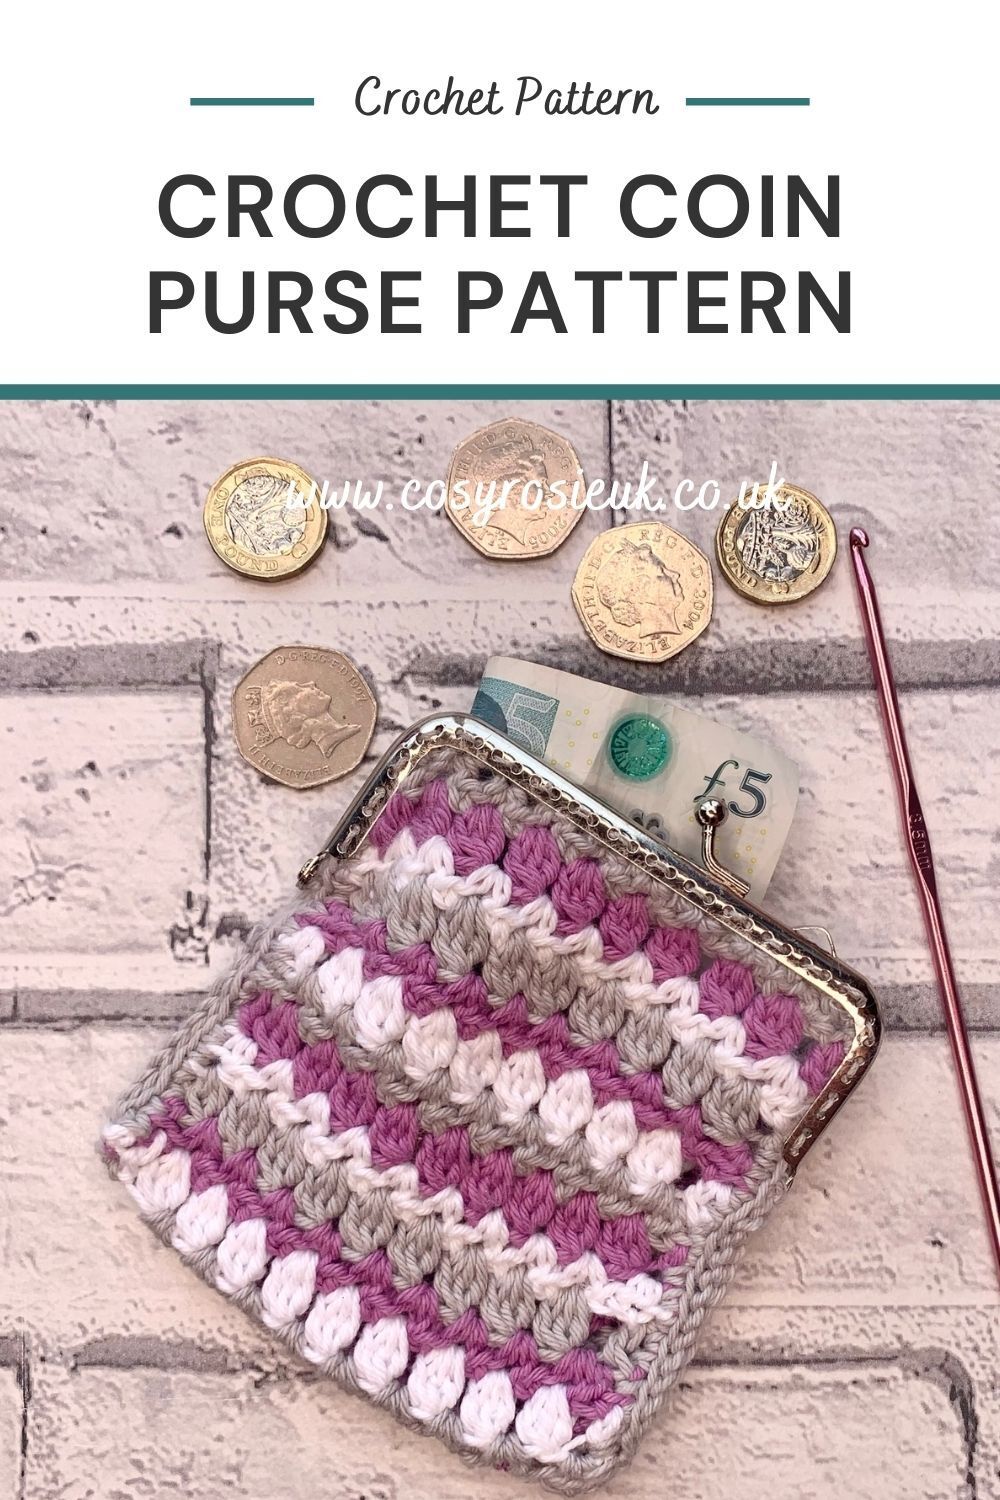
This super cute crochet coin purse is made using the Zig Zag lozenge stitch pattern, and attached to a metal frame to make it practical and pretty at the same time.
Purchase the Printable PDF Pattern
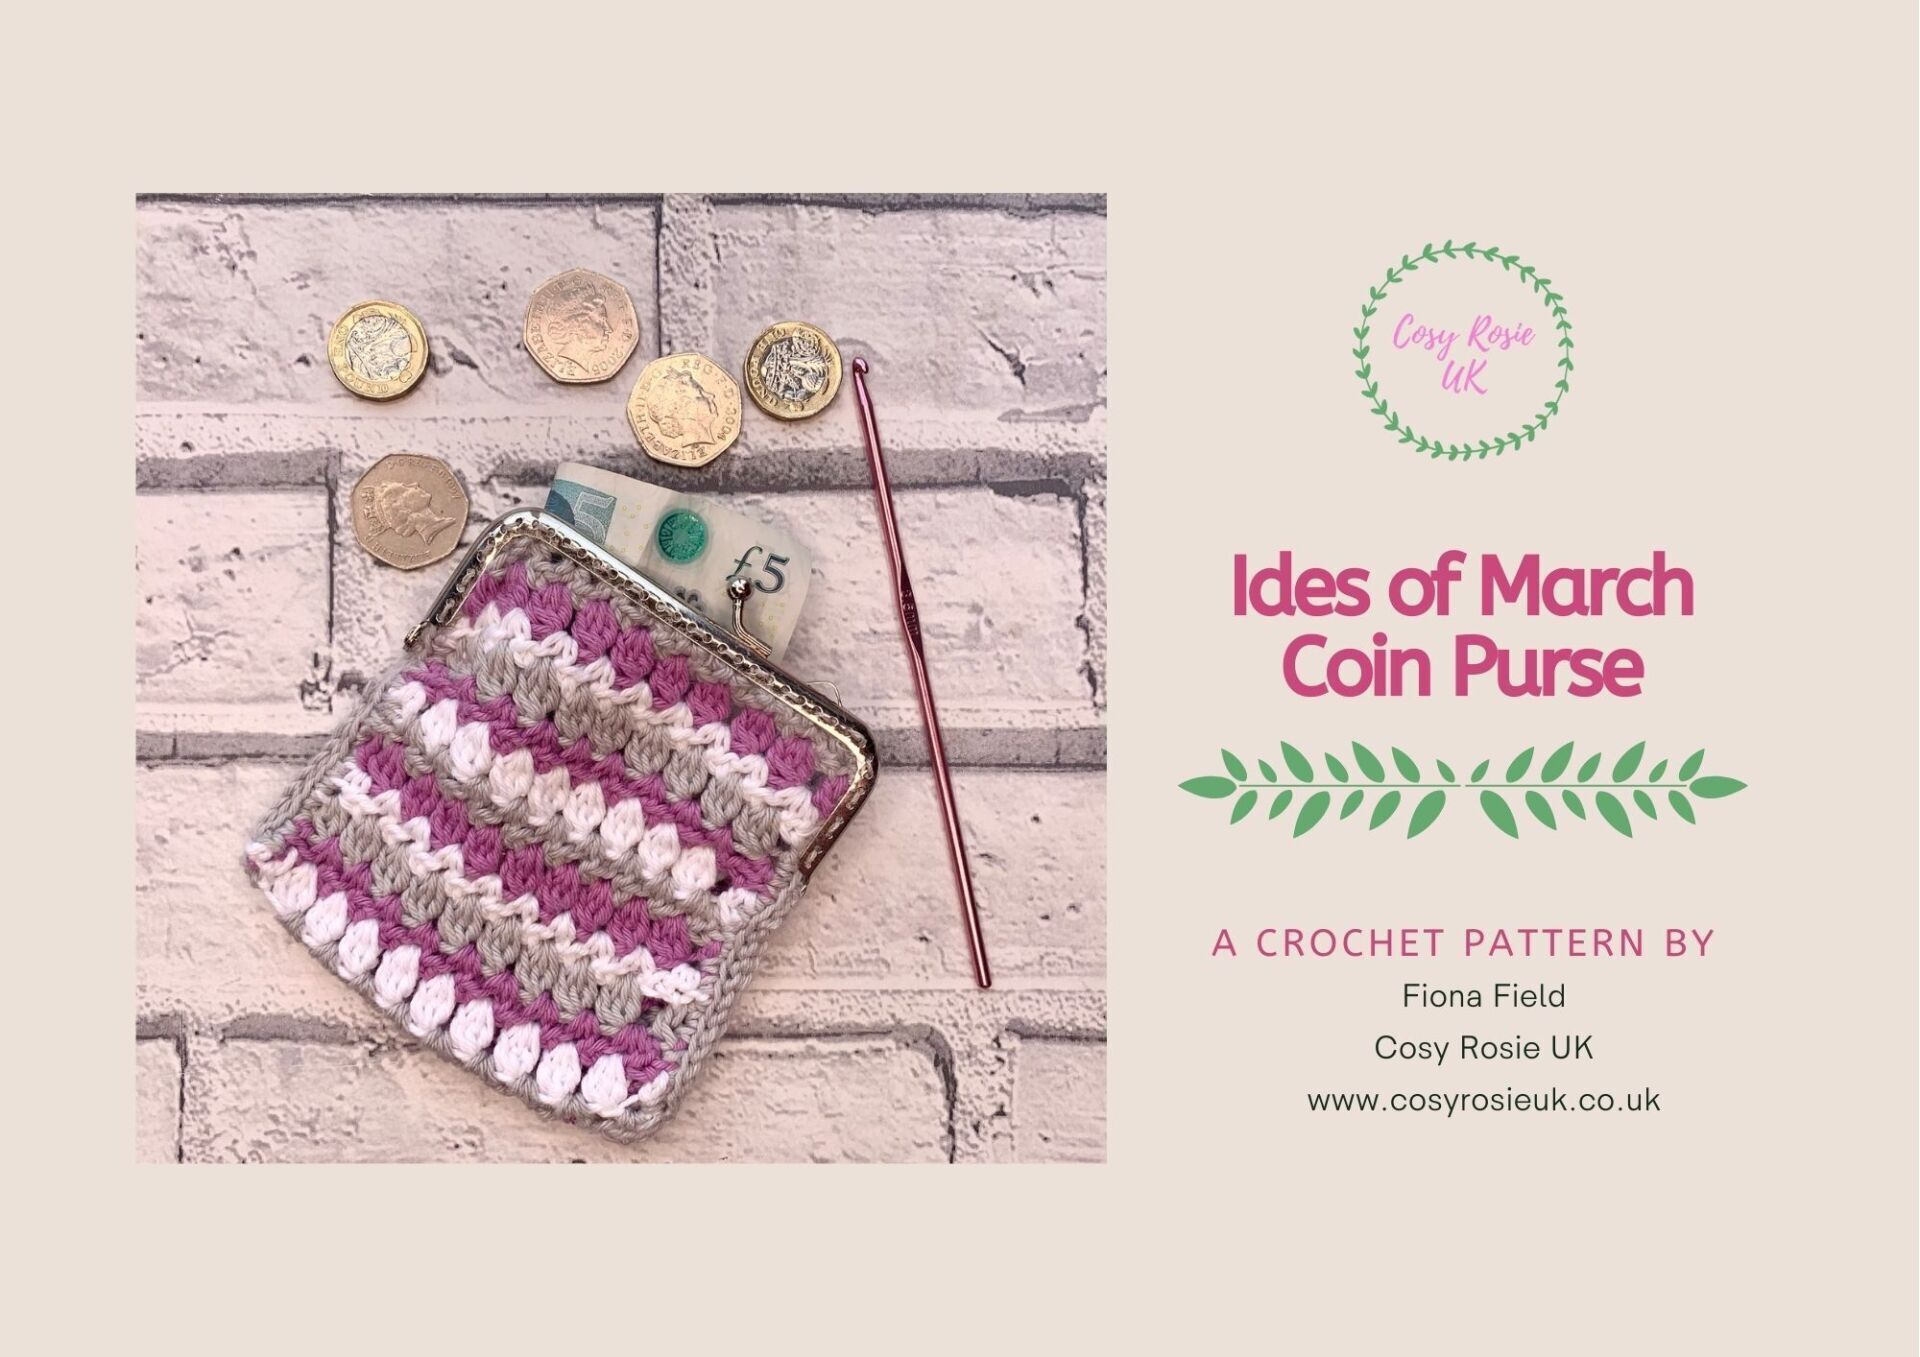
You can download your printable PDF copy of the Ides of March Crochet Coin Purse from my Etsy Shop or Ravelry Shop for only £3.50. You’ll receive 2 copies of the pattern – 1 x UK Terms and 1 x US Terms.
Click the button below to purchase.
Ides of March – The Meaning
You may be well aware of the phrase – “Beware the Ides of March”. It’s the warning given to Julius Caesar in Shakespeare’s play about the date he would be assassinated! But, the Ides of March is much more than just a warning!
The word Ides simply means the 1st full moon in the given month, which would usually be between the 13th and 15th of the month. But, the Ides of March was very special! It was once the New Year! Imagine all the wonderful celebrations and parties held one the Ides of March!
Alongside the beginning of a New Year, the Ides of March was also the date of which that all debts, and any monies owed should be repaid. Which is why I’ve named this crochet coin purse after this tradition.
No one enjoys paying bills, but at least we can hold on to our last few coins in a pretty purse once the deed is done.
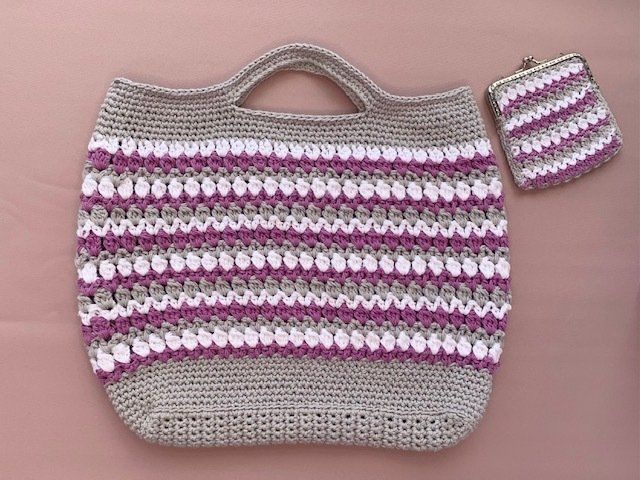
I’ve fallen in love with the stitch pattern used in this pattern which lead me to design the matching crochet bag! They go perfectly together and I can see both patterns being a firm favourite of those gift makers out there! What a perfect crochet gift set that anyone would love to receive!
Click here to see more information on the matching bag.
What do I need to crochet a coin purse
Materials:
To complete this project you will need:
- 25 metres DK (size 3) 100% Cotton for each of the 3 shades:
- I used PaintBox Yarns Cotton DK in the following shades
- Colour 1 – Stormy Grey
- Colour 2 – Tea Rose
- Colour 3 – Paper White
- I used PaintBox Yarns Cotton DK in the following shades
- 3.5mm crochet hook – (I love Furls Streamline Swirl Hooks)
- Darning needle
- Scissors
- 4 stitch markers
- 10.5cm purse frame
- Sewing needle – ensure it fits through the holes in the purse frame
You can find similar purse frames to the one I use on Amazon:
Gauge:
- NOT essential for this pattern
Abbreviations – US Terms (UK in Brackets)
St(s) – Stitch(es)
Ch – Chain
Sl St – slip stitch
Sc (Dc) – Single crochet (double crochet)
HDc (HTR) – Half double (treble) crochet
Dc (tr) – double crochet (treble crochet)
2dc-cl (2tr-cl) – 2 double (treble) crochet cluster
3dc-cl (2tr-cl) – 3 double (treble) crochet cluster
Finished Size
- 10.5cm across x 11cm long
If you’re ready to make your own Ides of March Crochet Coin Purse, read on for the free crochet purse pattern
Special Stitches
2 Double Crochet Cluster – 2Dc Cl (2tr-cl)
- Yo, insert hook into stitch or ch-sp indicated, (yo, bring up loop, yo, pull through 2 loops, yo, reinsert hook, bring up loop, yo, pull through 2 loops, yo, pull through remaining 3 loops.
3 Double Crochet Cluster – 3Dc Cl (3tr-cl)
- Yo, insert hook into stitch or ch-sp indicated, (yo, bring up loop, yo, pull through 2 loops) 3 times, yo, pull through remaining 4 loops.
How to Make a crochet Coin Purse
Row 1: With C1. Ch 20, hdc in 2nd ch from hook, *skip next ch, [hdc, ch 1, hdc] in next*; repeat from * to last 2 ch, skip next, hdc in last, turn. (18 hdc, 8 ch-1 sps)
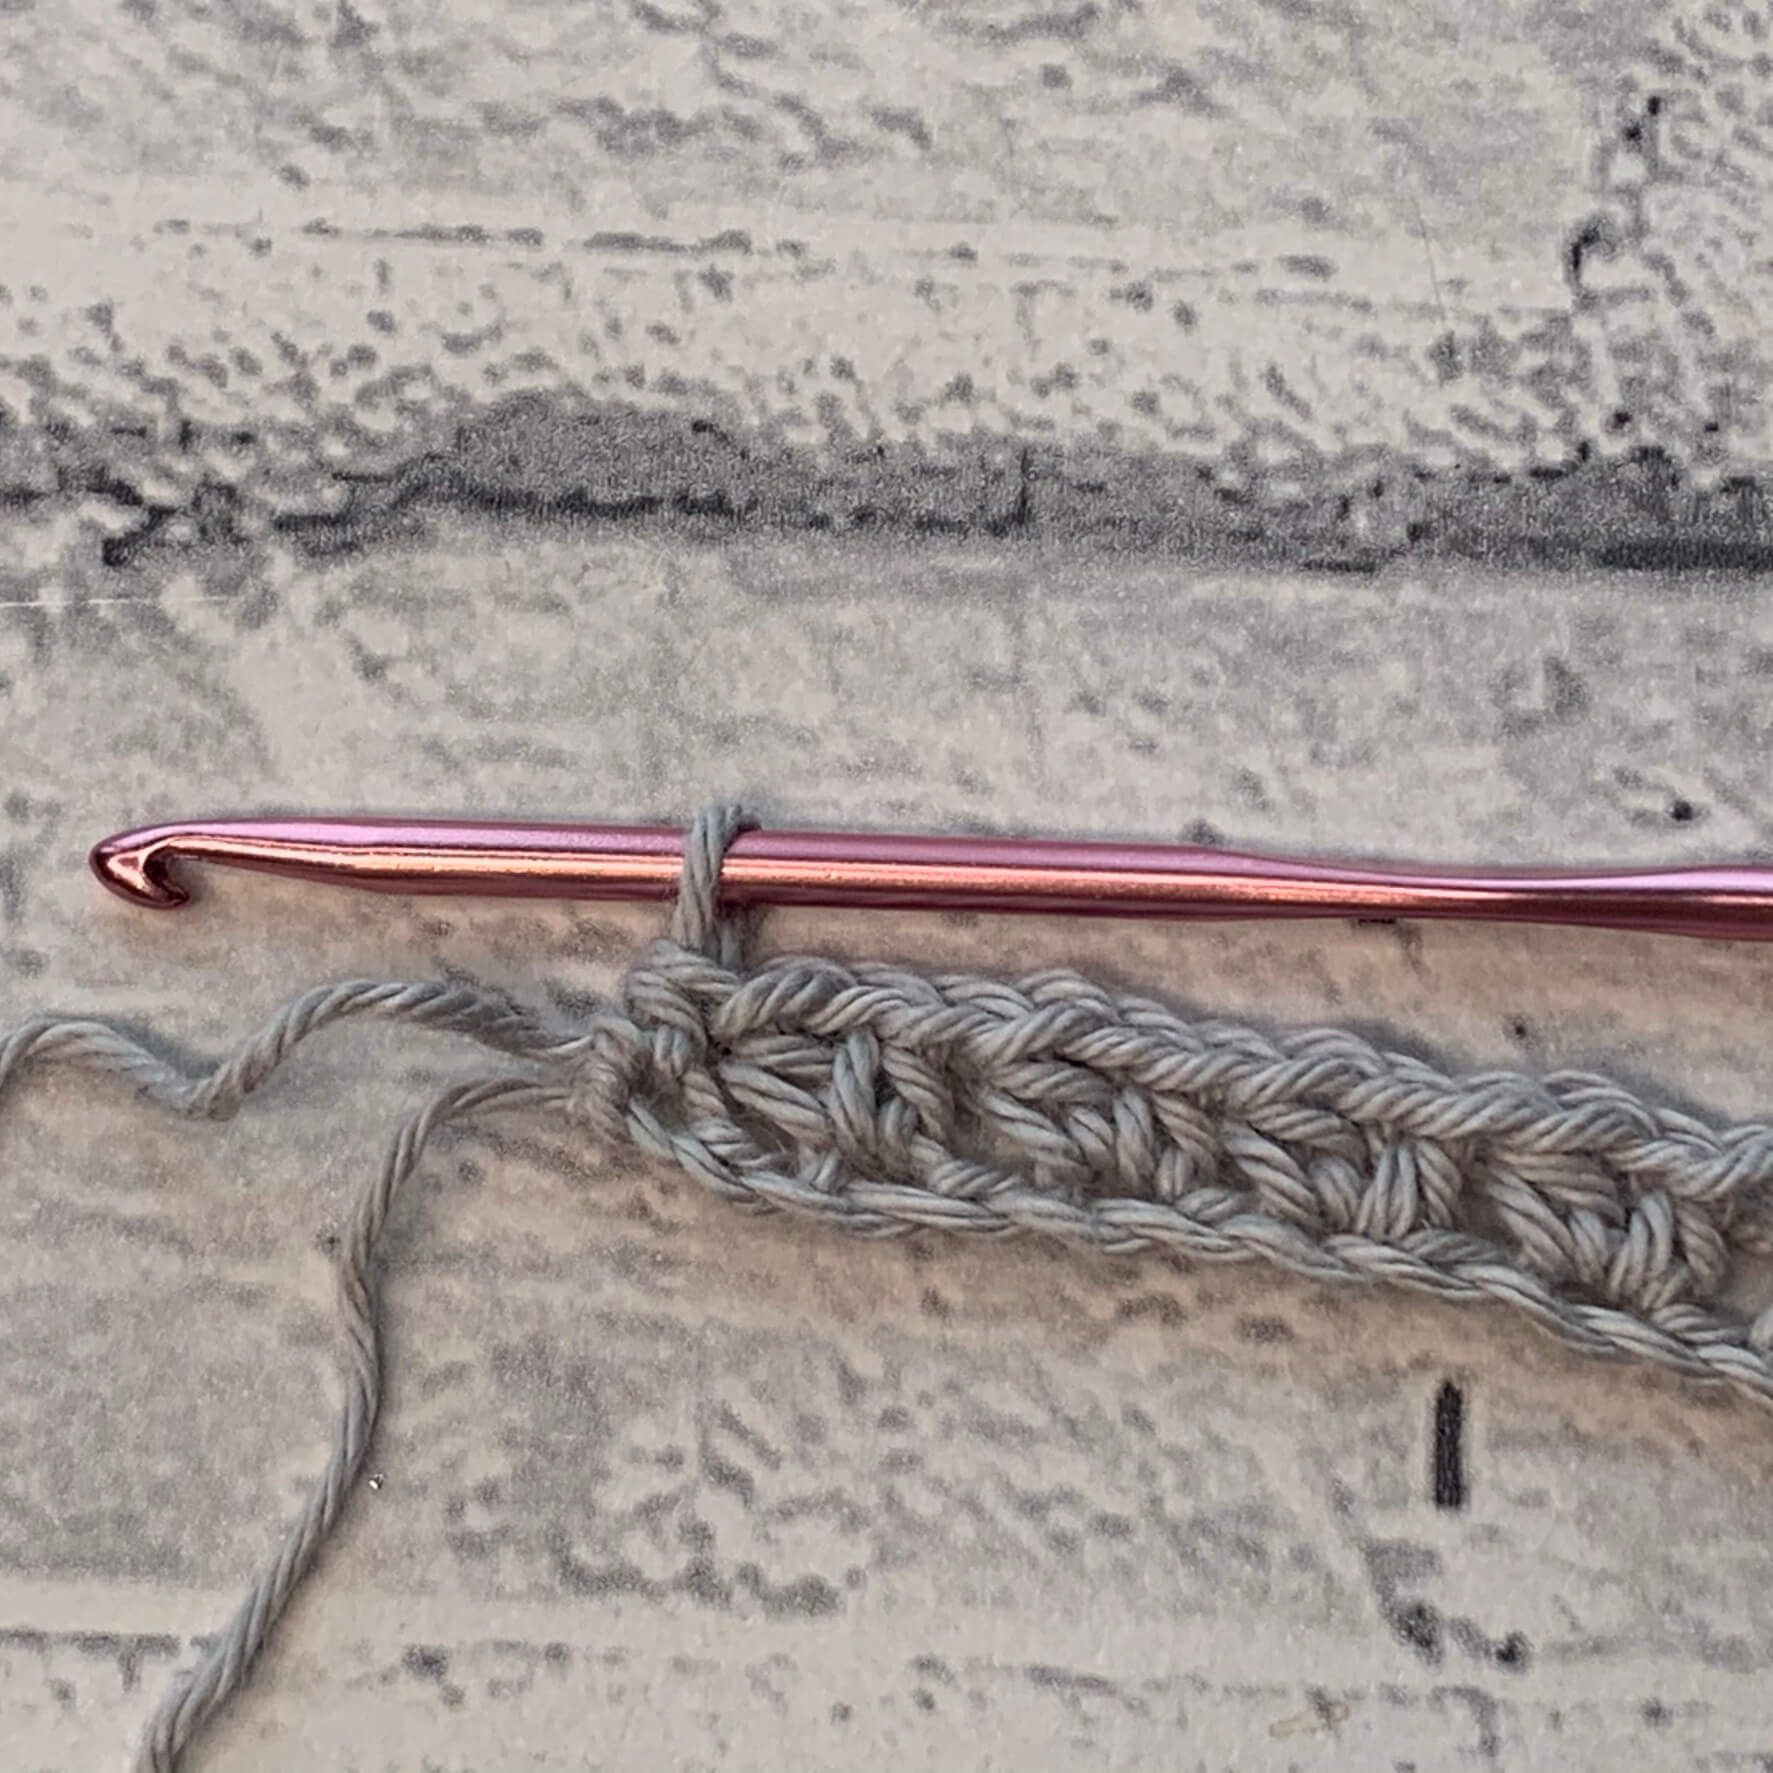
Row 2: With C2. Ch 2 (counts as 1st leg of 3dc-cl) 2dc-cl in same as ch 2, *ch 1, 3dc-cl in next ch-1 sp; repeat from * to last, 3dc-cl in last, turn. (10 3dc-cl, 8 ch-1 sps)
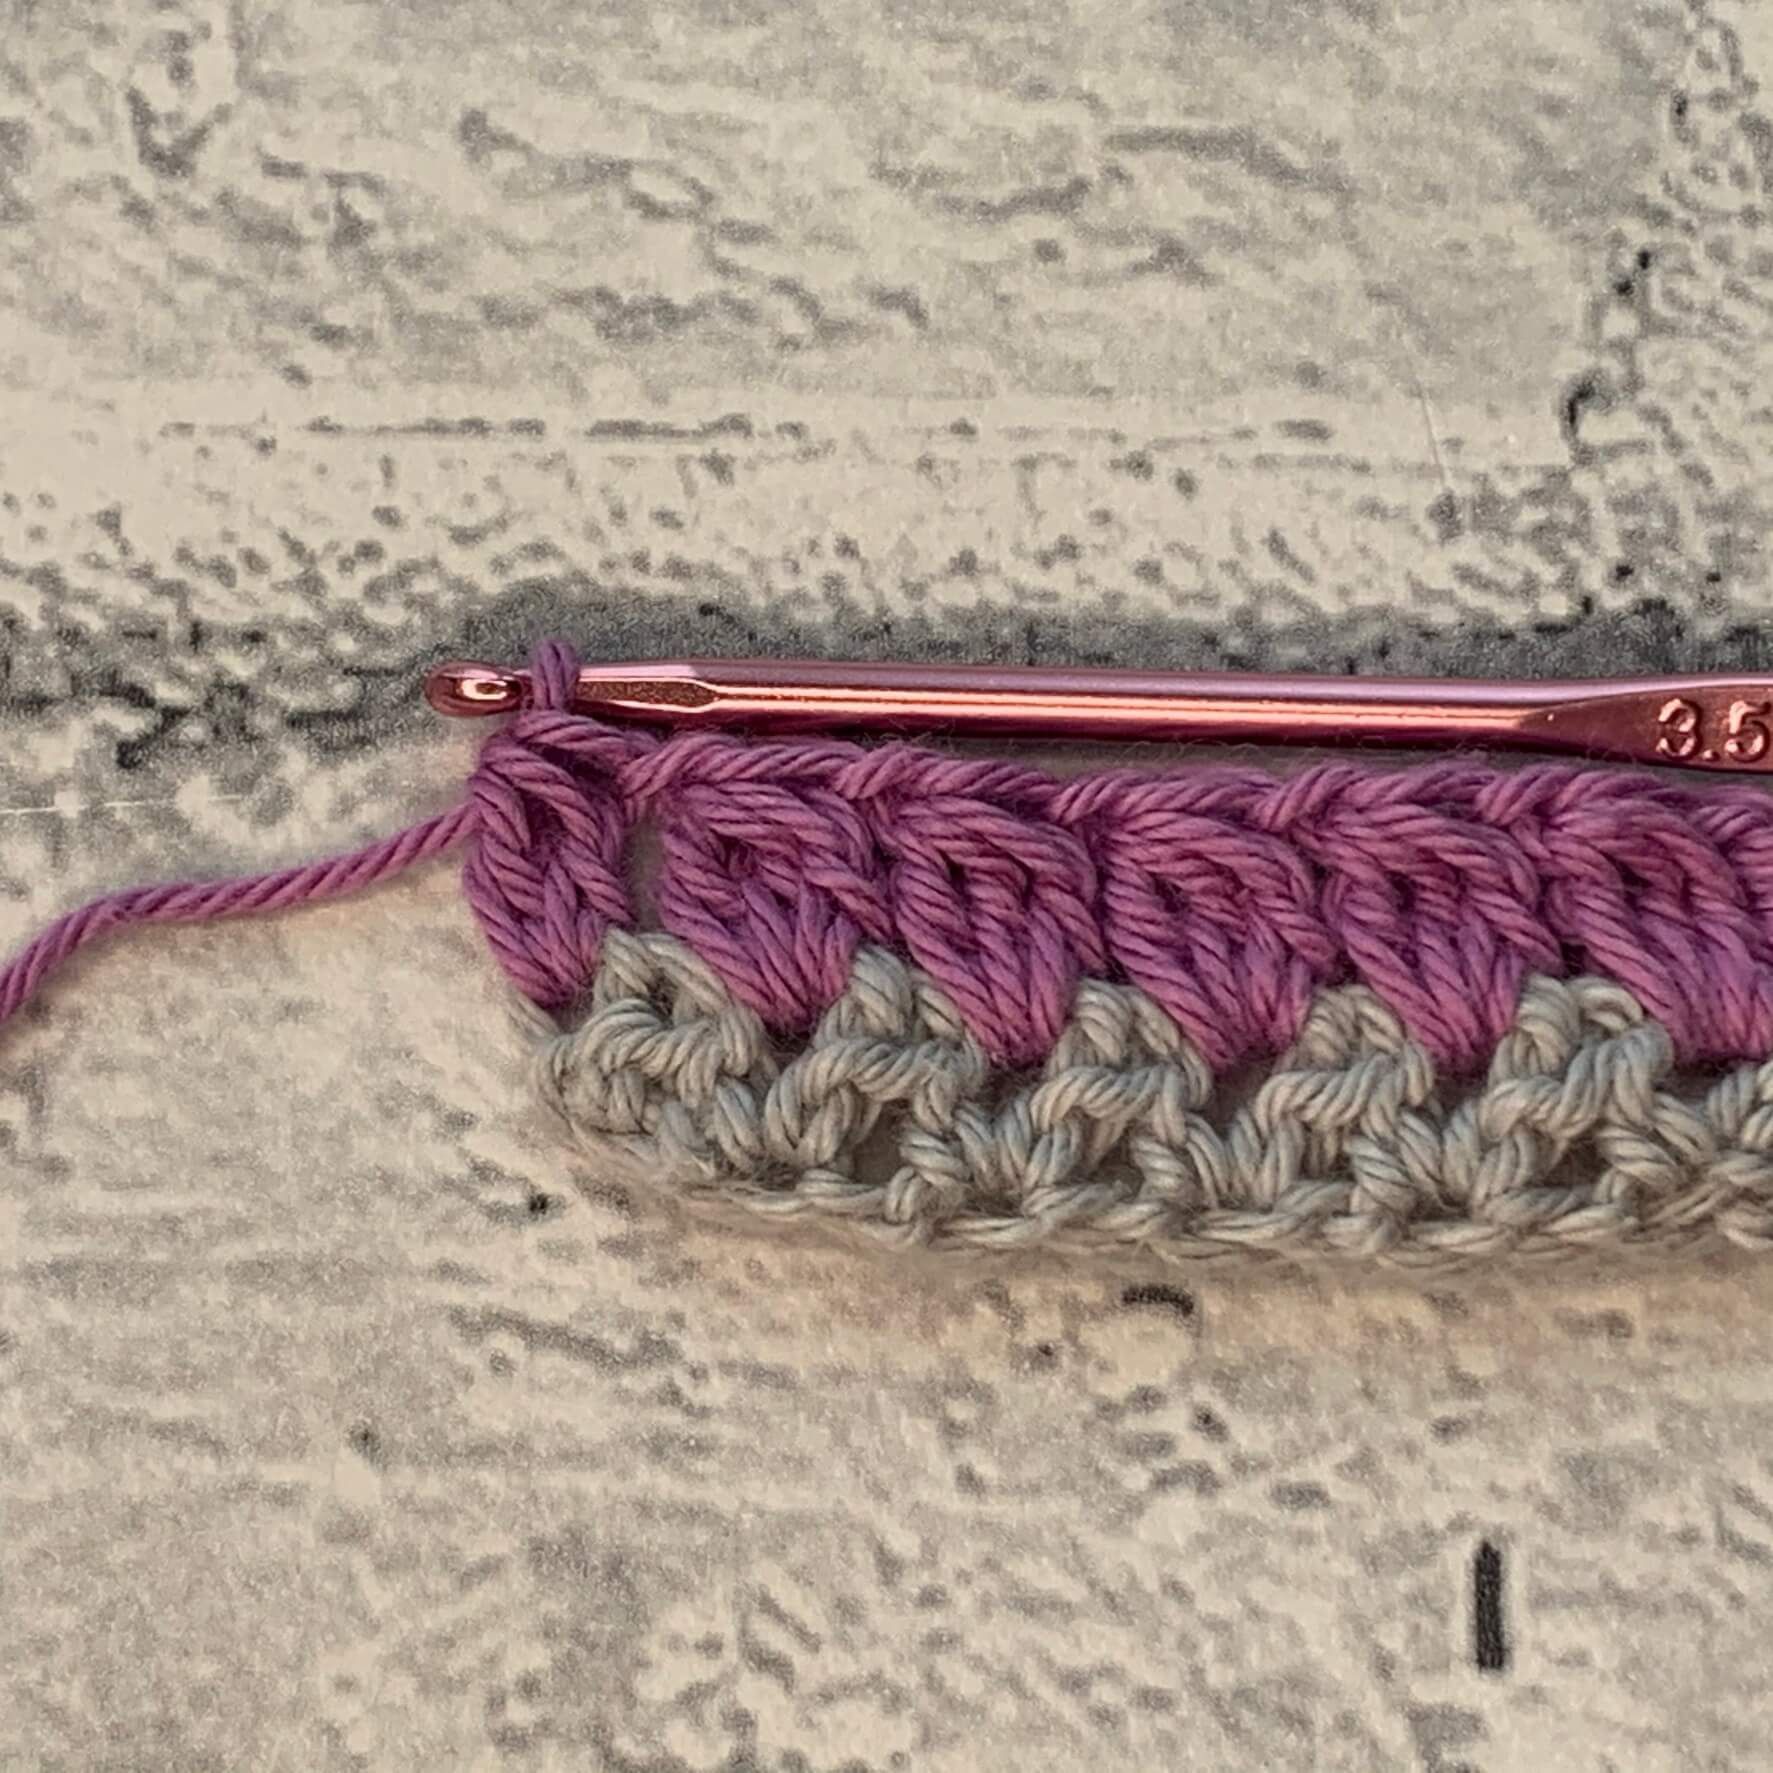
Row 3: With C3. Ch 1 (does not count), hdc in same, skip next, *(hdc, ch 1, hdc) in next ch 1 sp; repeat from * across to last, hdc in last, turn. (18 hdc, 8 ch-1 sps)
Row 4: With C1. Ch 2, 2dc-cl in same, *(3dc-cl in ch 1-sp, ch 1); repeat from * across, 3dc-cl in last, turn. 10 3dc-cl, 8 ch-1 sps)
Row 5: With C2. Ch 1, hdc in same, *(hdc, ch 1, hdc) in next ch-1 sp; repeat from * across, 3dc-cl in last, turn. (10 3dc-cl, 8 ch-1 sps)
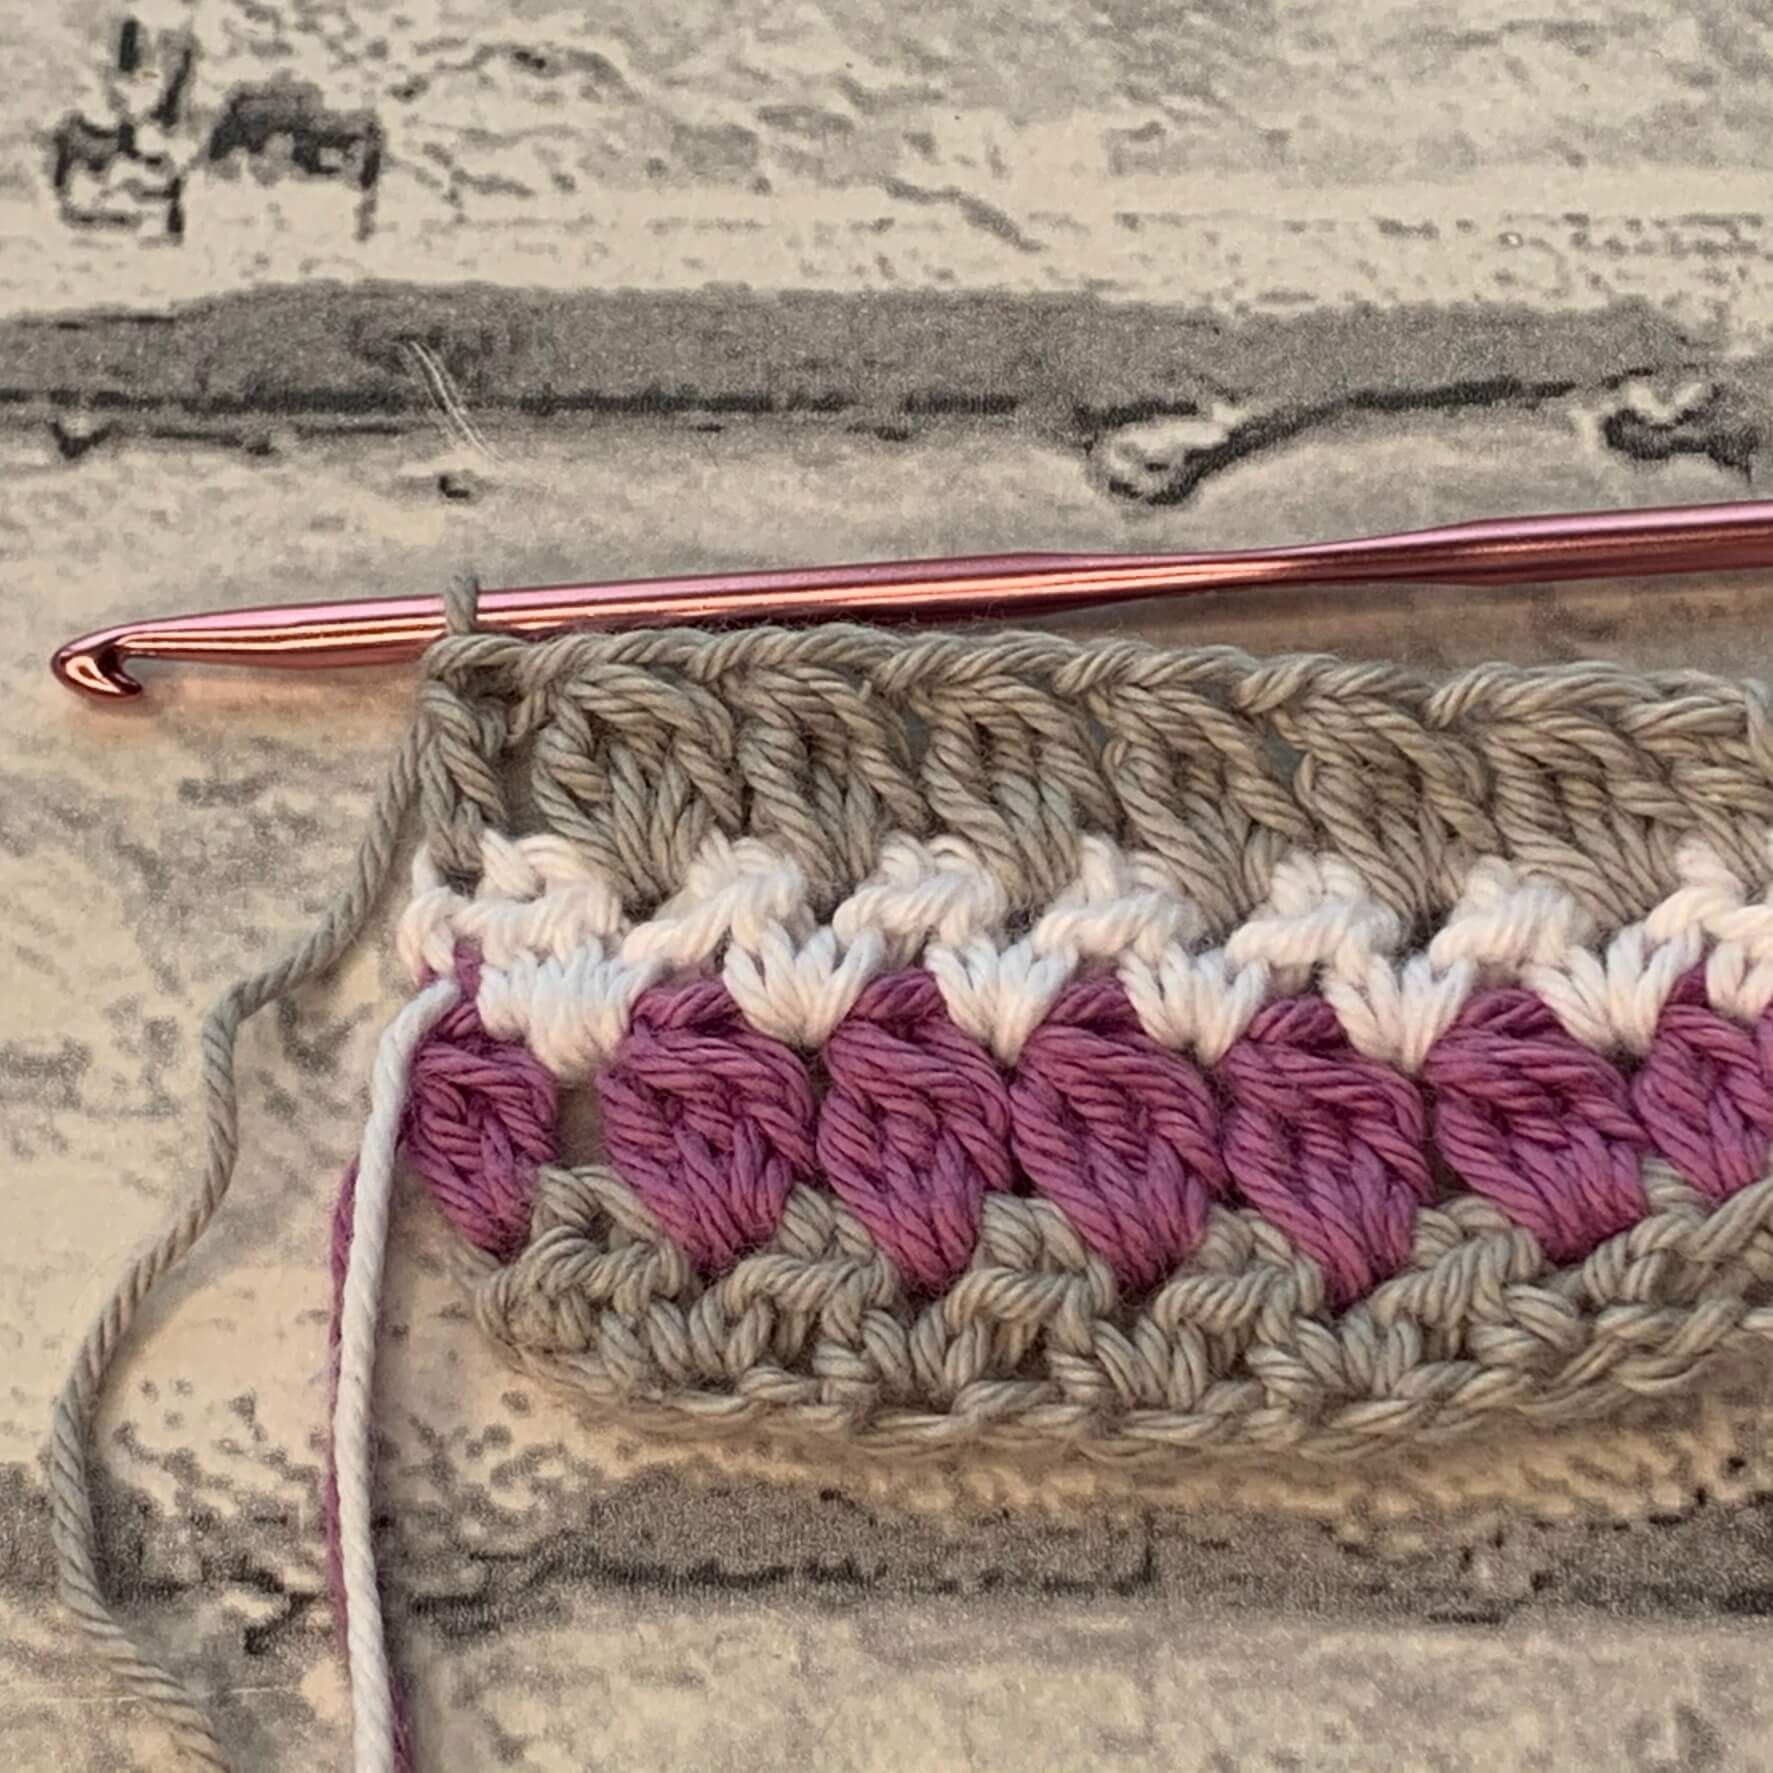
Rows 6-25: Repeat rows 2-5, (5 times), change colour in each row.
Ensuring you have turned at the end of Row 25,
Edging (worked in the round)
Round 1: With C1. Ch 1, sc in same, *sc in next, skip ch-1 sp, sc in next; repeat from * across to end, ch 1, rotate to work across row ends, sc in same, work 40 sc evenly across row ends, ch 1, rotate to work across other side of beginning chain, sc in same and each across other side of beginning ch, ch 1, rotate to work across row ends, sc in same, work 40 sc evenly across row ends, ch 1, sl st to 1st sc to join.
Fasten off, weave ends.
Continue to Sewing Purse Frame.
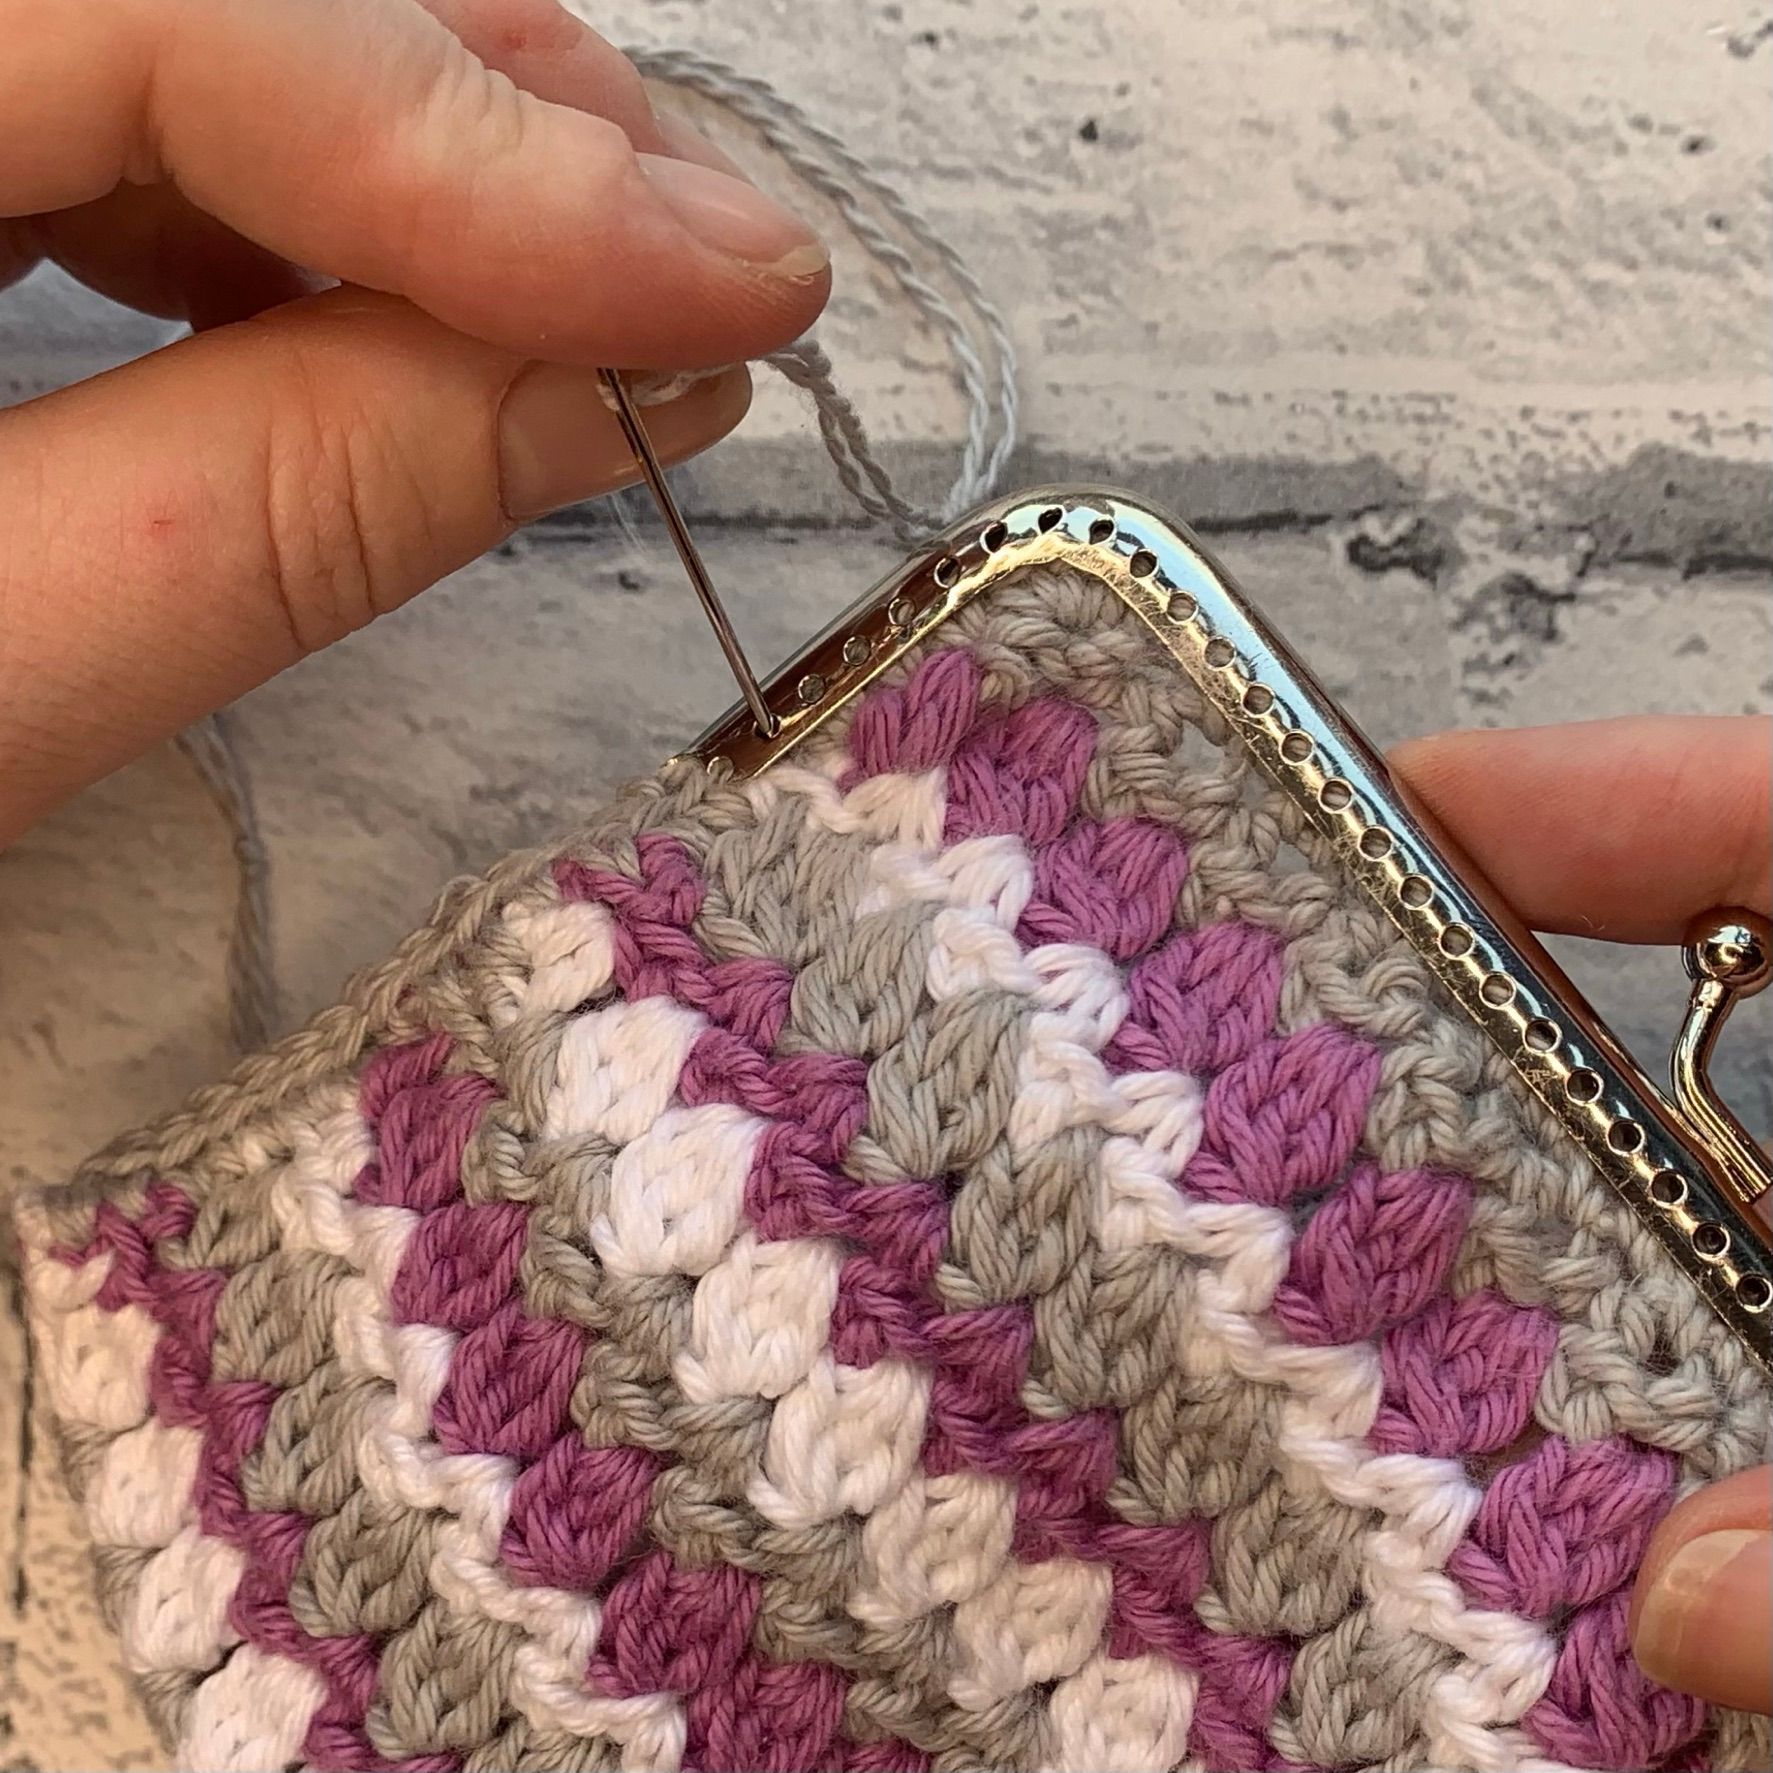
How to Sew on a Purse Frame
Sewing Purse Frame
- Insert top of crochet into purse frame, ensuring corners fit snuggly with no gaps.
- Insert needle at a 45 degree angle out the back of the crochet fabric.
- Insert needle from the back to the front ensuring needle exits fabric through the next hole in the frame.
- Repeat around the frame until all holes have been sewn through.
- Secure your thread and trim.
- Repeat on other side of the frame, securing other end of fabric
Continue to Joining Up
Joining Up
- Fold rectangle in half.
- Pin together sides through 5th stitch down from corner on each side.
- Reattach yarn into stitch under stitch marker, and join sides with a slip stitch.
- Once side is joined, fasten off and weave in ends.
- Repeat on other side.
Made it?
Did you make it? Don’t you just love it – why not share a picture of your finished project with me? You can tag me on social media using @cosyrosieukPurchase on Etsy Purchase on Ravelry More Cosy Rosie Crochet Patterns
