How to Crochet the Loop Stitch
Learn how to crochet the loop stitch so you can create fur yarn on your Amigurumi crochet projects, add a fringe edging to your crochet blankets and add lots of texture to your projects too!
Crochet the Loop Stitch | Free Stitch Tutorial
This free crochet tutorial will show you how to crochet the loop stitch, step by step, so you can complete this new crochet stitch with confidence!

The stitch is a technique that needs a little practice to get used to as you will need to hold yarn in a specific way to secure the loop securely.
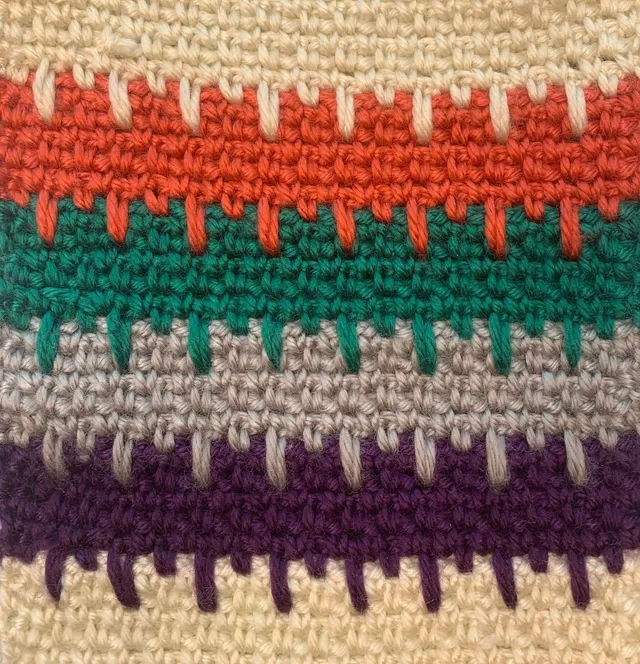
This technique makes the loop so secure, that you can even cut each individual loop! Yep – you can use the Loop Stitch to create a fringe or hair!!
The loop stitch is worked on the back of your project when working in rows. So, between each row of loops stitches, you will do a row of double crochet.
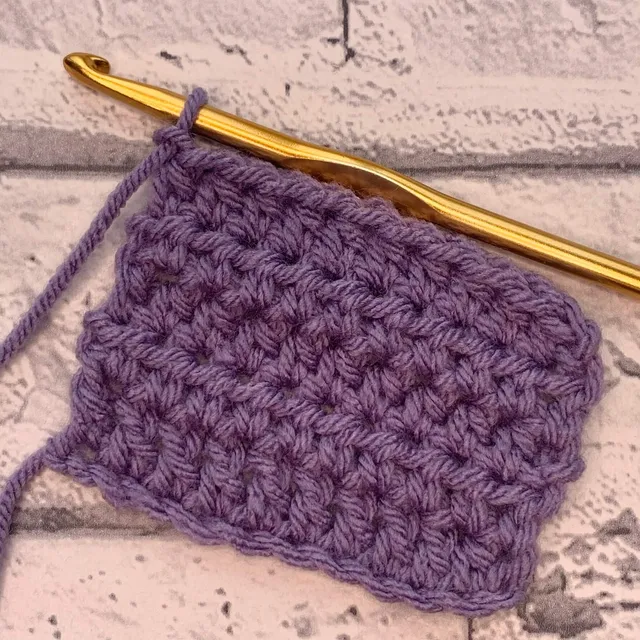
For this tutorial I used the following materials:
6mm crochet hook (I used a KnitPro hook)
PaintBox Yarns Simply Chunky in shade Blush Pink
You can use any yarn with the hook size recommended on the yarns band.
Please note that some of the links in my blog are affiliate links. I may earn a small commission if you purchase via this links, but the price you pay is not affected
Skill Level: Improver
Stitch Abbreviations: UK Terms (US terms in brackets)
St(s) Stitches
Ch Chain
Dc (Sc) Double Crochet (Single Crochet)
Loop Loop Stitch
Begin by making a swatch to practice on:
Ch 16,
Row 1: In 2nd ch from hook, Dc. Dc each ch across. Turn. (15)
Rows 2-4: Ch 1, in same St as ch and in each stitch across, Dc. Turn. (15)
In Row 5 we will work a loop stitch in each stitch across: Scroll down for the photo tutorial on how to complete the Loop Stitch.
CLICK HERE for the left handed video tutorial.
How to Crochet the Loop Stitch
Ch1,
- Insert hook into st
- Wrap yarn over index finger, from back to front (as pictured)
- Bring hook over the top and around of the front strand of yarn over your index finger

- Turn your hook and catch the rear strand of yarn
- Bring the rear strand over the front strand
- turning your hook at the same time
- Bring the rear strand through the stitch (2 loops on hook)
If you need to adjust the size of your loop, pull gently on the working yarn.


- Yarn over the hook
- Bring through the two loops on the hook to secure the loop to complete the stitch


Row 5: Ch1, in same St as Ch1, Loop. Loop in each stitch across. Turn. (15)
Row 6: Ch1, in same St as Ch1, Dc. Dc in each stitch across. Turn. (15)
You can continue to repeat rows 5 & 6 to keep practicing the loop stitch.
The most common mistake people make when learning the Loop Stitch, is not ensuring they wrap the yarn in the right direction around their finger. It MUST be wrapped from back to front to prevent your loop from twisting or holes developing.
If you intend to cut your loops, make sure you have completed your whole project before cutting to ensure you do not need to frog the project and undo all your hard work.