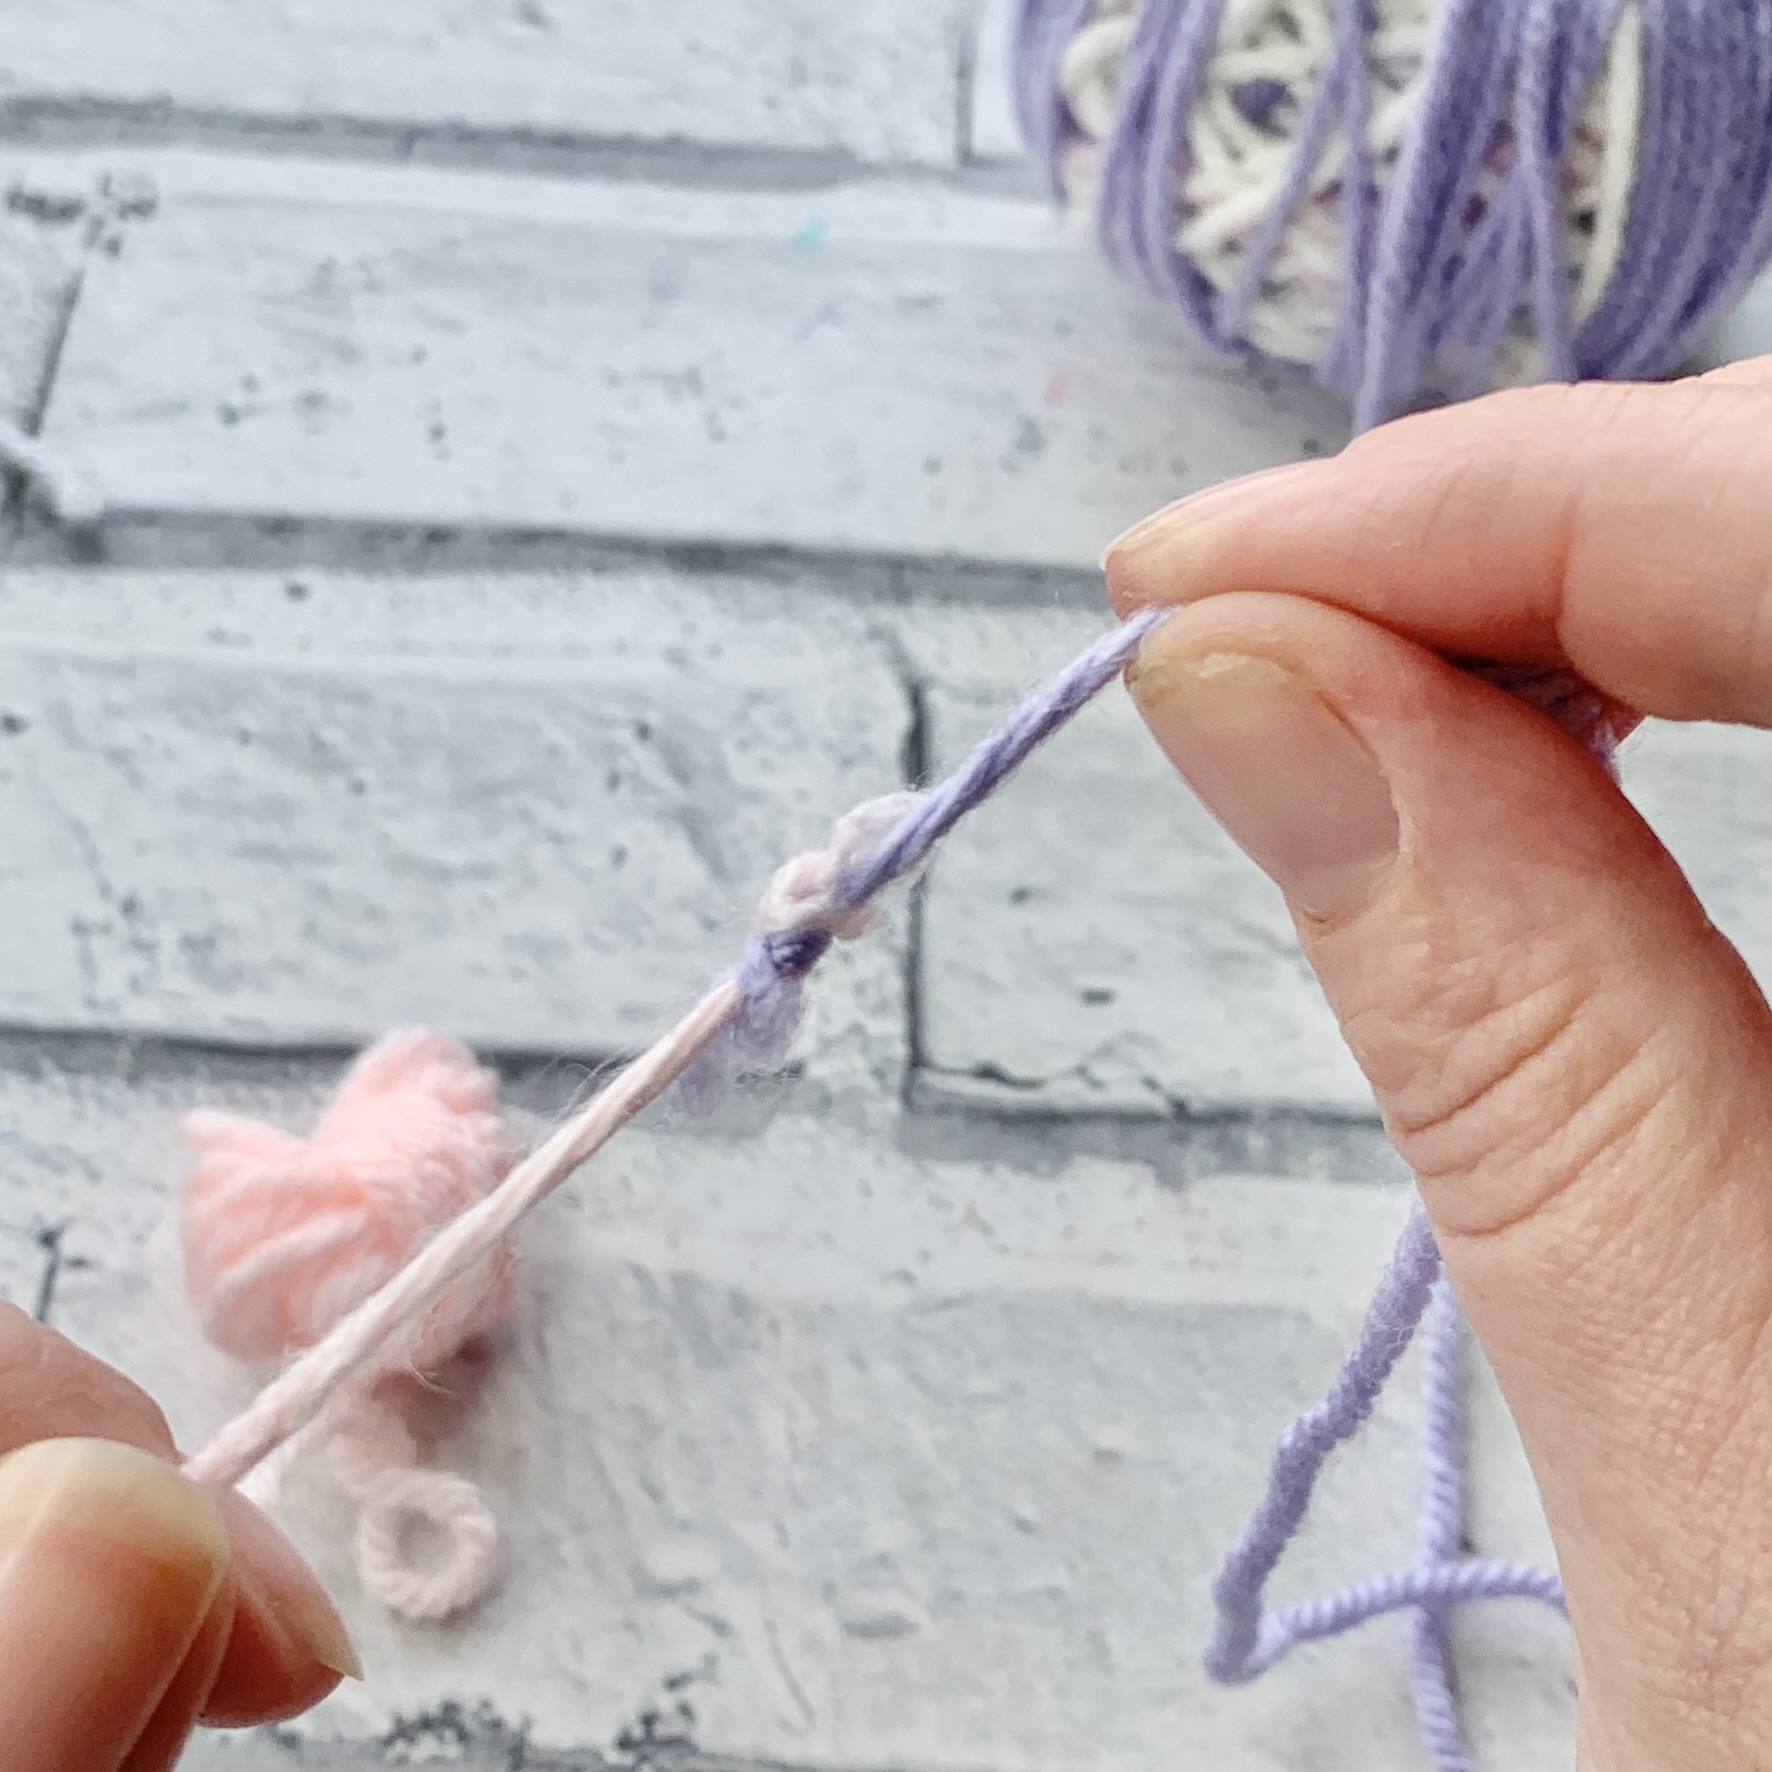
How to crochet Wattle Stitch
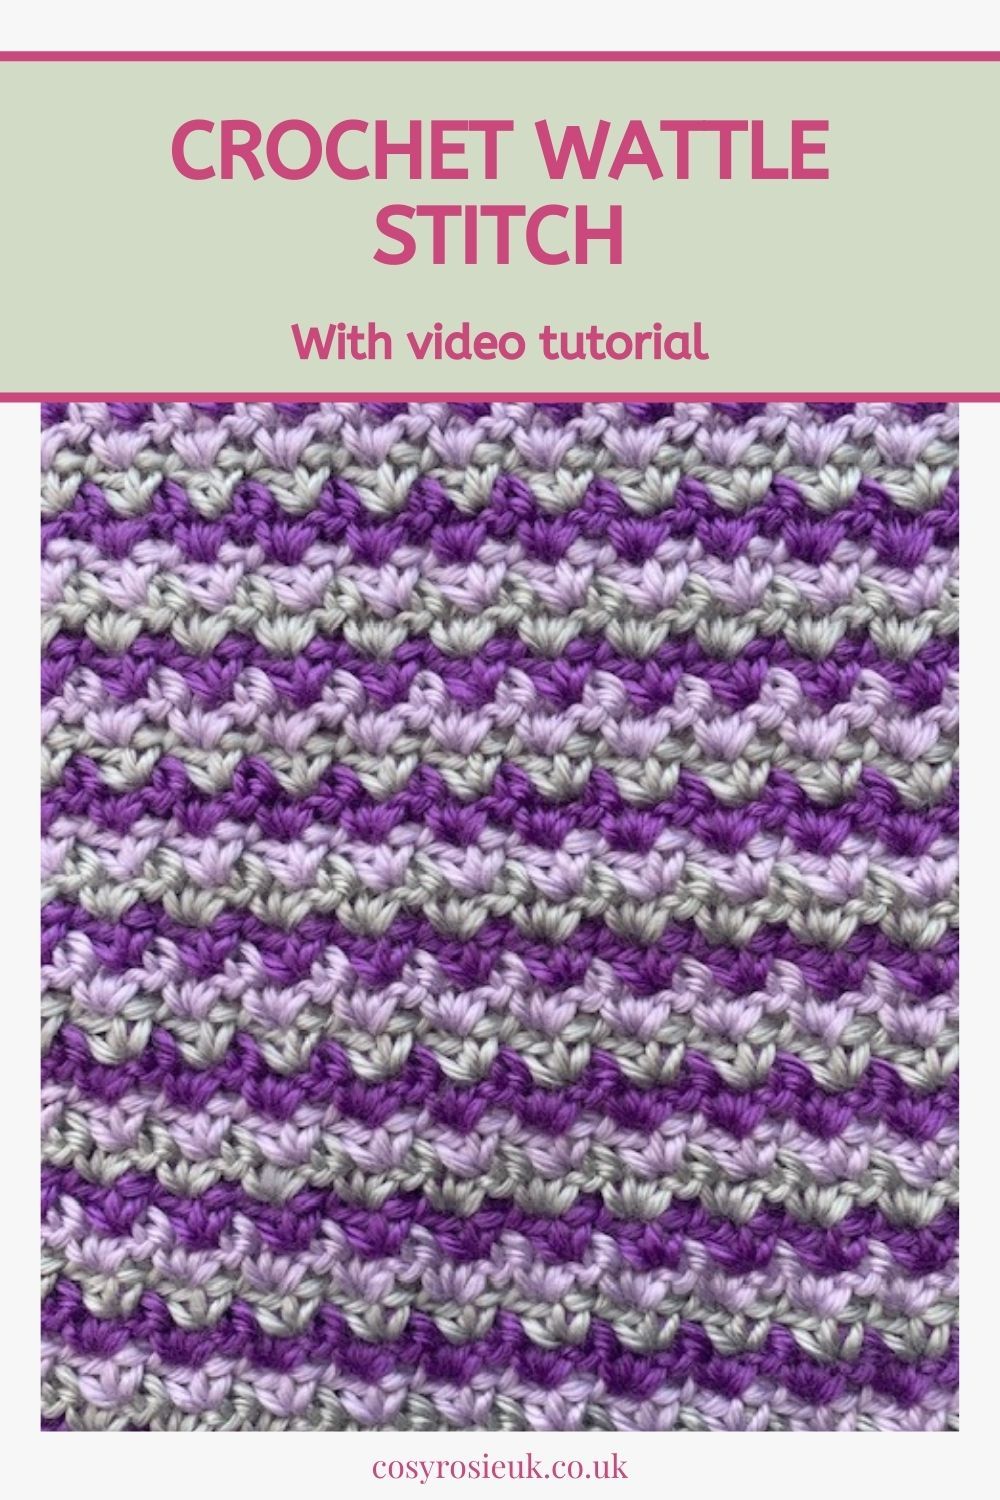
Learn how to crochet the wattle stitch which an ideal stitch pattern for beginners as it only uses basic stitches. The wattle stitch creates a dense fabric that is perfect for crochet blankets and homewares.
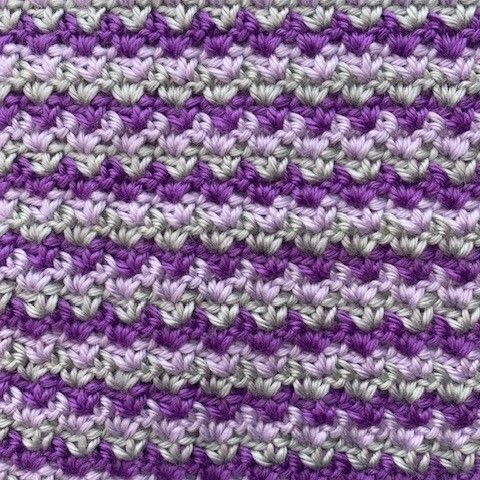
Wattle Stitch | Free Crochet Stitch Tutorial
The wattle stitch is one of those stitch patterns that can be learned early on by beginners to the craft of crochet as it only uses basic crochet stitches and will help to understand working in to chain spaces.
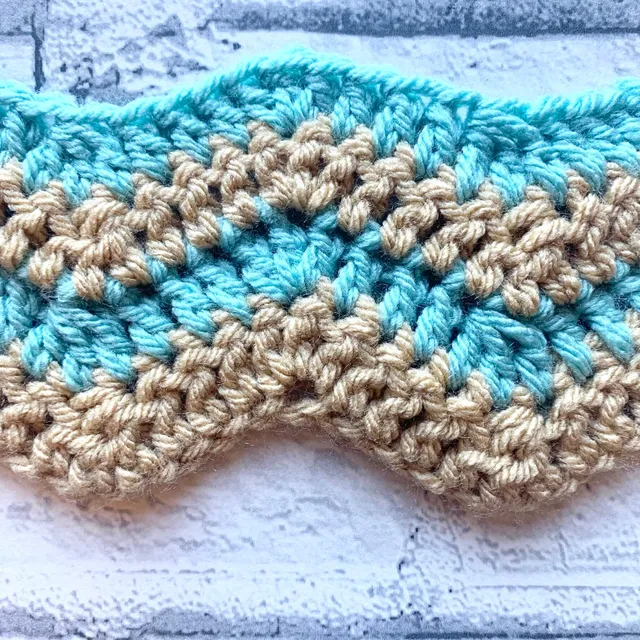
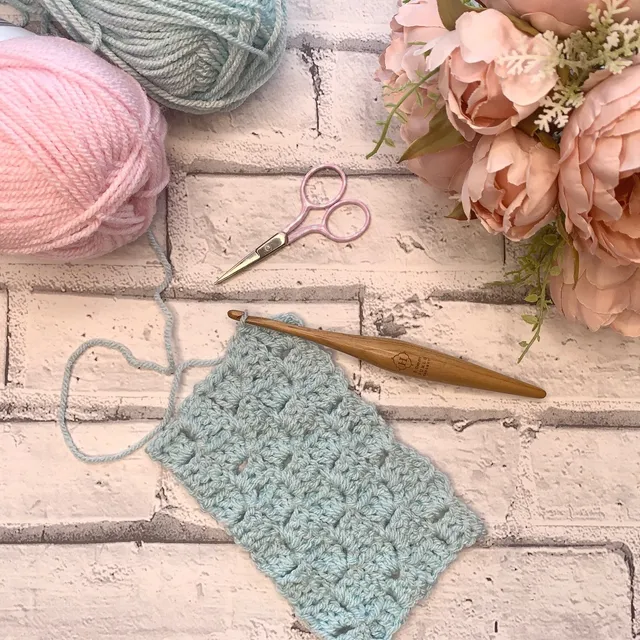
With an easy 1 row repeat, the wattle stitch works 2 stitches and a chain space into the same stitch or chain space to create a subtle texture that is a great choice for baby blankets as it has minimal holes between the stitches that little fingers could get taggled in.
The stitch pattern has an easy stitch multiple, making it a great choice to make a crochet blanket any size you need or for you to add in to a stitch sampler blanket.
Below you will vide a video tutorial alongside the written stitch pattern, so that you can learn how to crochet the wattle stitch and use it in your next project.
Please note that some of the links in my blog are affiliate links. I may earn a small commission if you purchase via this links, but the price you pay is not affected
For this tutorial I used the following materials:
- 5.5mm crochet hook (Click here to see my favourites)
- Furls Wander Yarn 100g (3.5oz), 120 yds (109m)/skein in 3 shades
- A – Enchanted
- B – Bergamot
- C – Moonbeam
You can use any yarn with the hook size as recommended on the yarn band or as directed by the pattern
How to Crochet the Wattle Stitch
The wattle stitch is worked in multiples of 3 stitches plus 2
- Chain multiples of 3 plus 2 extra for the foundation chain.
- In this tutorial we will make a chain of 24 to start our swatch to create 20 wattle stitches
Note:
- You can opt to work this tutorial in just 1 single colour to keep things extra simple, but using 2 or more colours will help to identify where to insert your hook in the next row.
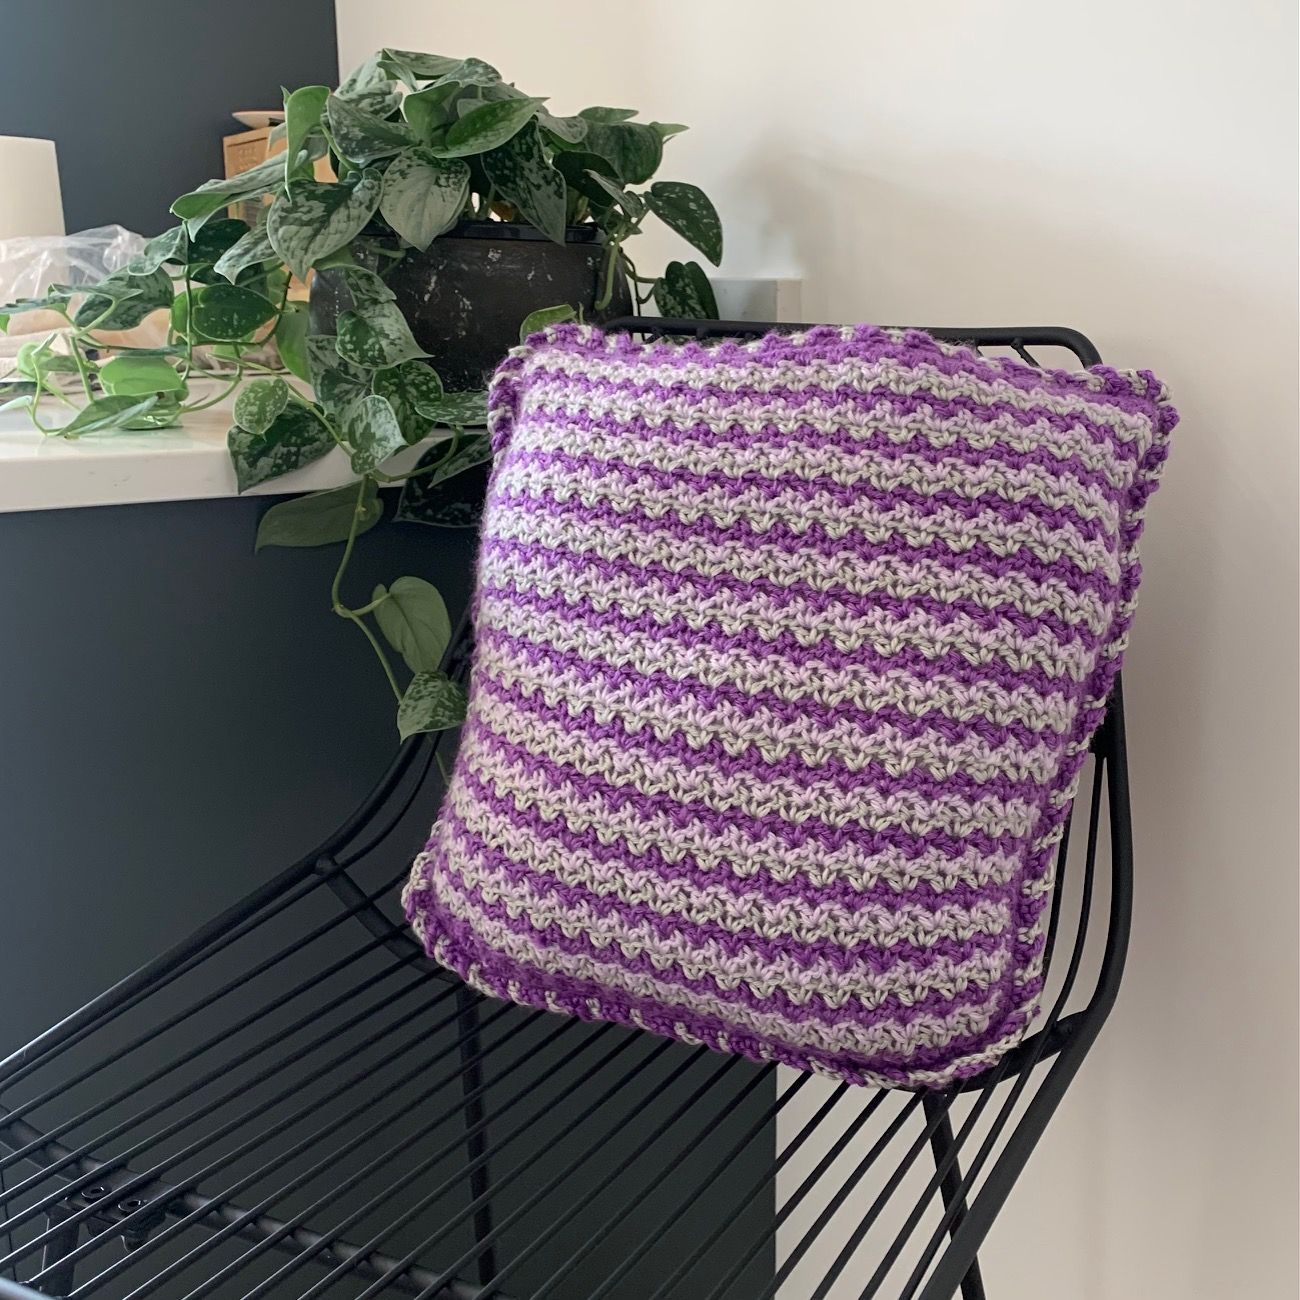
- This tutorial is worked in 3 different colours which was used to create the Enchanted Arch Cushion.
This tutorial is written in US Terms: (UK terms in brackets):
Abbreviations Used:
St(s) – Stitch(es)
Ch – Chain
Ch sp – Chain space
Sc (dc) – Single crochet (double crochet)
Tr (dtr) – (double) treble crochet
Wattle – Wattle Stitch
Special Stitches
Wattle (Wattle St) = (sc, ch 1, dc) in indicated
Crochet Wattle Stitch Video Tutorial
Row 1: Ch 24, (sc, ch 1, dc) in 3rd ch from hook (skipped ch counts as sc), *skip 2, wattle st in next; repeat from * across to last 3, skip 2, sc in last, turn. 2 sc, 7 Wattle st
Row 2: With B, ch 1, sc in same, working in ch-1 sps only, wattle in each across to end, sc last, turn.
Row 3: With C, ch 1, sc in same, working in ch-1 sps only, wattle in each across to end, sc last, turn.
Row 4: With A, ch 1, sc in same, working in ch-1 sps only, wattle in each across to end, sc last, turn.
Repeat Rows 2-4, change colour in each row to increase the length of your sample or swatch.
Use this stitch in a pattern
This stitch pattern features in a number of Cosy Rosie Crochet patterns – I love the texture this stitch pattern creates.
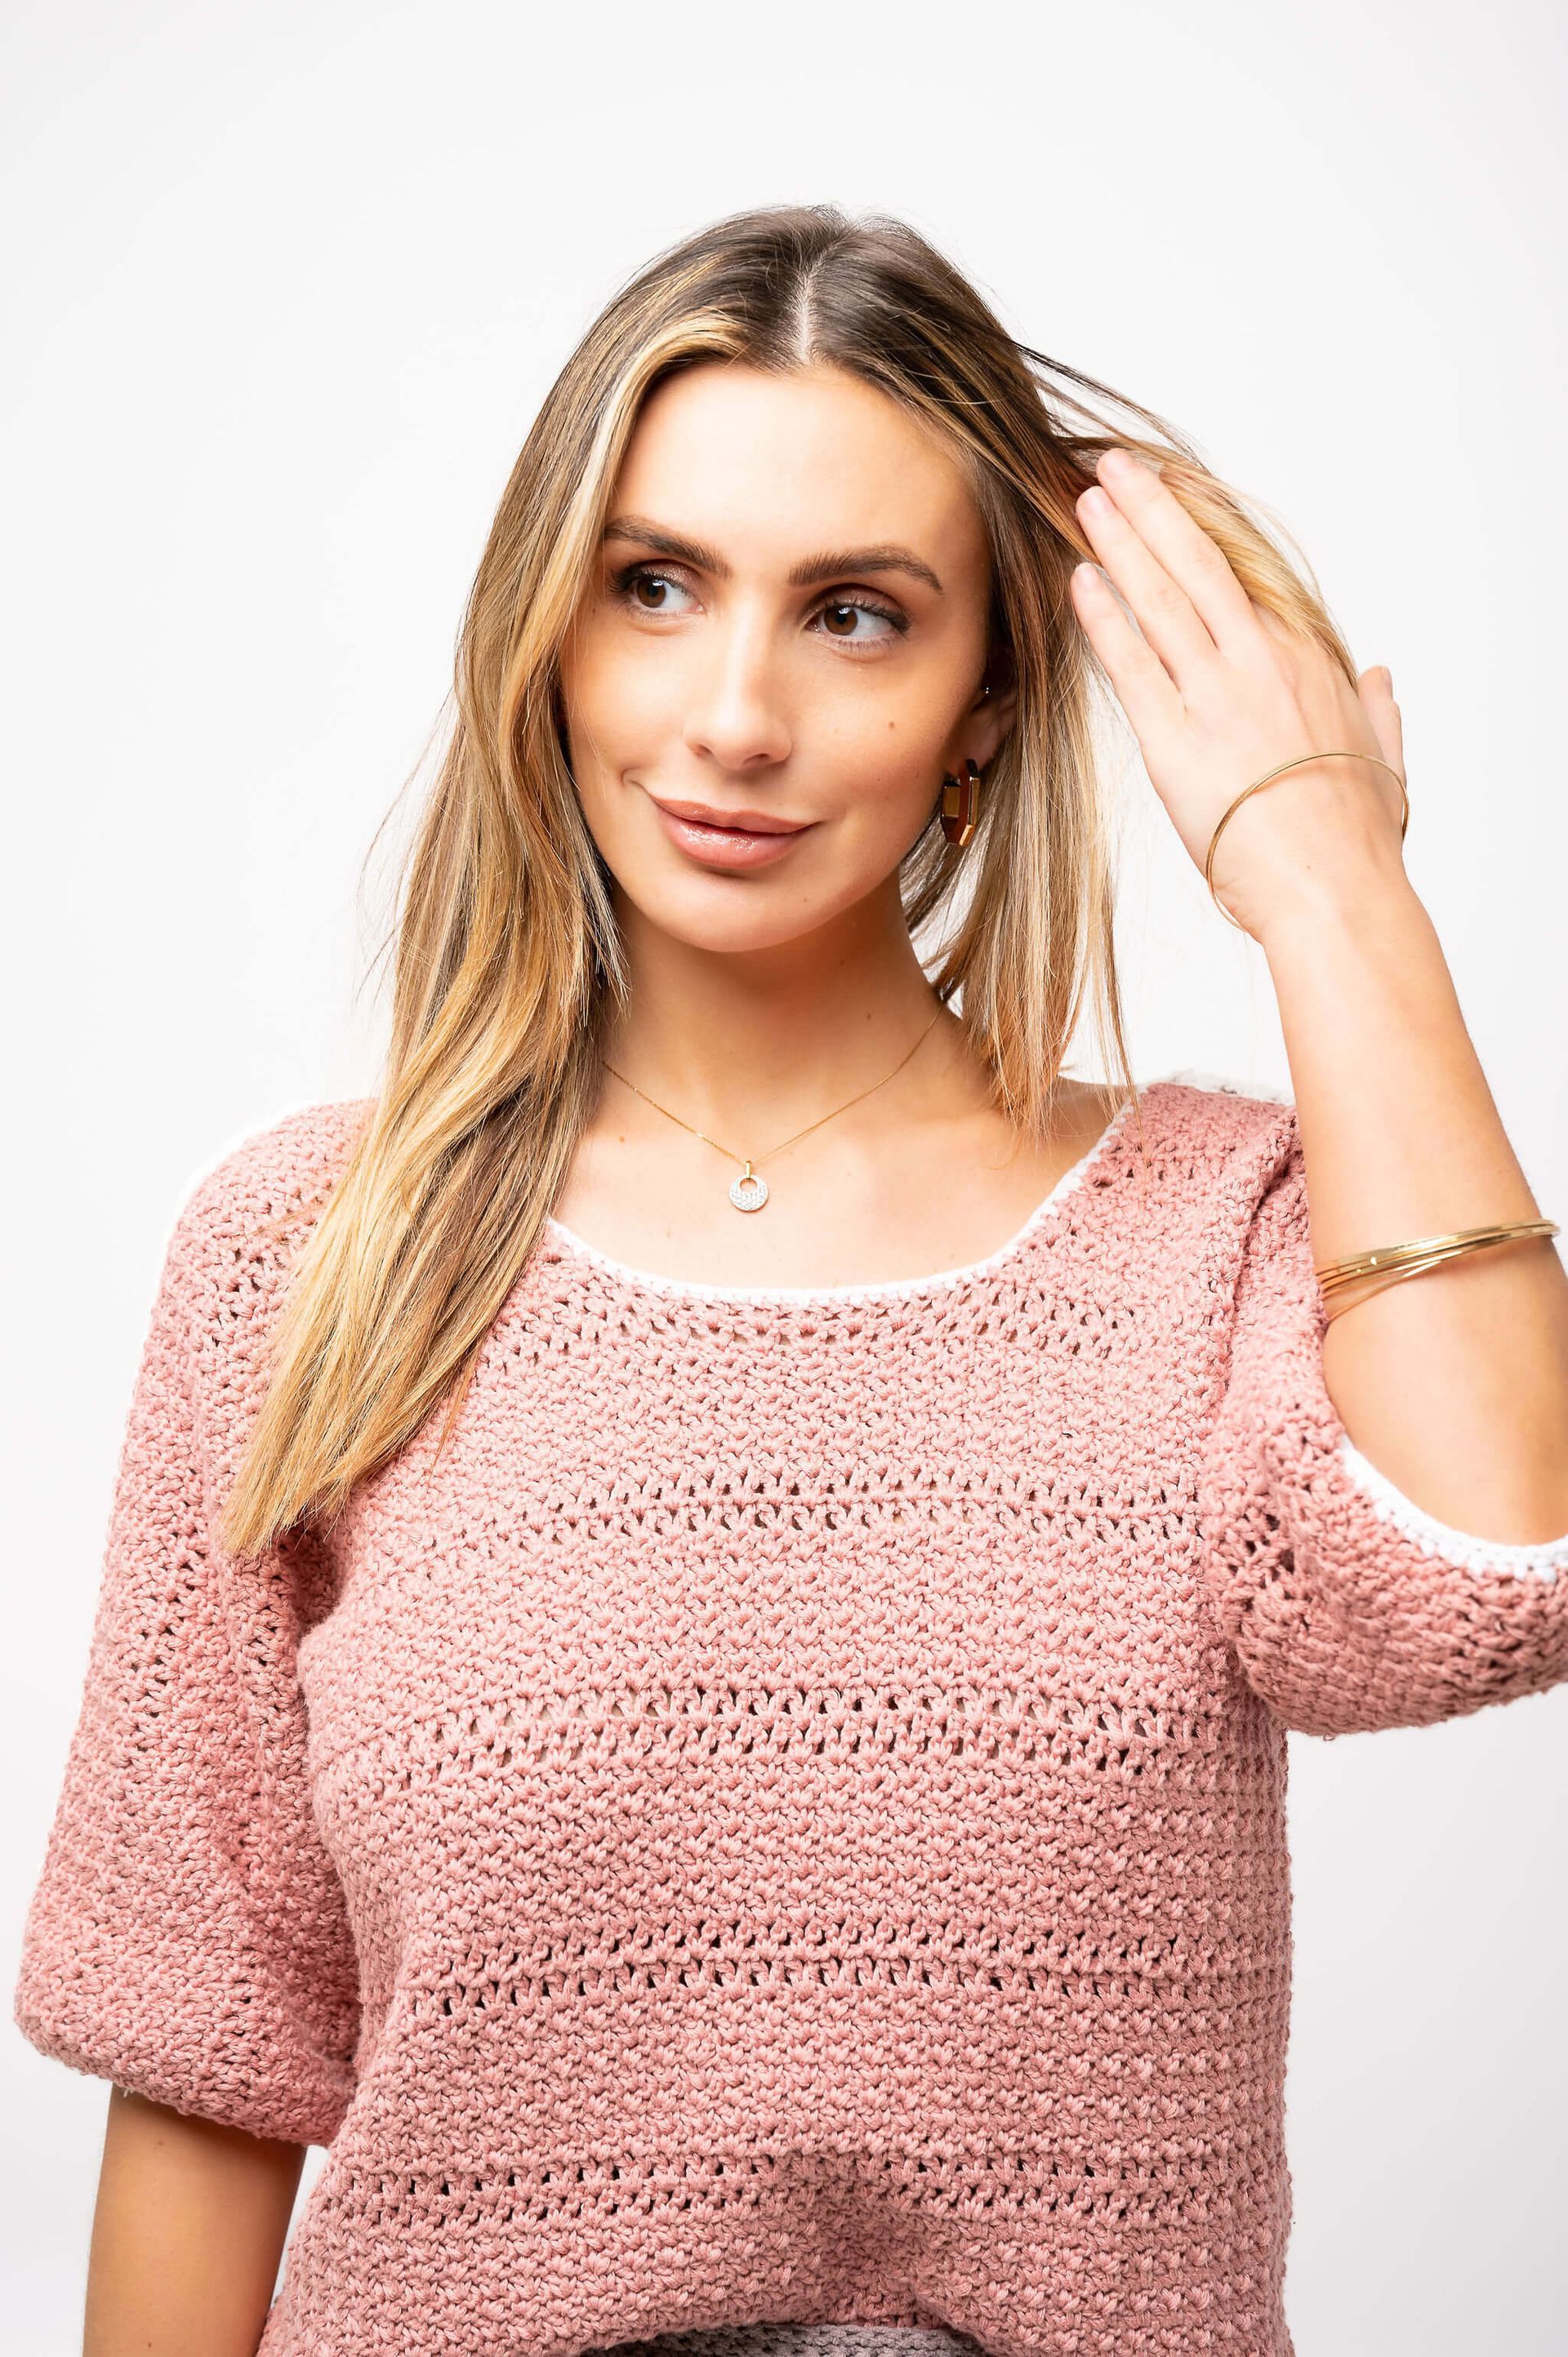
You can find this stitch pattern featured in the Gloriosa Sweater and the Enchanted Arch Cushion
Pin this Stitch Pattern for Later
