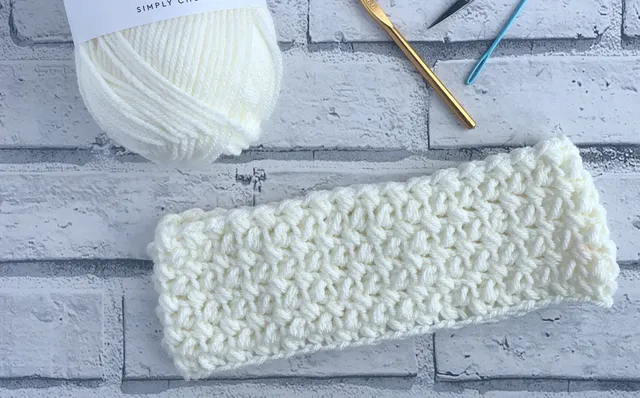
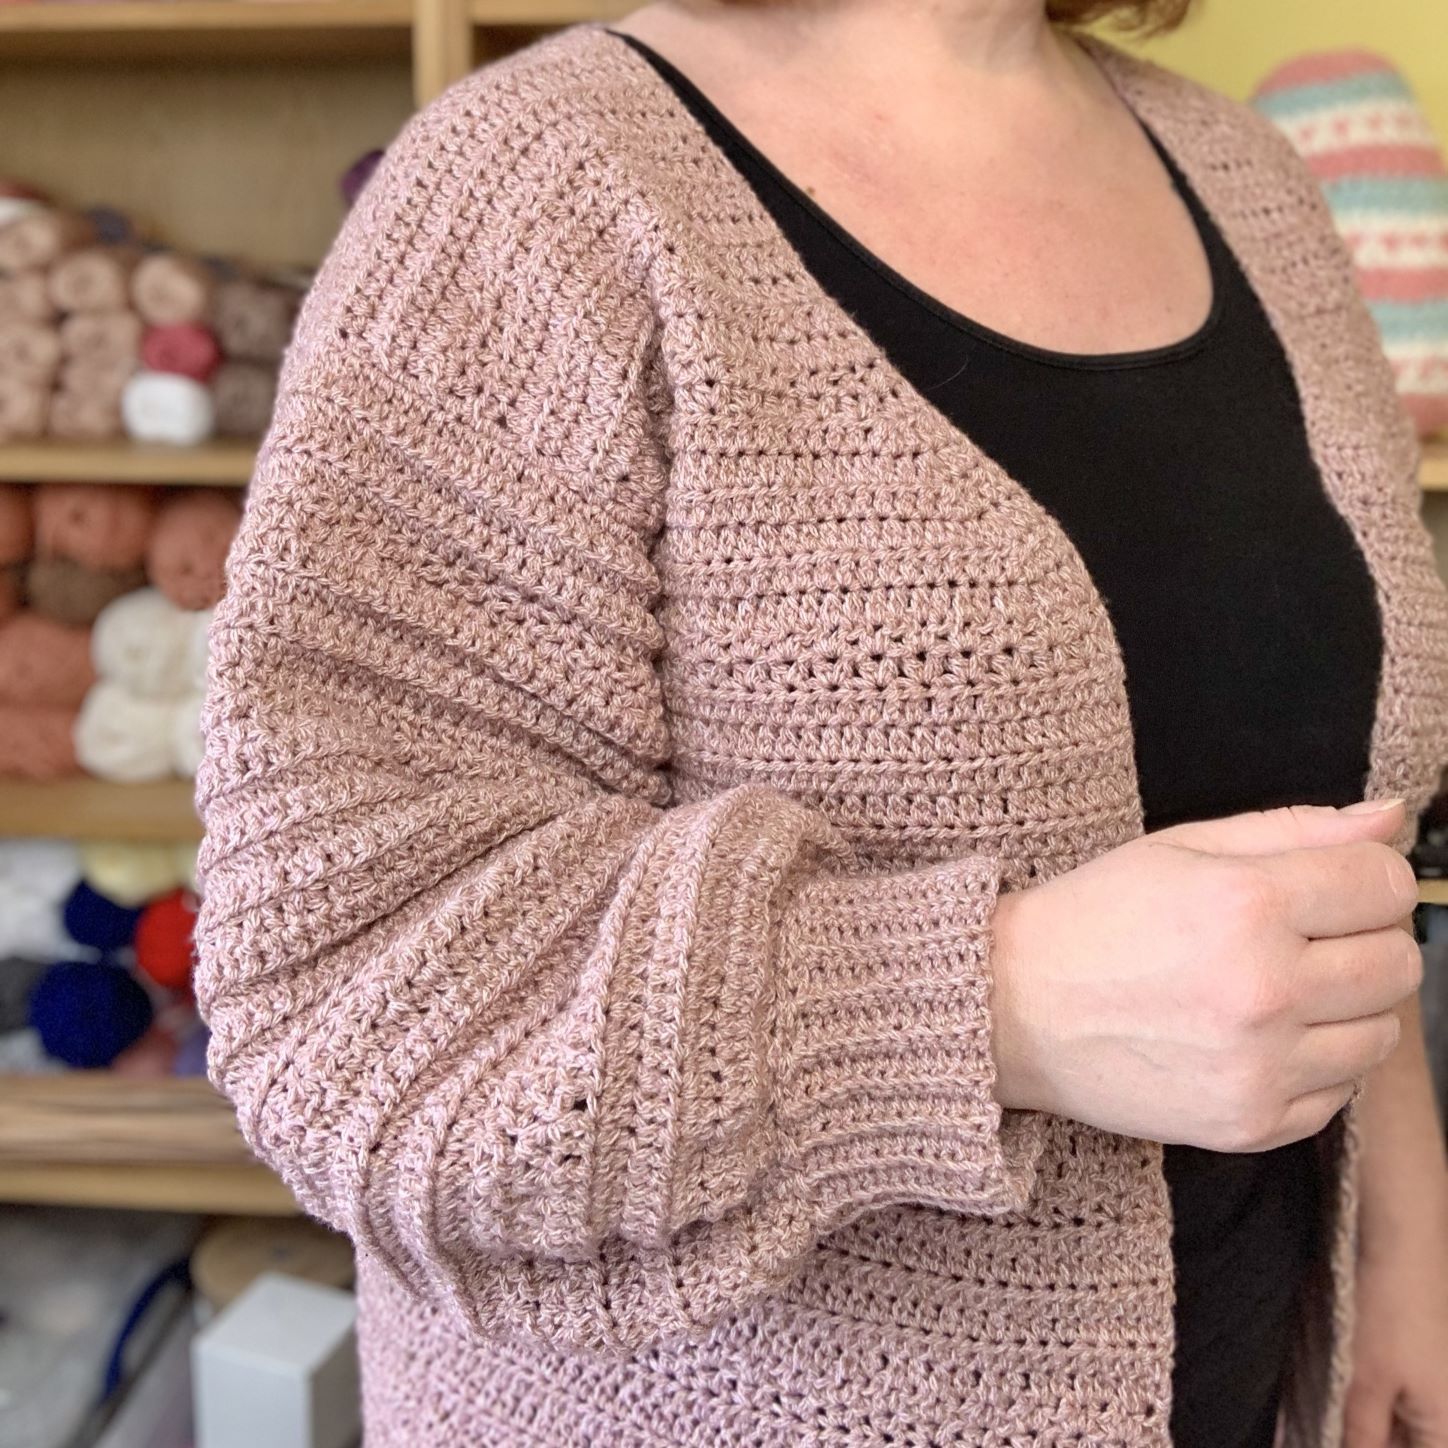
Rose Cardigan Gauge Swatch
Learn how to crochet a gauge swatch to help improve the fit of your crochet cardigan. You’ll also learn how to measure your gauge swatch, the simple ways to adjust your stitch and row count to ensure the finished size of your cardigan will be correct.
How to crochet a gauge swatch | Rose Cardigan CAL
If you’re one of those who skips making a gauge swatch before beginning your crochet project, you’ll learn just how important it can be when making crochet garments.
Gauge can be scary words when learning how to crochet. In fact, I know many crocheters who just wing it when it comes to checking their gauge, and by not checking their tension their finished project can be a disappointment, not fitting very well.
A gauge swatch will allow you to gauge your stitches and adjust it to will prevent you spending hours making a garment or accessory only to find that it doesn’t fit when its finished.
Please note that some of the links in my blog are affiliate links. I may earn a small commission if you purchase via this links, but the price you pay is not affected
Making a gauge swatch is the 1st and most important step of making a handmade garment that fits well – unfortunately, it’s also the most commonly skipped part of making a wearable.
This little challenge will only take 1-2 hours, but will ensure that you finished project will achieve the size you want to make.
This pattern has been created with the idea that not everyone will take this simple step and also why I will be sharing more about understanding a schematic with you as this will show you the measurements each panel of the cardigan needs to be.
Why is checking your gauge so important?
Not only will a gauge swatch allow you to practice the stitches that will be used in the pattern you’re making, you will be able to check if you have the same row and stitch count as the designer.
Our tension relaxes as we master new stitches and we get used to the movement of the hook needed, and a gauge swatch will allow that familiarity to be established and prevent your project working up looser as you progress.
What is a Gauge Swatch?
A gauge swatch is created to count the number of stitches in a 4″x 4″ (10cm x 10cm) square.
The aim of a gauge swatch is to achieve the same number of stitches and rows as the designer did within a 4″ (10cm) square.
If your stitch count is different than what the designer states in the gauge section of the crochet pattern, your finished project will be a different size than the designer wrote.
All the sizes within the pattern are created and graded using the same number of stitches with the gauge swatch – so if you achieve a different number of rows or stitches, you wont achieve the same size as the pattern is written for.
Let’s create our gauge swatch for the Rose Cardigan and compare that to the gauge in the pattern, and discuss what might happen if the stitches and rows are different and how we can adjust our tension if required.
How to Make your gauge swatch
Materials Required:
- The Worsted/Aran yarn you’ll be using to make your cardigan
- Designer used Lovecrafts Simply Aran in shade Pale Lilac (245)
- 5mm Crochet Hook
- Scissors
- Tapestry needle
- Stitch markers
- measuring tape or knitters square
Click here to purchase your yarn from Lovecrafts
Abbreviations
US Terms (UK in brackets)
St(s) – Stitches
Ch – Chain
ehdc (ehtr) – extended half double (treble) crochet
Gauge Pattern Notes
- Ch 1 does not count as stitch
- Aim to keep your tension even when completing your swatch
Special Stitches
ehdc = extended Half Double Crochet
- YO, insert in indicated, yo, pull up loop
- YO, pull through 1st loop on hook,
- YO, pull through remaining 3 loops on hook
Gauge Swatch Pattern
Row 1: Ch 25, ehdc in 2nd ch from hook and in each across, turn. (24 ehdc)
Rows 2-12: Ch 1, ehdc in same and in each across, turn.
Once you have completed your square you can go on to measure it…
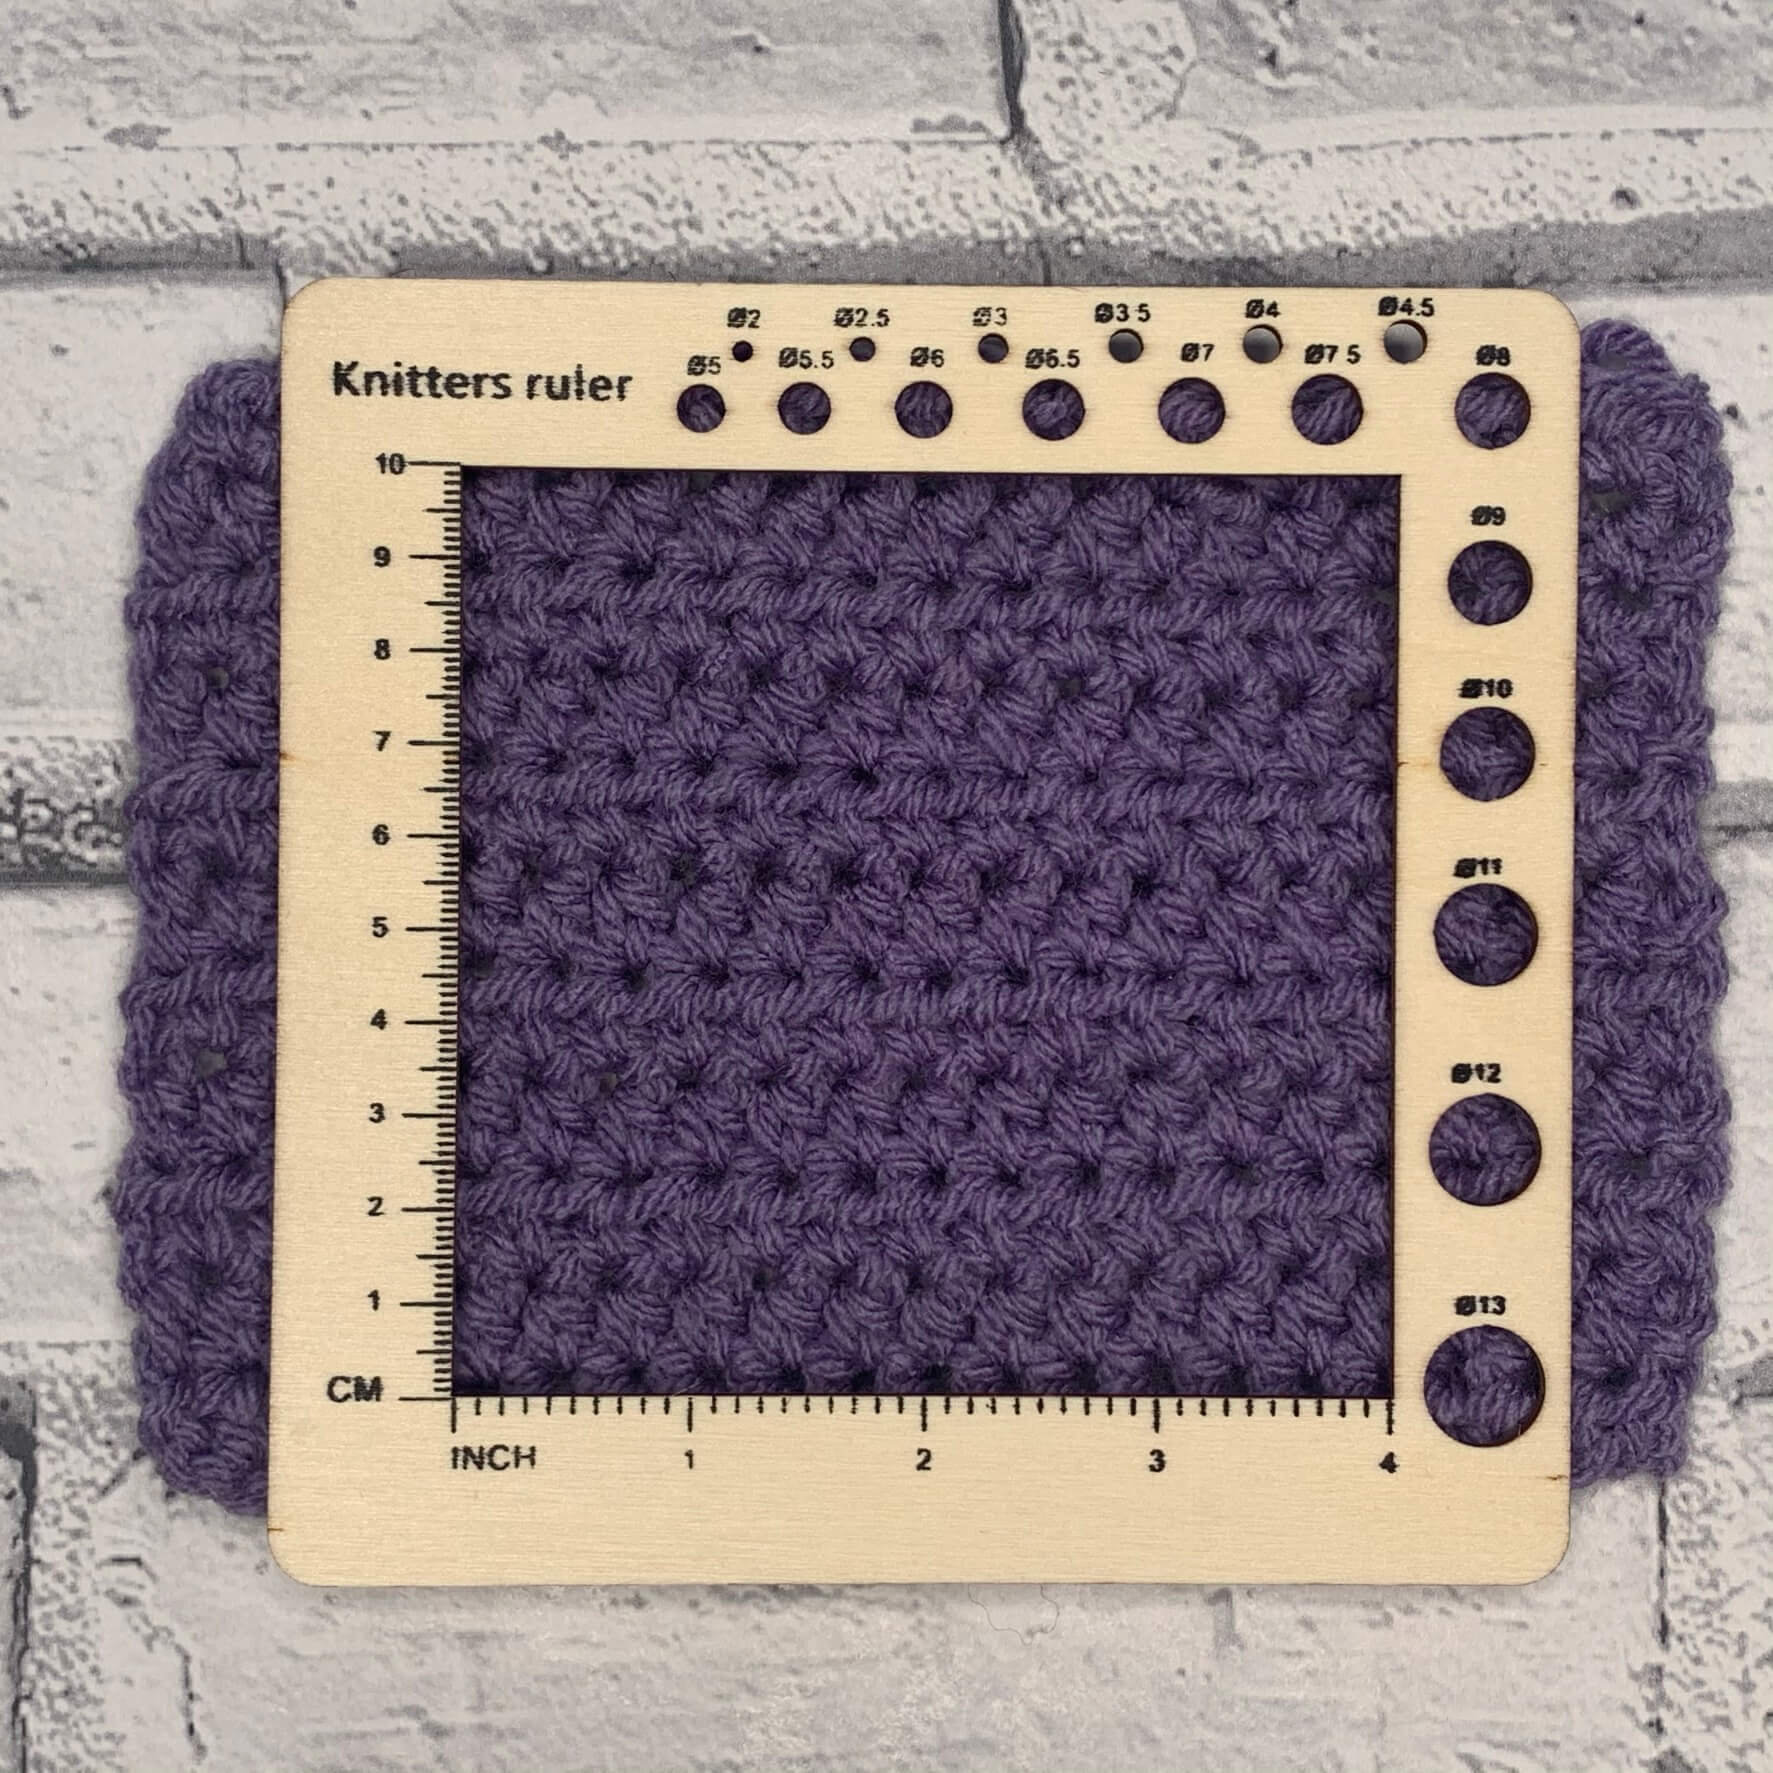
Measuring your gauge swatch
On a level surface (your lap is not a good option!):
- Pin your square in place to prevent it moving around while you measure.
- Line up your Knitters Square or place ruler along a row.
- Count the number of rows within the square 4 inches/10cm – make a note of this number.
- Count the number of stitches within the square 4 inches/10cm – make a note of this number.
Gauge
12 stitches and 8 rows = 4in (10cm) over ehdc (ehtr) with 5mm crochet hook.
Compare the number of stitches you have to the gauge provided in the pattern.
- If the gauge matches the pattern, you’re good to start your project.
- If you gauge doesn’t match the pattern, read on for some suggestions to adjust your gauge.
Adjusting Your Gauge
If you have MORE stitches or rows than the gauge stated above, your gauge is tight and this will make your finished cardigan too small.
Adjust the size of your stitches using a larger hook. For example, if you made your square with a 5mm hook, try a 5.5mm or 6mm hook.
If you have LESS stitches or rows, your stitches are too big and your finished cardigan will be too big.
Remake your gauge swatch with a smaller hook. Be careful that your crochet fabric is not TOO stiff as there should be movement in the stitches.
I would also suggest trying a smaller yarn such as a size 3 or DK weight if your fabric is too stiff with a smaller hook.
Once you have achieved gauge, you are ready to confirm which size you will be making.
Keep your gauge swatch to one side as we will need this to help calculate the amount of yarn needed to make your cardigan.
If you’d like more ways to adjust your gauge click this link: Click here for 5 Easy Ways to Adjust Your Crochet Tension
Click the button below to understand more about a schematic: Understanding a schematic