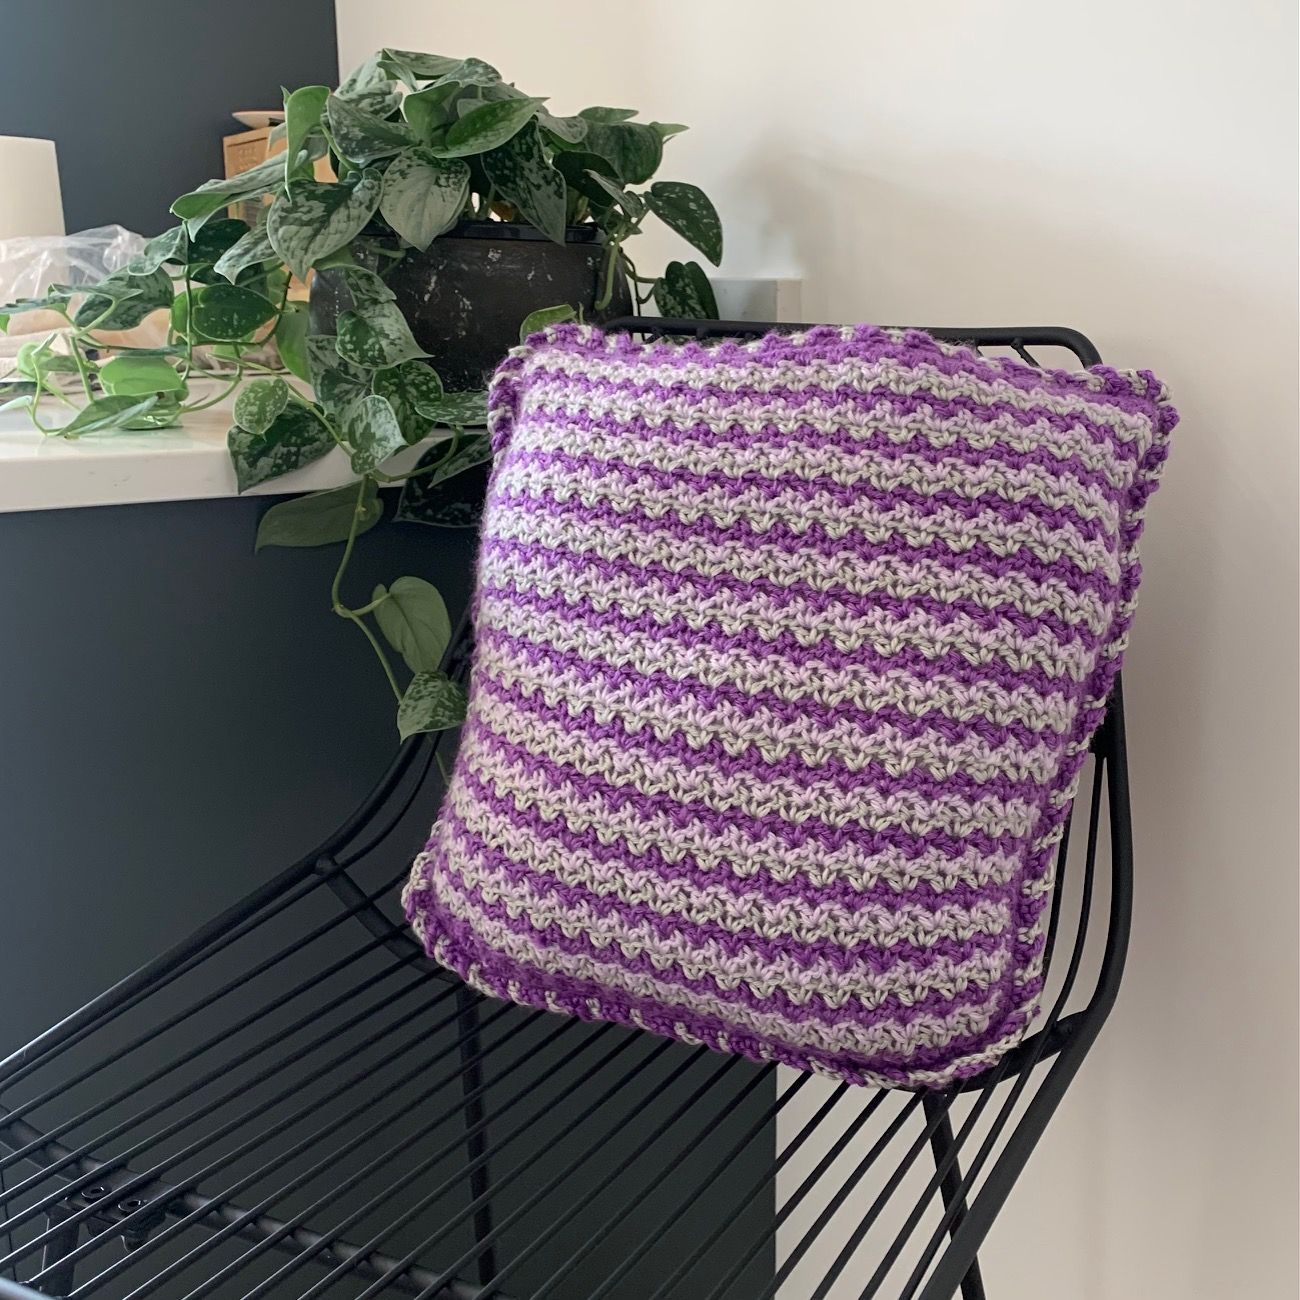
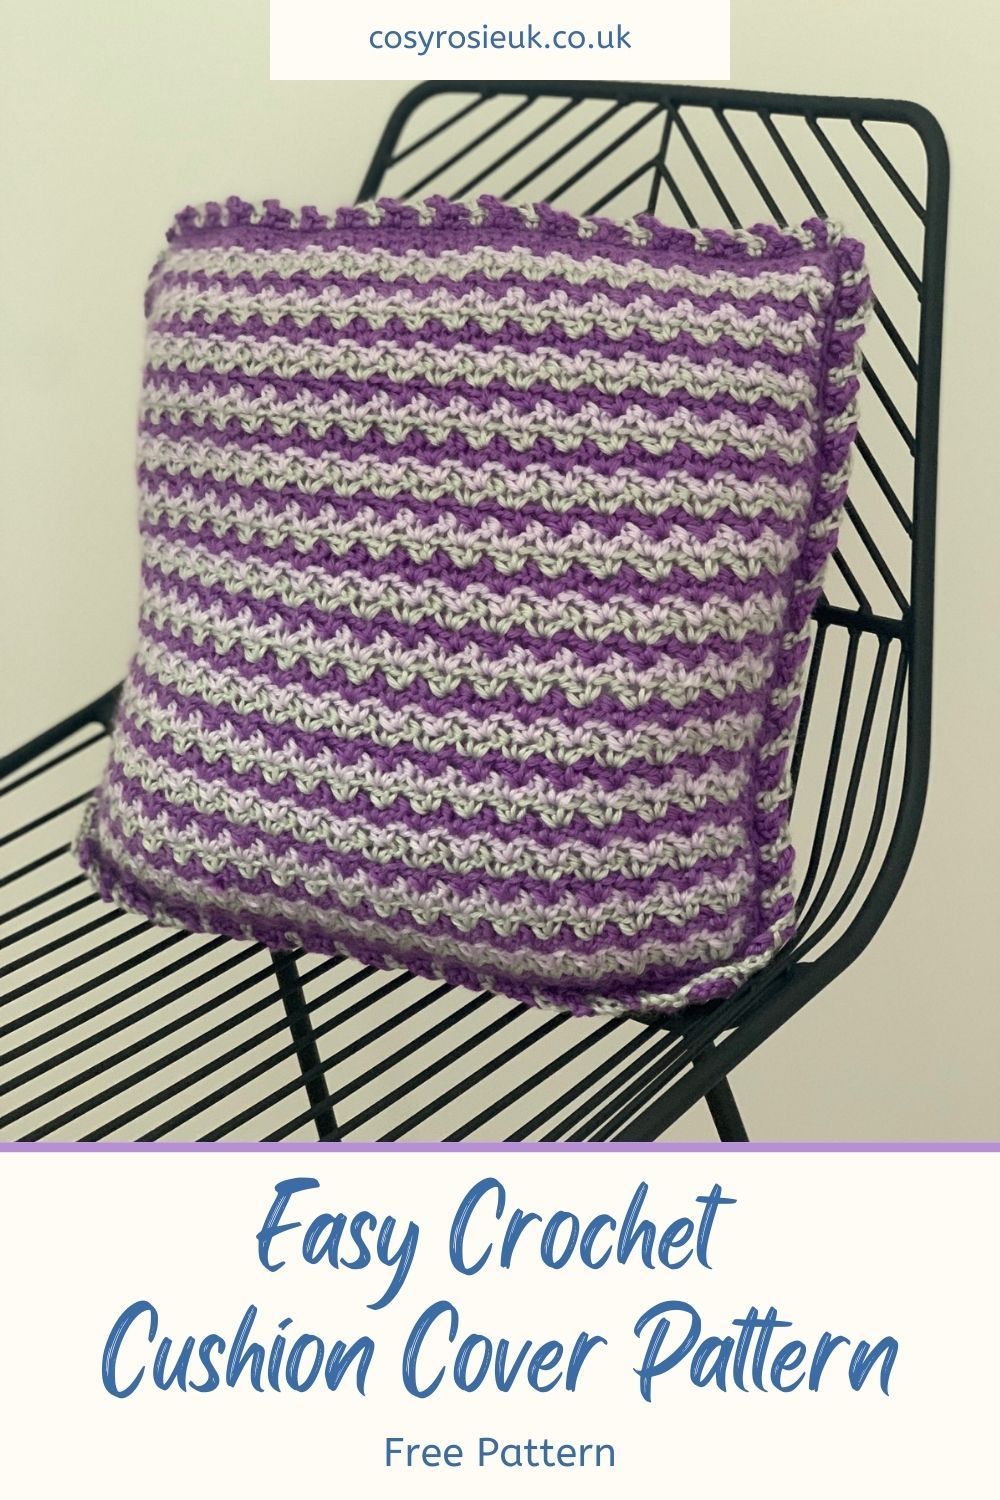
Wattle Stitch Crochet Cushion Pattern
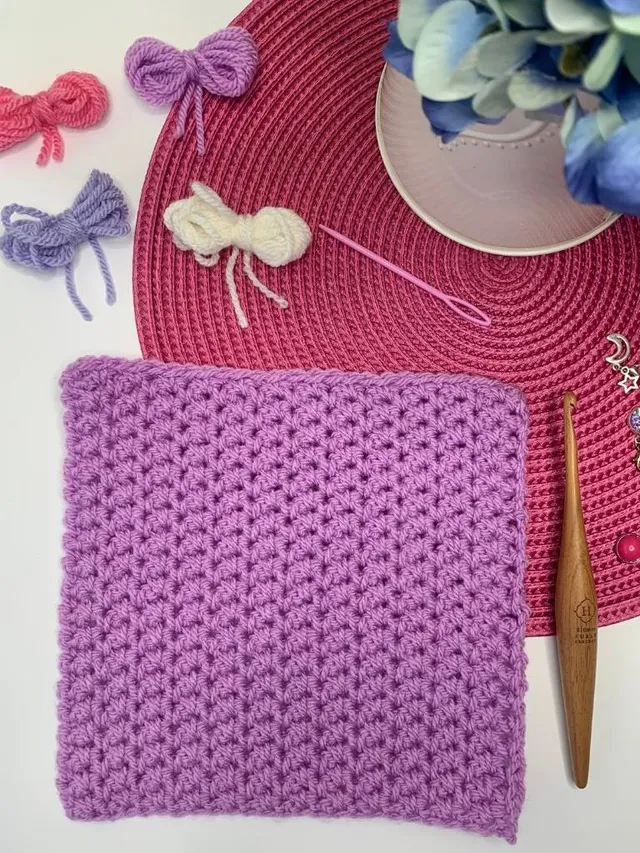
Crochet an easy cushion cover using the Wattle stitch and create home décor you will be proud to have on show. Choose to highlight the gorgeous texture the wattle stitch creates by working this crochet cushion cover up in 1 colour or make it all about colour, choosing to work it up in 2, 3, or more differently coloured yarns to make this pattern in your own style.
Wattle Stitch Crochet Cushion Pattern | Free Crochet Pattern
The wattle stitch takes 2 of the basic crochet stitches and creates a wonderful texture that can also be used to create an interesting colour pattern too.
This easy crochet cushion pattern as an easy 1 row repeat, which is worked to create 2 squares that are joined before added an interlocking arched edging.
Below you will find both the written pattern and a video tutorial to ensure that you can complete this crochet cushion with confidence.
I’d like to give my thanks to Furls Crochet for providing the yarn (and hook tray pictured) to allow me to create this pattern, and the Crochet Foundry for hosting their annual blog hop and for including me in their event again – it’s always a pleasure. Click here to see all the details of the Crochet Foundry Hop
Please note that some of the links in my blog are affiliate links. I may earn a small commission if you purchase via this links, but the price you pay is not affected
I was also lucky enough to be featured in the Crochet Foundry Blog Hop last year where I showcased the Bold and Bright Bobbles Shawl pattern.
The pattern uses the bobble stitch to add some much needed texture to break up the simplicity of the basic stitches.
Click here to make your own triangle shawl.
What colour will you make your cushion?
I love it when you can recreate a crochet pattern in your own style. This pattern is easy to make it your own by selecting the colours you love.
Below, you can see the cushions created by my amazing pattern testers and the colours they chose to use – I REALLY love the festive version worked up in Red and White.


Enchanted Arch Cushion Pattern Details
Materials Required:
- 5.5mm crochet hook (Click here to see my favourite furls hook)
- 225yds Furls Wander Yarn 100g (3.5oz), 120 yds (109m)/skein in 3 shades (75 yds in each colour)
- A – Enchanted
- B – Bergamot
- C – Moonbeam
- darning needle
- scissors
- 14″ cushion pad

Abbreviations – US Terms: (UK terms in brackets):
St(s) – Stitch(es)
Ch – Chain
Ch sp – Chain space
Sc (dc) – Single crochet (double crochet)
Tr (dtr) – (double) treble crochet
Wattle – Wattle Stitch
Special Stitches
Wattle (Wattle St) = (sc, ch 1, dc) in indicated
Pattern Notes
- Please read through the entire pattern before beginning, regardless of skill level. Please contact me ([email protected]) if help is needed to understand any part of pattern.
- This cushion is created with 2 panels, worked flat, which are joined before working the edging around.
- Beginning ch 1 DOES NOT count as a stitch
- Wattle Stitch is worked in ch-1 sp of previous row’s Wattle Stitch
- It is recommended to carry up the colour changes to reduce the number of ends created
Gauge
6 Wattle St and 12 rows = 4 inches (10cm) in pattern using a 4mm hook. Use a larger or smaller crochet hook to obtain the correct gauge.
Finished Size
14” by 14”
How to Crochet this Wattle Stitch Crochet Cushion Pattern
Pattern – make 2
Row 1. RS: With A, Ch 62, (sc, ch 1, dc) in 3rd ch from hook (skipped ch counts as sc), *skip 2, wattle st in next; repeat from * across to last 3, skip 2, sc in last, turn. 1 sc, 20 Wattle st
Row 2: With B, ch 1, sc in same, working in ch-1 sps only, wattle in each across to end, sc last, turn.
Row 3: With C, ch 1, sc in same, working in ch-1 sps only, wattle in each across to end, sc last, turn.
Row 4: With A, ch 1, sc in same, working in ch-1 sps only, wattle in each across to end, sc last, turn.
Rows 5-42: Repeat Rows 2-4, change colour in each row.
Row 43: With A. Ch 1, rotate to work in row ends, 42 sc evenly across row ends, ch 1, rotate to work across other side of beginning ch, 42 sc evenly across, ch 1, rotate to work in row ends, 42 sc evenly across row ends, ch 1, rotate to work across top of Row 42, sc in st across, skipping ch-1 sps, ch 1, sl st to 1st. 168 sc
1st panel – fasten off weave ends
2nd panel do not fasten off, weave in remaining ends.
Continue to Edging
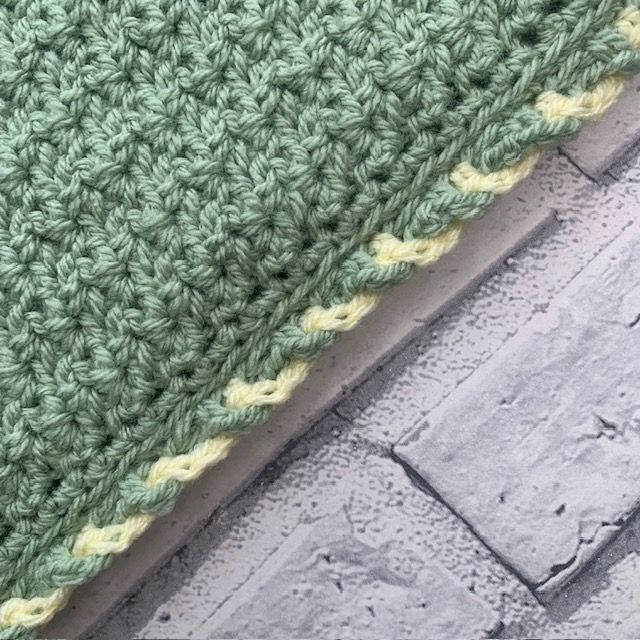
Double Chain Arch Edging
Edging
Place panels together, wrong side to wrong side.
Click here for the photo and video tutorial to complete your edging of your cushion.
Round 1. RS: With A. Ch 1, *[working through BLO of front panel and FLO of rear panel], sc in each st across to corner, ch 2; repeat from * 2 more times, insert cushion pad, repeat from * to end. 168 sc
Round 2: Ch 1, sc in same as ch 1, (*ch 5, skip 2, sc in next; repeat from * to corner, sl st in ch-2 corner space, sl st into next) around all sides, sl st under 1st sc to join, fasten off.
Round 3: With B, join in st next to 1st sc made in Round 2, pulling yarn through the ch-5 loop in previous round, sc in same as ch 1 by yarning over, through ch-5 arch to complete st, (*ch 4, remove hook from working loop, insert hook through next ch-5 arch, pick up working loop, sc in next st; repeat from * to corner, working last sc into ch-2 corner sp from Round 1) around all sides, sl st under 1st sc to join.
Fasten off, weave remaining ends.
Made it?
Come and share a photo of your completed project in the Cosy Rosie Community Group on Facebook or tag me in your photo on social media using @cosyrosieuk
Pin this Stitch Pattern for Later