Changing Colours in a Granny Square
Learn the quickest and easiest way to change colours when making a crochet granny square! This photo tutorial will take you through the simple steps to change colours including how to weave in your ends to create a neat finish!

How to change colours in a crochet granny square
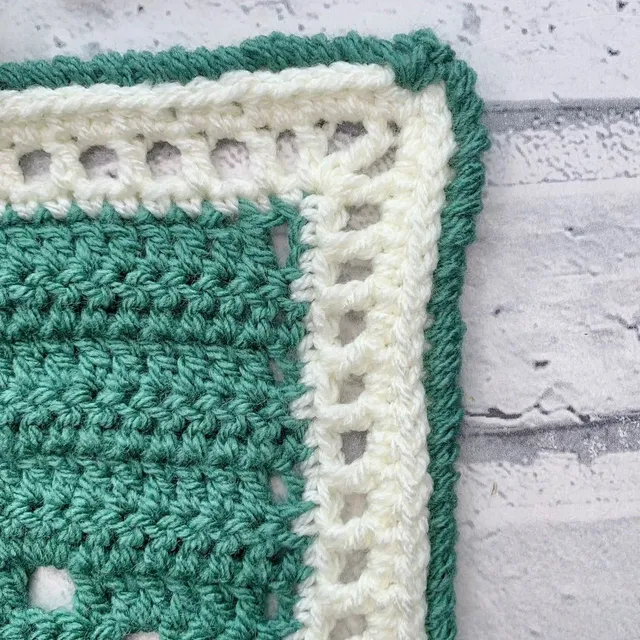
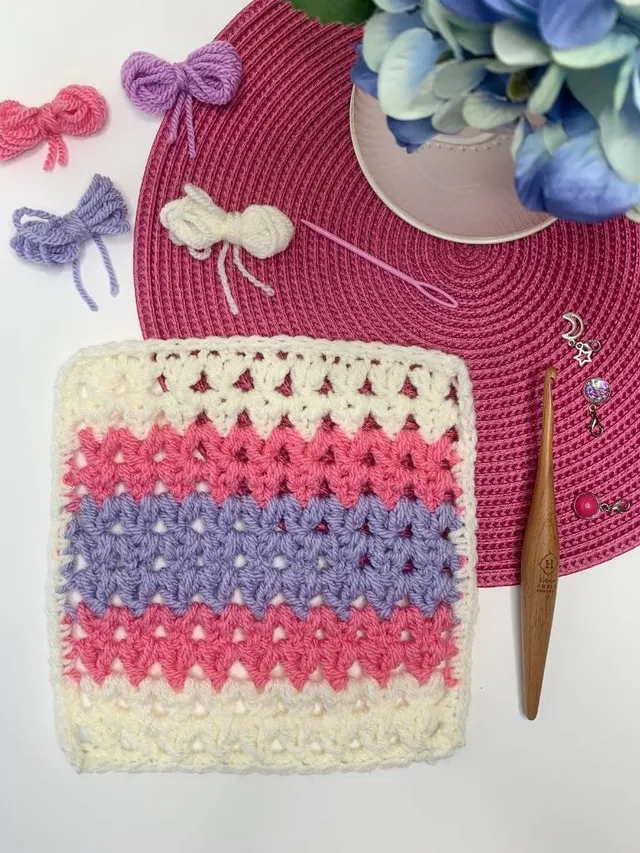
From bold and bright to pretty in pastel; the endless possible colour combinations in a granny square make their popularity crystal clear to understand taking the basic granny square to a whole different level in appearance with little further crafting knowledge required!
There is also a YouTube video to show you each step too – so read on to get bold and confident in colour changing in your granny squares!
Once you have learned how to crochet a granny square, you’ll be ready to start changing colours in the different rounds.
If you haven’t yet made a granny square, click here to see the crochet pattern and photo tutorial then come on back to start changing colours.
Materials
4mm crochet hook
DK yarn in 3 colours of your choice.
I’ve gone bold and bright for this tutorial with hot pink, turquoise and white – pick 3 colours you like to practice with.
Scissors
Darning needle
Skill level – Beginner
Abbreviations – UK Terms(US terms given in brackets)
Ch Chain
Ch Sp Chain Space
Sl St Slip Stitch
Tr Treble crochet (Dc – Double crochet) Click link to see how to make this stitch
Basic Granny Square Pattern
With your 1st colour choice of DK yarn and 4mm crochet hook,
Ch4, Sl St in to 1st Ch to create a ring.
Round 1. Ch 3 (counts as Tr throughout pattern), make 2 Tr into ring. *Ch2, 3 Tr*. Repeat Twice more, Ch 1 and Sl St to join to top of Ch 3. Sl St into top of next 2 Tr and Sl St in to corner. Fasten off (chain 1 and snip off yarn leaving a 15 cm tail. Pull tail through)
The easiest way to change colours!
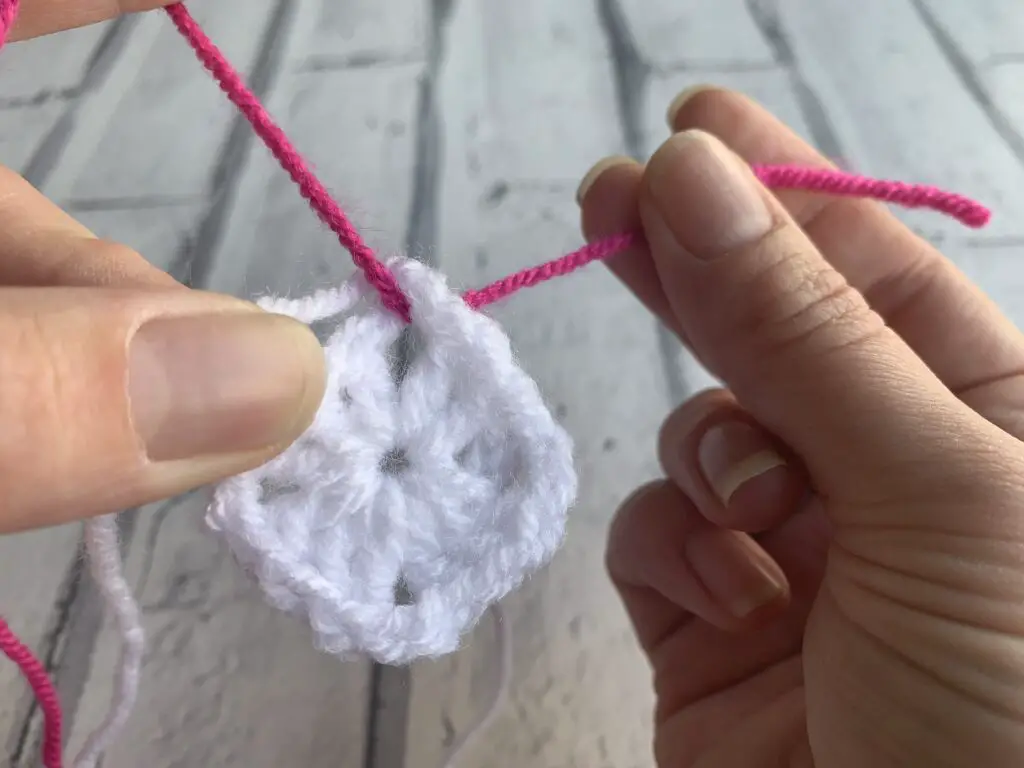
Grab your 2nd colour choice tie a knot with the new colour in to the same corner space, keeping the tail yarn to the back of the square. Ensure the knot sits to the right of where you fastened off the 1st colour.
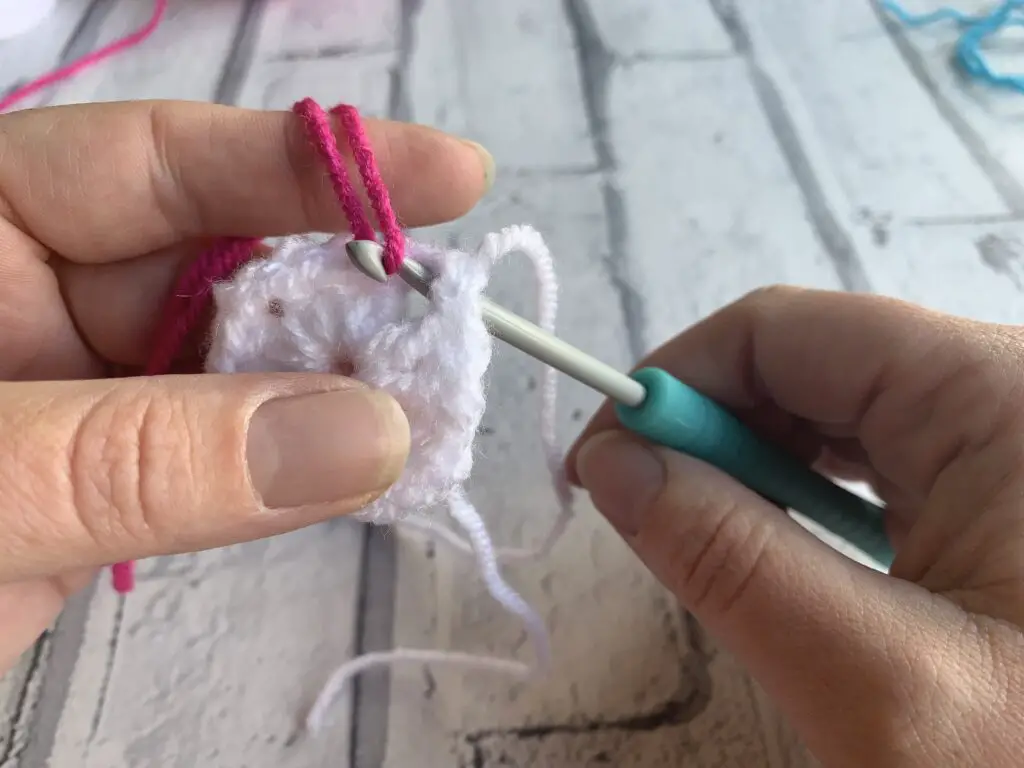

Insert your hook into the corner space, from front to back, yarn over hook and draw up a loop and begin round 2.
Round 2. Ch 3. In corner space, 2 Tr, Ch 2, 3 Tr, Ch 1. *In next corner space, 3 Tr, Ch 2, 3 Tr, Ch 1* Repeat between * & * in to next corner space twice. Sl St into 3rd Ch to complete round. Sl St into top of next 2 Tr and Sl St in to corner. Fasten off
You can continue to change colours using this technique for each round – making it super quick to change colours and with extra confidence that your project is secure.
Weaving in your ends
Weaving in the ends of a project is never anyones idea of fun, but with care and attention, you can finish all your projects neatly and ensure that you’ll never see those pesky ends poking out!
As you can see at the end of round 2, you will have 4 tail ends. At this point, we will be weaving in 3 of them –
- the tail from the starting chain of 4
- the tail end at the end of round 1
- the tail end from the first colour change.
As we will be working over the fastened off end from round 2 as we begin round 3, we will weave that tail end in once round 3 is completed.
The most important thing to remember when weaving in ends is that we don’t want them to be seen – ever again! To ensure they are completely woven in, take the needle through the stitches 3 times, working under and over the stitches on the wrong side of your project.
Thread the tapestry needle with the tail end from the start of your chain 4 and weave the tail end under the stitches you created around the ring made. You don’t want to close the gap in the middle of your square, so don’t put the tail end too tightly. Snip the tail end close to the project.
Thread the needle with the tail end where you fastened off round 1 and weave down and through the last Tr in round 1 so the needle is close to the centre ring.
1. Insert your needed under 3 of the loops of from round 1
2. Bringing your needle back in the opposite direction, insert your needle 1 loop back and under the 3 previous loops too so the needle comes back out where you first inserted it.
3. Insert your needle in the opposite direction again, under the loops you have previously worked coming out where you inserted it in step 2.
By weaving backwards and forwards, 3 times, it is highly unlikely, the ends will free themselves to be seen.
Check out the video below to see exactly how to weave you ends in.