Crochet Clutch Bag Pattern with Lining
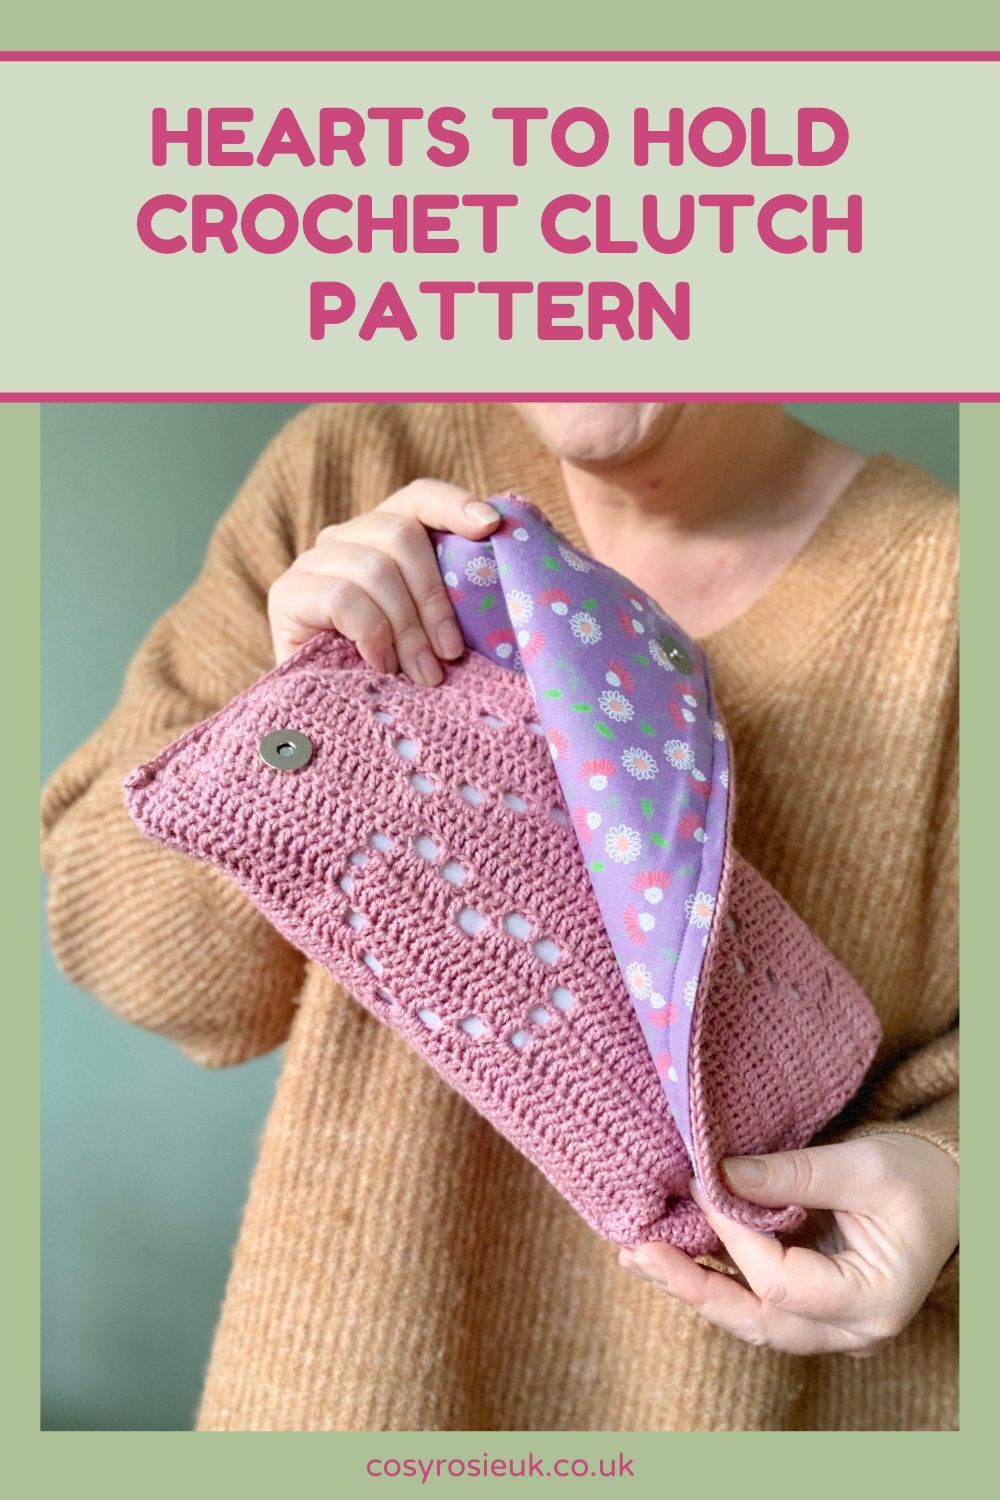
Easily create your own crochet clutch with a lining using this free filet crochet pattern that is perfect for beginners. Whether you want to line your crochet clutch with fabric or a crochet lining, this simple crochet bag pattern is quick and easy to stitch up.

How to crochet a clutch Bag with Lining
There are always times when we need a bag but not carry ALL THE THINGS that we normally have in our purse or handbag.
A crochet clutch purse or bag is the perfect solution for downsizing what you carry so you can keep the essentials on hand without weighing yourself down.
This free crochet clutch bag pattern is a great way to learn how to crochet a clutch purse for beginners as there is minimal shaping to the bag itself.
This crochet clutch has a simple construction of just 2 parts:
- Front panel
- worked using the filet crochet technique
- folded to create the bag shape
- seamed with simple crochet stitches to secure the sides
- Lining
- crochet a same sized lining and seam together
- or
- fabric lining with light interfacing for more structure
Whichever way you choose to line your bag, you’ll create a stunning bag that allows the crochet heart details to shine through.
Filet Crochet Heart Pattern
This pattern uses the Filet Crochet Technique, and like many crochet techniques, it’s simple when you know how.
Filet Crochet uses open and closed mesh stitches, that when combined so pictures and images in the crochet you create.
If you’ve never tried filet crochet or your worried about how to read a filet crochet chart, don’t worry – everything you need to know is here:
For this pattern you will find the filet crochet chart AND the full written pattern below, so that you can practice your skills and complete your project with confidence.
Hearts to Hold Clutch | Purchase the Printable PDF Pattern
If you’d prefer to print your chart or written pattern, you can click the button below to purchase the printable PDF pattern from your favourite crochet pattern retailer
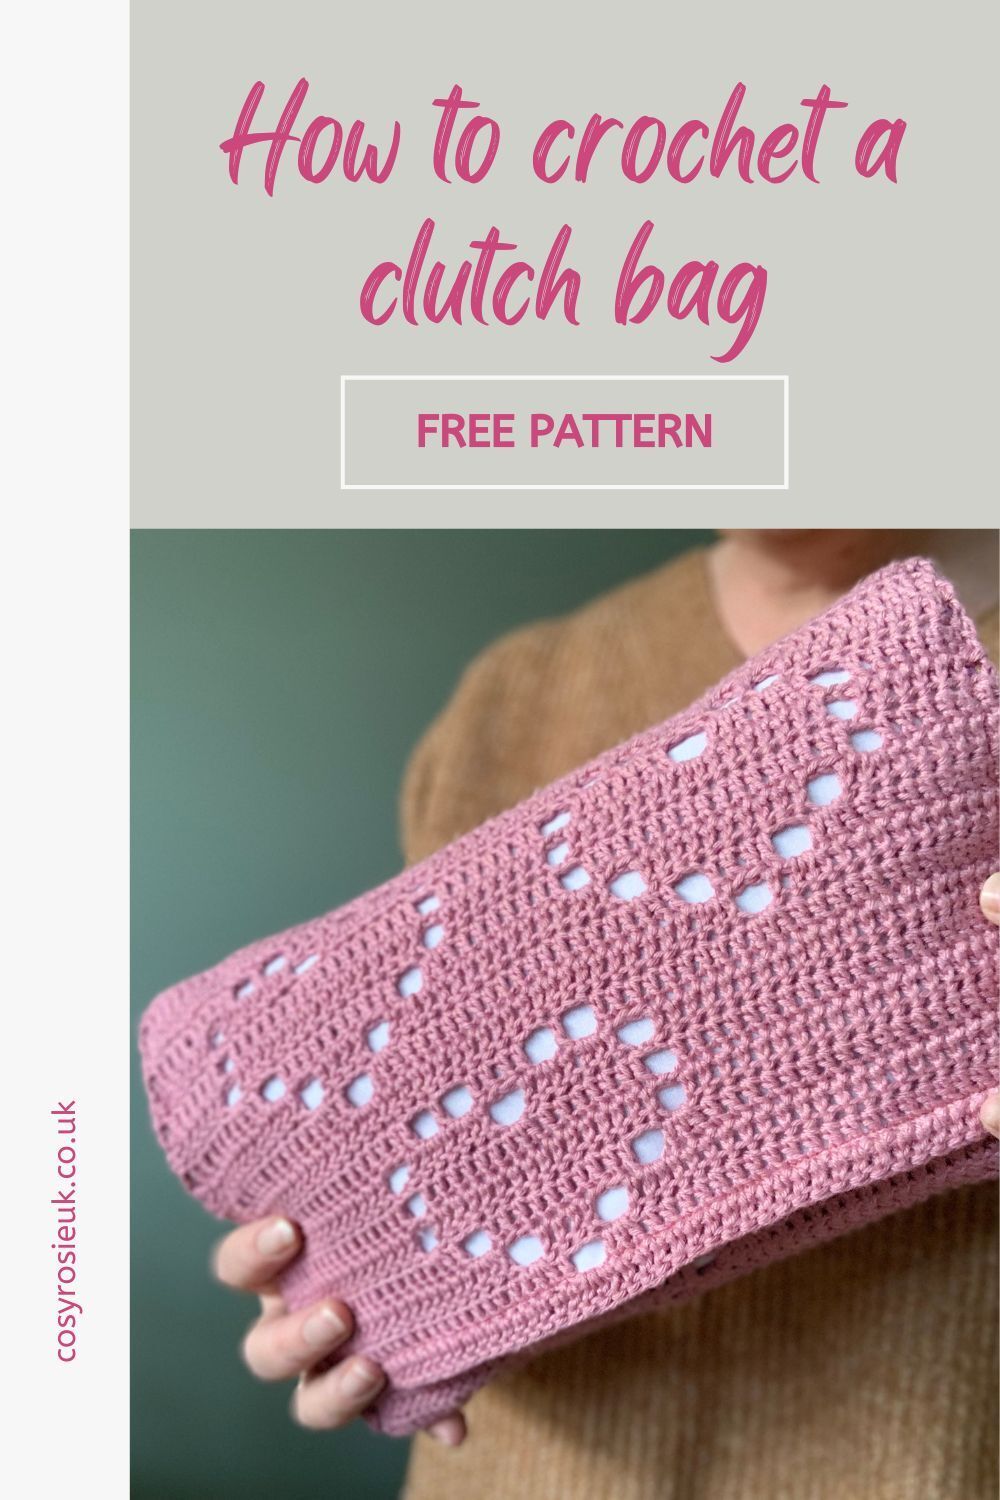
Pin it for Later | How to Crochet a Clutch Bag
New Years Resolution Blog Hop
On Sunday 1st January 2023, this pattern featured in the New Years Resolution Blog Hop 2023. Each day throughout the event, a pattern was available to download and use to learn a new crochet technique. Click here to see all the patterns that featured in the event.
How to Read A Filet Crochet Chart
Filet Crochet Hearts Clutch Bag
Materials:
- 200m DK/Size 3 cotton or cotton blend yarn
- I used Stylecraft Naturals Bamboo + Cotton, 60% Bamboo, 450% cotton = 100 g/3.5 oz. 250m/273yds in shade Rose
- G/6 (4.0) mm Crochet Hook
- Scissors
- Needle
- 2 pairs of magnetic snap fasteners or alternative such as these ones from Amazon
Lining Options
For crochet Lining
- 200m DK/Size 3 cotton or cotton blend yarn
For Fabric Lining:
- 2 different colours of 100% cotton material – 50cm 30cm allowing for 2cm seam
- Iron on interfacing – 48cm 27cm
Abbreviations
US Terms (UK in brackets)
St(s) – Stitches
Ch – Chain
Sc (Dc) – Single Crochet (Double Crochet)
TC – turning chain
X – Solid Square
O – Open Square
RS – Right side
Pattern Notes
- Read through entire pattern before beginning. Please email [email protected] if you need assistance
- The pattern is worked Front Panel 1st from bottom up which is folded and seamed once chosen lining is added.
- Beginning Ch 3 DOES count as a stitch.
KEY
Solid Black Square (X) = dc in next 3
Open White Square (O) = dc, ch 2, skip next 2
- Turning ch-3 counts as dc, it is suggested to use a stitch marker to keep track of st. Turning ch is NOT shown on chart and is implied. Be sure to include in stitch count.
Finished Size:
- 30cm x 18cm when seamed
Gauge
- 9 rows and 12 sts in dc using 4mm hook.

How to Make this Crochet Clutch Bag
Row 1: Ch 63, dc in 4th ch from hook (skipped chs count as dc), (X) 20, turn. (61 dc) Stitch count will be 61 for every row, be sure to count turning ch. Ch-2 counts as 2 sts.
Row 2: (X) 20, turn.
Row 3: (X) 12, (O) 2, (X) 1, (O) 2, (X) 3, turn.
Row 4: (X) 2, (O) 1, (X) 2, (O) 1, (X) 2, (O) 1, (X) 3, (O) 2, (X) 1, (O) 2, (X) 3, turn.
Row 5: (X) 2, (O) 1, (X) 2, (O) 1, (X) 2, (O) 1, (X) 2, (O) 1, (X) 5, (O) 1, (X) 2, turn.
Row 6: (X) 2, (O) 1, (X) 5, (O) 1, (X) 2, (O) 1, (X) 5, (O) 1, (X) 2, turn.
Row 7: (X) 2, (O) 1, (X) 5, (O) 1, (X) 3, (O) 1, (X) 3, (O) 1, (X) 3, turn.
Row 8: (X) 4, (O) 1, (X) 1, (O) 1, (X) 5, (O) 1, (X) 3, (O) 1, (X) 3, turn.
Row 9: (X) 4, (O) 1, (X) 1, (O) 1, (X) 7, (O) 1, (X) 5, turn.
Row 10: (X) 14, (O) 1, (X) 5, turn.
Row 11: (X) 9, (O) 2, (X) 1, (O) 2, (X) 6, turn.
Row 12: (X) 5, (O) 1, (X) 2, (O) 1, (X) 2, (O) 1, (X) 8, turn.
Row 13: (X) 8, (O) 1, (X) 5, (O) 1, (X) 5, turn.
Row 14: (X) 5, (O) 1, (X) 5, (O) 1, (X) 8, turn.
Row 15: (X) 9, (O) 1, (X) 3, (O) 1, (X) 6, turn.
Row 16: (X) 7, (O) 1, (X) 1, (O) 1, (X) 10, turn.
Row 17: (X) 11, (O) 1, (X) 8, turn.
Row 18: (X) 20, turn.
Row 19: (X) 20, turn.
Row 20: (X) 20, turn.
Row 21: (X) 20, turn.

Row 22: (X) 15, (O) 1, (X) 4, turn.
Row 23: (X) 3, (O) 1, (X) 1, (O) 1, (X) 14, turn.
Row 24: (X) 13, (O) 1, (X) 3, (O) 1, (X) 2, turn.
Row 25: (X) 1, (O) 1, (X) 5, (O) 1, (X) 12, turn.
Row 26: (X) 12, (O) 1, (X) 5, (O) 1, (X) 1, turn.
Row 27: (X) 1, (O) 1, (X) 2, (O) 1, (X) 2, (O) 1, (X) 12, turn.
Row 28: (X) 13, (O) 2, (X) 1, (O) 2, (X) 2, turn.
Row 29: (X) 14, (O) 1, (X) 5, turn.
Row 30: (X) 4, (O) 1, (X) 1, (O) 1, (X) 13, turn.
Row 31: (X) 12, (O) 1, (X) 3, (O) 1, (X) 3, turn.
Row 32: (X) 2, (O) 1, (X) 5, (O) 1, (X) 11, turn.
Row 33: (X) 11, (O) 1, (X) 5, (O) 1, (X) 2, turn.
Row 34: (X) 2, (O) 1, (X) 2, (O) 1, (X) 2, (O) 1, (X) 11, turn.
Row 35: (X) 12, (O) 2, (X) 1, (O) 2, (X) 3, turn.
Row 36: (X) 20, turn.
Row 37: (X) 20, turn.
Row 38: (X) 20, turn.
Row 39: (X) 20, turn.

Row 40: (X) 3, (O) 2, (X) 1, (O) 2, (X) 12, turn.
Row 41: (X) 3, (O) 2, (X) 1, (O) 2, (X) 3, (O) 1, (X) 2, (O) 1, (X) 2, (O) 1, (X) 2, turn.
Row 42: (X) 2, (O) 1, (X) 5, (O) 1, (X) 2, (O) 1, (X) 2, (O) 1, (X) 2, (O) 1, (X) 2, turn.
Row 43: (X) 2, (O) 1, (X) 5, (O) 1, (X) 2, (O) 1, (X) 5, (O) 1, (X) 2, turn.
Row 44: (X) 3, (O) 1, (X) 3, (O) 1, (X) 3, (O) 1, (X) 5, (O) 1, (X) 2, turn.
Row 45: (X) 3, (O) 1, (X) 3, (O) 1, (X) 5, (O) 1, (X) 1, (O) 1, (X) 4, turn.
Row 46: (X) 5, (O) 1, (X) 7, (O) 1, (X) 1, (O) 1, (X) 4, turn.
Row 47: (X) 5, (O) 1, (X) 14, turn.
Row 48: (X) 6, (O) 2, (X) 1, (O) 2, (X) 9, turn.
Row 49: (X) 8, (O) 1, (X) 2, (O) 1, (X) 2, (O) 1, (X) 5, turn.
Row 50: (X) 5, (O) 1, (X) 5, (O) 1, (X) 8, turn.
Row 51: (X) 8, (O) 1, (X) 5, (O) 1, (X) 5, turn.
Row 52: (X) 6, (O) 1, (X) 3, (O) 1, (X) 9, turn.
Row 53: (X) 10, (O) 1, (X) 1, (O) 1, (X) 7, turn.
Row 54: (X) 8, (O) 1, (X) 11, turn.
Row 55: (X) 20.
Fasten off, weave ends.
Continue to Lining.

How to Line a Crochet Clutch Bag
This pattern gives you 2 different ways to line you bag; you can choose to crochet a lining in a contrasting colour and seam the 2 panels together, or you can use 2 fabric panels to line the bag.
Fabric Lining
- Trim both material to fit inside Front Panel allowing for 2cm seam
- add interfacing to panel
- Fold Front panel as per chart to position magnet clasps and attach as per manufactures instructions
- Sew both linings to front panel with wrong sides of materials facing together.
- Continue to seaming.
How to Crochet a bag Lining
Crochet Lining
Row 1: Ch 62, sc in 2nd ch from hook and each across, turn. (61 sc)
Rows 2-110: Ch 1, sc in each across, turn. (61 sc)
Adjust total row count as required to fit inside front panel as tension may contribute to needing more or less rows to match 55 rows of dc of Front Panel.
Fasten off, weave ends.
- Fold Front panel as per chart to position magnet clasps and attach as per manufactures instructions
- Sew lining to front panel
- continue to Seaming
Seaming the Bag
Seaming
Row 1: With Front of bag facing, rejoin yarn in bottom corner, ch 1, working through both Front and Back of bag, sc evenly up to opening, ch 1, working in other side of starting chain, sc in each across the Front of bag, ch 1, rotate to work in row ends through both Front and Back of bag, sc evenly down to other bottom corner.
Fasten off, Weave ends.

Hearts to Hold Clutch | Purchase the Printable PDF Pattern
If you’d prefer to print your chart or written pattern, you can click the button below to purchase the printable PDF pattern from your favourite crochet pattern retailer:
Pin it for Later


