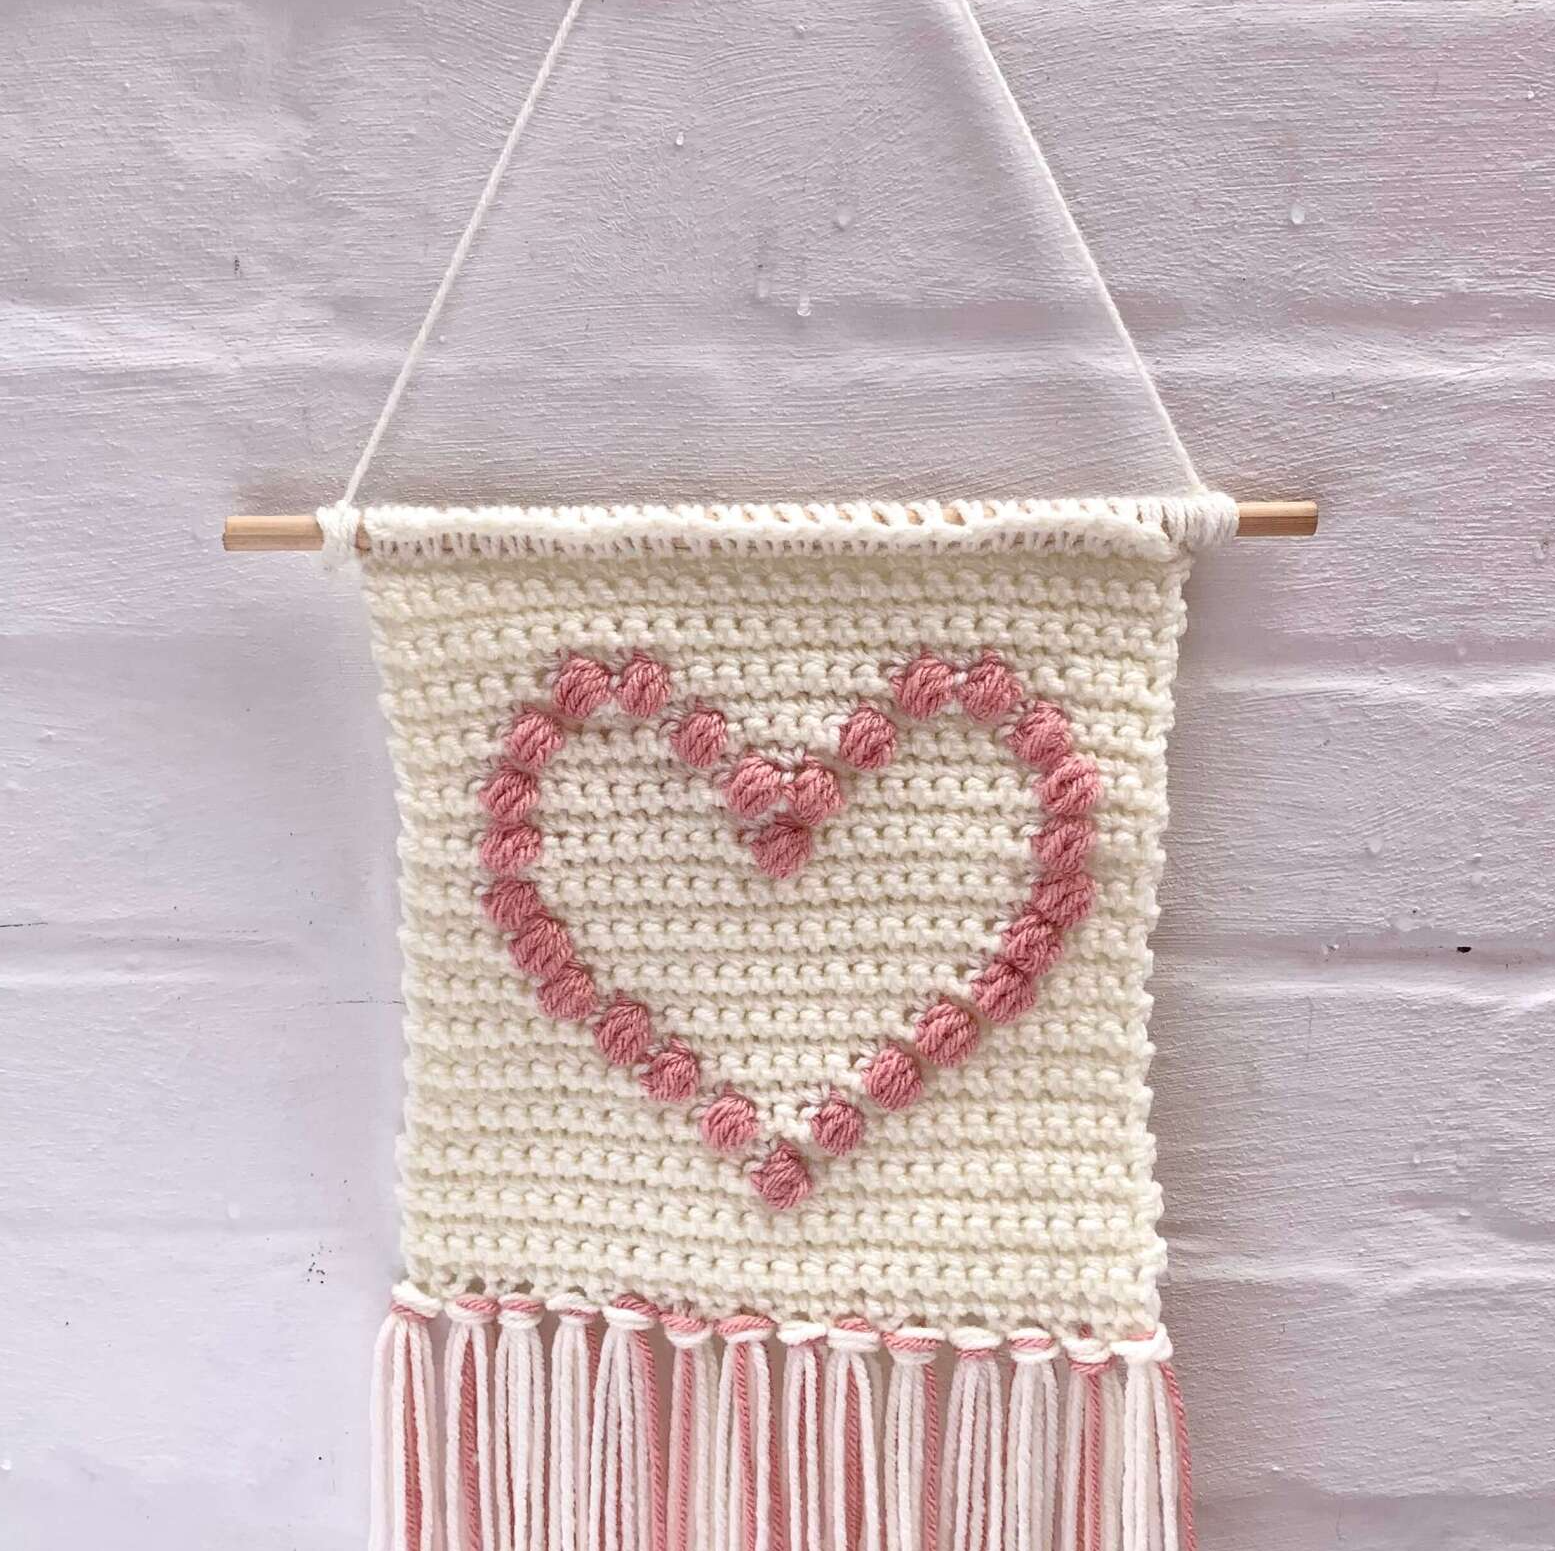
How to attach a dowel to a crochet wall hanging
Learn how to attach a dowel to a crochet wall hanging using either of these 2 techniques to complete your wall hanging and hang it with pride, knowing it is secure.

Please note that some of the links in my blog are affiliate links. I may earn a small commission if you purchase via these links, but the price you pay is not affected
How to add a dowel to your crochet project | Stitch Tutorial
This tutorial will show to 2 different ways to attach a wooden dowel to your finished crochet wall hanging.
The 2 different way’s can be applied to other projects that require something to be attached to the project, such as handles to a bag.
The 2 different techniques to attach a dowel to your projects are:
- Sewing the dowel on
- Using Single crochet stitches to attach the dowel.
Both techniques work well in creating a secure way of attaching the dowel to your project. Read on for the photo tutorial on how to attach.
Where to use this technique?
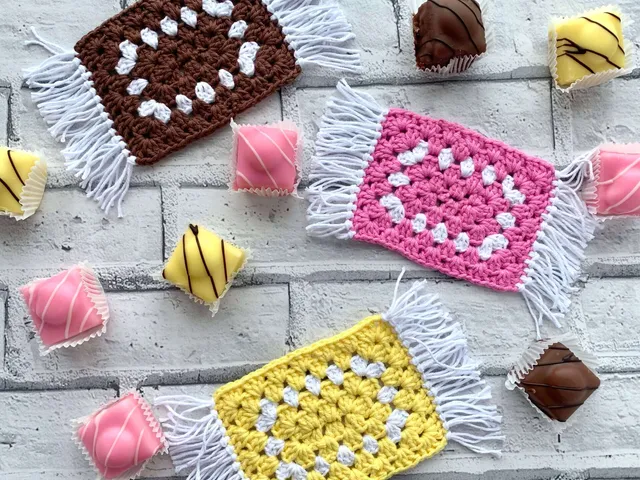
There are number of Cosy Rosie UK Patterns that you can use these 2 way’s to attach your dowel in including:

How to Attach a Dowel to a Crochet Project
How to Sew on a Dowel
This technique is the least fiddly but if you are working to join the dowel to a large project, it can feel like it takes a long time. With a standard square project, it’s quick and easy to do.
This technique is usually worked with the right side of your project facing you.
Materials Needed:
- Yarn – quite a long length
- Darning needle
 Tie on the yarn in the 1st stitch in the corner, Loop yarn over the dowel and through the corner stitch,
 Insert needle into next stitch, ensuring needle goes over the yarn at the back of the dowel
 Pull needle and yarn all the way through and tighten to dowel
 Repeat through all remaining stitches to end of row. Secure and weave in end.
 It will look like this at the rear of your project
How to attach a dowel using Single Crochet
This technique uses the single crochet stitch to attach the dowel by working through the stitch on your project and around the dowel to join the.
Personally, I prefer the finished look of this technique, but it can feel awkward and fiddly as you need to hold the project and the dowel at the same time as your yarn.
This technique can be worked with either the right side or the wrong side facing which changes the finished look of the project.
If you want to see the top of the single crochet on the top of your project, you would work with the right side facing you.
Materials Needed:
- Yarn – leave the yarn attached to the ball as you will need a lot more than for sewing
- Corresponding hook size for the yarn being used to attach
- Darning needle for weaving in ends
 Attach the yarn in the corner stitch, with working yarn in front, insert yarn into 1st stitch
 With hook behind dowel, bring yarn through to slip stitch
 With yarn behind dowel, Insert hook through next stitch, yarn over, behind the dowel, bring up loop and back through stitch,
 Yarn over, pull through 2 loops. Continue across all of row. Fasten off and weave in ends.
How to add Hanging Strand to Dowel
- Tie yarn onto one end of dowel
- working over the tail of the yarn, wrap the yarn around the end
- Secure the tail to the yarn with a knot
- Create the length of string – remember that yarn does stretch
- Wrap yarn around other end of dowel
- cut yarn leaving a tail
- Secure tail yarn by creating a knot
- Feed tail yarn through wrapped yarn and tie to hanging strand
- Feed ends through and fasten off.
I’d love to see your completed wall hangings – don’t forget to tag me on your social media @cosyrosieukView more stitch tutorials
*This pattern and its images are copyright protected and the sole property of Fiona Field/Cosy Rosie UK 2022. Please do not redistribute, transfer, sell the pattern, or alter it to claim as your own. *