What is Tapestry Crochet
If you’ve ever wondered, what is tapestry crochet; read this to find out more about tapestry crochet, a colour work technique that uses 2 or more colours of yarn, worked in the same row, where you change colours for different stitches, to create images or graphics in crochet fabrics.
Tapestry Crochet Technique – an overview
Tapestry Crochet is a technique that can be overwhelming when you hear it described, as it uses 2 or more colours of yarn, all worked in the same row of crochet, changing between the different colours of yarn to work the different stitches.
When you first give tapestry crochet a try, it can seem fiddly and challenging to manage the different colours and strands , but believe me when i say, once you get the hang of those colour changes, it’s so worth it.
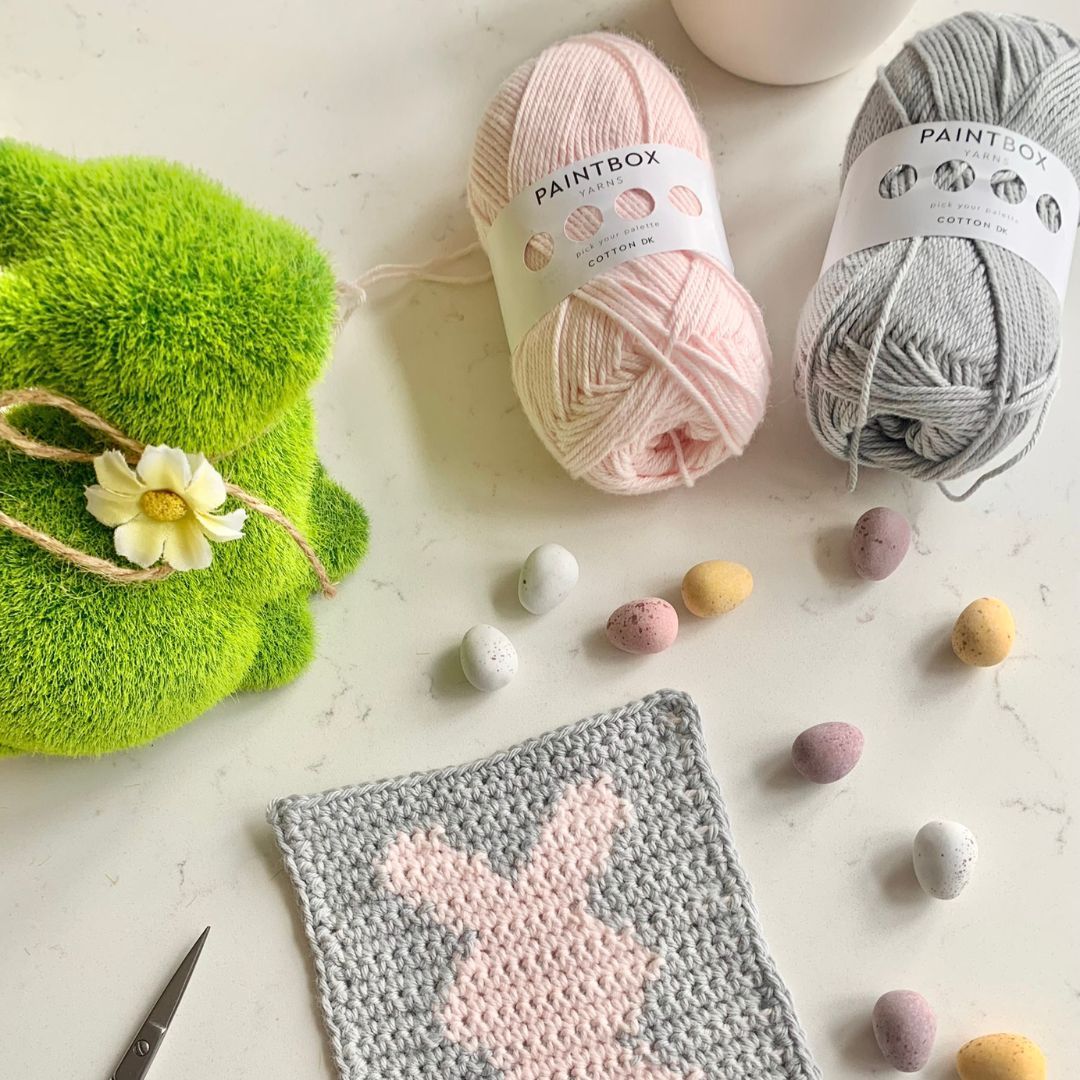
The tapestry crochet technique can be used in both flat crochet projects, which are worked in turned rows and also worked in the round too, to create detailed geometric images and more. The patterns, shapes and images that can be created with tapestry crochet are limited only by your imagination.
Please note that some of the links in my blog are affiliate links. I may earn a small commission if you purchase via this links, but the price you pay is not affected
What stitches are used in Tapestry Crochet?
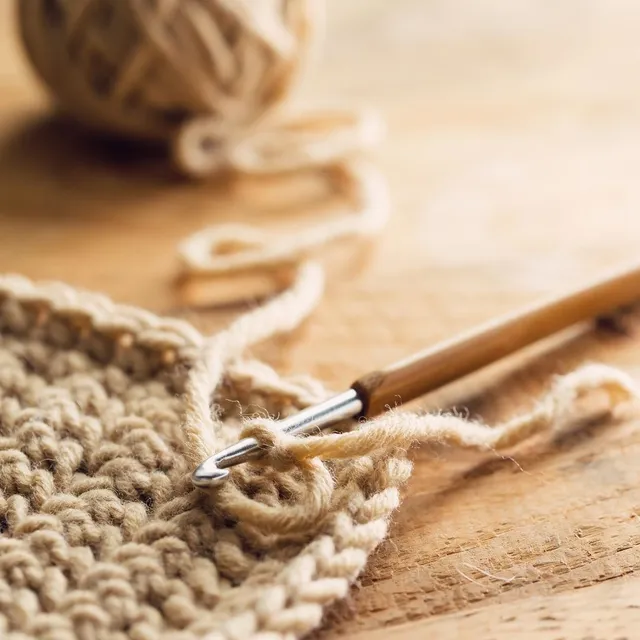
Almost all tapestry crochet projects are worked using US single crochet stitches, but this technique can also use half double and double crochet stitches.
As this technique uses only the basic stitches, it’s one of those techniques you can learn, no matter how long you’ve been crocheting.
With tapestry crochet, you work over the other strands of yarn that are not currently being used, which “hides” the unworked yarn, inside the stitch.
The 5 most commonly used stitches in Tapestry Crochet
- Single crochet (US term)- used mainly in projects that are worked flat, in turned rows
- Back loop only single crochet – this stitch is seen in tapestry projects that are worked in the round, but can also feature in flat, turned row projects as it helps to prevent the slant seen when changing colours
- Waistcoat stitch – this stitch is also used to help correct the slant seen when changing colours in tapestry crochet
- Half double crochet (US term)
- Double crochet (US term)
Whichever stitch is being used, the technique of carrying all the different colour strands of yarn is the same.
Skill Level for Tapestry Crochet
Although tapestry crochet only uses the basic stitches, the technique is considered intermediate due to the nature of working different strands of yarn in the same rows or round.
Depending on the complexity of the pattern can increase the the skill level to advanced or complex, but that doesn’t mean beginners shouldn’t try the technique using a small project – you never know how hard you’ll find it and might fall in love with the technique!
There are 3 skills that are really important to tapestry crochet:
- When & How to crochet over the unused yarn
- Understanding the right side and the wrong side of your project
- How to change colours
How to start your tapestry crochet project
The foundation chain should be made in the main colour of your project, or the colour that is indicated in the pattern.
Regardless of when the 2nd colour is first being used in the design, you should begin to carry the colour as you complete row 1 of the project.
This will allow all the rows, throughout the project to have the same thickness and colour appearance using more than 1 strand. If you only add in the 2nd colour when it is first needed in the project, the additional yarn will be much more obvious than if it is held throughout the 1st few rows.
To start your project:
- Make your beginning (foundation) chain in colour 1
- Place the 2nd colour of yarn between your chain and your hook (1st image)
- Insert your hook into the 2nd chain from hook (or as indicated by pattern)
- Yarn over, ensuring the 2nd yarn is worked over (2nd image)
- Yarn over and complete the US single crochet as normal
- Continue to work across, working 1 single crochet into each chain across, ensuring that the 2nd colour is worked over, sitting inside the stitch.
Place the 2nd colour of yarn between your chain and your hook
Yarn over, ensuring the 2nd yarn is worked over
Continue to work across, ensuring that the 2nd colour is worked over
Understanding the right side and the wrong side
Most crochet colour work is shown in chart form, where each square of the chart equals a stitch.
Row 1 and all odd numbered rows will be the right side of your pattern and the even numbered rows will be the wrong side.
Why is it important to know which side is which?
When you turn your work and carry up the unworked yarn, you want to keep the unworked yarn showing on the wrong side of your project.
Beginning a wrong side row:
Once you completed your turning chain to start working on the wrong side (even numbered) rows:
- yarn over with the unworked colour
- insert your hook into the 1st stitch to be worked (see photo below)
- complete stitch as normal
How to crochet over the unused yarn – wrong side rows
The unworked colour should be held to the front of your project as you work the wrong side (off numbered) rows.
Beginning a right side row:
Once you completed your turning chain to start working on the right side (odd numbered) rows:
- insert your hook into the 1st stitch to be worked
- keep the unworked yarn to the back of your project, over the hook
- yarn over with the in work yarn (see photo below)
- complete stitch as normal
How to crochet over the unused yarn – right side rows
The unworked colour should be held to the back of your project as you work the right side (off numbered) rows.
How to change colours in Tapestry Crochet
To have a neat colour change in crochet, the colour change should be started in the stitch before in the new color is needed.
There is no need to fasten off, or cut the yarn colours that are not being used (worked) in the row. You should work over the strands of yarn not in work (not being used).
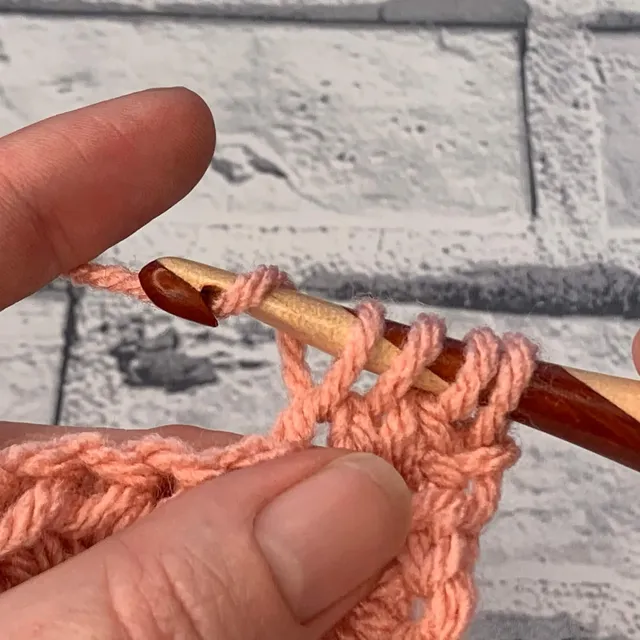
To change to the next colour, in the stitch before:
- when there are 2 loops remaining on the hook, yarn over with the next colour needed (photo 1)
- complete the stitch, working over non-working colours (photo 3)
It should not be possible to see the unworked yarn from either the right or the wrong side of your project, BUT it it is possible for excess yarn to be visible.
If you can see the unworked yarn through your project, on either side, gently pull the unworked yarn before the next colour change to tighten the yarn and prevent the yarn peeking through.
It’s important not to pull the yarn too tightly, as this will warp the crochet and cause your tension to be too tight, which will change the finished size of your project.
At the same time, you don’t want your stitches to be too lose either – there will be a higher chance of the unworked yarn being see through the stitches.
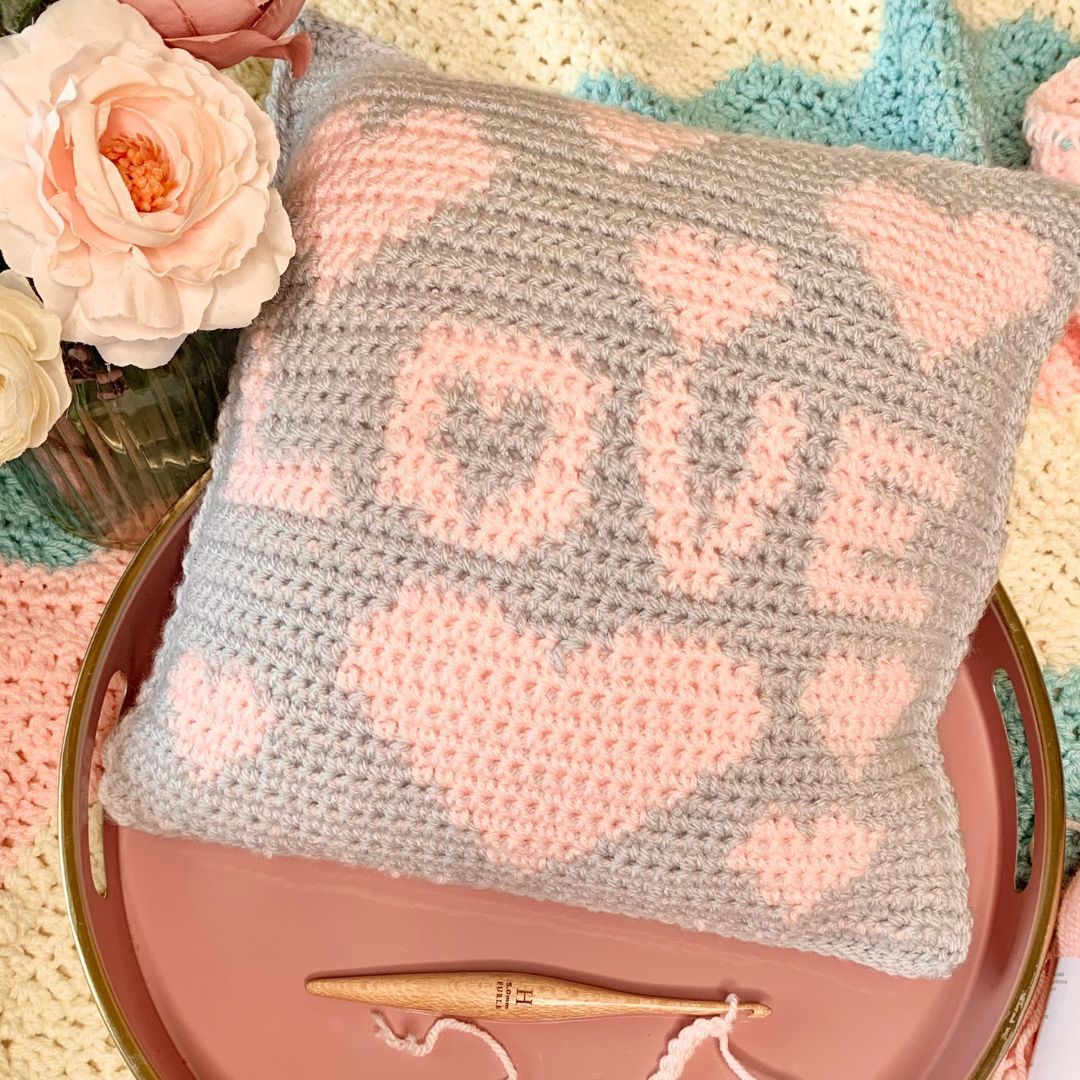
Ready to Try Tapestry Crochet?
If you’re ready to try this technique, click the button below to see the Love Hearts Tapestry Crochet Cushion pattern.