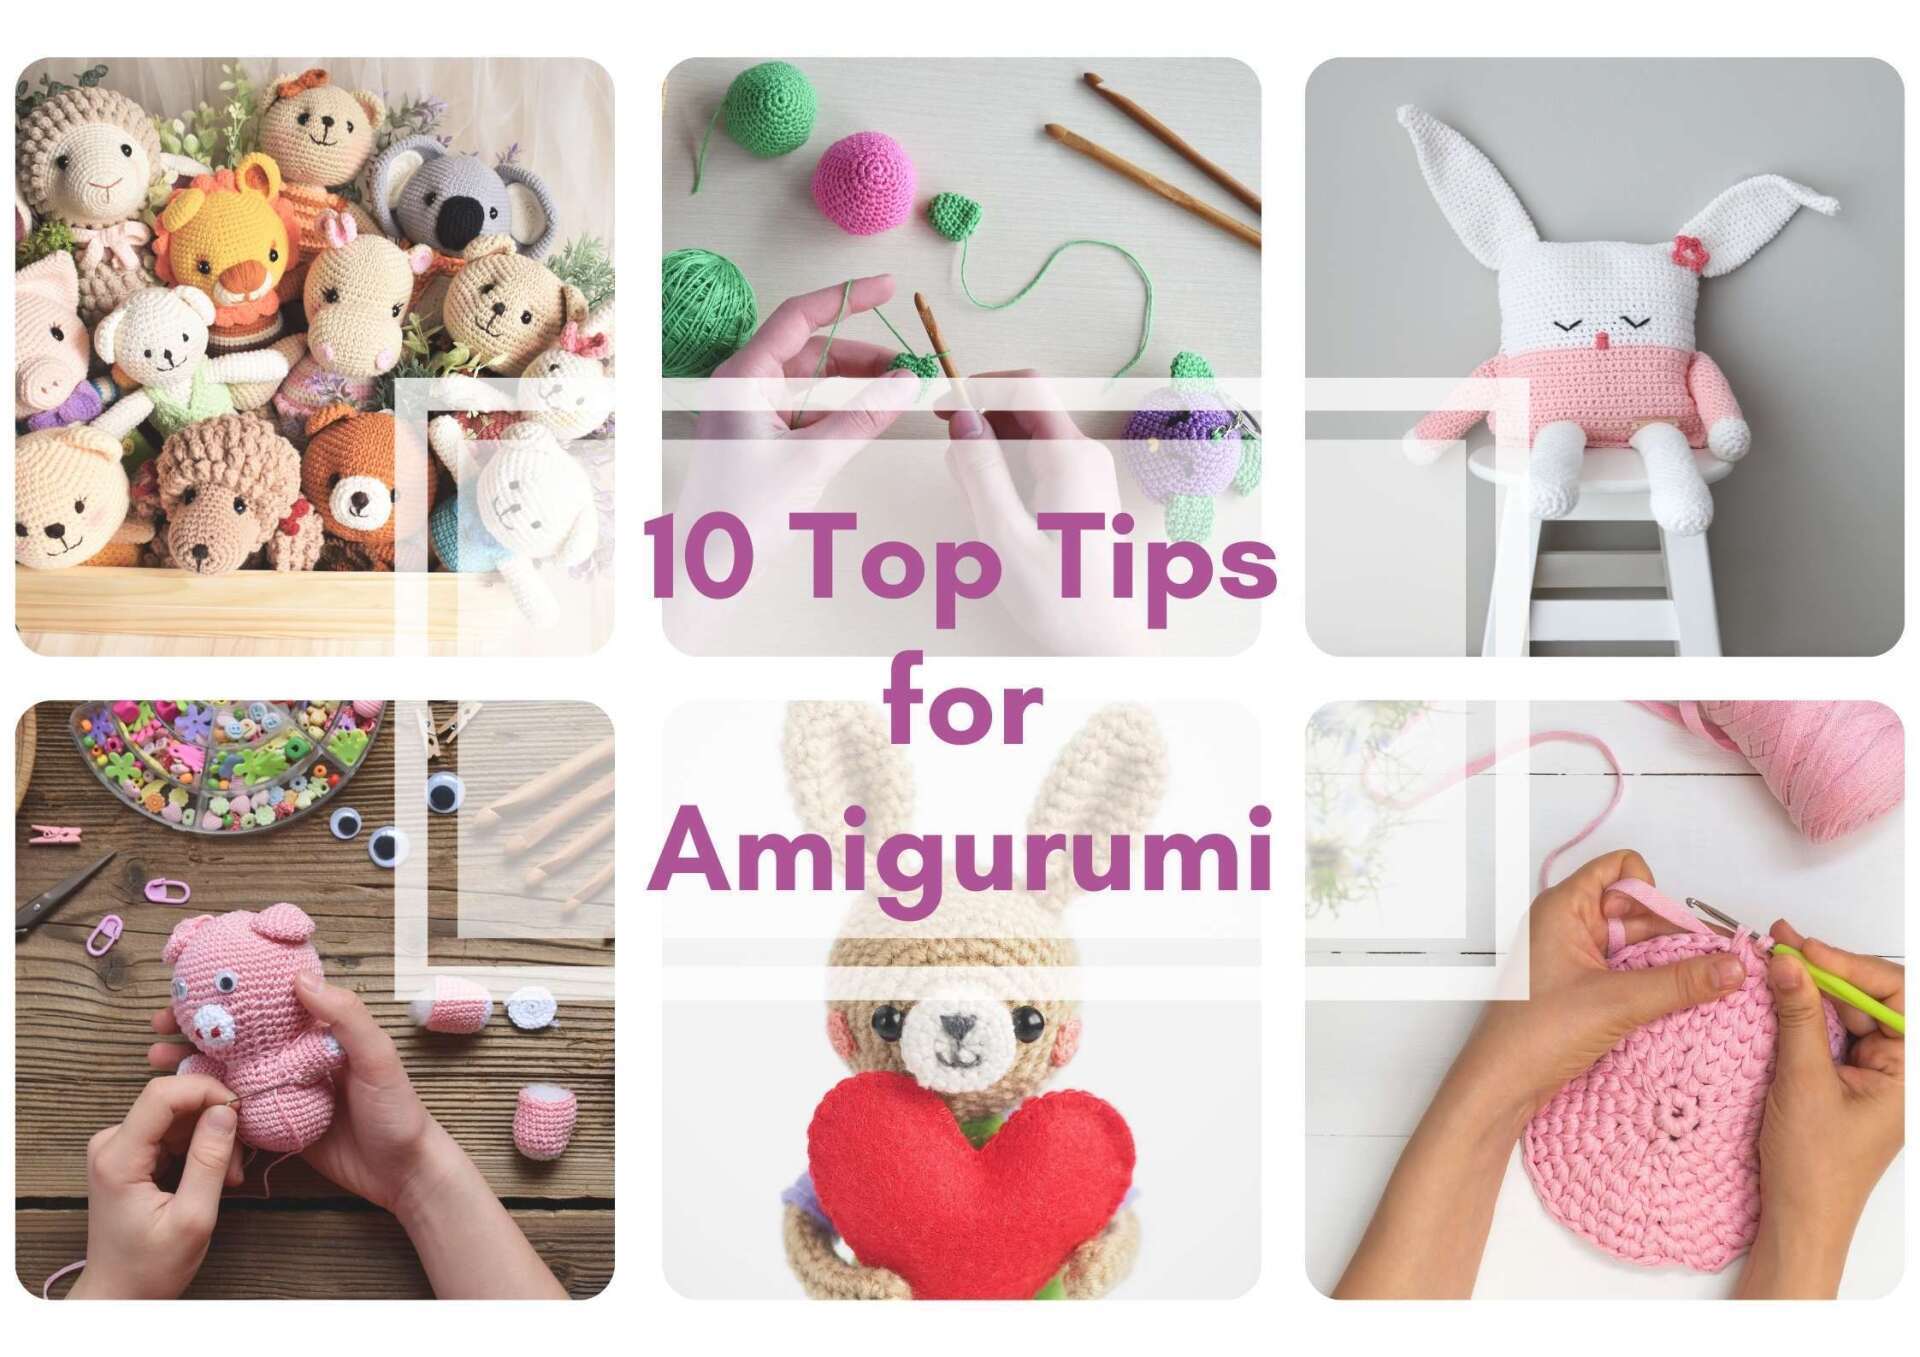
10 Top Tips for Amigurumi for Beginners
Use these 10 Top Tips for Amigurumi crochet projects that will have you no longer feeling like a beginner, simply from learning how to make a perfect start to your Amigurumi toys through to how you can hide your stuffing in your crochet projects.
Please note that some of the links in my blog are affiliate links. I may earn a small commission if you purchase via this links, but the price you pay is not affected
10 Top Tips for Amigurumi for Beginners
I was recently joined by Lisa of Green Fox Farms Designs to learn some top tips for our Amigurumi projects to take them to the next level.
I’m a huge fan of the Amigurumi style and as is my way, I wanted to know more about the history of this style so I went off to do some research.
I found a fabulous article on Amigurumi.Today that shared some great information that I wanted to share with you about the history of this super cute crochet style.
Amigurumi has increased in popularity so much since I started to learn to crochet and like many people, those cute stuffed toys was one of the reasons I started to learn to crochet.
Amigurumi is a Japanese word that simply describes small stuffed toys, but how did it reach such popularity?
The Amigurumi doll/toy shapes that we are familiar with seeing today really started to gain popularity in the 1970’s. This was alongside the Kawaii (cute) trend and the increased availability of Managa and anime publications.
In the early 2000’s, those clever fibre arts designers were creating patters to recreate characters in this cute style along with people creating their own characters too.

I believe the image above would be considered an “aesthetic” by people (a lot) younger than me, but it captures that Kawaii feeling that I get when I see stunning Amigurumi projects.
As a beginner to crochet, there are some crochet techniques and some tricks that will make your own amigurumi projects better than you can imagine and I want to share those with you today.
How to Improve your Amigurumi Projects | Top Tips
Watch the replay of the interview with Lisa of Green Fox Farms where we discussed 10 Top Tips & Tricks to improve your Amigurumi today. Or read on to read the list of the top 10 tips.
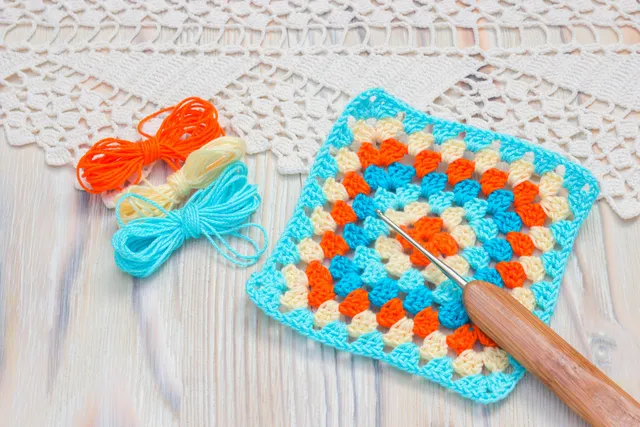
- 1. Magic Circle
- Get off to a good startMany Amigurumi projects are worked in the round. There is no better way to start a toy project than with a magic circle. It allows you to work a multitude of stitches into the centre of the ring before cynching closed.
Make sure you weave in that tail to secure the magic circle. Click to watch a video to learn how to make a magic circle
- Get off to a good startMany Amigurumi projects are worked in the round. There is no better way to start a toy project than with a magic circle. It allows you to work a multitude of stitches into the centre of the ring before cynching closed.
- 2. Use a smaller Hook
- One way to create tighter stitches and less holes in your amigurumi projects, is to use a hook smaller than the yarn recommends. Remember to check what size the pattern recommends, if you use a smaller hook that the pattern suggests, your finished project may come out smaller too. View my favourite ergonomic hooks
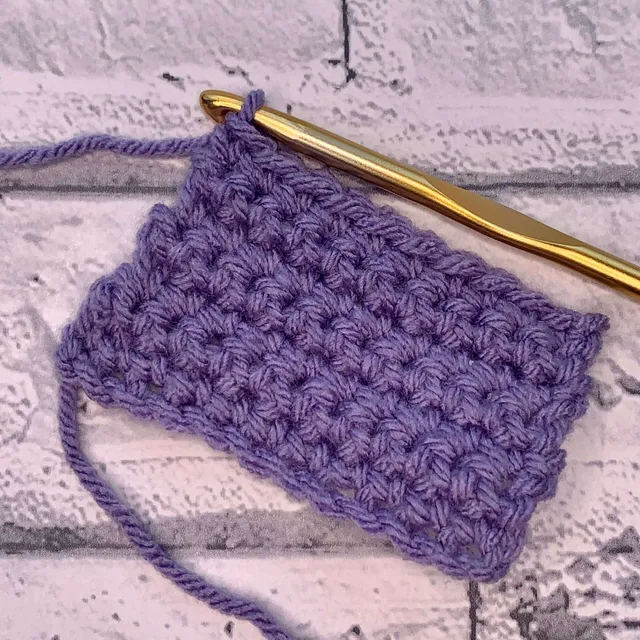
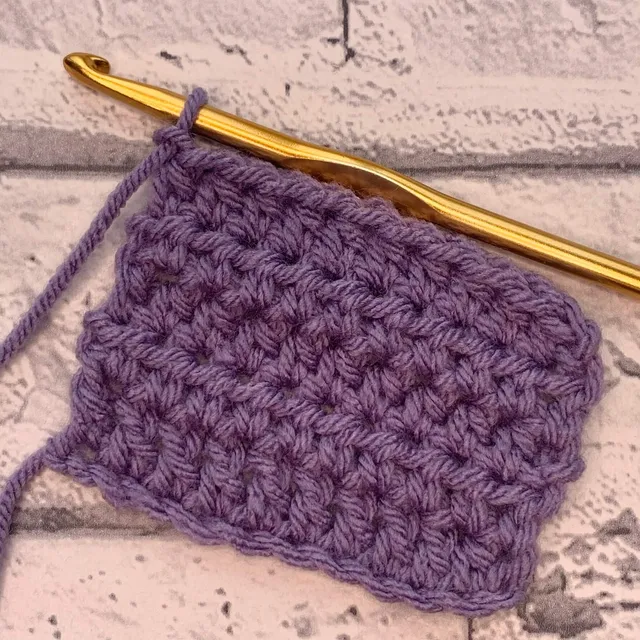
- 3. Work in continuous Rounds
- Working in continuous rounds is also known as working in a spiral.
It simply means that you don’t join the round before starting the next one – there is no slip stitching.
See tip No. 4 on how to make this technique easier.
Pictured – Tiny Bunny Ami by Green Fox Farms Designs. Click the make the Tiny Bunny Pattern
- Working in continuous rounds is also known as working in a spiral.
- 4. Use Stitch Markers
- When making Amigurumi, the stitches used are small and can be challenging to identify or distinguish between slip stitches.
Placing a stitch marker into the 1st stitch of each round will make counting and joining (where required) easier.
- When making Amigurumi, the stitches used are small and can be challenging to identify or distinguish between slip stitches.
- 5. Count Your Stitches
- No one likes to count their stitches. BUT, with ami projects, one missed or skipped stitch could result in a pattern not working. Take the 30 seconds it takes to double check your stitch count at the end of each row to save you having to pull out (frog) more than you need to, to correct an error.
- 6. Get Stuffed!
- The simplest way to prevent your stuffing showing through your projects is to ensure your stitches are tight enough.
But, you can also place your toy stuffing into pantyhose or tights before putting into your project.
This means you can stuff your project with your yarn scraps without the worry of them poking out too.
- The simplest way to prevent your stuffing showing through your projects is to ensure your stitches are tight enough.
- 7. Yarn Under, not Over
- This technique can make your stitches tighter that the “correct” way we bring the yarn through our stitches. This will help prevent your stuffing being seen through your stitches of your completed project
- 8. Make those Decreases Disappear
- The invisible decrease means that you can not see your single crochet decreases when working in the round.
This was a game changer for me and I will use this technique whenever possible instead of a Sc2Tog. Practice the Invisible Decrease and make a Giant Easter Egg
- The invisible decrease means that you can not see your single crochet decreases when working in the round.
- 9. Use weighted Polly Pellets
- We’ve all been there, your finished project simply will not sit up on its own.
You can avoid this frustration by using poly pellets in pantyhose/tights at the bottom of your project, before adding the toy stuffing.
The transformation seen by adding weight to your project is fabulous! View the Polly Pellets on Amazon
- We’ve all been there, your finished project simply will not sit up on its own.
- 10. Make your project pose
- There is nothing more special to a child than being able to make your toys move and pose.
You can make your projects come to life using chenille sticks (pipe cleaners) or florestry wire (tape the ends before inserting).
Adding wire to other projects can help necks support larger heads or in these flowers pictured, support the flowers.View the Flower & Vase pattern
- There is nothing more special to a child than being able to make your toys move and pose.
I’d love to know your thoughts on these top tips. If you have your own tips to share, why not share them in the community group where we are all learning together.