How to Crochet Post Stitches
Learn how to crochet front post and back post crochet stitches create a unique texture and are regularly used for crochet ribbing on the brim of crochet hats and cardigans.
Front Post and Back Post Half Double Crochet | Free Stitch Tutorial
To work post stitches, you simply work around the post of the stitch from the previous row instead of working through the top the crochet stitch. All the other elements of completing your stitch remain the same; whether your working a treble crochet (double crochet) or a half treble crochet (half double crochet), you’ll still begin with yarning over your hook before inserting your hook around the post of the stitch, yarn over and pull through as normal to complete your stitch.
The post of a stitch is easy to identify when you know where to look for it. The post of the stitch is right underneath the V or loops of the stitch. The post is what makes the fabric of what you’re crocheting.
The main thing to remember when completing either a front post crochet stitch or a back post crochet stitch, is the which direction to insert your hook around the post.
Front Post Stitch (FP)
When working a front post stitch, you insert your crochet hook through front of your work and hook around the front of your project.
Back Post Stitch (BP)
When working a back post stitch, you insert your crochet hook through back of your work and hook around the back of the project.
Please note that some of the links in my blog are affiliate links. I may earn a small commission if you purchase via this links, but the price you pay is not affected

You can use this crochet technique on any of the basic crochet stitches, from double crochet (single crochet) through to taller stitches like Treble Treble Crochet (Double Treble).
Stitch Abbreviations: UK Terms (US terms in brackets)
When you see FP or BP in a crochet pattern, it will be followed with the stitch abbreviation you’ll work around the post.
Here are some examples:
FPDc (FPSc) Front post double crochet (Front post single crochet)
FPHTr (FPHDc) Front post half treble crochet (Front post half double crochet)
FPTr (FPDc) Front post treble crochet (Front post double crochet)
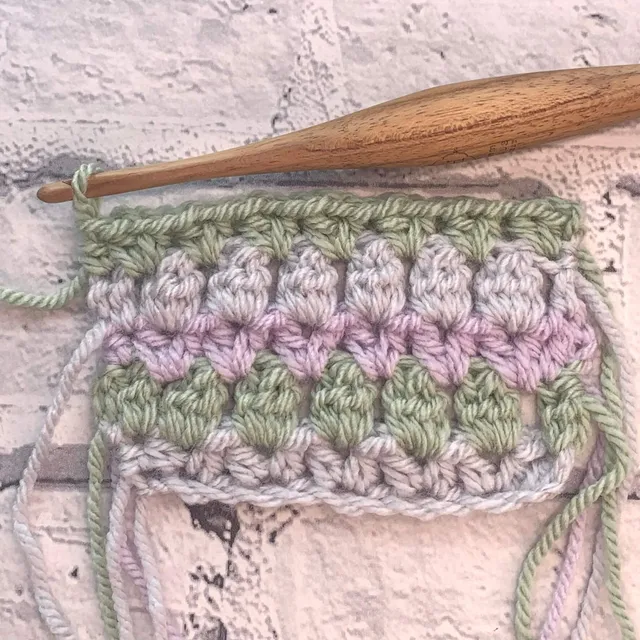
How to Crochet Front Post Half Treble Crochet
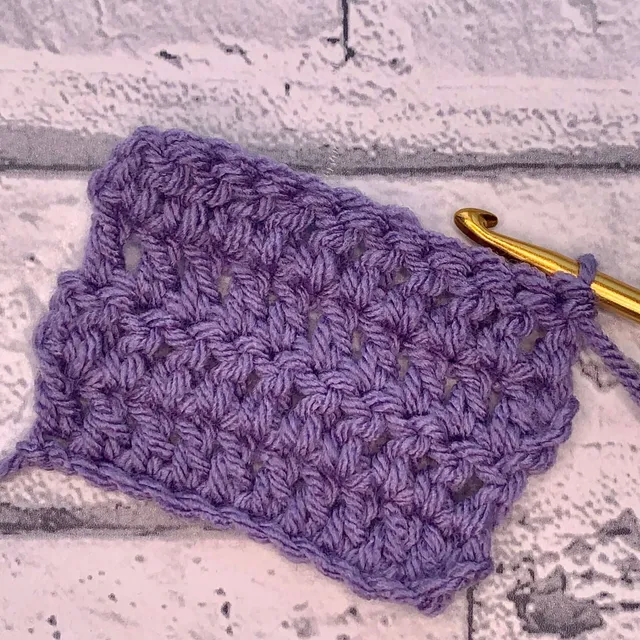
In this tutorial, I’ll be showing you how to crochet front post half treble (FPHTr) and back post half treble (BPHTr) to create crochet ribbing. (FPHDc & BPHDc)
For this tutorial I used the following materials:
- 6mm crochet hook (I used my Furls Crochet Hook)
- PaintBox Yarns Simply Chunky in shade Lilac.
You can use any yarn with the hook size recommended on the yarns band.
As this stitch is worked around the post of the previous row, we will being by creating a row of HTr (HDc).
To create crochet ribbing, work a chain to the length required – in multiples of 2, plus 2 for the turning chain.
For this tutorial, begin my making a chain of 16:
Ch 16,
Row 1: Tr (Dc) in 3rd chain from hook, Tr (Dc) in each chain across. Turn. (14)
Row 2: Chain 2, Tr (Dc) in same stitch as chain, FPHTr in next stitch,
- Insert your hook through the front of your work as shown by the needle in the image below
- Yarn over and draw up a loop through the post
- Yarn over and complete the HTr (HDc) as normal by pulling through all 3 loops on hook

Insert Hook around the post from the front
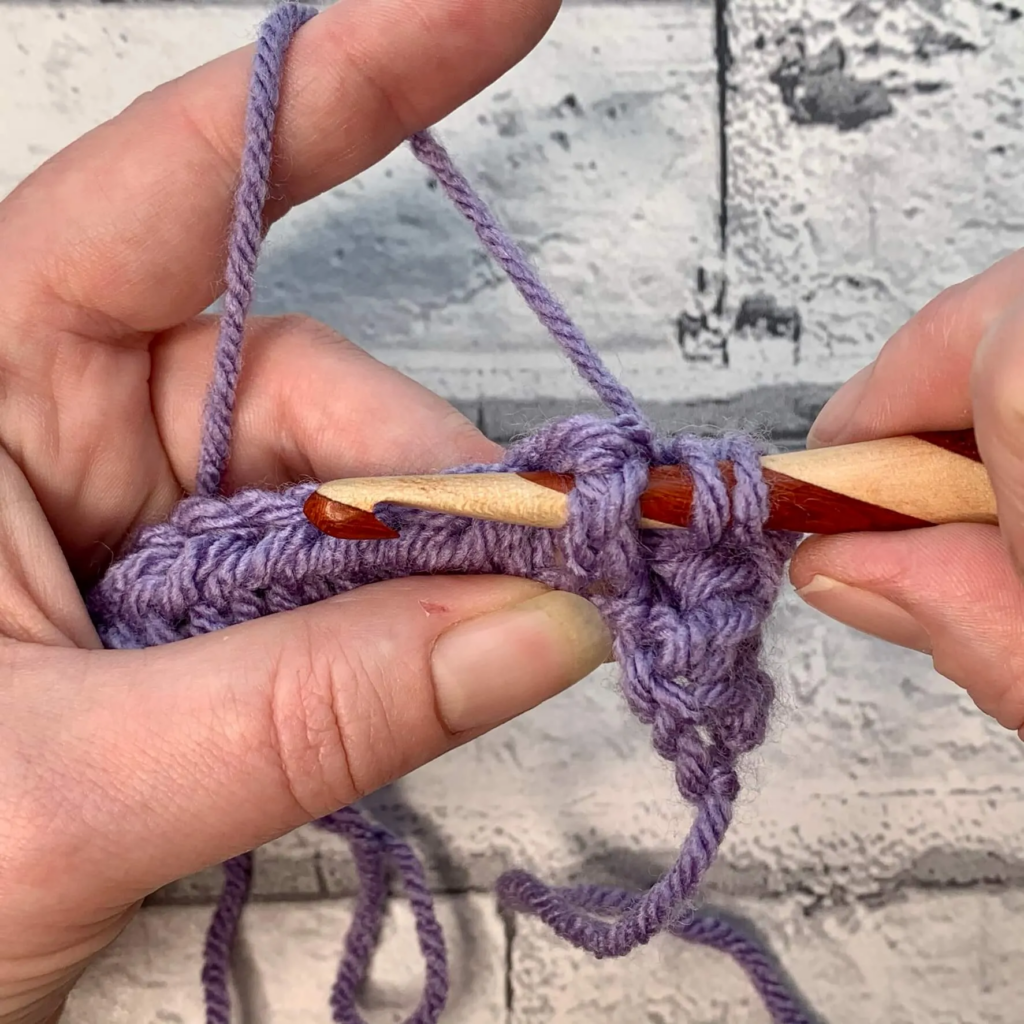
Yarn over and pull through

Yarn over and pull through all 3 loops
Row 2 Continued: in the next stitch BPHTr (BPHDc),
- Insert your hook through the back of your work and out of the back as shown in the images below
- Yarn over and draw up a loop through the post
- Yarn over and complete the HTr (HDc) as normal by pulling through all 3 loops on hook

1. Insert hook from the back, around the post

2. Yarn over from the back and pull through
Row 2 continued: continue to work alternating FPHTr & BPHTr across the remaining stitches in the row. End the row by working a normal HTr (HDc) in the last stitch. Turn.
CLICK HERE for the Left Handed video tutorial
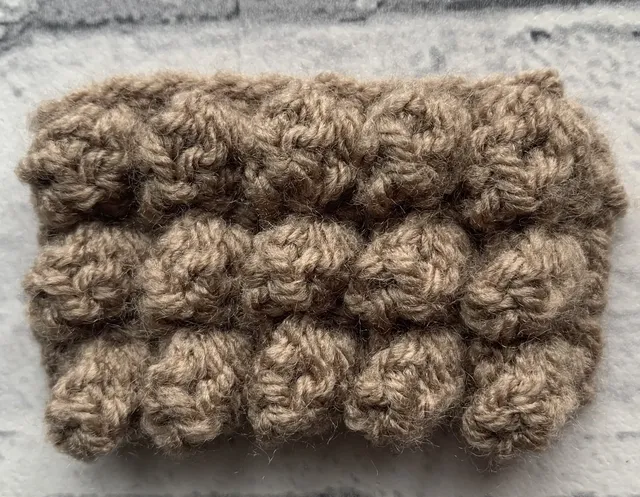
To make a brim of a hat or an edging to a blanket, you would continue to repeat row 2 for as many rows as needed.

I would love to know how you’ll be using this stitch! Let me know in the comments below.