How to Join Squares using Double Crochet
The Double Crochet join is a quick and easy way to join your granny squares or other crochet projects together and this video and photo tutorial will take you through each step.

How to Join Granny Squares using Double Crochet
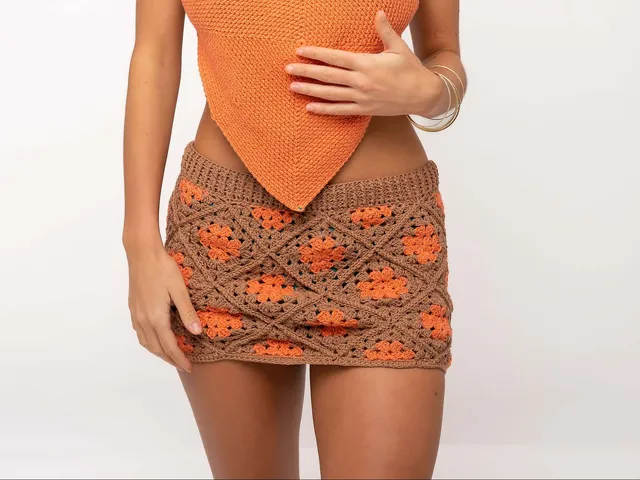
Plain and Simple or Go For Bold.
This join is great for adding interest on single colour squares by using a contrasting colour to create the join, and the raised double crochet stitch adds a lovely textured border between each of the squares when joining your squares on their right sides. It is equally stunning on squares with multiple colours! You can add an additional colour, or select one of the featured colours, as I have, to allow the join to become a feature of the finished project.
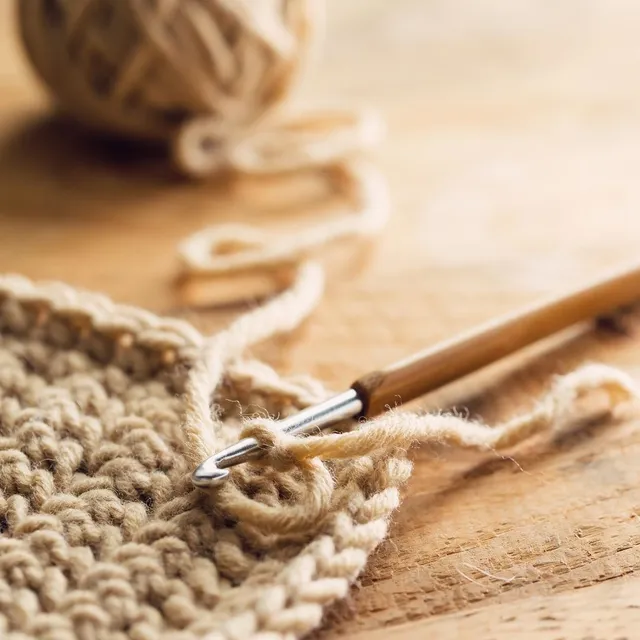
To get started, g ather all your squares and take time to arrange them where you want each square when you’ve finished your project and place them all facing right side up. This will allow you to check the balance of your colours across the whole of your project if you have used multiple colours in your squares and save time as you join them.
Decide if you want your join to stand out or to just add texture. Select a different colour from the main one used for the join to stand out and the same colour as your squares if you want to add texture.
Ensure the yarn chosen is same weight as you made your squares. If you made your squares with a double knit weight yarn, chose a double knit yarn to join them. You should also match the yarn’s composition; if you used a wool mix, use the same mix of yarn for the join. Different yarn compositions will shrink and stretch differently, so this will keep your finished project looking fabulous after washing and using.
Please note that some of the links in my blog are affiliate links. I may earn a small commission if you purchase via this links, but the price you pay is not affected

The Easy & Simple Granny Square Techniques E-Book will give you the confidence to create beautiful granny square projects!
Techniques covered in the E-book:
• How to crochet the basic granny square
• The easy way to change colours in your granny squares
• How to add a border to your granny square – 5 different border options
• How to join your squares
You can get all these techniques for the discounted price of £5.00!
Get Joining!!
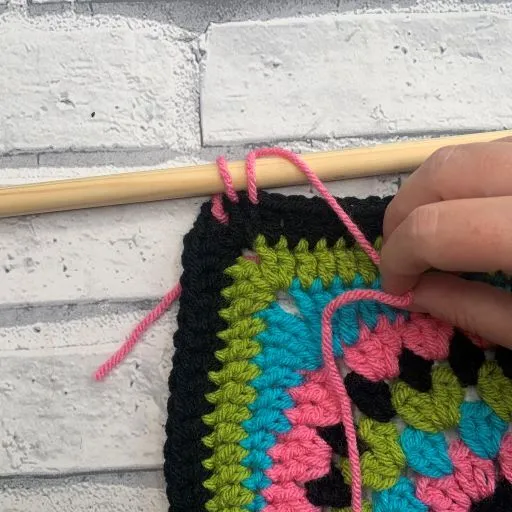
Pick up the first 2 square to join, and place them together with the right-sides facing out (wrong sides together)
- In the corner of each square, locate the chain stitch closest to the Tr cluster in the left corner cluster
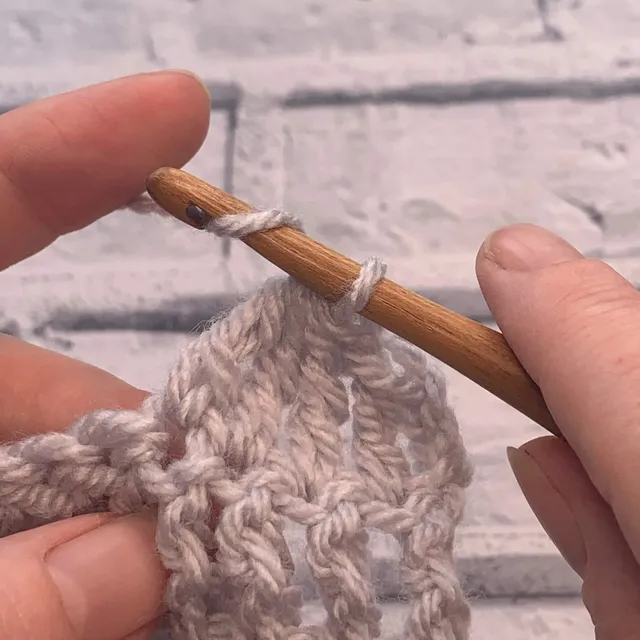
- Insert your hook into this chain and join your yarn with a slip stitch and chain 1 to secure.
- Working in to the back loops of each stitch on both squares, double crochet
- Insert your hook
- Yarn over to draw up a loop
- Yarn over and pull through.
Continue to work across the top of the squares, working in to each stitch and chain. Avoid working in to the chain space, instead, work in to the loop of the chain.

Keep on joining, don’t stop!!!
If you have a row of squares to join, you don’t need to join them in pairs to then go on to join the pairs – you can work up the rows of your blanket to save time!
When you reach the corner 1st pair of squares:
- Double crochet into chain on both squares that’s next to the last Treble worked
- Pick up your next 2 squares, ensuring they both have the right side facing out (wrong side together)
- Insert your hook in to the chain stitch closest to the Tr cluster in the left corner cluster as before
- Yarn over and pull through a loop
- Yarn over and pull through 2 loops on hook to complete the double crochet
- Working in to the back loops of each stitch on both squares, double crochet across all stitches to the next corner
Repeat joining in the corner until all your squares from this row have been joined, then fasten off. We can then begin to add another row to these joined squares.


Pick the 1st square from the next row to join, ensuring the wrong sides are facing together, right side facing out and join the yarn with a slip stitch in the 1st chain again. Work double crochet stitches across the top of the 2 squares in the back loops only.
Repeat this with each row of squares.


Once all the rows have been joined, you can then work across the other way, to join the row the other way.
- Join in the 1st chain before the 1st Tr in the corner cluster, Dc in to the back loop of each square to the corner
- Work in to the remaining chain in the corner as normal
- Dc over the top of the previous join before working in to the chain on the next square
- Repeat this until all the rows have been joined


Once all your rows have been joined each way, you can add a border to finish your project and neaten up the sides if required.
My favourite border to add to granny squares is the shell stitch. Click here to read how to add a Shell Stitch edge.
This really is my favourite way to join my squares to add additional texture to a project with the option to really make a bold statement by using a contrasting colour!