Crochet Pattern for Valentines Day
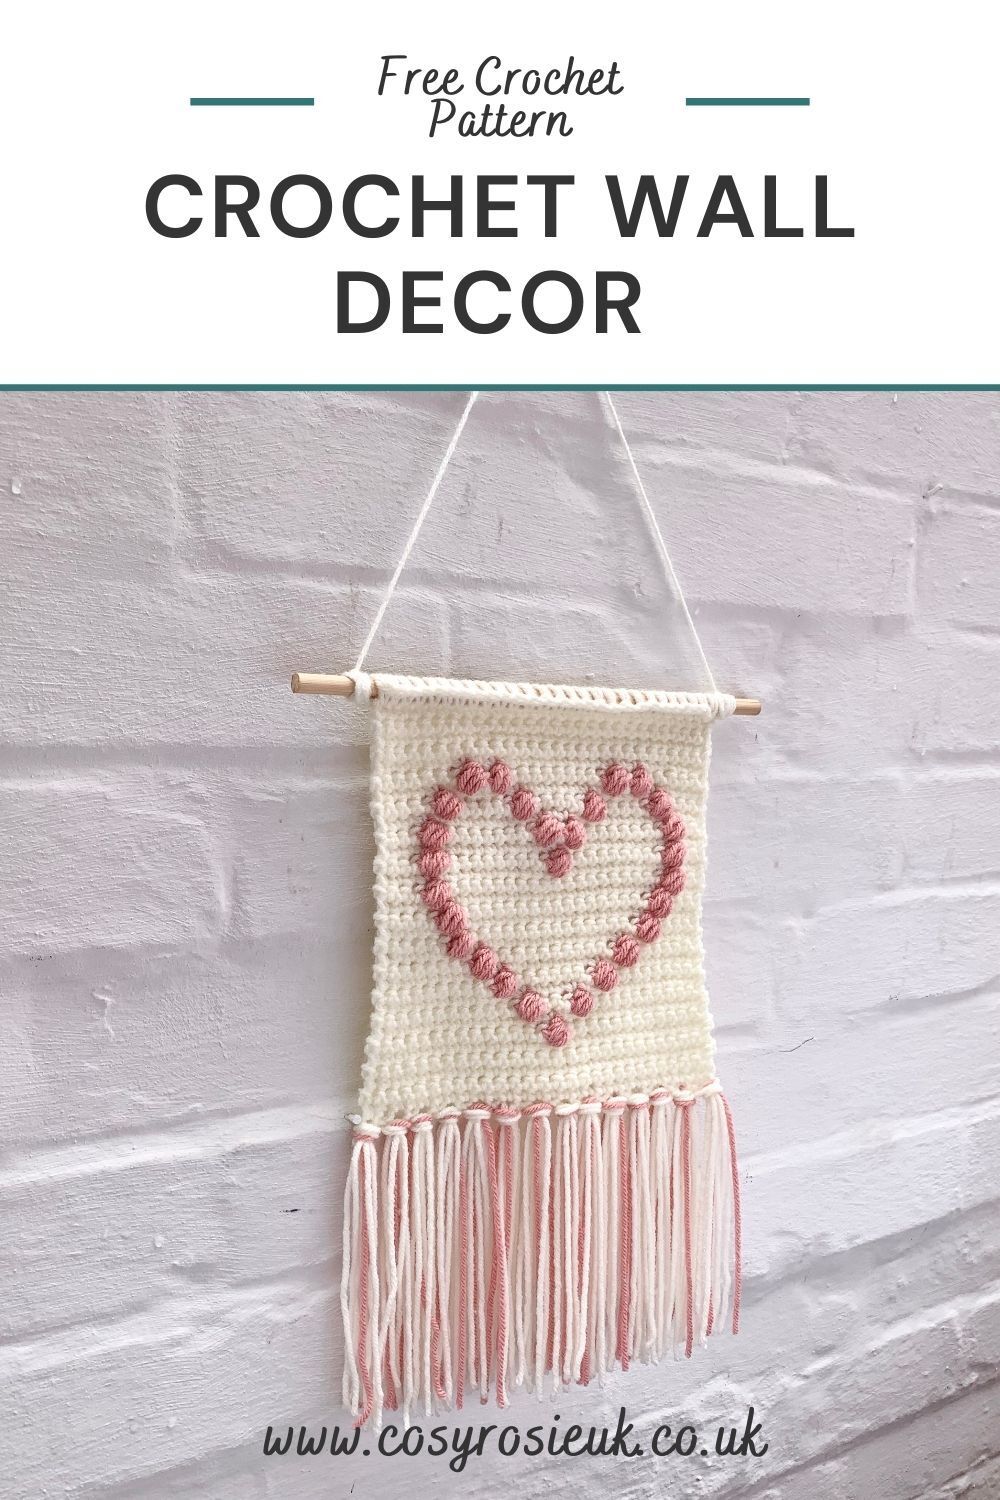
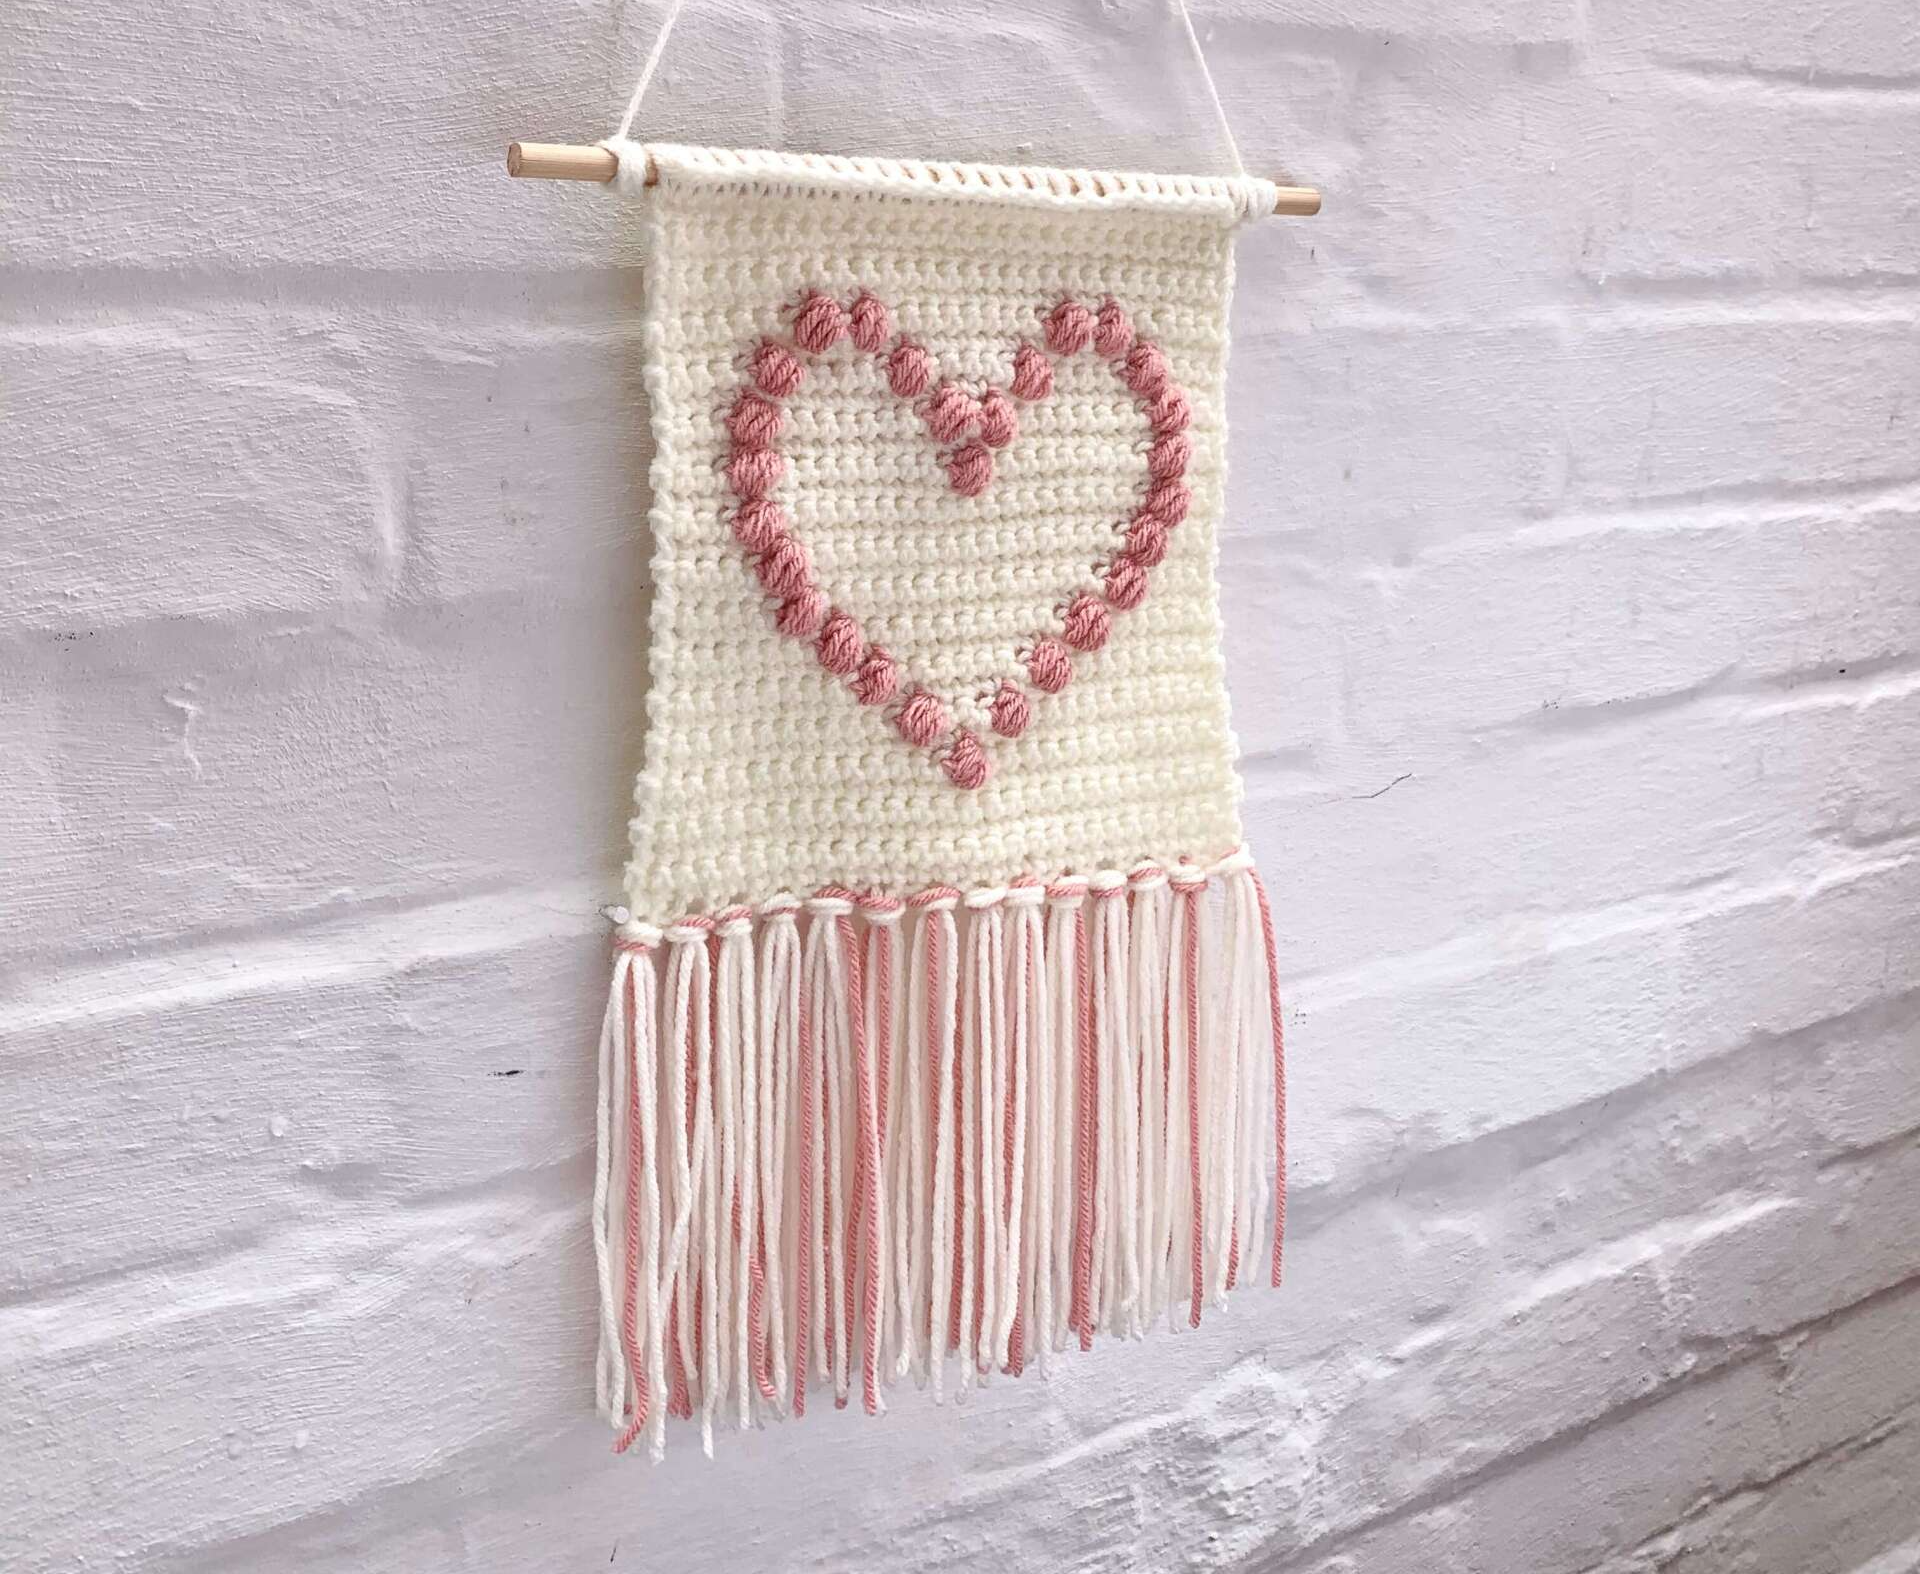
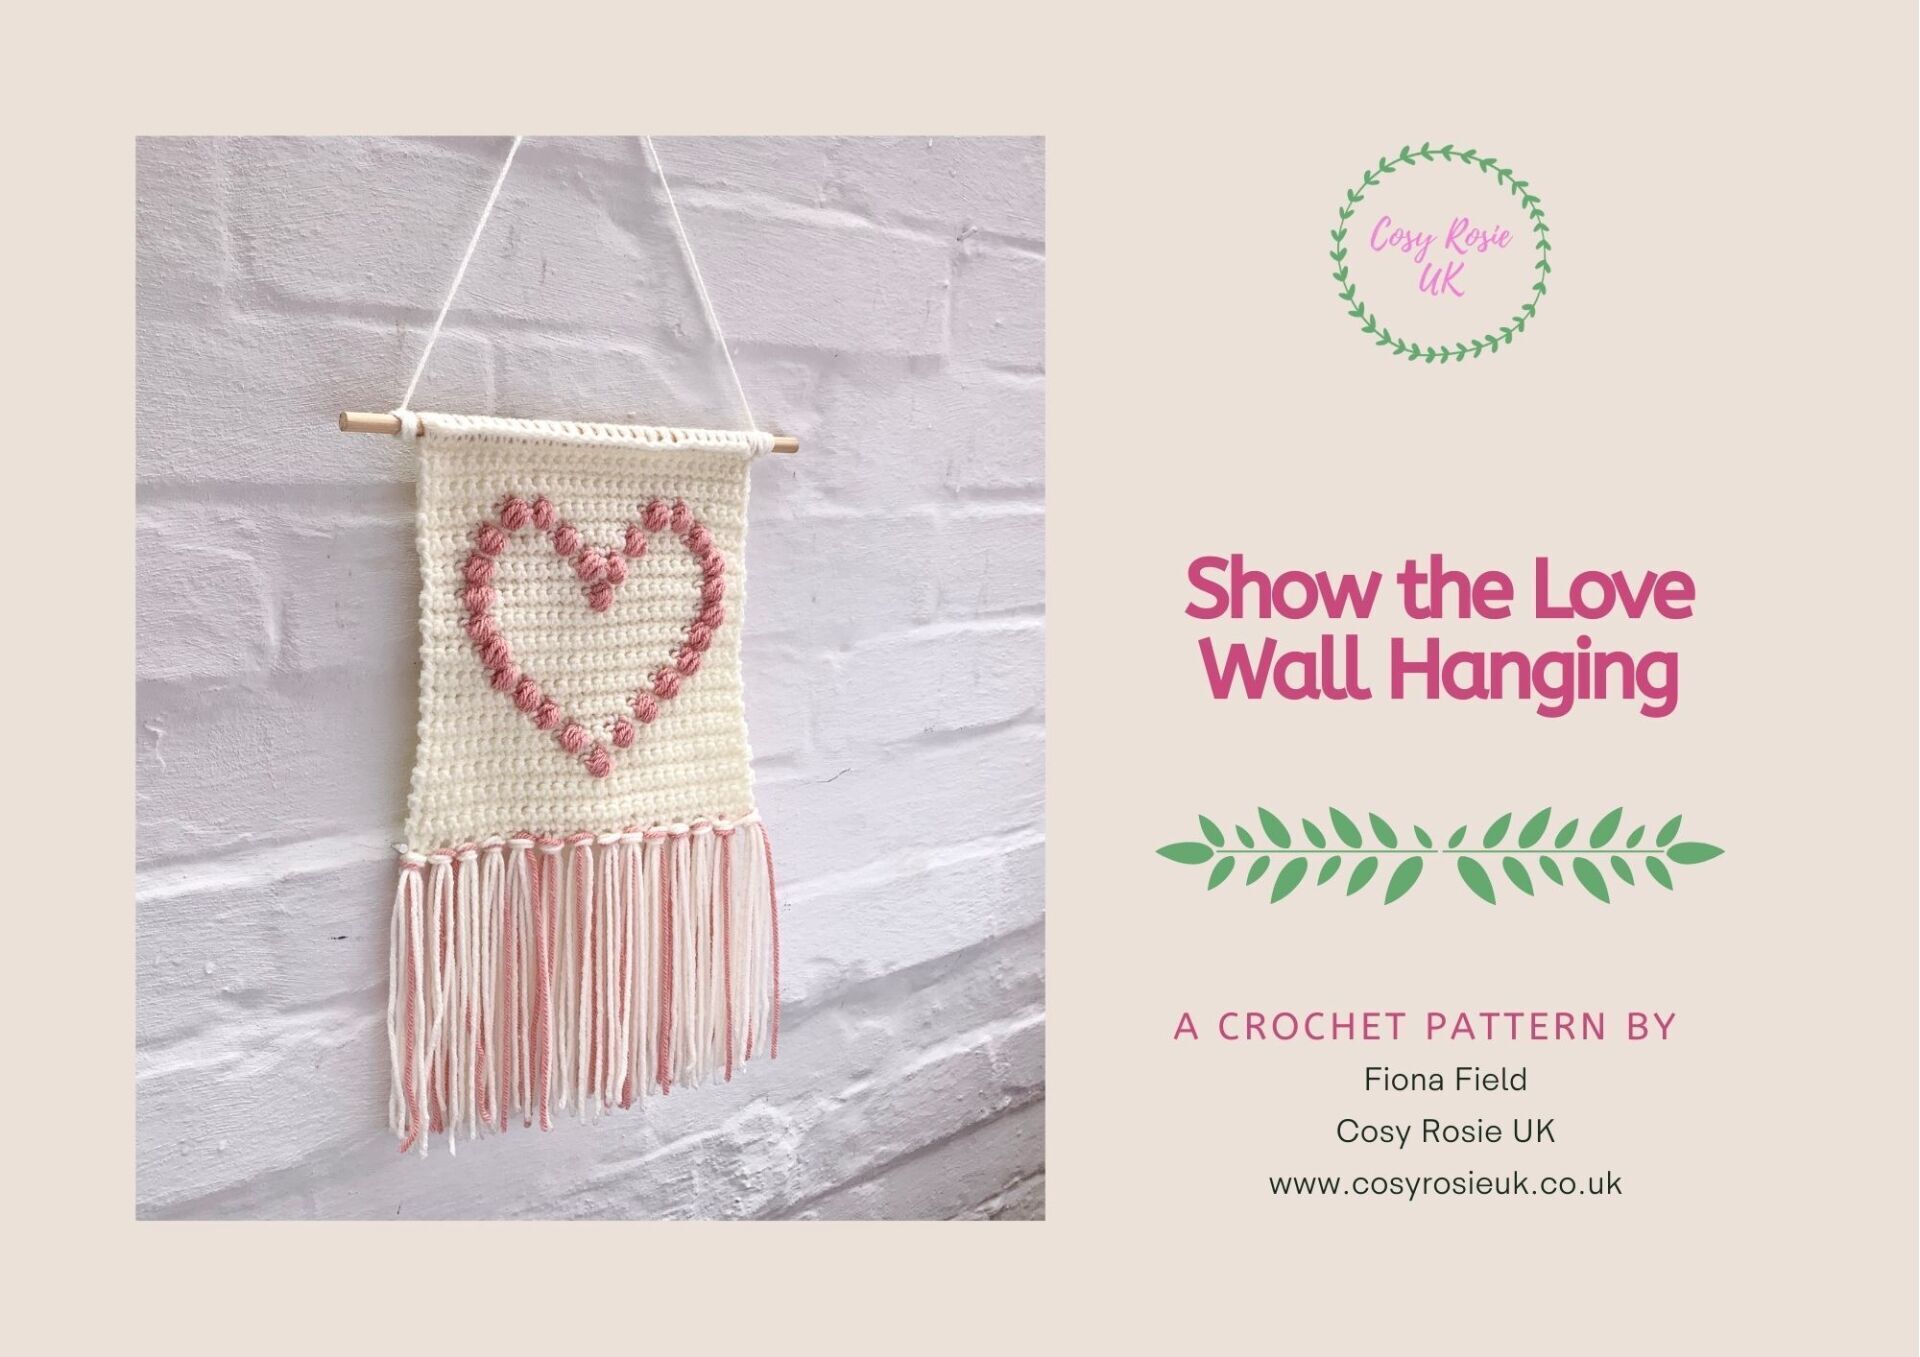
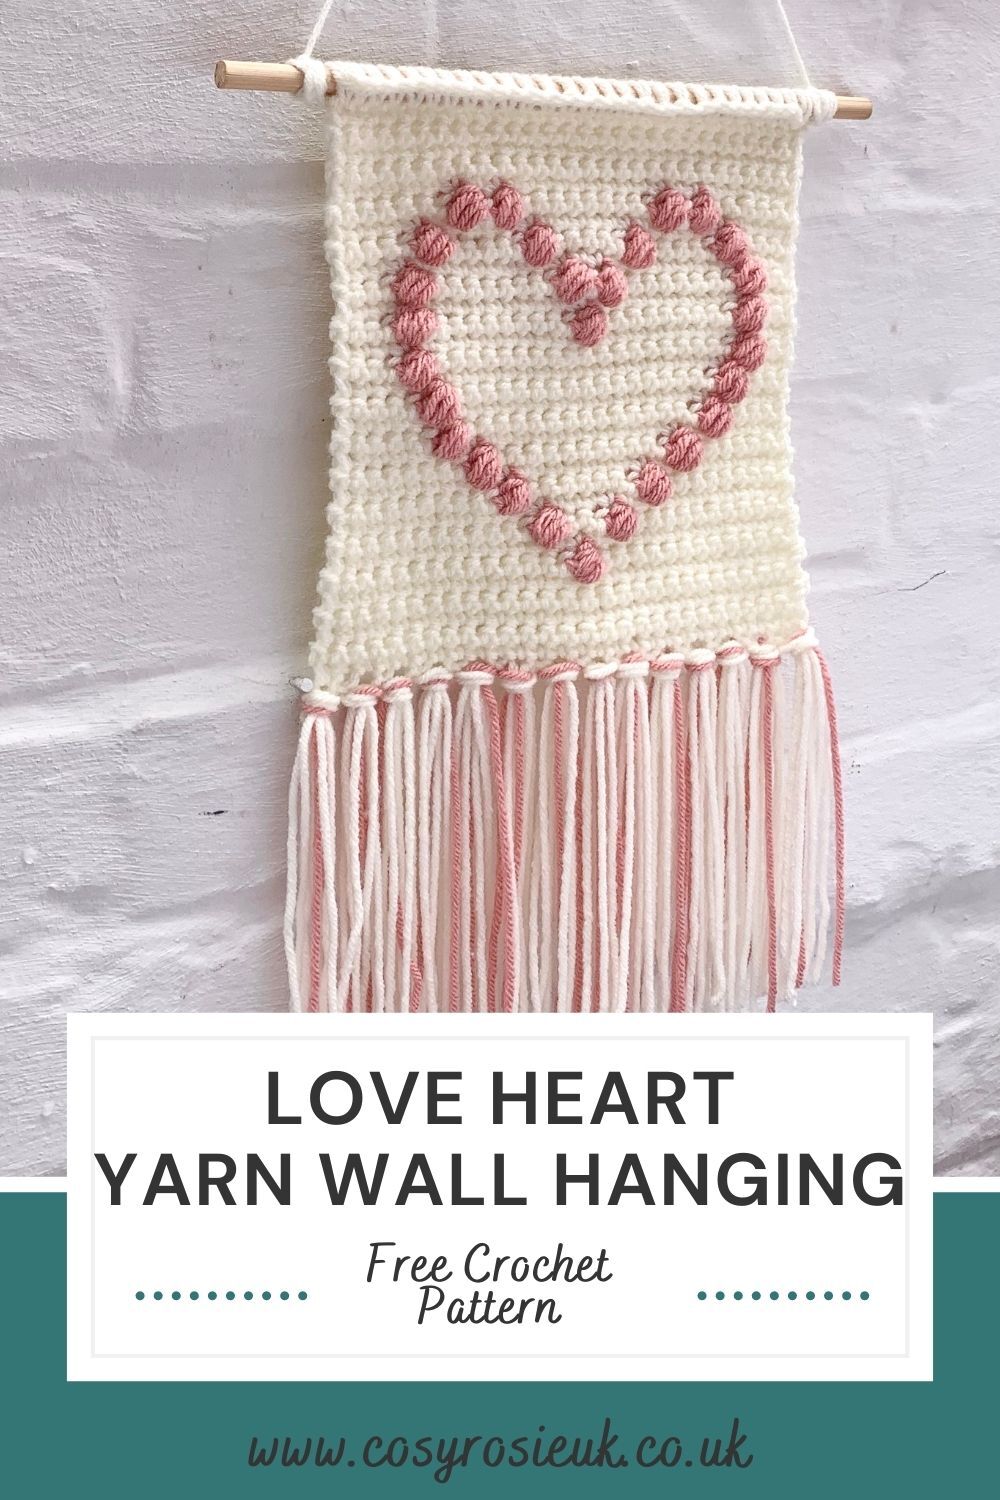
Show the Love this Valentines Day with this beginner friendly crochet wall hanging crochet pattern which features a cute Valentine Heart. You’ll just love this easy crochet pattern with it’s step by step crochet tutorial which will show you how to add a fringe, learn how to crochet the Puff Stitch and how to follow a colour chart too!
Show the Love Wall Hanging | Free Crochet Patterns
Love is Love – It’s time to forget wearing your heart on your sleeve, and show the love by hanging your heart on your wall!! You can change the colour of the heart to whatever you fancy! You could even use a rainbow of colours to show your Pride along with your love!
The pattern is a quick make which adds a lot of new crochet techniques to your stitch vocabulary! From working the heart in the textured Puff stitch through to creating floats with your colour changes, you’ll come away from creating this crochet wall hanging with new crochet ideas and skills that I am confident any beginner can complete.
This beginners project features a full video tutorials to take you through all the crochet techniques needed in this project including:
- How to crochet the puff stitch
- How to float your colour changes
- How to change colours without the contrasting colour showing through
- How to add a fringe to your crochet project
- How to add a dowel to hang your project
You only need 2 colours in chunky (bulky) weight yarn The yarn I used for this free crochet pattern is PaintBox Yarns Simply Chunky – click here to see all 50 shades you can choose from. There are so many different shades choose from and it’s also machine washable!
Please note that some of the links in my blog are affiliate links. I may earn a small commission if you purchase via this links, but the price you pay is not affected
Purchase the Ad-Free Printable PDF Pattern
You can download your ad-free printable PDF copy of the Show the Love Wall Hanging pattern from either my Etsy or Ravelry Shop
Skill Level: Beginner
Materials:
- Chunky (Bulky) Acrylic yarn in 2 colours
- I used 1 x ball PaintBox Yarns Simply Chunky (136m, 100g) in shade Blush Pink (353) and 1 x ball PaintBox Yarns Simply Chunky (136m, 100g) Champagne White (302)
- 6mm Crochet hook
- Tapestry needle
- Scissors
- 30 cm wooden dowel (I used the centre of a wooden coat hanger)
Finished Size:
24cm long (plus 20cm fringe) by 21cm wide (30cm including the dowel)
Stitch Abbreviations: UK Terms (US terms in brackets)
St(s) Stitches
Ch Chain
Dc (Sc) Double Crochet (Single Crochet)
Puff Puff Stitch
MC Main Colour
CC Contrasting Colour
On Monday 25th January 2021, this pattern was featured as part of of the 26 Days of Love blog hop from Anvis Granny.
Special Stitches:
Puff Stitch (Puff)
- Insert hook into stitch.
- Yarn over and draw up a loop. (2 loops on hook)
- Yarn over hook, insert hook and draw up a loop. (4 loops on hook)
- Repeat yarn over as above 2 more times. (8 loops on hook)
- Yarn over and pull through all 8 loops.
Pattern Notes:
- Whatever your skill level with crochet, I would always recommend reading through this pattern before beginning. Get in touch if you need any help completing the pattern
- Complete the yarn over in the contrasting colour when completing the stitch prior to any colour change.
- Keep the strand of the unworked colour to back of your project and hold under your hook.
- Do not carry the colour. Secure with one stitch near where it will be used on the next row in the later rows.
- You can follow the colour chart below to help understand where to make your colour changes
How to Crochet This Easy Wall Hanging
With MC and 6mm crochet hook:
Ch 28
Row 1: In MC, Sc in 2nd ch from hook and each ch across. Turn. (27)
Rows 2 – 5: Ch1, Sc in each st across. Turn. (27)
Row 6: Ch1, Sc13, change to CC, Puff, Change to MC, 13Sc. Turn.
Row 7: Ch1, Sc in each st across. Turn.
Row 8: Ch1, 11Sc, change to CC, Puff, change to MC, 3Sc, change to CC, Puff, change to MC, 11Sc. Turn.
Row 9: Ch1, Sc in each st across. Turn
Row 10: Ch1, 9Sc, change to CC, Puff, change to MC, 7Sc, using an additional strand, change to CC, Puff, change to MC, 9Sc. Turn.
Row 11: Ch1, Sc in each st across. Turn.
Row 12: Ch1, 7Sc, change to CC, Puff, change to MC, 11Sc, change to CC, Puff, change to MC, 7Sc. Turn.
Row 13: Ch1, Sc in each st across. Turn.
Row 14: Ch1, 5Sc, change to CC, Puff, change to MC, 15Sc, change to CC, Puff, change to MC, 5Sc. Turn.
Row 15: Ch1, Sc in each st across. Turn.
Row 16: Ch1, 4Sc, change to CC, Puff, change to MC, 17Sc, change to CC, Puff, change to MC, 4Sc. Turn.
Row 17: Ch1, Sc in each st across. Turn.
Row 18: Ch1, 3Sc, change to CC, Puff, change to MC, 19Sc, change to CC, Puff, change to MC, 3Sc. Turn.
Row 19: Ch1, Sc in each st across. Turn.
Row 20: Ch1, 3Sc, change to CC, Puff, change to MC, 9Sc, change to CC, Puff, change to MC, 9Sc, change to CC, Puff, change to MC, 3Dc. Turn.
Row 21: Ch1, Sc in each st across. Turn.

Row 22: Ch1, 3Sc, change to CC, Puff, change to MC, 8Sc, change to CC, Puff, change to MC, 1Sc, change to CC, Puff, change to MC, 8Sc, change to CC, Puff, change to MC, 3Sc. Turn.
Row 23: Ch1, Sc in each st across. Turn.
Row 24: Ch1, 4Sc, change to CC, Puff, change to MC, 5Sc, change to CC, Puff, change to MC, 5Sc, change to CC, Puff, change to MC, 5Sc, change to CC, Puff, change to MC, 4Sc. Turn.
Row 25: Ch1, Sc in each st across. Turn.
Row 26: Ch1, 6Sc, change to CC, Puff, change to MC, 1Sc, change to CC, Puff, change to MC, 9Sc, change to CC, Puff, change to MC, 1Sc, change to CC, Puff, change to MC, 6Sc Turn.
Rows 27-31: Ch1, Sc in each st across. Turn. Fasten off and weave in ends. Block to ensure rectangular shape.
Adding the Fringe:
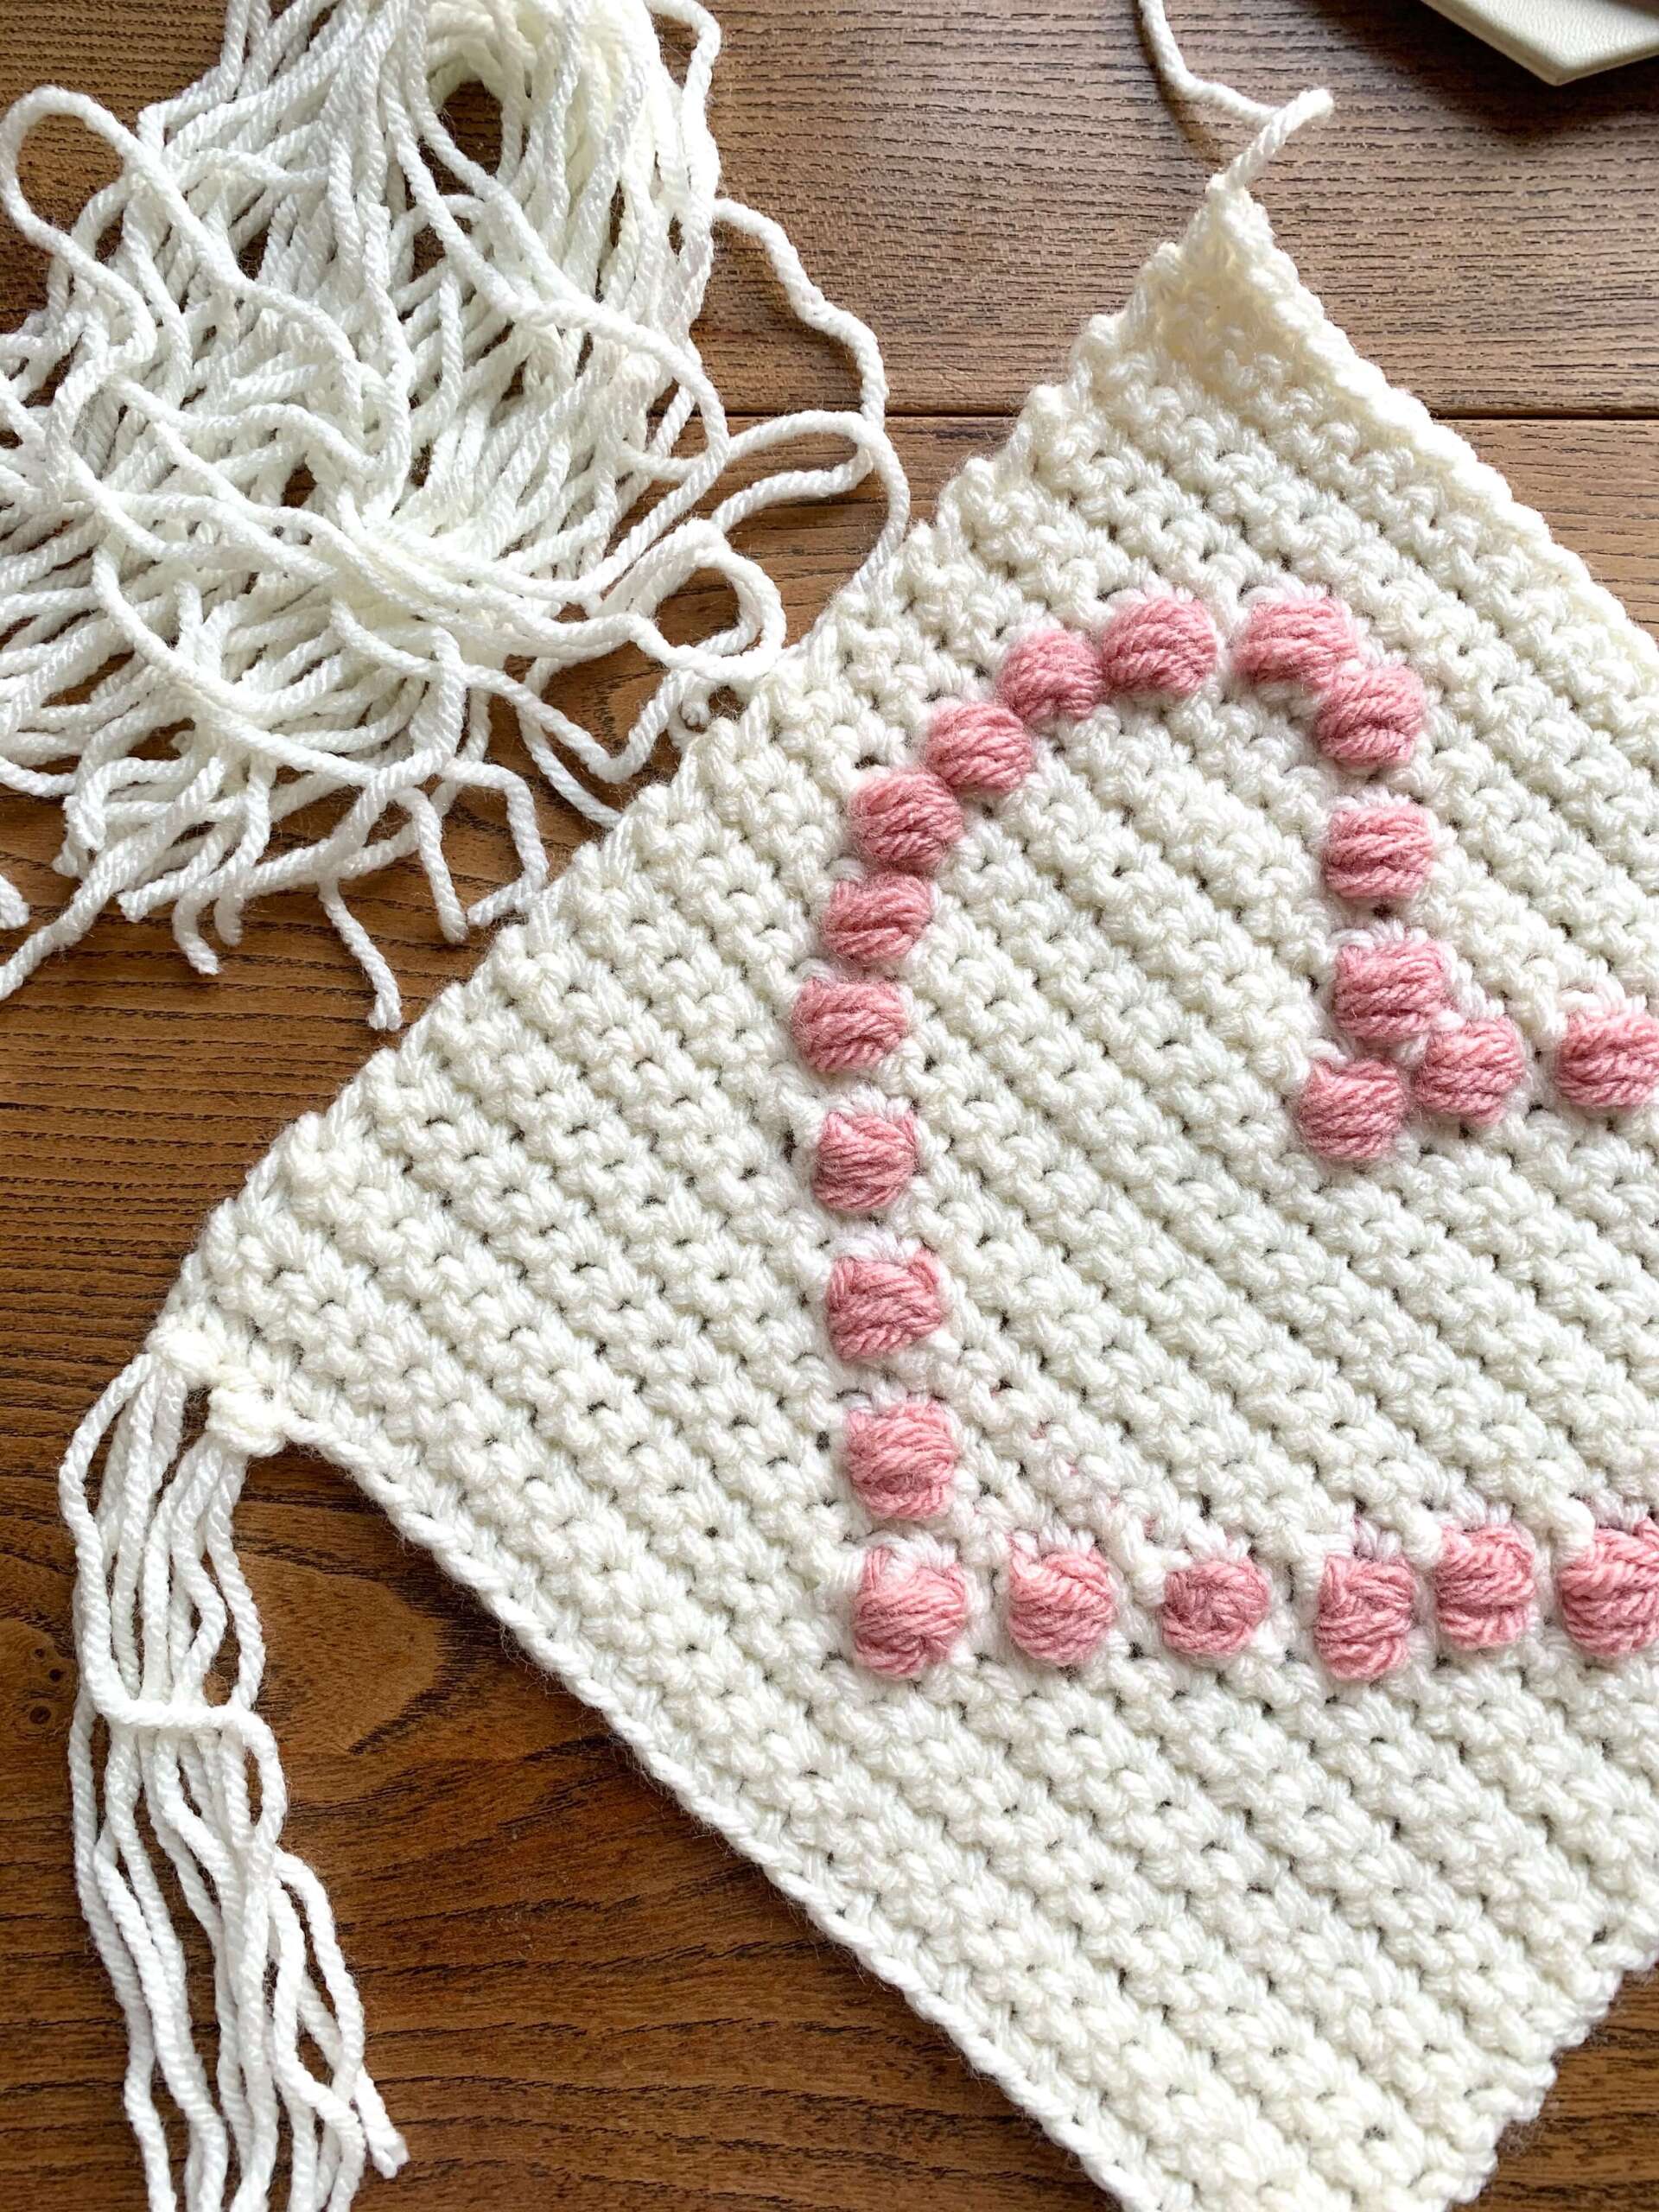
Cut a total of 52 strands measuring 40cm
- 39 in MC
- 13 in CC
- Add a fringe in every other stitch across the bottom of the wall hanging using 3 strands of MC and 1 strand of CC
- Secure the wall hanging to the dowel by simply Dc into each stitch across the top of the hanging and around the dowel to secure them together
- Hang up your beautiful wall hanging, snap a picture and share it with me on social media!
I’d love to see your completed Show the Love Wall Hanging, so don’t forget to tag me in a photo on your social media @cosyrosieuk
